
Safety Guidelines
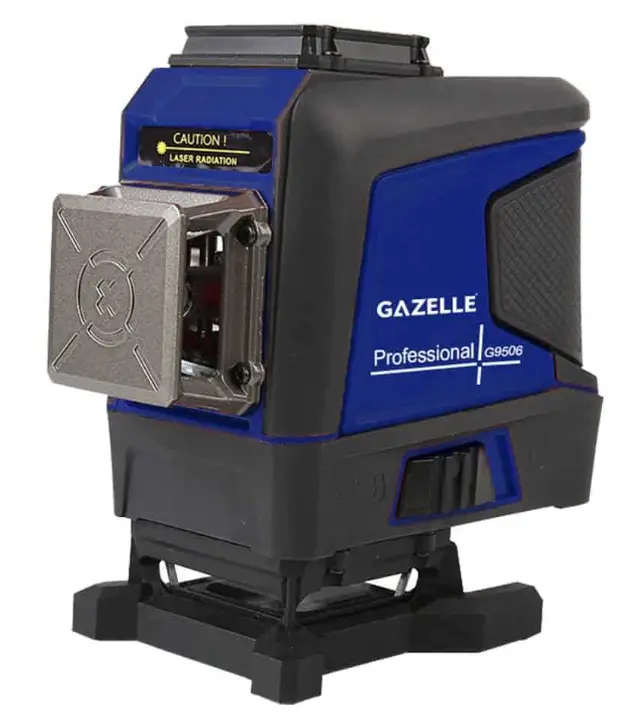
GAZELLE G9506 12-Line Green Laser Level
Product Introduction
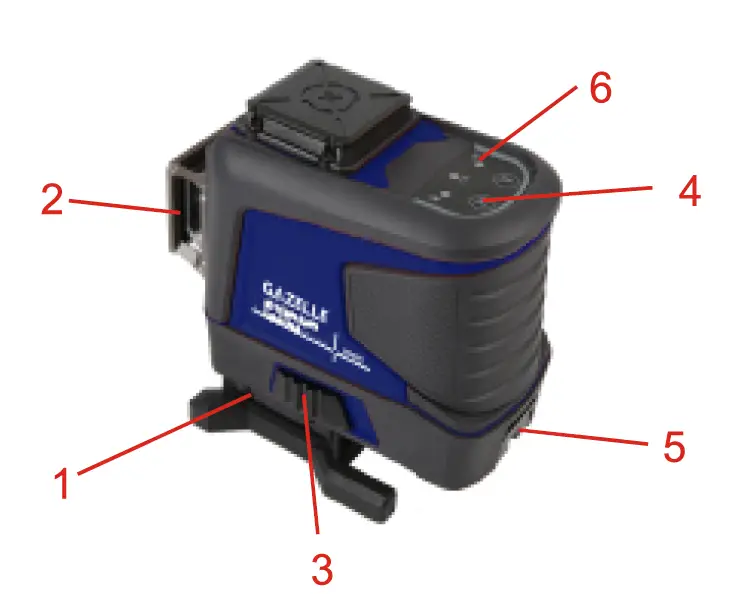
| 1. 360° horizontal glass window | 2. 4. | 360° vertical glass window |
| 3. Pendulum lock | Button | |
| 5. Battery door | ||
| 6. LED indicator (left: power indicator, right: outdoor pulse mode indicator) | ||
Safety Guidelines
Before using this product, please carefully read and follow the safety instructions otherwise the warranty may be invalidated
Warning!
| 
|
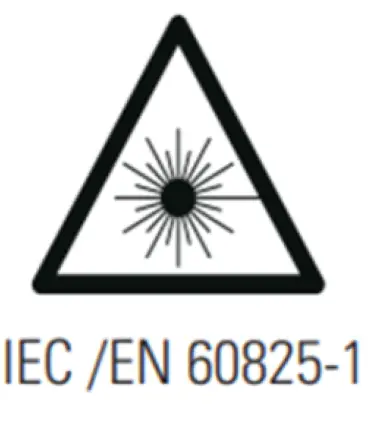
Laser radiation:
|
Cautions
Some product kits will provide glasses. Please note that these glasses are not safety glasses. They are only used to help users recognize the laser beam in strong ambient light or when the light source of the laser instrument is distant. Do not stare into beam or directly observe the laser beam via an optical instrument or set the instrument at the eye level (to avoid damage to the eyes).
- Do not disassemble the laser instrument without authorization.
Do not refit the instrument without authorization in any way; otherwise it may cause harmful laser radiation exposure. - Do not use the laser instrument around children or allow them to use it.
- Exposure to Class 2 lasers for no more than 2 seconds is generally considered safe, because natural eyelid reflexes (blinking) usually can provide adequate protection.
Operation Instructions
- When the laser instrument is in the locked state, toggle the pendulum lock to the unlocked position to start the self-inspection. After completing the selfinspection, the horizontal laser line is always on, and the instrument is in the self-leveling mode. In the self-leveling range of 3°±1 °, the instrument will perform the self-leveling function. If the range is exceeded, the instrument will flash quickly and make a beeping sound.
- Press the H button to turn on/off the horizontal laser line, and press the V button to turn on/off the vertical laser line.
(The two horizontal/vertical laser lines can be used alone or together). - In the power-on state, toggle the pendulum lock to the locked position again, and the instrument can be turned off.
Note: It is to ensure that users must toggle the pendulum lock to the locked
position before shutting down the instrument. - When the instrument is in use, the charging/power indicator is off. When the battery power is 20% remaining, the charging/power indicator will flash in red color, and the instrument will automatically shut down after it is fully discharged. When the battery pack is being charged, the charging/power indicator will flash in red color to remind users that the instrument is being charged. When fully charged, the charging/power indicator will switch to a steady green state. When directly using the charging interface on the instrument to charge, the green light will flash, and when it is fully charged, the indicator will switch to a steady green state.
Manual Mode
In the shutdown state, press and hold the V button for more than 3 seconds to enter the manual mode. At this time, the instrument is turned on and emits a horizontal laser line. The lock indicator is always on, and the laser line will flash once every five seconds to remind users that it is in manual mode. The laser line can be set to different angles. In the manual mode, press and hold the V button again for more than 3 seconds, or toggle the pendulum lock to enter the self-leveling mode and then toggle it again to shut down.
Note: The laser line in the manual mode cannot be used as a horizontal/vertical reference line.
Pulse Mode
In the self-leveling mode, long press the V button to enter the outdoor pulse mode. At this time, the pulse indicator is always on and the brightness of the
laser line decreases. The instrument can work with a dedicated laser receiver. Long press the V button again to exit the pulse mode.
Remote Control Mode
This product is equipped with a remote control chip, which can remotely switch the functions of the instrument via the equipped remote control. Pairing is required when using the remote control for the first time. Turn on the instrument first and then press and hold the H button of the instrument and the H button of the remote control simultaneously for more than 3 seconds to successfully pair.
Note: The remote control function can only be used after the instrument is turned on. The remote control can only switch functions, and cannot remotely turn on/off the instrument and control the pulse mode.
Specifications
| Model | G9506 |
| Laser type | Green LD |
| Laser wavelength | 520nm±5nm |
| Laser power | 30mW |
| Laser class | CLASS 2 |
| Laser lines | 12 lines |
| Horizontal accuracy | ,s ± 3mm/ 10m (± 60″) |
| Vertical accuracy | ,s ± 3mm/ 10m (± 60″) |
| Laser linewidth | < 4mm/ 10m (indoor lighting : 80-100Iux) |
| Distance to ground | Laser level to ground: 15mm |
| Distance to wall | Minimum distance: 10mm |
| Emission angle | 360° |
| Operating distance | In pulse (5 : 5) mode: 50m |
| Operating temperature | – 10- 50°C |
| Storage temperature | – 10- 50°C |
| Outdoor pulse | |
| Leveling time | ,S3s |
| Leveling range | 3°±1° |
| Leveling modes | Magnetic damping, heavy hammer |
| Battery type | Lithium battery pack (contains two 18650 cells) |
| Battery capacity | 5200mAh, with a Type- C interface |
Accessories
- Laser level————-1 pc
- Remote control—— 1 pc
- 520nm±5nm 5200mAh lithium battery– 1 pc
- User manual 1 pc
- LM312 bracket– 1 pc (6 months warranty)
- Type-C charging cable———– 1 pc
- Toolbox 1pc
Gazelle Industrial Co.
[email protected]
[email protected]
www.gazelleindustrial.com
Manufactured by an ISO Certified Company


