LEDIMWO LKP10 Smart Dimmer Plug
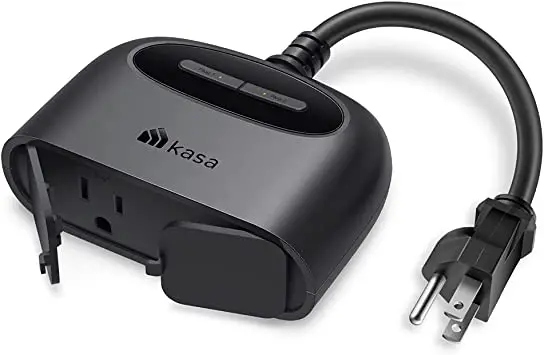
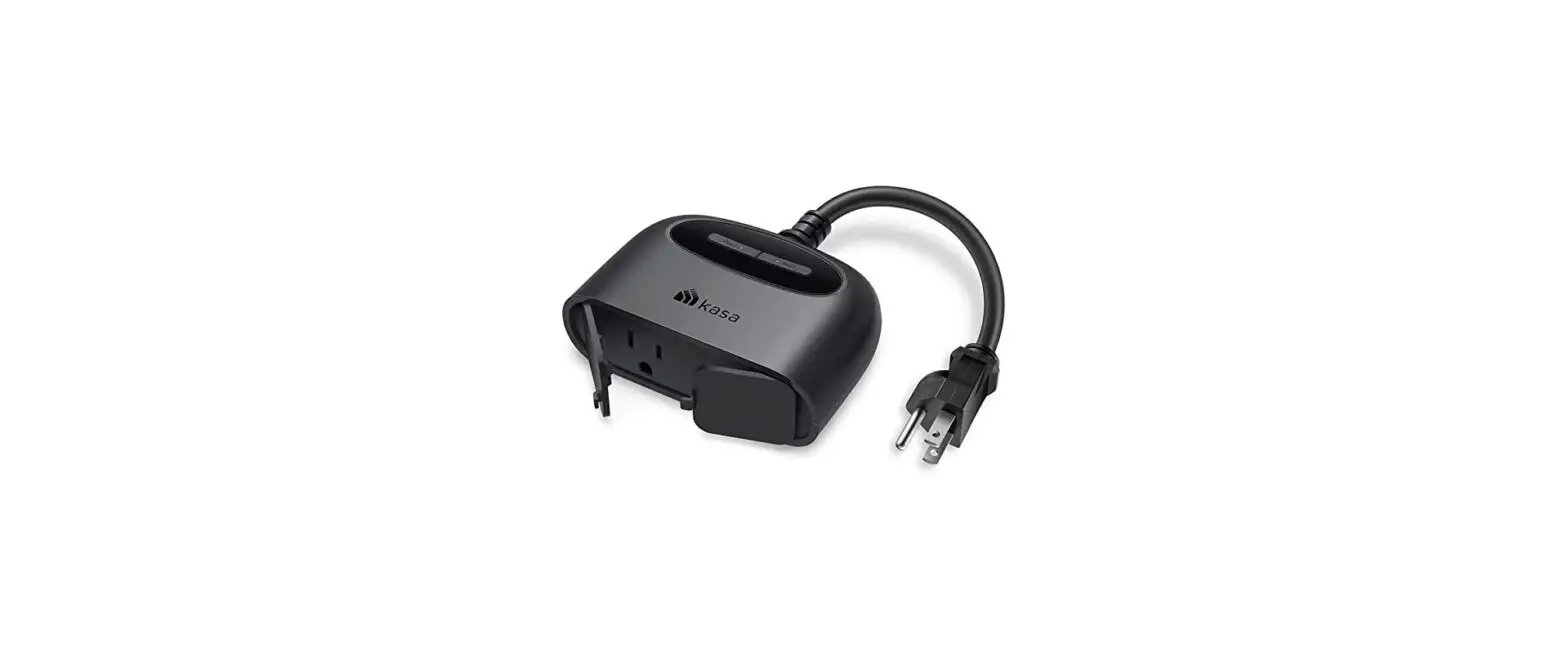
Product Overview 
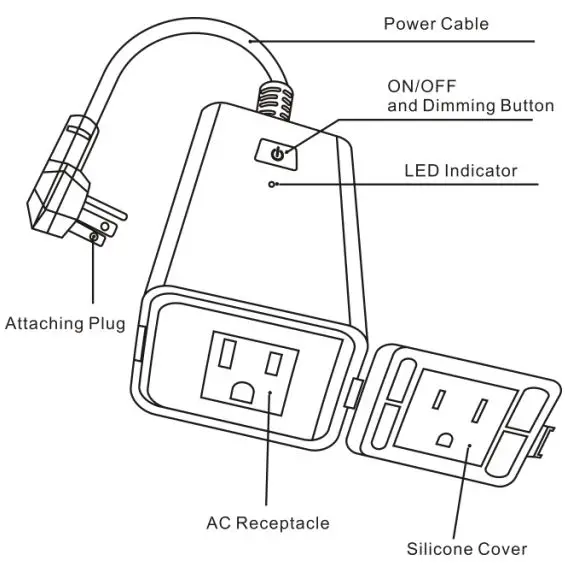
Key Definition
- Short press the power button to turn on and off the lights.
- When the light is on, long-press the power button to adjust the brightness, the brightness from the brightest to the darkest, and then from the darkest to the brightest, release the button, the brightness will stop at the current brightness.
- Quickly press the power button 4 times, the red indicator light flashes twice a second and enters the default network configuration mode.
- In the default network configuration mode, quickly press the switch 4 times in a row to enter the AP network configuration mode, and the red indicator light flashes slowly (flashing once every 3 seconds).
Indicator status
| Indicator color | Indicator status | Dimmer Plug status |
| White | ON | Power on |
| OFF | Power off | |
|
Red | Flashes twice a second | Enters the default network configuration mode |
| Flashes once every 3 seconds | Enters the AP network configuration mode |
ADD devices in Smart life APP
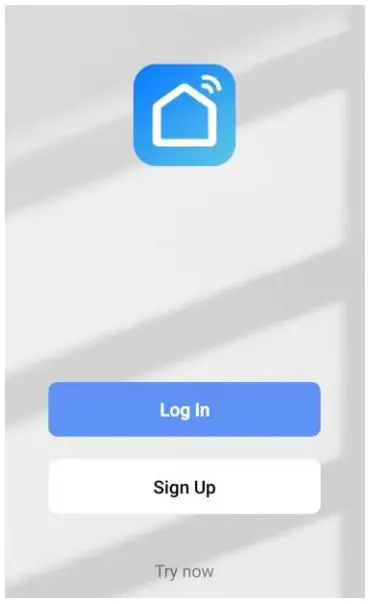
- Search “Smart life” in the Apple APP Store/Google play to download the APP or Scan the QR code to download.

- Register a Smart life account and sign in the app Open the Smart life app, tap“Sign Up”to register an account, select country, enter your email address or mobile number to get a verification codeand set pass word. Ifhavea “Smart life” account, choose “Log In”.

- Configure the APP
- Make sure that the phone is connected to a WiFi router and to the Since the dimmer supports 2.4G WiFi only, if the router is a 5G network, It is necessary to disable the 5G network and active the 2.4G network and Enable Bluetooth.
- Click “+” in the upper right


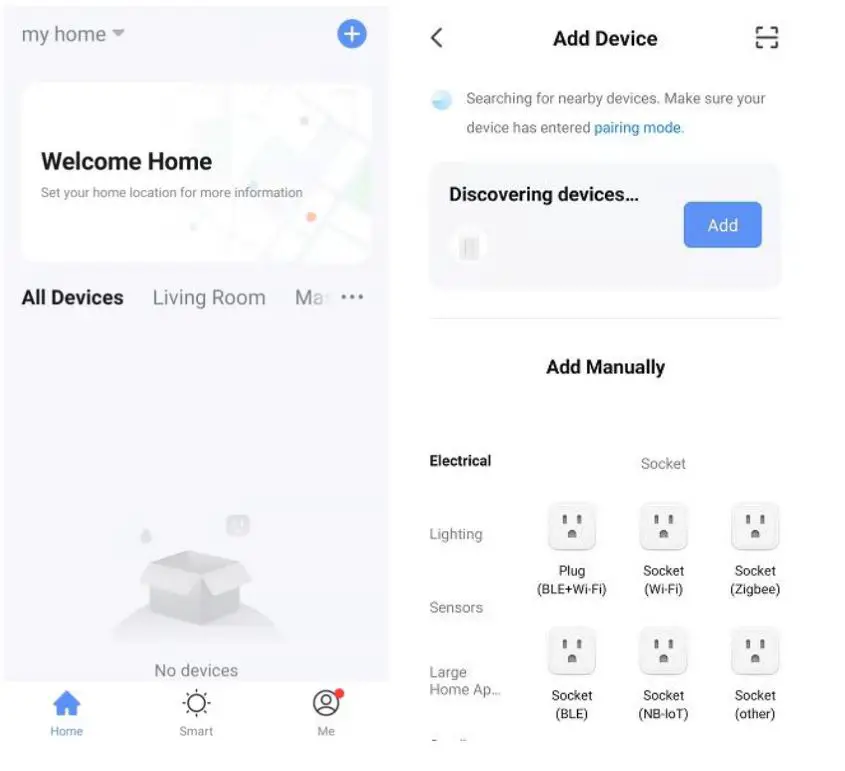
Default network configuration mode
- Quickly press the power button 4 times, the red indicator light flashes twice a second.
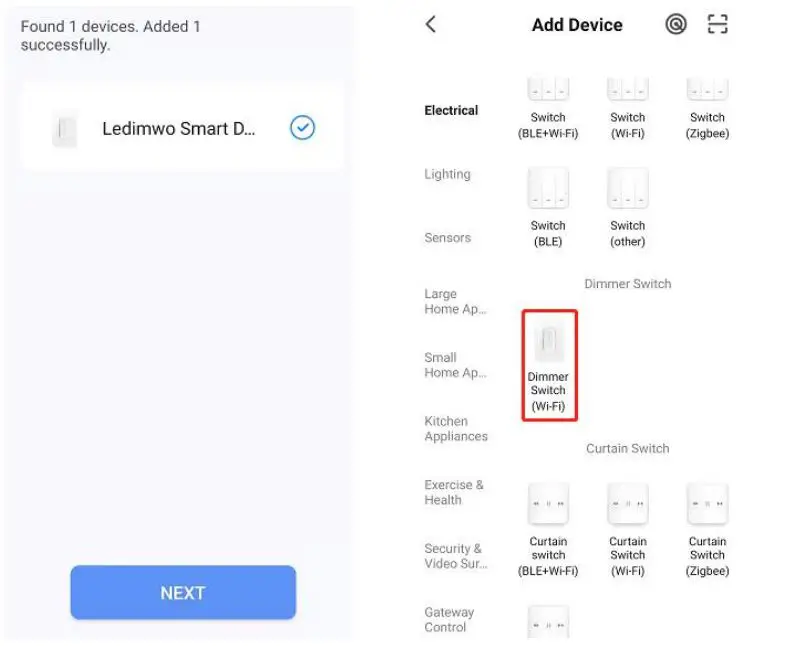
- If the device is found, click the blue button “Add”; Enter the WiFi password and wait for the connection to be completed.

- If the device is not found by Bluetooth, add the device manually. Choose “Dimmer Switch(Wi-Fi)”.
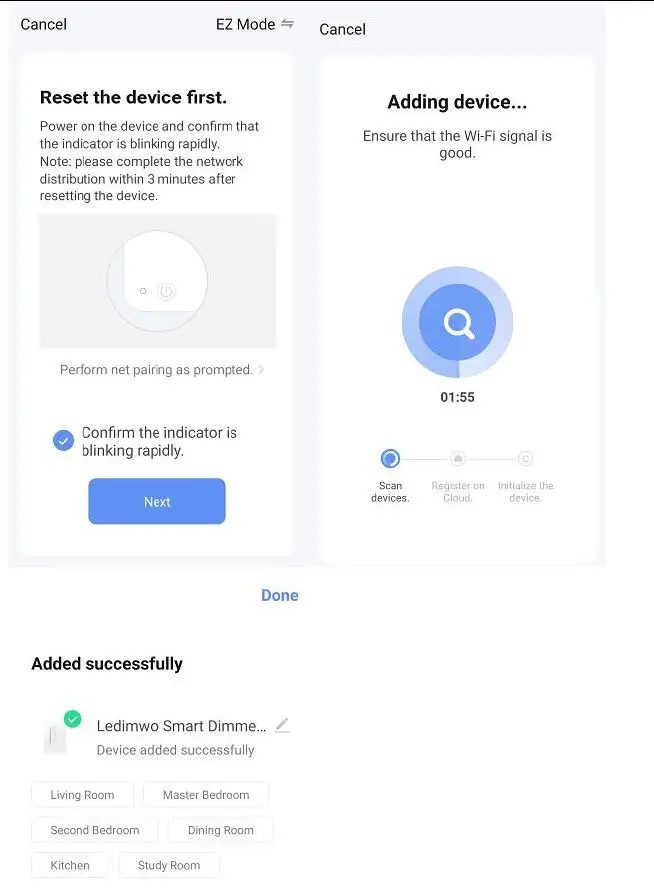
- Enter the WiFi password;

- Choose” Confirm the indicator is blinking rapidly”, then “Next”, Wait for the connection to complete.
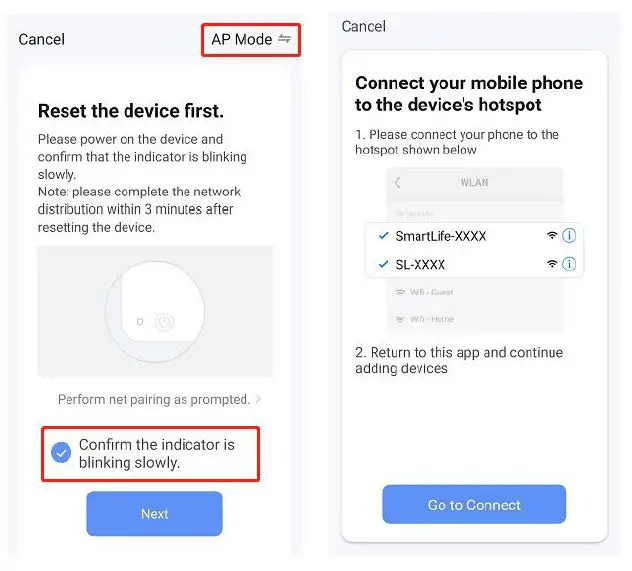
AP network configuration mode
If the default network configuration is not successful, try the AP network configuration.
- Choose “AP Mode” in the upper right corner.
- In the default network configuration mode, quickly press the switch 4 times to enter the AP network configuration mode, and the red indicator light flashes once every 3 seconds.
- Choose” Confirm the indicator is blinking slowly”, then “Next”.
- Enter the WiFi password.
- Open WiFi settings and connect to hotspot” SmartLife-XXXX”.
- Return to the App and continue to add the device, Wait for the connection to complete.
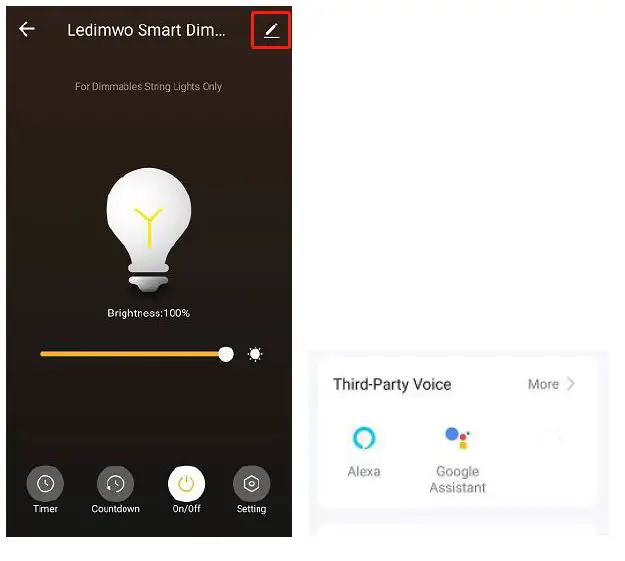
Connect “SmartLife” to Alexa/Google Assistant
- Click edit in the upper right corner, Choose Third-party Voice “Alexa/Google Assistant” in more options.

- Configure and Enable the Smart Life Skill.
Specification
| Model | LKP10 | |
| Input | VOLTAGE | 120VAC |
| FREQUENCY | 60Hz | |
|
Max Output | LED | 150W |
| CFL | 150W | |
| INC | 300W | |
| Wireless | WiFi Frequency | 2.4G |
| WiFi Standard | IEEE802.11 b/g/n | |
| Support System | Android | 4.1 or above |
| iOS | 8.0 or above | |
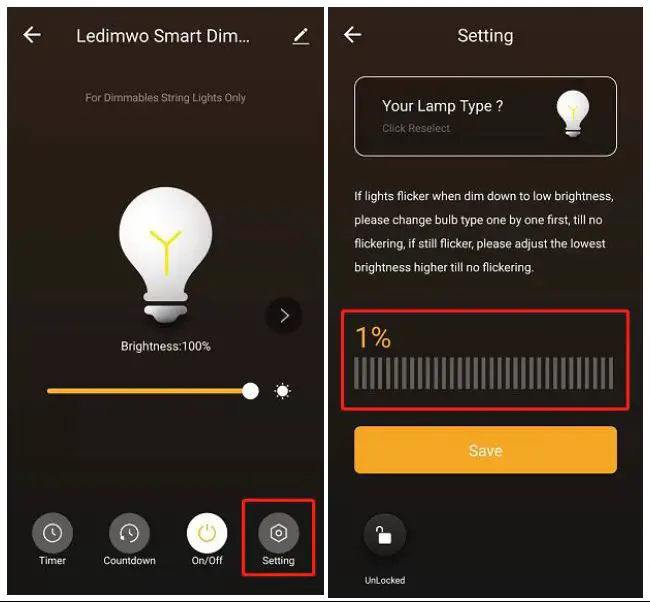
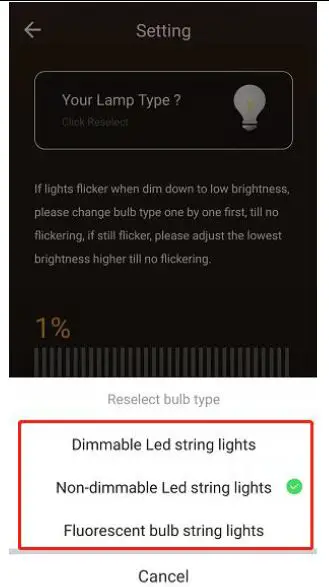
Low-brightness flicker
Choose a different dimming mode in the dimming setting, or adjust the minimum brightness value until the light does not flash at low brightness. 
 FCC STATEMENT
 FCC STATEMENT
Any Changes or modifications not expressly approved by the party responsible for compliance could void the user’s authority to operate the equipment. This device complies with part 15 of the FCC Rules. Operation is subject to the following two conditions:
- This device may not cause harmful interference,and
- this device must accept any interference received, including interference that may cause undesired operation.
Note: This equipment has been tested and found to comply with the limits for a Class B digital device, pursuant to part 15 of the FCC Rules. These limits are designed to provide reasonable protection against harmful interference in a residential installation. This equipment generates, uses and can radiate radio frequency energy and, if not installed and used in accordance with the instructions, may cause harmful interference to radio communications. However, there is no guarantee that interference will not occur in a particular installation. If this equipment does cause harmful interference to radio or television reception, which can be determined by turning the equipment off and on, the user is encouraged to try to correct the interference by one or more of the following measures: Reorient or relocate the receiving antenna. Increase the separation between the equipment and receiver. Connect the equipment into an outlet on a circuit different from that to which the receiver is connected. Consult the dealer or an experienced radio/TV technician for help.
FCC Radiation Exposure Statement:
ThisequipmentcomplieswithFCCradiationexposurelimitssetforthforanuncontrolled environment . This transmitter must not be co-located or operating in conjunction with any other antenna or transmitter. This equipment should be installed and operated with a minimum distance 20cm between the radiator& your body.


 28170 (zw3105) Manual")


 28166 (zw3104) Manual")


 Nzw39 Manual")
