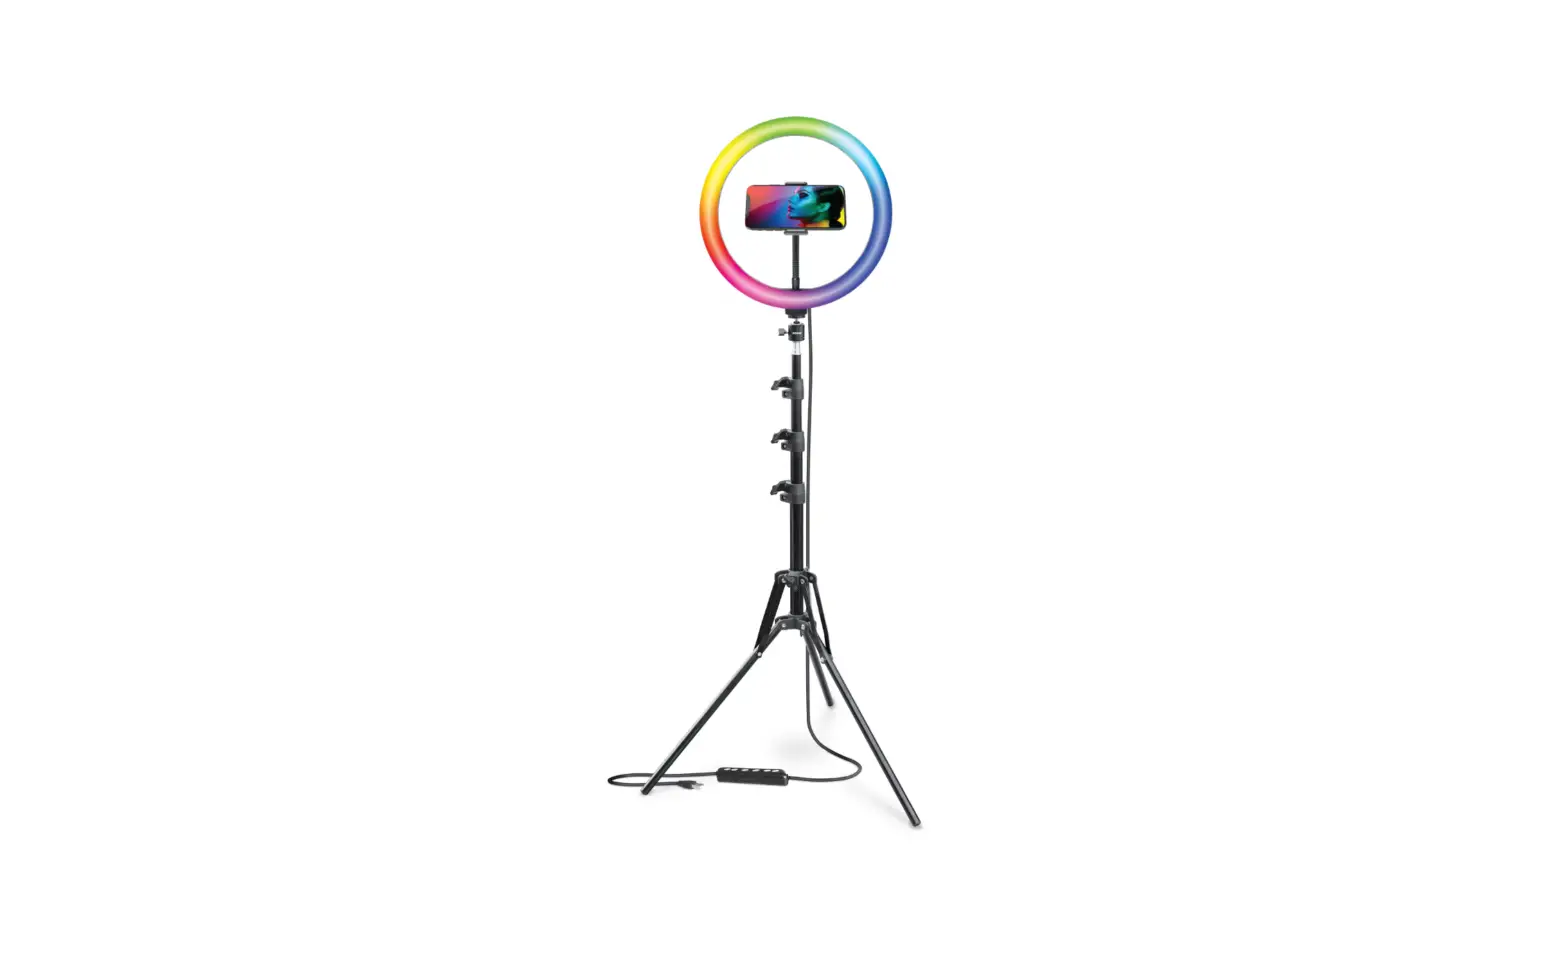
LU-ROL004 12 Inch Studio Ring of Light
User Manual
Professionele Video Fotografie
Ring o f L ight 1 2″ S tudio b y LURK
LU-ROL004
specifications:
Model/Parameters – LU-ROLOO4
Material – ABS/PC/Metal rod
Power – 10w
Charging – USB
LED Light beads – 96pes
Input – Dcsv2Aa
Product size – 30x200CM
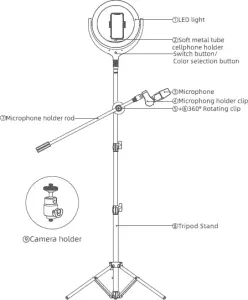
Product accessories:
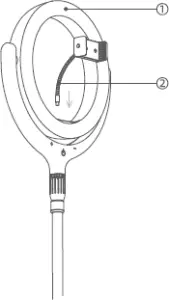
26cm LED ring light – 1pc
170cm Stand – 1pc
15.5cm Soft metal tube cellphone holder – 1pc
56cm Microphone holder rod+Microphone clip – 1pc
Microphone – 1pc
Bluetooth remote – 1pc
Adapter – 1pc
Camera holder – 1pc
Instructions – 1pc
- Hand press the switch for 2 seconds to turn on/off.
- Light mode: Slightly touch the switch to change the light color, followed by white, warm light, cold & warm light.
- Brightness adjustment: 10 levels brightness, pressing “+” means the light is getting stronger and stronger, pressing “-” is getting weaker and weaker.
- Memory function: When you switch on the fill light again, it still retains the same light mode as last time.
Installation Method:
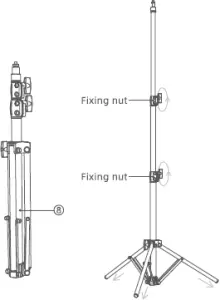 1. Take © out of the box, open
the foot of the tripod, adjust
to suitable height. Tighten the
fastening handle clockwise
then the tripod installing
finished. (as shown)
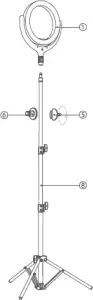 2. Take out the parts of products
@@® from the packing box,
screw the@clockwise to the top of
the ® and screw @@clockwise to
the @; the fill light is installed.
(as shown)
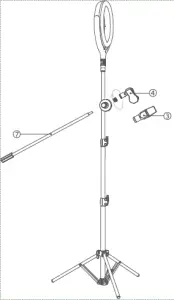 3.Take out the product accessories
@@Q from the packing box,
screw ® clockwise to @; fix @
into @; microphone is installed.
(as shown)
 4, Take @ out of the box,
Scre@ the other end into
the hole of @. Flexible
metal tube phone holder
installing finished. (as
shown)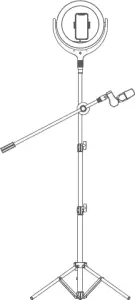 5. All accessories are on, mount
the cellpone, then begin to use.
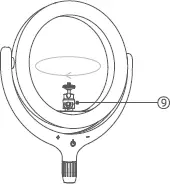 6.To remove the phone holder and
then take © out of the box. Mount ©
onto the light as picture. Loosen the
side screw of ©, then mount the top
of © to the bottom of camera and
twist the part counterclockwise prop-
erly. Tighten the side screw. Camera
holder installed.


