adastra BC5A Active Stereo Speaker
Introduction
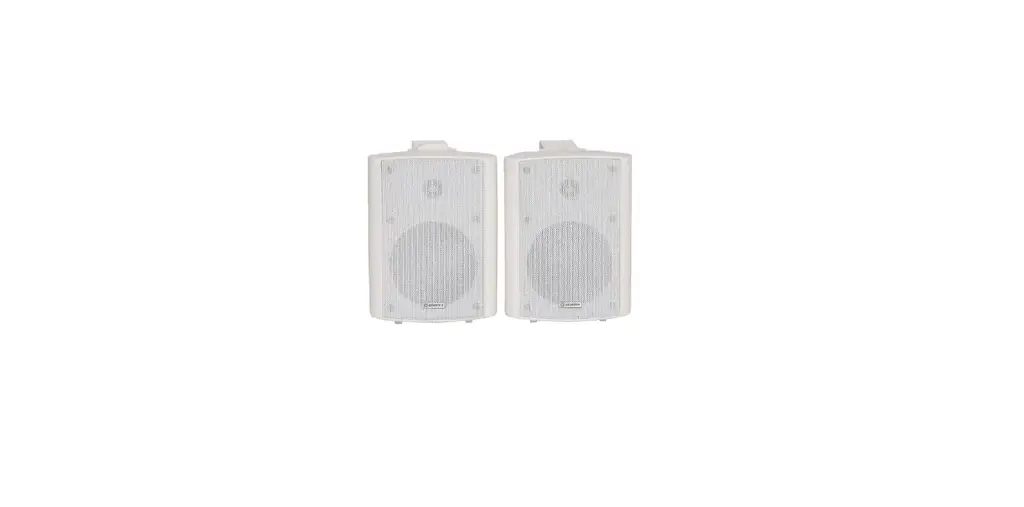
Thank you for choosing the BC-series active speaker set. Please read this manual prior to use to avoid damage to the item. These compact, self-contained stereo speaker sets are designed to deliver high quality near-field or perimeter coverage for various monitoring and installed sound applications.
Contents
Please take care when unpacking this product. Inspect for any damage and ensure you have the following component.
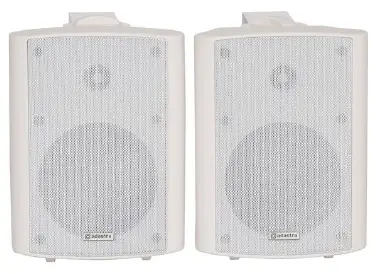
- BC-series active speaker with built-in amplifier
- BC-series passive satellite speaker
- 2 x wall-mounting brackets with screw caps
- Satellite speaker wire – modular connector
- Mains lead(s)
Safety Conventions
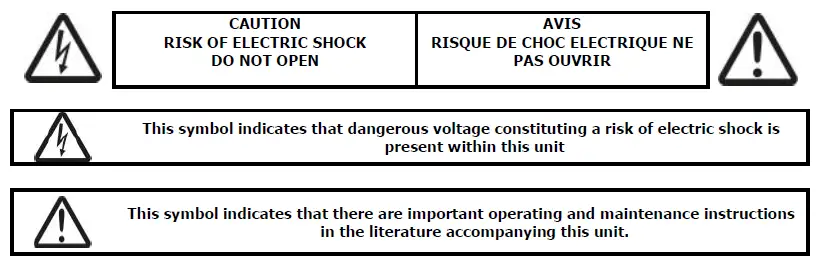
- Prior to connecting the dc adaptor to mains, ensure that the supply voltage is correct.
- Avoid ingress of water or particles into the enclosure.
Placement
- Keep the unit out of direct sunlight and away from heat sources.
- Keep the unit away from moisture or dusty environments.
- Allow adequate space for cooling at the rear of the active speaker uni.
Cleaning
Use a soft cloth with a neutral detergent to clean the cabinet, panel and controls. Do not use solvents.
Panel layout
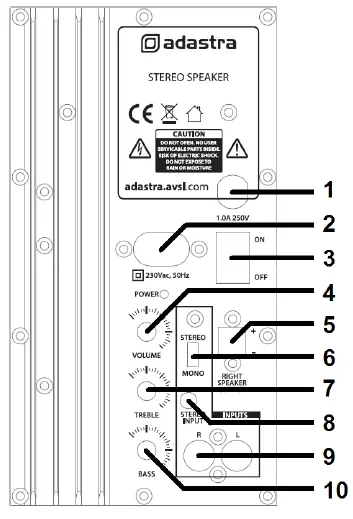
- Fuse holder
- Mains inlet (Fig.8)
- Power on/off switch
- Rotary VOLUME control
- Satellite speaker output
- Stereo/mono switch
- Rotary TREBLE tone control
- 3.5mm stereo line input
- L+R RCA line input
- Rotary BASS tone control
Setting up
For near-field or desktop use, space speakers apart for adequate stereo separation depending on proximity to the listener. For installations using the supplied wall-mount brackets, attach the brackets to a solid surface using fixings which are sufficient to hold the weight of the active speaker. Take care to mount the active unit close enough to a mains outlet for the supplied adaptor to reach. Fix the speaker units to the brackets at top and bottom using the supplied screw caps. Each can be rotated to aim the general direction of sound output.
Note: Do not over-tighten the screw caps as this can cause the threaded inserts to fail. If the speakers are mounted at height or where falling objects may be hazardous, it is advised to attach a secondary means of support (e.g. drop-wire or chain)
Operation
Link the powered speaker to the satellite using the supplied modular connector speaker lead (5). With the rotary VOLUME (4) control set to minimum and TREBLE and BASS controls set to the vertical (12 o’clock) position, connect the supplied mains lead to the rear of the active unit (2) and plug into a suitable mains outlet. Connect the source signal into the active unit via either L+R RCA connectors or 3.5mm stereo jack input (8, 9). Switch the power on (3) and gradually turn the rotary VOLUME control clockwise and increase volume level to the required amount. The stereo/mono switch (6) offers mono output for both speakers if required. Stereo is default. Adjust TREBLE (7) and BASS (10) controls to provide the desired tonal response. The centre position is unaffected, to the left is cut and to the right is boost. Turn down rotary VOLUME control before switching off.
Specifications
| Power supply | 230Vac, 50Hz (fig 8) |
| Woofer | 133mmØ (5.25″) PP cone |
| Tweeter | 25mm balanced dome |
| Power output max | 2 x 30W |
| Controls | Volume, Treble, Bass, Stereo/Mono, Power on/off |
| Input connections | 3.5mm stereo and L+R RCA |
| Frequency response | 100Hz – 20kHz |
| Dispersion | 150° (-3dB) |
| Dimensions (each) | 240 x 178 x 170mm |
Troubleshooting
|
No output and Power LED not lit | Check power switch is not set to “Off” |
| Check mains adapter is connected and in good condition | |
| Check mains fuse. Refer to qualified engineer if blown. | |
| Check mains outlet is on | |
| Power LED lit but no output | Turn up rotary VOLUME, TREBLE and BASS controls |
| Check signal lead is connected properly | |
| Check sound source is playing | |
| Sound output only from one speaker | Check wire is connected from active to satellite properly |
| Try stereo/mono switch to check if signal is only one side | |
| Check signal lead is connected properly | |
| Output is very low | Turn up rotary VOLUME control |
| Check sound source is turned up | |
| Output is too loud or distorted | Turn down rotary VOLUME control |
| Check sound source output is not too high for input |
Disposal: The “Crossed Wheelie Bin” symbol on the product means that the product is classed as Electrical or Electronic equipment and should not be disposed with other household or commercial waste at the end of its useful life. The goods must be disposed of according to your local council guidelines.
Errors and omissions excepted. Copyright© 2021.
AVSL Group Ltd. Unit 2-4 Bridgewater Park, Taylor Rd. Manchester. M41 7JQ
AVSL (EUROPE) Ltd, Unit 3D North Point House, North Point Business Park, New Mallow Road, Cork, Ireland


