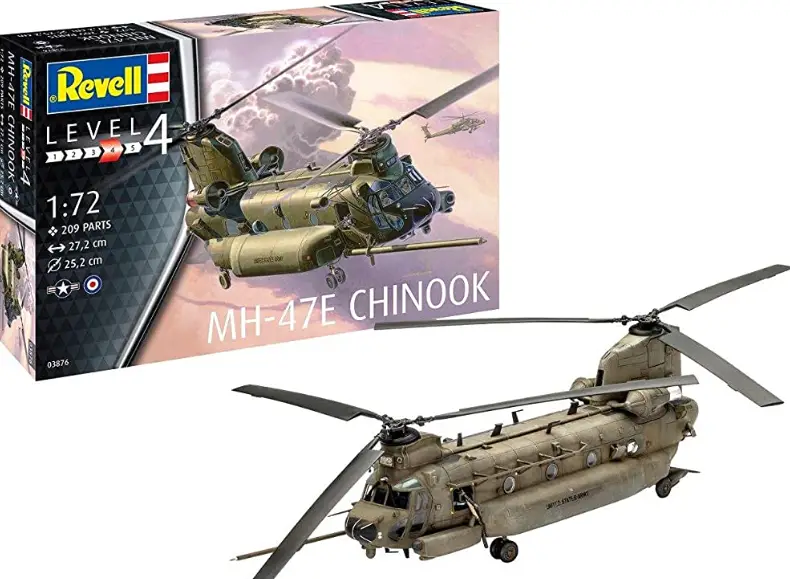
Revell RV03876 MH-47 Chinook Plastic Model Kit
Instruction
Please note the enclosed safety advice
“Please note the enclosed safety advice and keep safe for later reference.”
© 2019 Revell GmbH, Henschelstr. 20-30, 0-32257 Bunde.
REVELL 15 THE REGISTERED TRADEMARK OF REVELL GMBH, GERMANY. www.revell.de
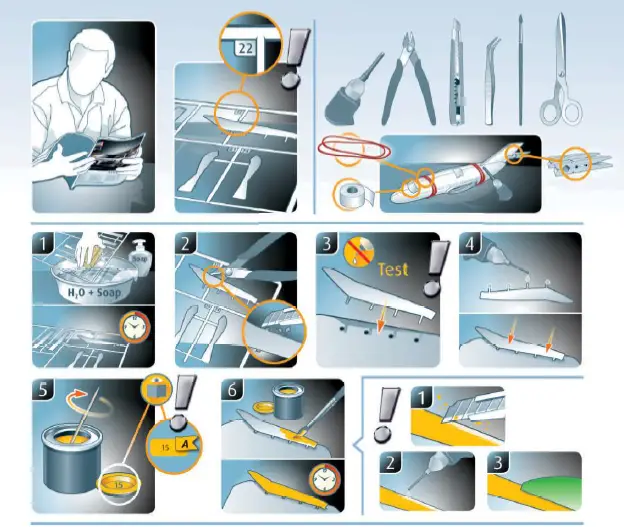
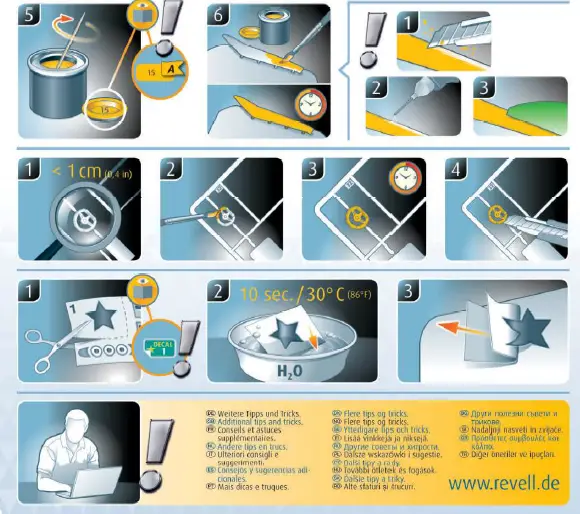
 Glue
Glue Don’t glue
 Paint
Paint Optional
 Number or working steps.
 Allow the parts to dry.
 Sequence of assembly.
 Make a hole.
 Read the assembly instructions tearfully
 Detach with knife.
 illustration of assembled Parts.
 Repeat same procedure on opposite side.
 Attach with adhesive tape.
 Remove
 Close openings with putty and sand down surface.
 Recommended tor affixing this, decals.
- Soak and apply decals
 Recommended to fix clear parts.
 Clear parts
- Not included
 Glue
Glue Don’t glue
 Paint
Paint Optional
 Number or working steps.
 Allow the parts to dry.
 Sequence of assembly.
 Make a hole.
 Read the assembly instructions tearfully
 Detach with knife.
 illustration of assembled Parts.
 Repeat same procedure on opposite side.
 Attach with adhesive tape.
 Remove
 Close openings with putty and sand down surface.
 Recommended tor affixing this, decals.
 Soak and apply decals
 Recommended to fix clear parts.
 Clear parts
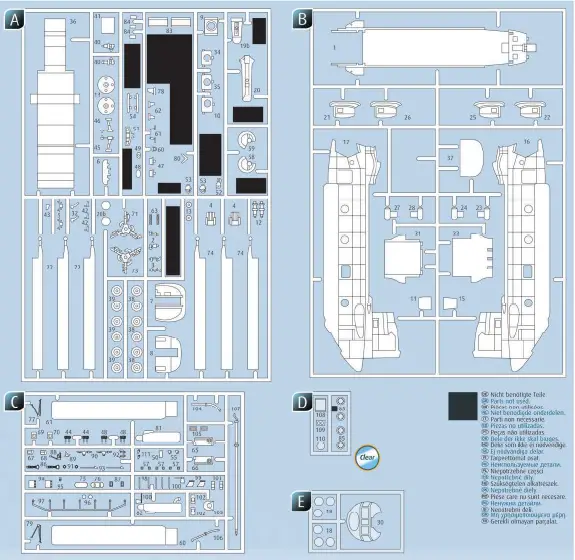
Required colors
- Grey matt
- Anthracite matt
- Aluminum metallic
- Silver metallic
- Not olive mout
- Lights grey matt
- Iron metallic
- Anthracite matt
- Iron metallic
- Leather brown matt
- Yellow matt
- Sand malt
- Dark green mall
- Yellow matt
- Clear gloss
- Sea green matt
- Example: mixing
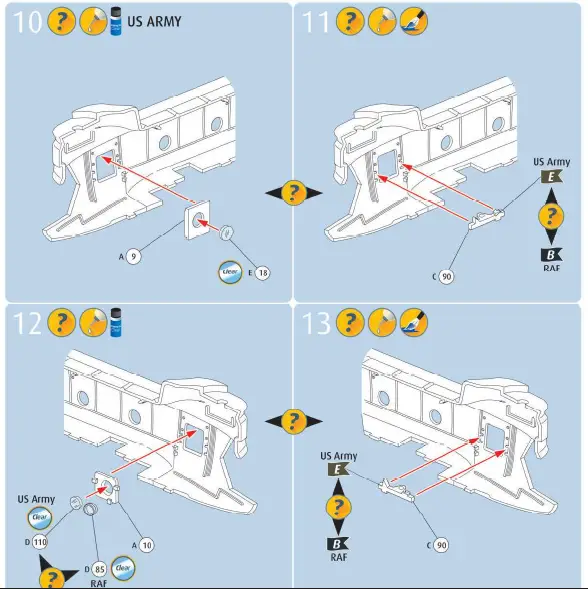
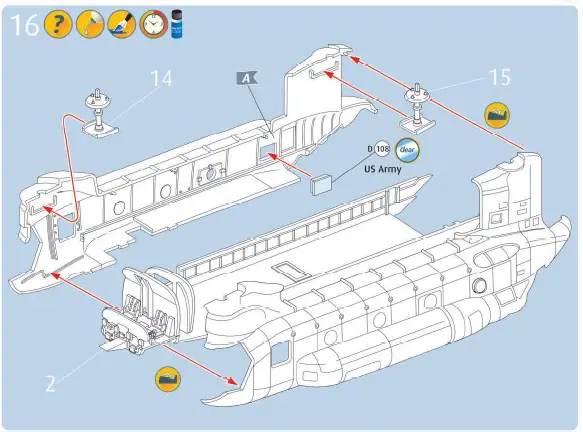
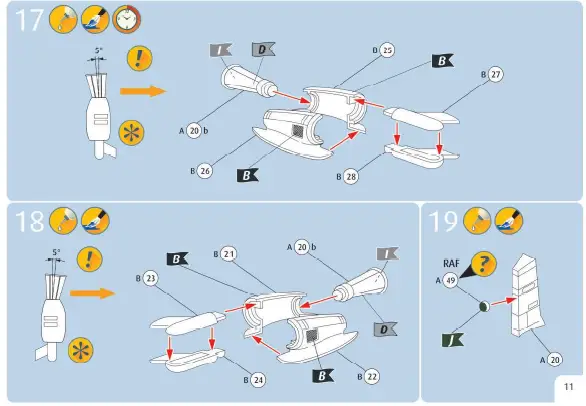
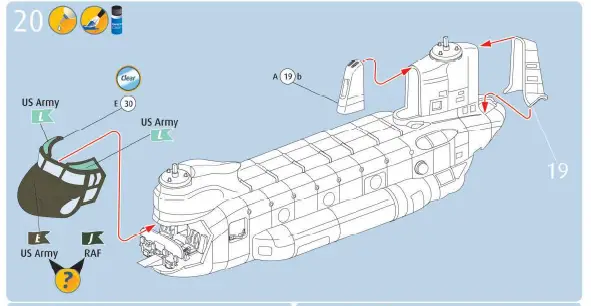
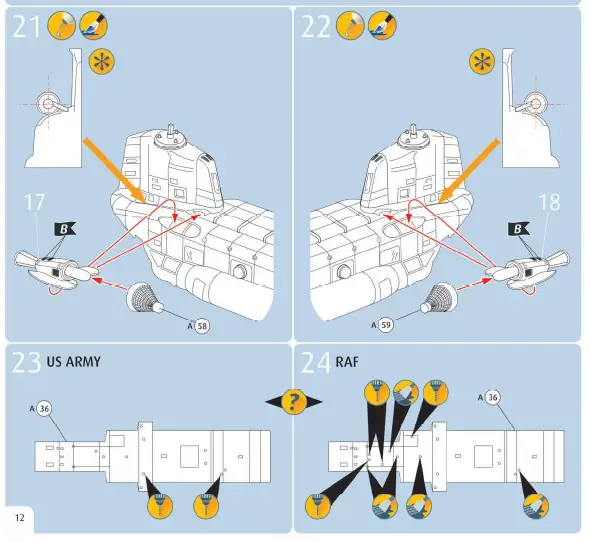
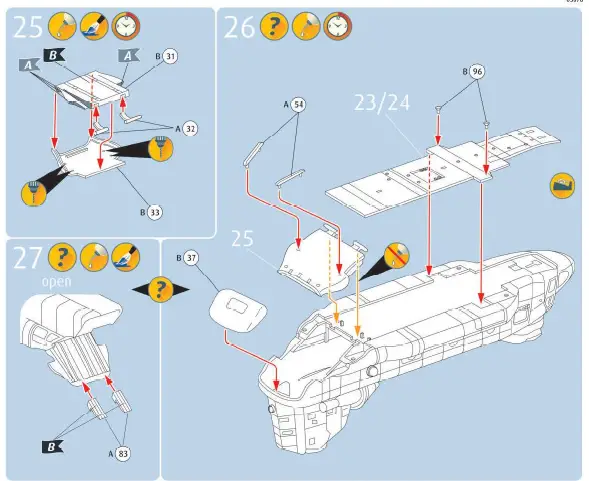
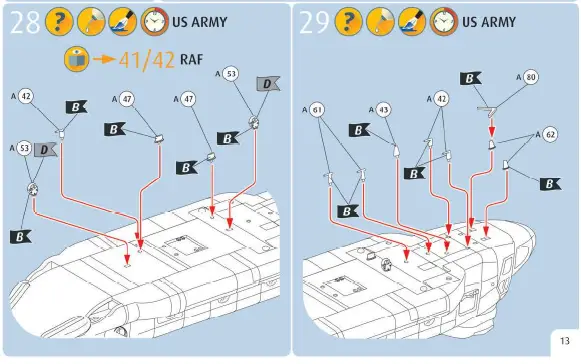
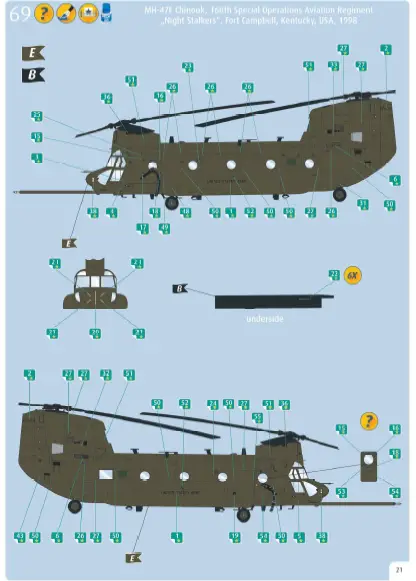
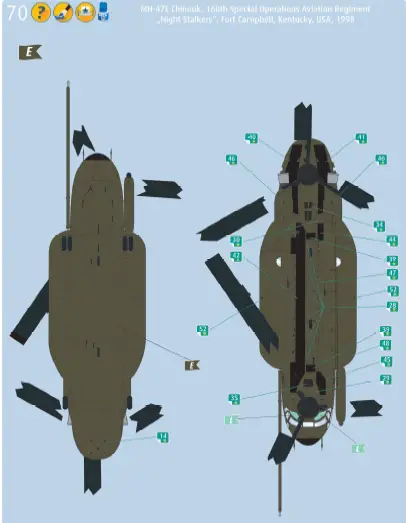
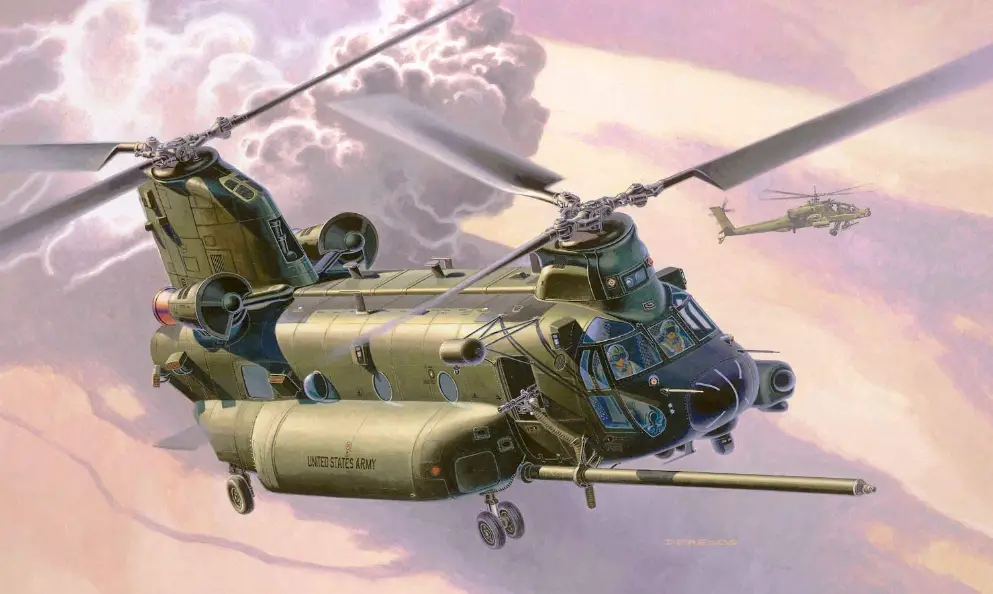
Version 1 = MH – 47E Chinook/ US ARMY
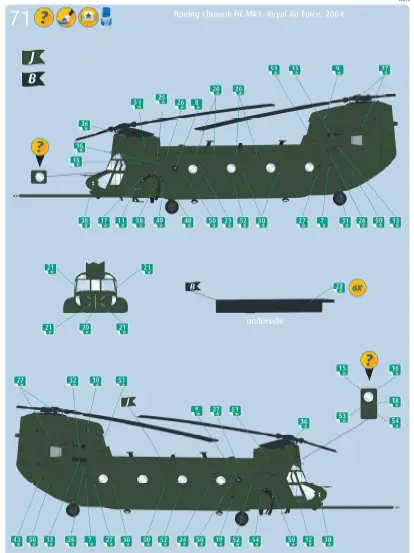
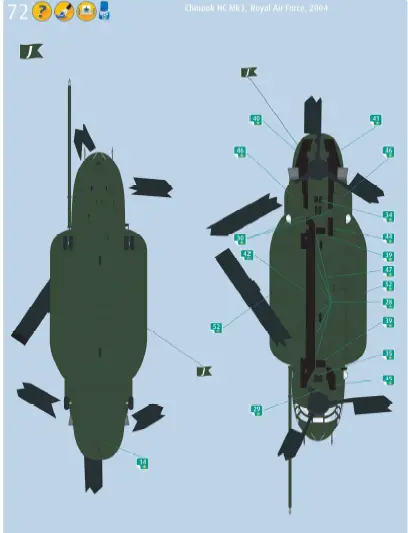
Version 2 = Chinook HC MK3 / Royal Air Force
Need spare parts?
No problem. Contact Revell Service with the Item number and part numbers you need: [email protected] or Revell GmbH, Unit 10, Old Airfield Industrial Estate, Cheddlngton lane, Trlng, Herts, HP23 4QR, Great Britain.*
we request your understanding that a warranty can only be accepted for current articles which have been purchased In the last 24 months. Orders for spare parts may also be subject to costs for packaging and shipping. You will be notified in advance by our Service department if such costs are incurred. The offer can then be accepted or rejected. We will not be able to process any postal requests unless correct postage has been applied to mailing! This direct service applies to the countries: Germany, Benelux, Austria, France, and the United Kingdom. Spare part orders from other countries are processed by the local distributors. Please contact your dealer.