![]()
Belt Service Kit
Instruction Manual
Belt Service Kit
HOW TO CHANGE ABRASIVE WITH THE ARBOR WRENCH
Tools you need: Arbor wrench
Before starting, make sure that the machine is switched off and the power cord disconnected from the socket.
STEP 1
Insert the arbor wrench into the hole below the ten- sion roller and press it down to reduce the tension of the abrasive.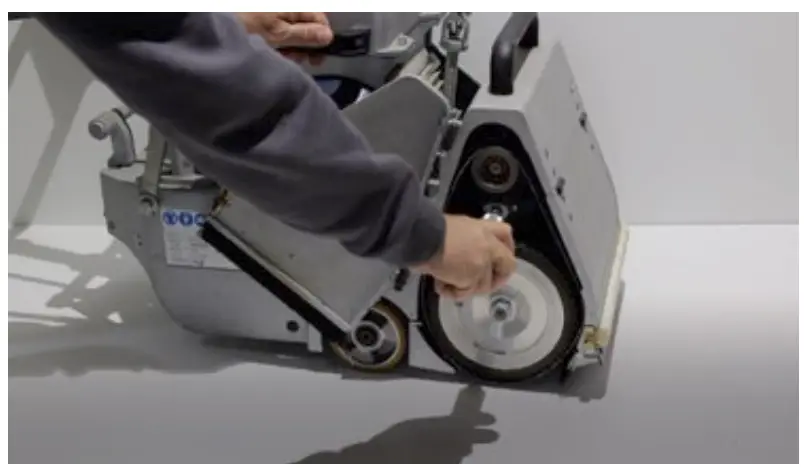 STEP 2
Pull out the old abrasive and replace it with a new one.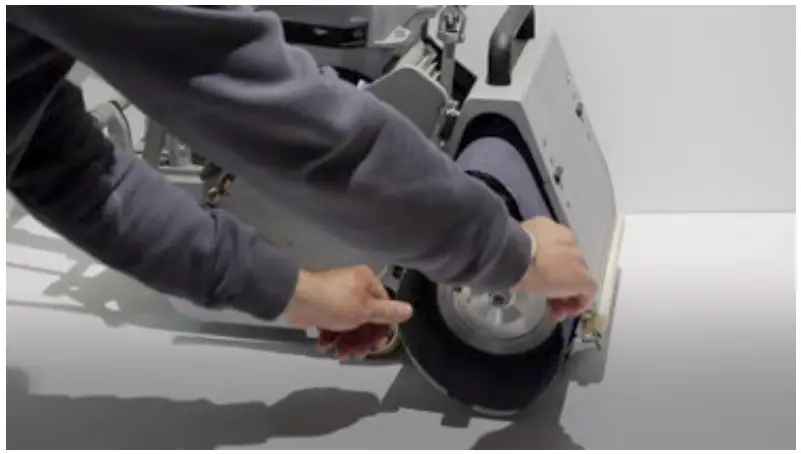 STEP 3
Remove the arbor wrench to increase the tension of the new abrasive.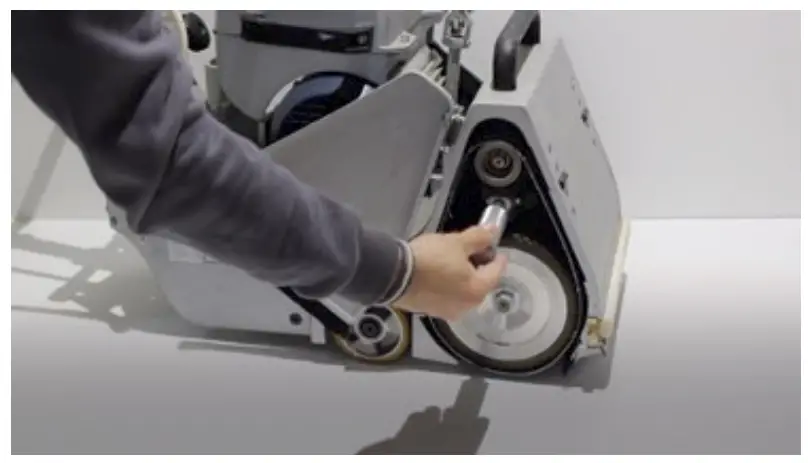
HOW TO ATTACH THE CABLE HOLDER
Tools you need: No tools needed
Before starting, make sure that the machine is switched off and the power cord disconnected from the socket.
STEP 1
Insert the cable holder in the center hole on the handle. STEP 2
Fold down the cable holder and insert the cable into the holder.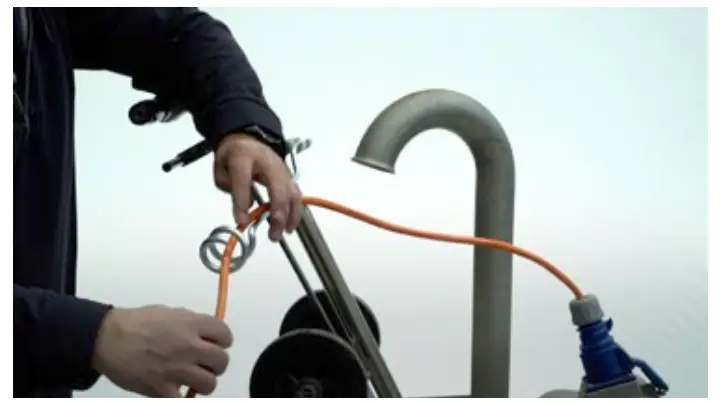
HOW TO ATTACH THE DUSTBAG
Tools you need: No tools needed
Before starting, make sure that the machine is switched off and the power cord disconnected from the socket.
STEP 1
Slide the dustbag over the tube.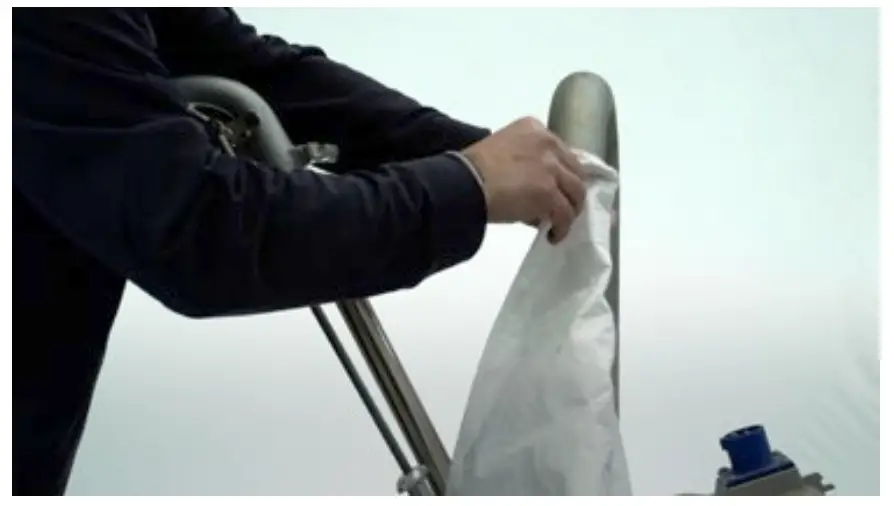 STEP 2
Tie it to the tube using the strings on the dustbag.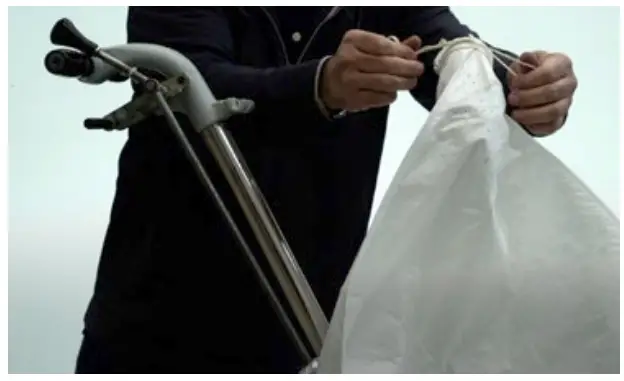
HOW TO ATTACH THE HINGE FOR SIDECOVER
Tools you need: Wrench
Before starting, make sure that the machine is switched off and the power cord disconnected from the socket.
STEP 1
Remove the old hinge.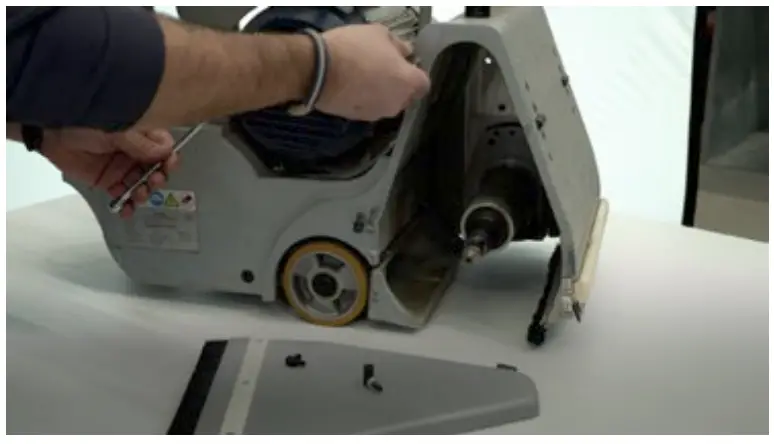 STEP 2
Install the new hinge on the machine. STEP 3
Install the new hinge on the sidecover and adjust the length of the screw.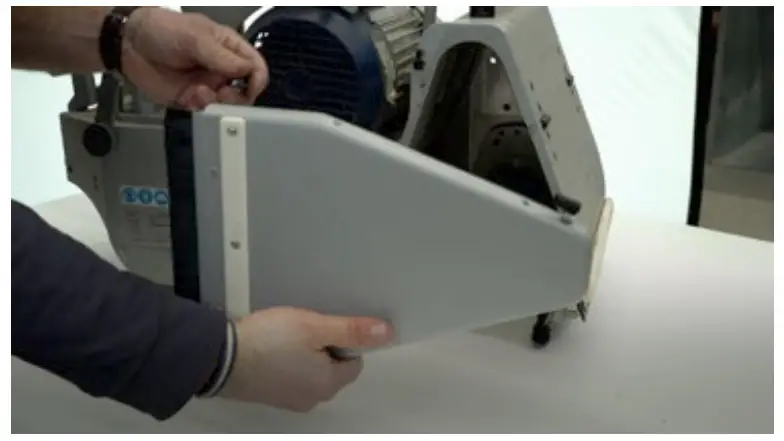 STEP 4
Mount the sidecover on the machine.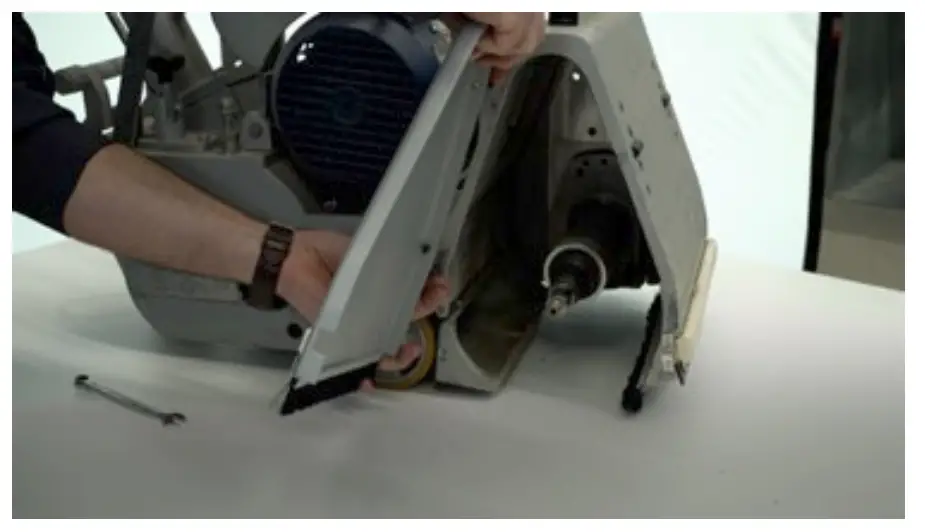 STEP 5Check that the sidecover sits correctly on the machine.
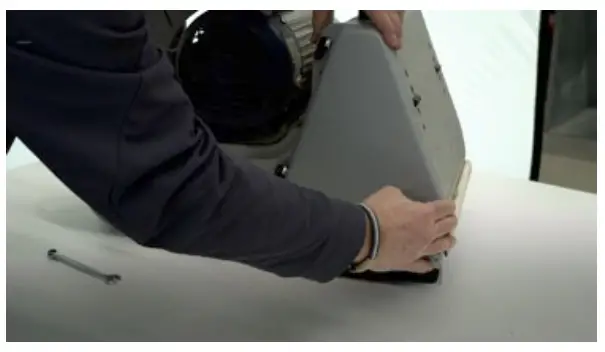
HOW TO REPLACE THE POLY-V BELTS
Tools you need: Arbor wrench
Before starting, make sure that the machine is switched off and the power cord disconnected from the socket.
STEP 1
Insert the arbor wrench into hole of the belt tension.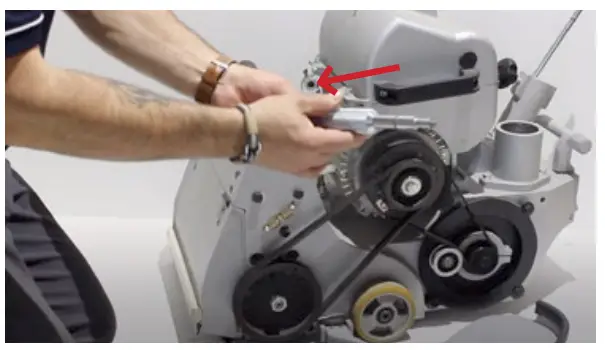 STEP 2
Pull it upwards to lower the motor and reduce the tension of the belt.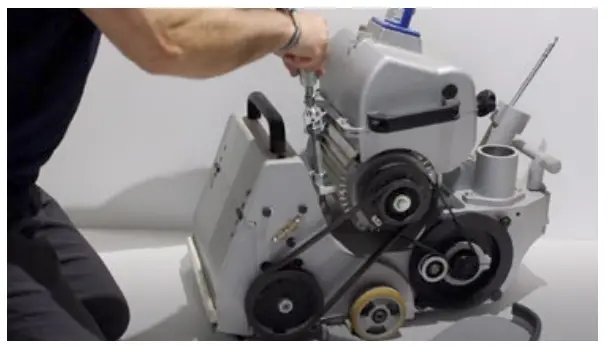 STEP 3
Remove the old Poly-V belts. STEP 4
Install the new belts.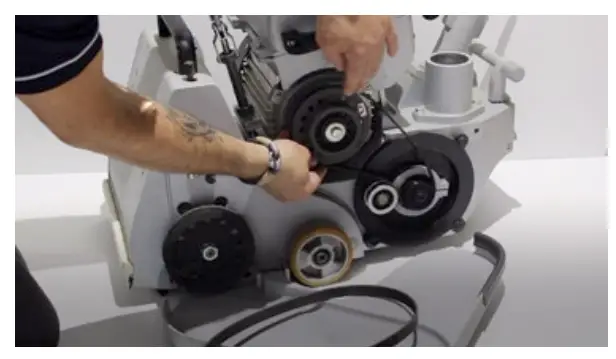
STEP 5
Increase the tension of the Poly-V belts by raising the motor back into position.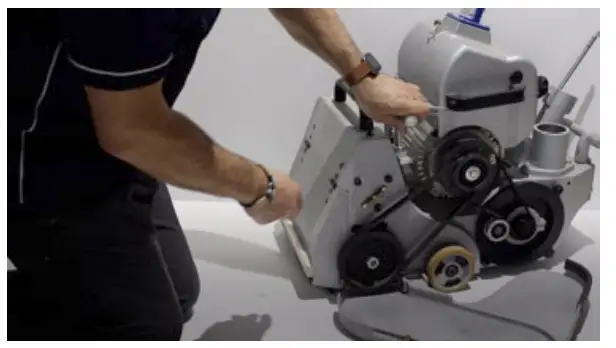 STEP 6
Remove the arbor wrench and place it back in the arbor wrench holder.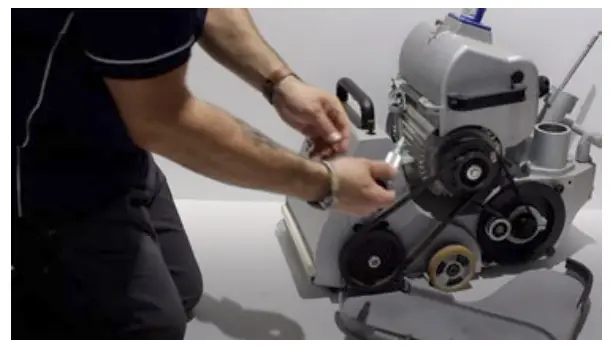
![]()
Watch the instruction videos here!