qtx QTFX-LBF1 LED Bubble Fog Machine
Caution: Please read this manual carefully before operating Damage caused by misuse is not covered by the warranty
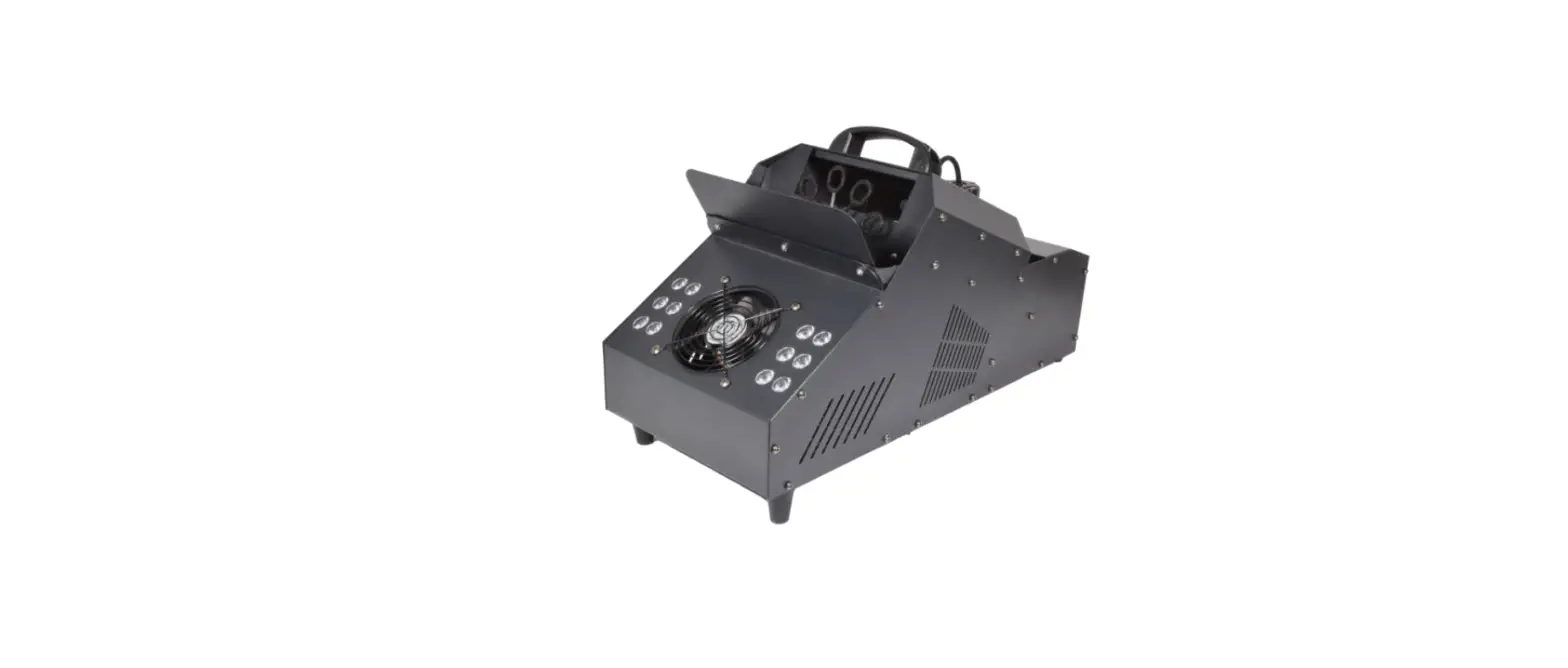
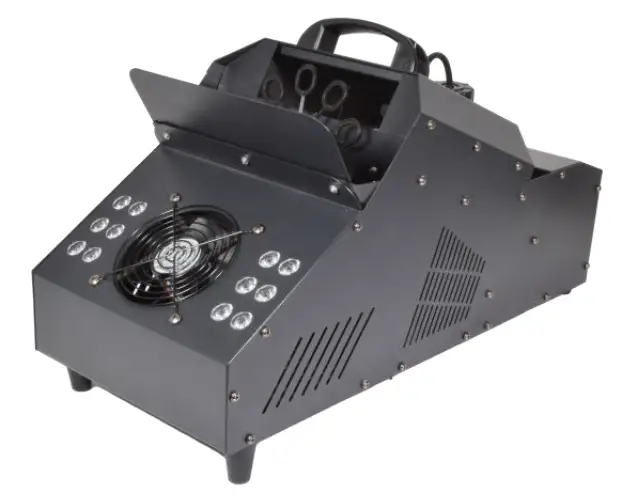
A high output effects machine that combines high density bubbles with a powerful fogger, to produce a stunning smoke-filled bubble experience. The 12 bright LEDs on the front of the unit can be used to highlight the torrent of bubbles, producing an exciting and colourful effect that’s ideal for parties and events. The unit itself is made from hardwearing steel, which encases three fans for optimum air flow. It also comes complete with a fully functional wired controller and smaller RF remote for simple wire-free operation and is DMX compatible for more precise control.
- 900W Fogger produces up to 5000cuft/min
- High output bubble machine with 10 wands
- 12 Bright 1W RGB LED’s housed in the front panel
- Wired Controller with button control and LCD display
- 10 Channel DMX compatible for more precise control
- 433Mhz keyfob-style RF wireless remote
- 1.2 Litre removeable fluid tank for fog machine
- Quick drain tap at rear for bubble fluid
- 3 fans (1 front, 2 rear) for optimum air flow
In the box
Please check the contents to ensure that the product has been received in good condition.
- QTFX-LBF1 LED Bubble Fogger
- Wired remote control
- RF Remote Control
- UK/EU Mains Leads
- Mounting bracket & screws
- User guide
If you find any accessory is missing or the machine has arrived with damage, please contact your local dealer at once. Do not try to fix this item yourself or you will invalidate the warranty. Please keep the original packaging and invoice for any possible replacement or return demands.
Warnings:
- To prevent risk of fire or electric shock, do not expose electrical parts to rain or moisture.
- If liquids are spilled on areas other than inside the fluid tanks, disconnect the mains, allow the unit to dry out and have it checked by qualified personnel before use.
- Avoid any impact, dropping or extreme pressure to the housing.
- No user serviceable parts inside – do not open the case.
- Allow the unit to acclimatise to room temperature before operating. 6. The QTFX-LBF1 has a built-in fluid container and should be operated in an upright position. Ensure that the unit is positioned on a stable, non-slip surface.
Safety and Cleaning
- Check for correct mains voltage and condition of IEC lead before connecting to mains.
- This unit must be earthed.
- This unit uses a heating element – be aware that parts of the housing may be hot during use!
- Use a soft dry or slightly damp cloth to clean the casing.
- Do not use strong solvents for cleaning the housing.
- Clean the fog mechanism periodically by operating with distilled water.
- It is also recommended to use fog machine cleaning fluid (160.670UK) periodically.
Recommended Fluids:
The QTFX-LBF1 requires both fog fluid in the fluid tank and bubble fluid in the reservoir. For the efficient use of this unit we recommend the following QTX fluids:
| QTX ref code | Description | Size |
| 160.589UK | Premium fog fluid clear | 5 Litre |
| 160.575UK | Bubble fluid | 5 Litre |
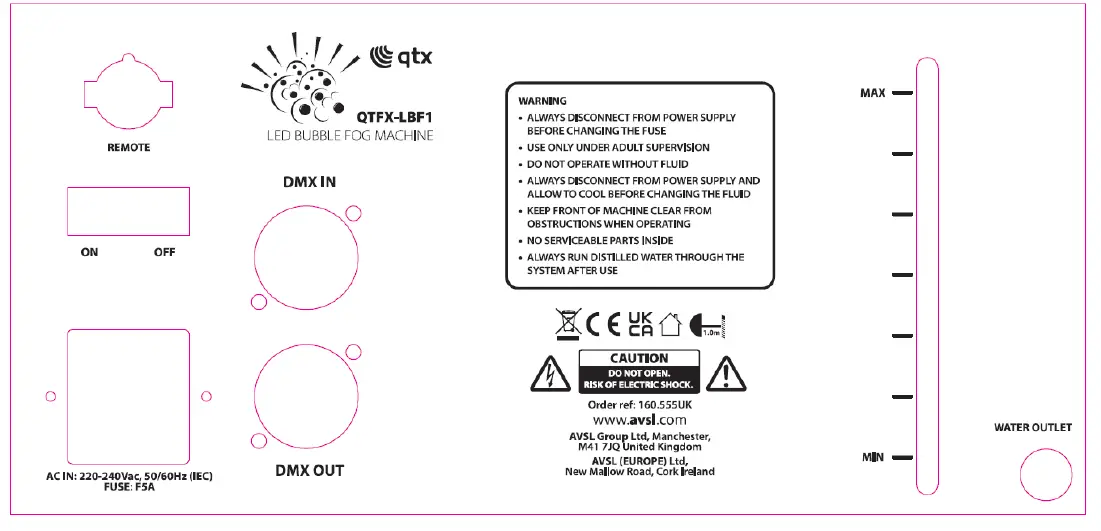
Rear Panel
Setting Up:
- Unpack the QTFX-LBF1 unit.
- Unscrew the top cap of the fluid tank and remove to fill with fog fluid.
- Replace the bottle and screw the cap securely, making sure that the pipe is fed down to the bottom of the bottle to ensure a consistent flow of fluid.
- Carefully fill the bubble reservoir with bubble fluid, taking care not to overfill it but ensuring there is sufficient fluid to cover the wands.
- Connect the wired remote to the socket marked “REMOTE” on the rear panel.
- Connect the IEC mains plug and power the unit on.
- The unit will begin the warming up process which normally takes around 3-5 minutes.
- After use, remember to empty the haze fluid tank and bubble reservoir by removing the water outlet plug on the back of the unit.
Operation: Wired remote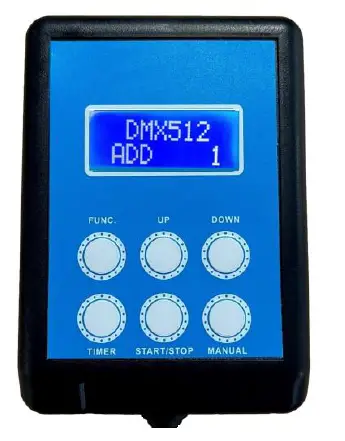
- FUNC: Press to scroll through the menu options (see below table).
- TIMER: Press to set up fog timer
- UP: Press to increase the current menu value
- START/STOP: Press to start and stop continuous fog option
- DOWN: Press to decrease current menu value
- MANUAL: Press and release for fog on demand
The menu options displayed on the wired remote are as follows:
| Function | Selection | Content |
| Heating status | Warming Up Ready to Work | Unit warming up please wait Unit is ready to use |
| Bubble control | Bubble ON Bubble OFF | Bubble flow on Bubble flow off |
| Interval | Set 1-200 | Set interval of fog time |
| Duration | Set 1-200 | Set continuous fog duration |
| DMX512 | Add 1-512 | Set DMX address |
| Volume | Set 0-100 | Set fog output volume (low to high) |
| Red | Set 0-100 | Set Red LED Light effect (dark to bright) |
| Green | Set 0-100 | Set Green LED Light effect (dark to bright) |
| Blue | Set 0-100 | Set Blue LED Light effect (dark to bright) |
| Glint | Set 0-100 | Set LED strobe effect (slow to fast) |
| Skip | Set 0-100 | Set LED colour change (slow to fast) |
| Gradual | Set 0-100 | Set LED colour fade (slow to fast) |
Operation: Wireless remote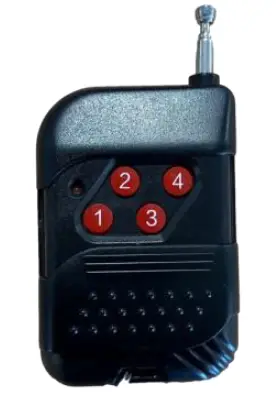
The small RF remote control supplied can also be used when wireless control of the unit is needed. Ensure the wired remote control is connected to the unit, to use the RF remote for the following functions
- Press for fog effect on/off
- Press for bubbles on/off
- Press for LED colour range/off
- Press for LED colour change/fade/off
DMX Control
For DMX control, connect a signal source to the DMX input on the unit via a balanced XLR lead. Extra units can also be controlled with the same DMX signal by looping through the DMX out on the unit. Set the unit to DMX512 mode and confirm the correct start address, then use the table below for channel selection
| Channel | Value | Content |
| CH1 | 0-255 | Fog effect (low to high) |
| CH2 | 0-255 | Bubble effect (low to high) |
| CH3 | 0-255 | Bubble height and fan speed increase |
| CH4 | 0-255 | Bubble volume and fan speed increase |
| CH5 | 0-255 | Red LED (low to high) |
| CH6 | 0-255 | Green LED (low to high) |
| CH7 | 0-255 | Blue LED (low to high) |
| CH8 | 0-255 | Strobe effect (slow to fast) |
| CH9 | 0-130 | Colour change mode |
| 131-255 | Colour fade mode | |
| CH10 | 0-255 | Colour change/fade mode speed adjust (slow to fast) |
Specifications
| Power supply | 220-240Vac, 50/60Hz (IEC) |
| Fuse rating | F5A |
| Power | 900W |
| DMX channels | 10CH |
| Warm up time | 3-5 minutes |
| Remote control frequency | 433Mhz |
| Fog output (approx.) | 5,000 cu.ft per minute |
| Tank capacity | 1.2 litres (fog) |
| Number of wheels | 1 |
| Number of wands per wheel | 10 |
| LED power | 12 x 1W RGB |
| Dimensions | 550 x 255 x 315cm |
| Weight | 6.7kg |
Troubleshooting
| No power to main unit | Check mains voltage is correct and socket is switched on |
| or wired controller | Check IEC lead is OK and connected properly |
| Check mains fuse in IEC connector and fuse in plug top | |
| If fuse blowing repeatedly, refer to qualified service personnel | |
| Power to unit but no | Check fluid level in tank/reservoir |
| haze/bubble output in | If fluid is OK and pump working, the lines may be blocked |
| manual or continuous | Check that output is not set to zero on the control panel |
| mode | Check that output is not switched off on the keyfob remote |
| If blocked, clean with cleaner & distilled water | |
| Check that if DMX mode is selected, the DMX channel is correct | |
| In DMX mode, check that haze output is not set to zero |
This product is classed as Electrical or Electronic equipment and should not be disposed with other household or commercial waste at the end of its useful life. The goods must be disposed of according to your local council guidelines
Errors and omissions excepted. Copyright© 2022 AVSL Group Ltd, Unit 2 Bridgewater Park, AVSL (Europe) Ltd, Unit 3D North Point House,
Taylor Road, Trafford Park, Manchester. M41 7JQ. North Point Bus. Park, New Mallow Road, Cork, Irelan
www.avsl.com


