
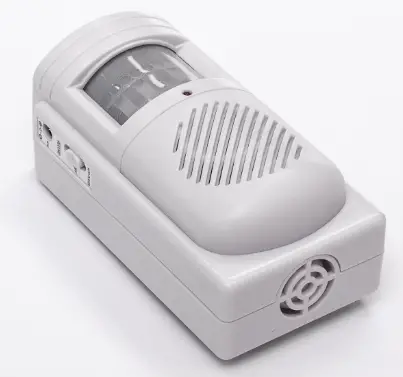
JOYTIMER CT20W Independent PIR Infrared Detection Alarm
Product Diagram
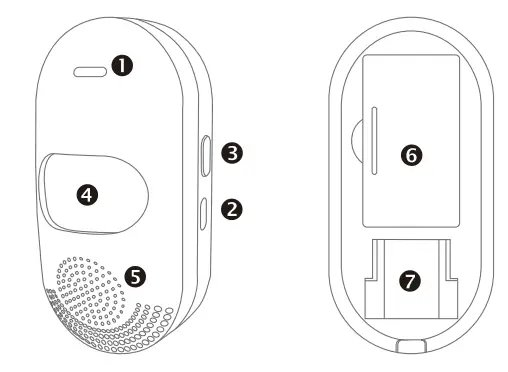
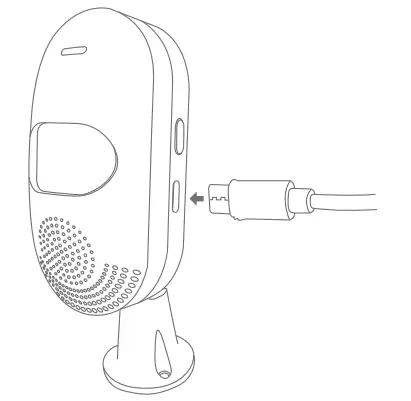
- USB power port
- LED lights
- Set key /Arm/ Disarm/ Distribute network key
- Detection window
- Buzzer
- Spare battery compartment
- Bracket slot
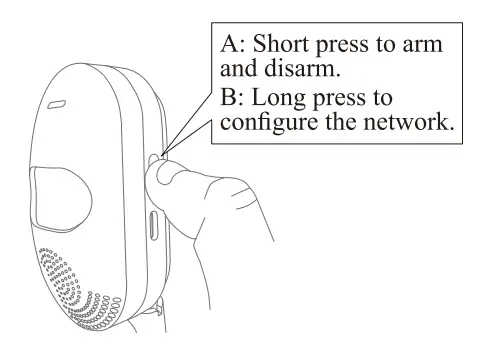
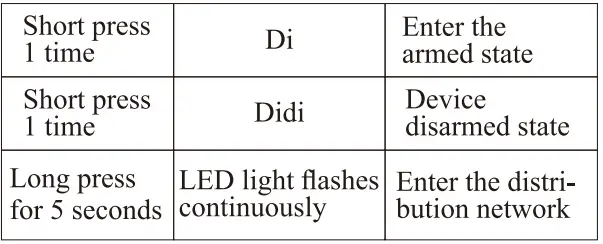
Function Key Introduction
First Use
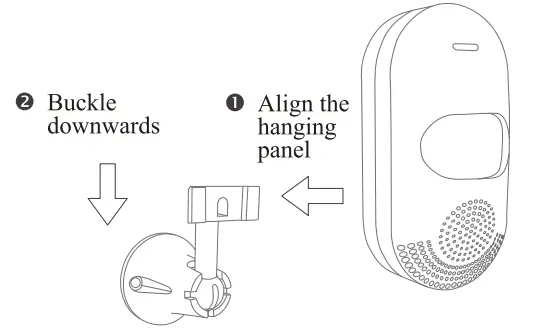
- Mount the Brackets.
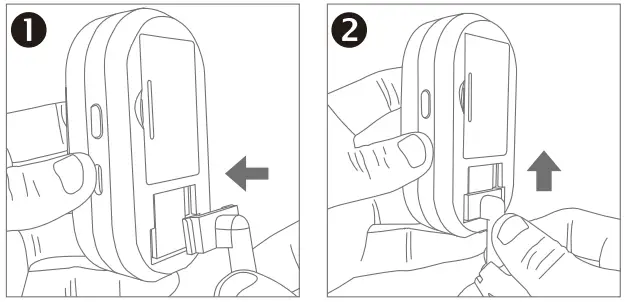
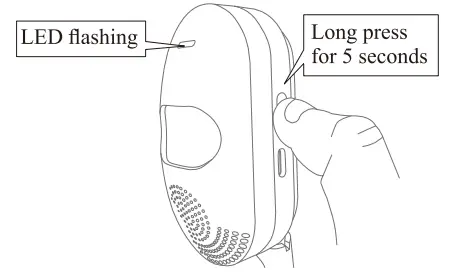
- Power on (the indicator light flashes for 1 second.
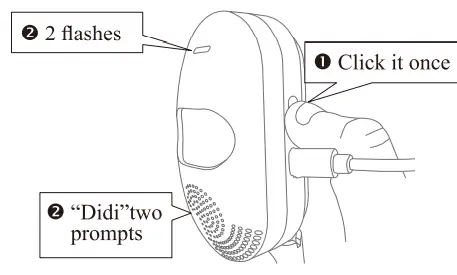
- Operate the setting button to enter the defense state with a “beep”.

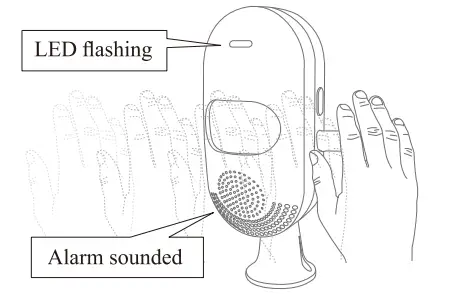
- Trigger the sensor alarm.
- Turn off the induction alarm.
Mobile APP
- Download the APP.

- Scan the QR code above to download.
- Search “Tuya Smart (Smart Life) in the App Store.
- Precautions before connecting the phone.
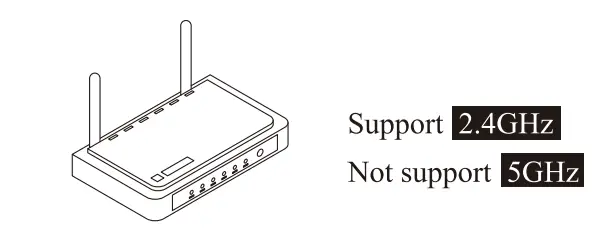
- WiFi frequency.
- The effective distance between the router and the infrared detector.
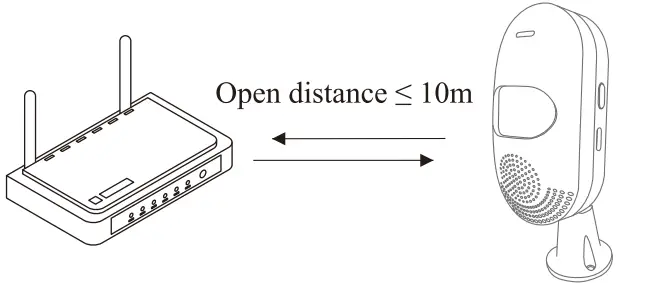 Warning: The infrared detector is too far from the router to connect to the phone.
- WiFi frequency.
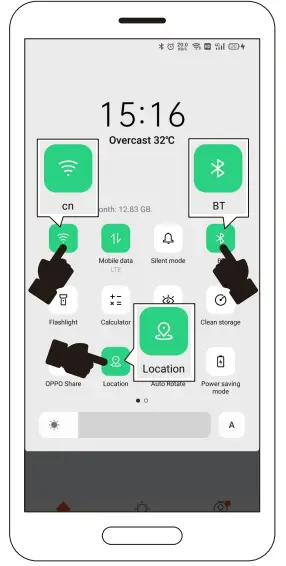
- Connect the mobile phone.
- Connect mobile WiFi / turn on BT / locate.
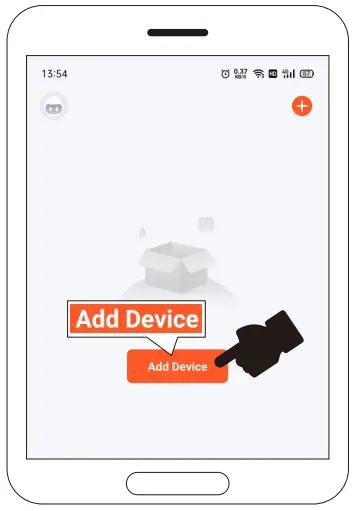
- Operate the product.
- Open the APP and click “Add Device”.
- Discover the device, click “Add”
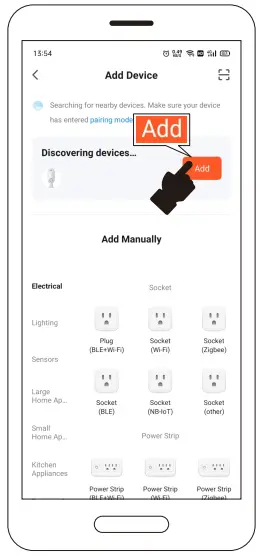
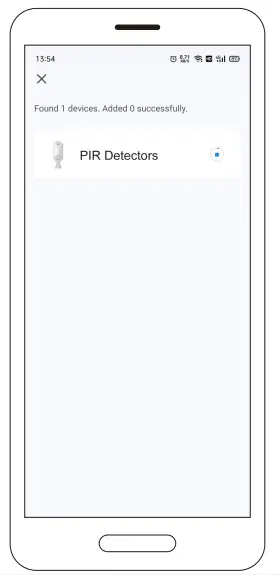
- Show adding.
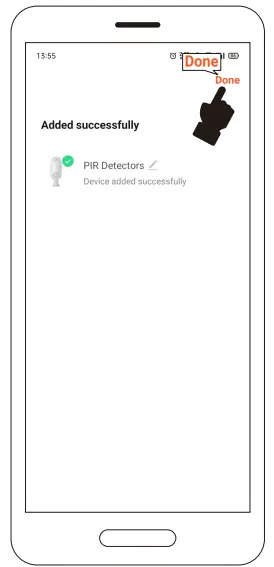
- The addition is complete, click “Next”.
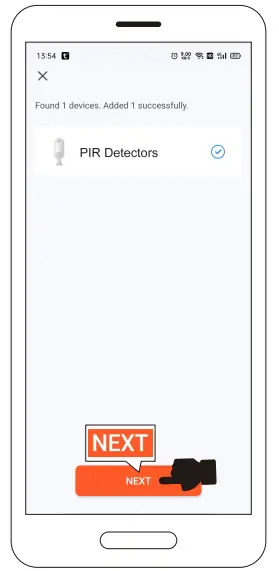
- Click “Done”.
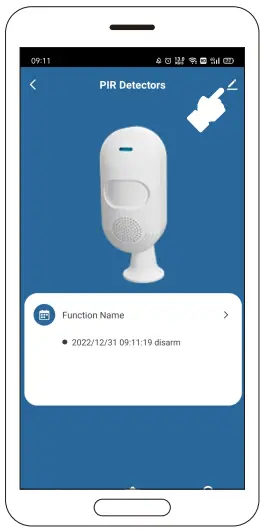
- Connect mobile WiFi / turn on BT / locate.
- Click.
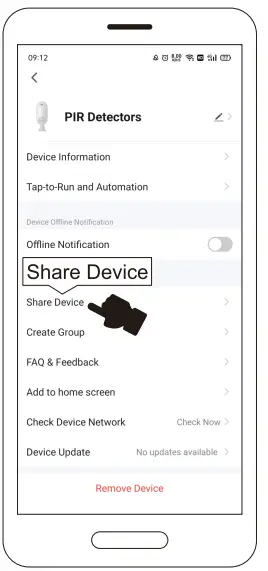
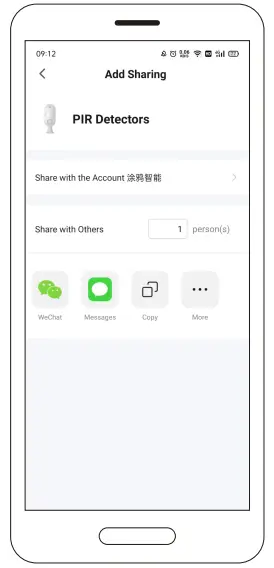
- Click “Share Device”.
- Click “Add Sharing”.
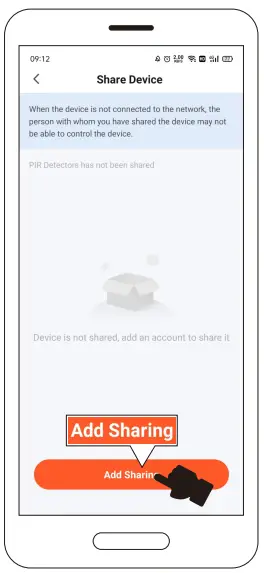
- Choose how to share.
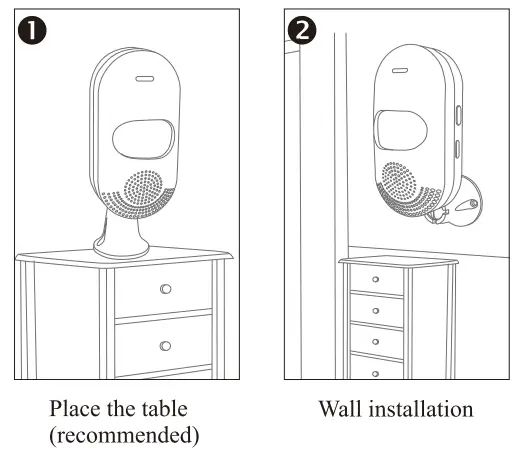
Installation
- Installation method.
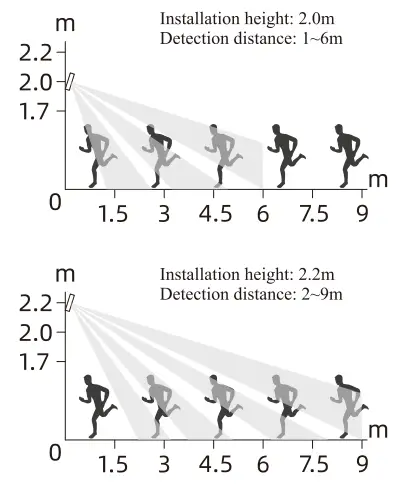
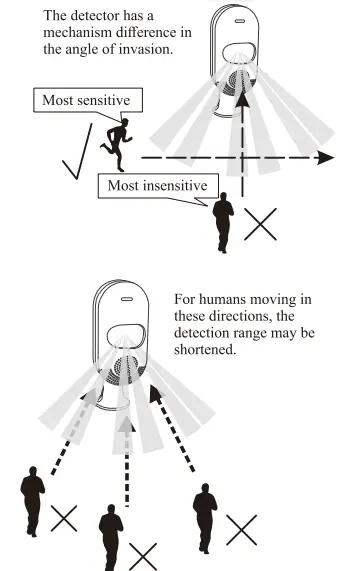
- About the installation height (it will affect the detection distance)

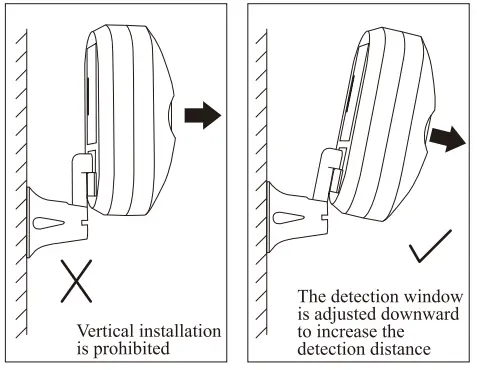
- About adjusting the detection distance.
- a fixed way.
- Screw fixation.
- Draw a line on the installation position to make the positioning hole. Then hammer it into the expansion pipe as the figure below:
- Screw in the screws with a cross screwdriver in clockwise direction as the figure below:
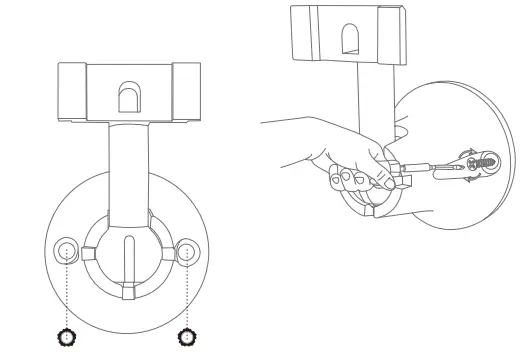
- Shown as the figure below:
- Screw fixation.
Test Alarm
Common Problem
Warning
- When the battery is dead and the USB is powered, the alarm does not sound (or makes a sizzling sound), just remove the battery and reconnect the USB cable.
- When the power of the infrared detection alarm is lower than 20%, the APP will push a low-voltage alarm.
Technical Parameter
- Main power supply: USB DCSV power supply
- Working voltage: 5V
- Standby current: 20mA
- Alarm current: 60mA
- Alarm sound: <90dB (within 1m range)
- Detection distance: 6-9m (related to installation height, environment, detection window adjustment)
- WiFi standard: IEEE 802.11 b/n/g 2.4G
Warning: Backup battery: LR03 AAA (2*1.5V) (standby for 2 hours, batteries are not recommended)


