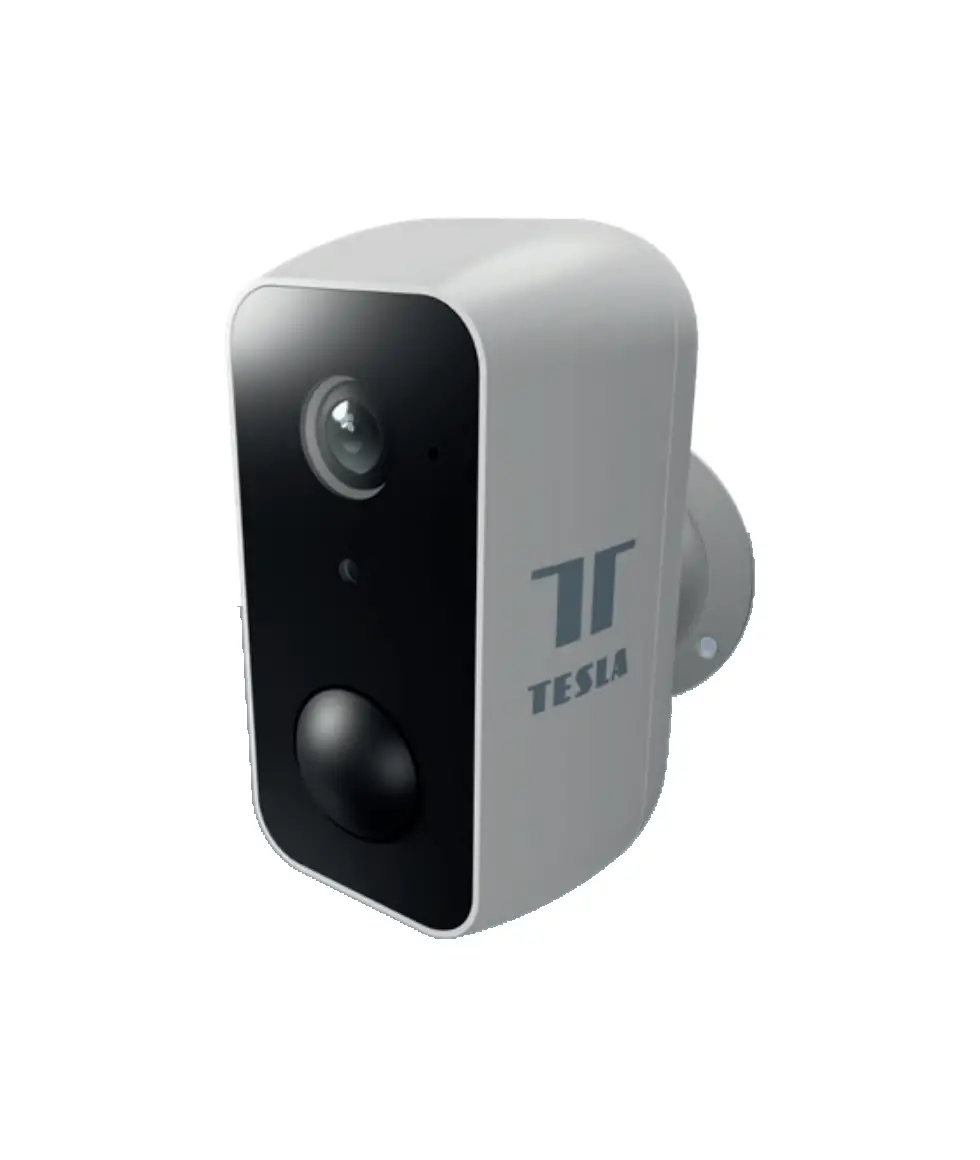
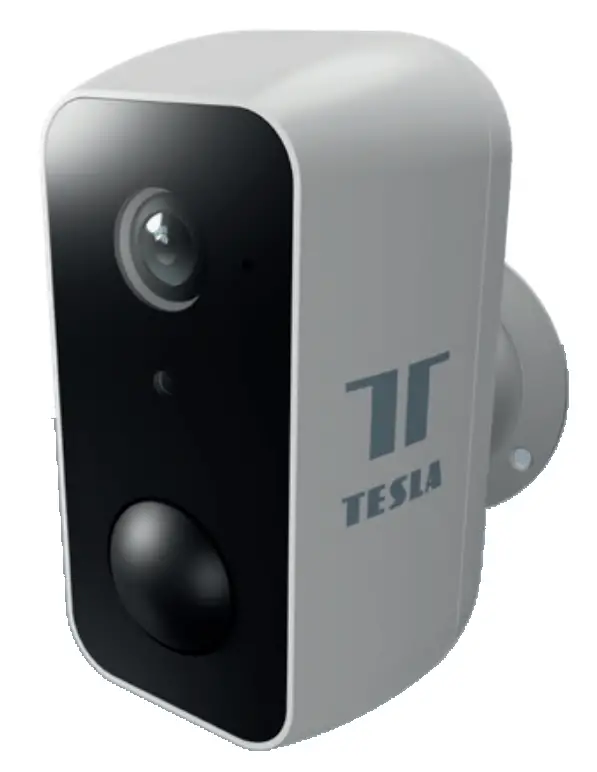
TESLA Smart Camera Pir Battery
WHAT‘S IN THE BOX
Please consult this checklist for all parts.
- Smart Camera PIR Battery
- Power adapter
- USB cable
- Screws (2 packages)
- Bracket (B)
- Bracket (A)
- User manual

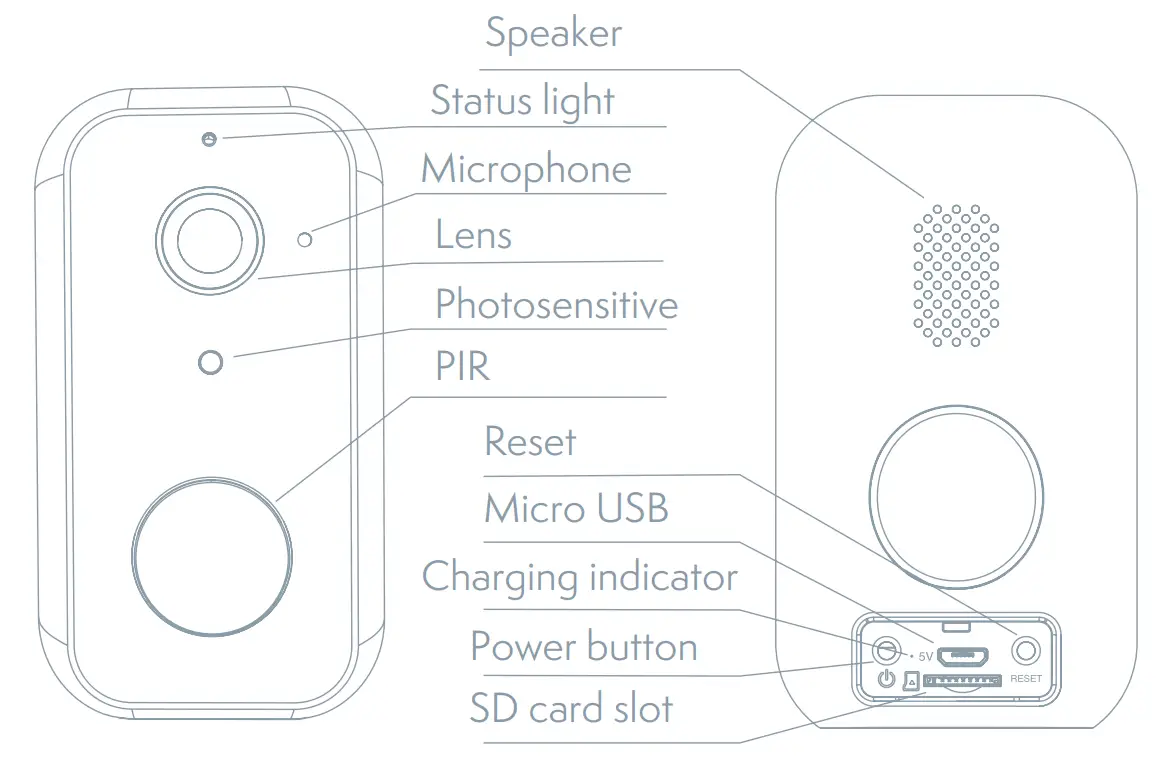
| Power port | DC 5V ±10% |
| Power ON/OFF | Press the button for 3 seconds to turn on/off the camera |
| Status light | Solid red light on: the camera is turning on or malfunctional Blinking red light: awaiting WiFi connection (slowly blinking) connecting the WiFi (quickly blinking) Blinking blue light: currently connecting Solid blue light on: the camera runs correctly |
| SD card slot | Support local SD card storage (Max.128G) |
| Reset | Press and hold on for 5 seconds to reset the camera |
| Charging indicator | Solid red indicator on: battery is charging Solid blue indicator on: charging completed |
| Battery capacity | 9600 mAh |
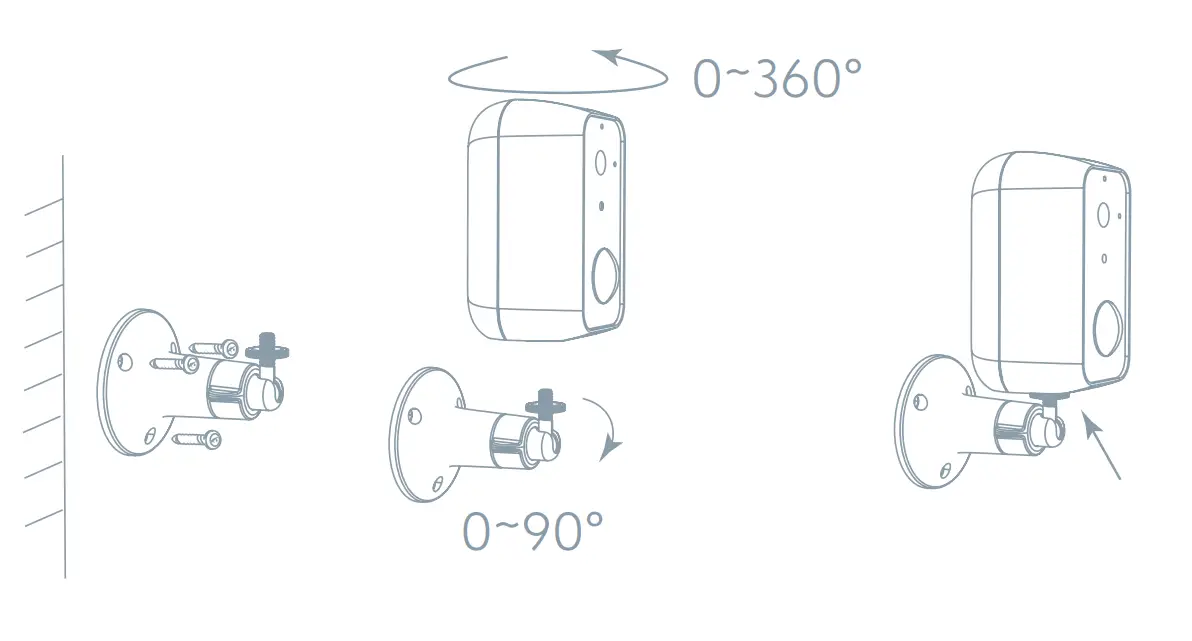
INSTALL
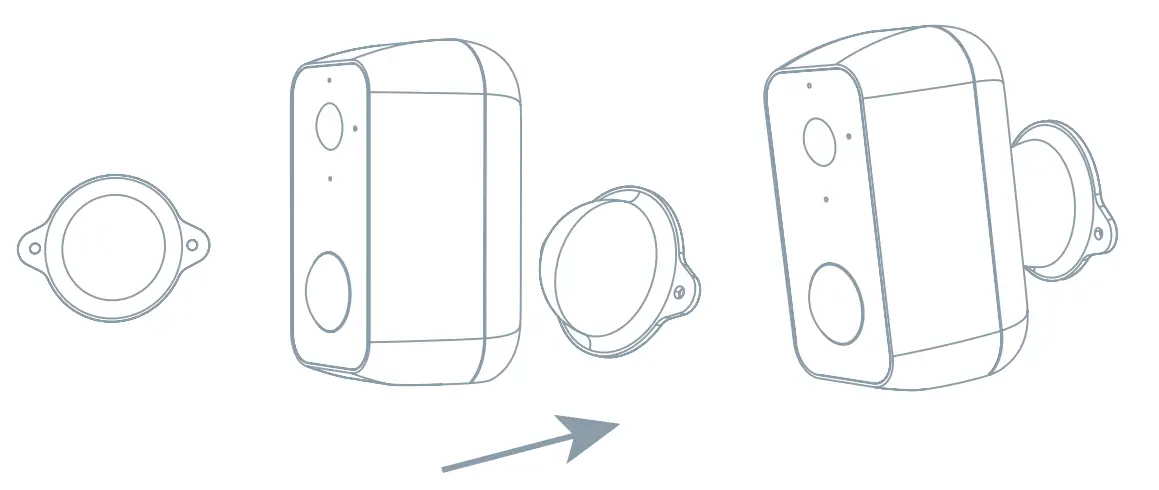
- Bracket (A) Installation

- Fix the bracket on the wall with screws.
- Bring the camera closer to the bracket.
- Bracket (B) Installation

After adjusting your camera angle, please lock this screw.- Fix the bracket on the wall.
- Install the camera in the bracket and lock it with the screw
CONNECT
Download
 | Tesla Smart is available for both iOS and Android OS. Search the name ‚Tesla Smart‘ in App Store or Android Market, or scan the QR-Code to download the App. |
SET UP ROUTER
The router supports the 2.4GHz WiFi (doesn‘t support the 5GHz), and is connected to the WiFi network. Please set the parameters of the router before connecting the WiFi network, and record the SSID and password of your WiFi.
REGISTRATION PROCESS
Step 1 Open the Tesla Smart App, click „Register“, read the „Privacy Policy“ and click „Agree“ .
Step 2 Input a legal and valid Mobile number or Email address and click „Continue“. Input Verification Code, then log in the app.
QR CODE CONFIGURATION
- Open the Tesla Smart App, click „Create family“, and you can customize the Family name and related settings.
- Continue to click „Security & Sensor“ >> „Smart Camera“, and then choose“ Add Device“ or „+“, ready to add camera.
- In „Add Device“ this interface, continue to click „next step“, and then you should input your WiFi‘s passwords. Note:
- Camera only supports 2.4GHz WiFi network.
- The number of bits in the ssid and passwords of the router should not exceed 24 digits.
- In this interface, you should scan the QR code in your phone with the camera, when the camera comes out „dong dong dong“. And you can complete the configuration about 30s.
- When connecting, you should make sure your router, mobile, and camera are as close as possible. When camera added successfully, click „
 „ you could also DIY the camera‘s name.
SETTINGS
In „Smart Camera“ interface, click „![]() „,you can set the camera common functions.
„,you can set the camera common functions.
FUNCTIONS
Remote wake-up
The camera will be in a sleep mode to save power; you can have a preview in App.
Full-duplex audio
You can see and hear the vistor in your App from the camera.
PIR
When the camera detects someone stopping by, it sends an alarm message to your cell phone.
Low battery alarm
When the battery power is lower than your set, the App will send a notification to your mobile phone.
Record
Powerful night vision means no interruptions, even in complete darkness.
Day & Night
Using SD card or opening the Cloud-Storage Service, to keep recording for every moment.
TECHNICAL SPECIFICATION
| Product name | Tesla Smart Camera PIR Battery |
| Resolution | 1920 x 1080 |
| Power supply | DC5V, 1A, Baterie – 9600mAh |
| Battery Life | Up To 3 Months |
| Sensor | 1/2.9‘‘ 2MPx, CMOS |
| IR Distance | Up To 10 m |
| Lens | 3.2mm , F2.0 |
| Dimensions | 57 x 62 x 100 mm |
| Storage | MicroSD Card, Cloud |
| App | Tesla Smart for Android and iOS |
| Connectivity | Wi-Fi 2,4 GHz IEEE 802.11b/g/n |
| Model | Snap 11S |
INFORMATION ABOUT DISPOSAL AND RECYCLING
This product is marked with the symbol for separate collection. The product must be disposed of in accordance with the regulations for disposal of electrical and electronic equipment (Directive 2012/19/ EU on waste electrical and electronic equipment). Disposal together with regular municipal waste is prohibited. Dispose of all electrical and electronic products in accordance with all local and European regulations at the designated collection points which hold the appropriate authorisation and certification in line with the local and legislative regulations. Correct disposal and recycling help to minimise impacts on the environment and human health. Further information regarding disposal can be obtained from the vendor, authorised service centre or local authorities.
EU DECLARATION OF CONFORMITY
Hereby, Tesla Global Limited declares that the radio equipment type Snap 11S is in compliance with EU directives. The full text of the EU declaration of conformity is available at the following internet address: tsl.sh/doc
Connectivity: Wi-Fi 2,4 GHz IEEE 802.11b/g/n
Frequency band: 2.400 – 2.4835 GHz
Max. radio-frequency power (EIRP): < 20 dBm

Customer Support
Manufacturer
Tesla Global Limited
Far East Consortium Building,
121 Des Voeux Road Central
Hong Kong
www.teslasmart.com

FAQ
A: Check whether the network is normal, you can place the camera close to the router, and if not, it is recommended to reset the device and add it again.
A: The reset device only resets the network configuration of the camera, but cannot change the configuration on the App, remove the camera, and must be deleted by the App.
A: First remove and reset the device on the App and then configure the device again by the App.
A: It is recommended to plug in SD card after power cut. Confirm whether the SD card is normally available and the format is FAT32. And the TF card can’t be identified when the internet environment is not good.
A: Please confirm that the App has been running on the phone, and the relevant reminder function has been opened; Message notification and authority confirmation in the mobile phone system have been opened.


