
![]()
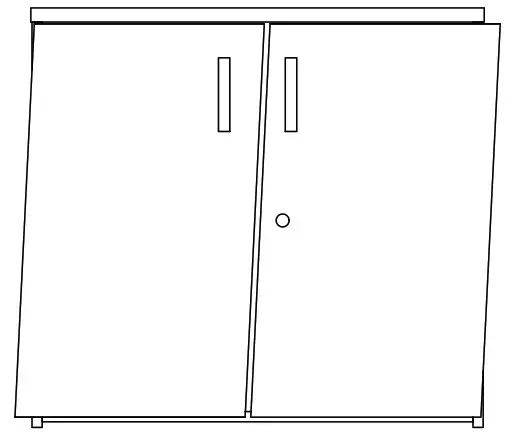
DHBC
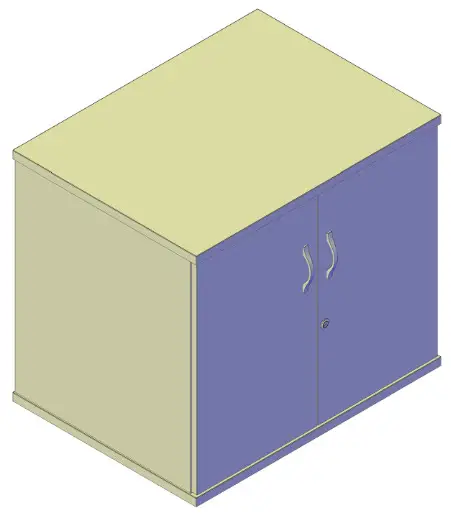
DESK HIGH BOOKCASE
![]()
DPDHD
Desk High Door Pack
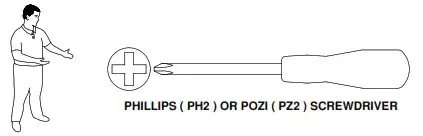
TOOLS REQUIRED FOR ASSEMBLY
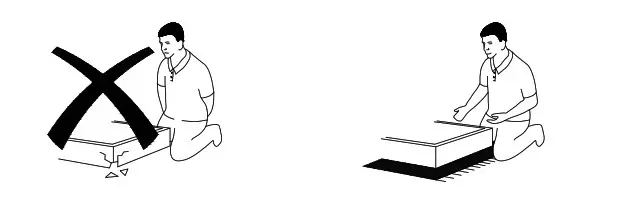
DONT STRUGGLE 2 MAN LIFT
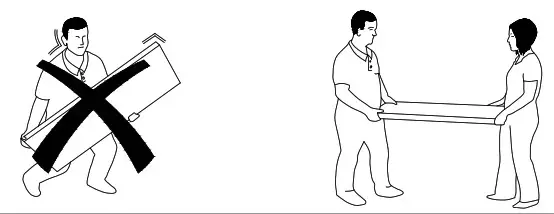
ALWAYS HANDLE ITEMS WITH CARE
IF UNSURE CALL FOR ASSISTANCE
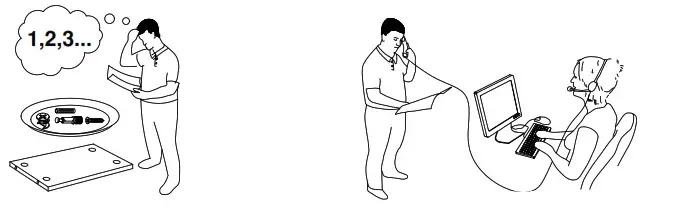
KEEP FITTINGS AWAY FROM CHILDREN

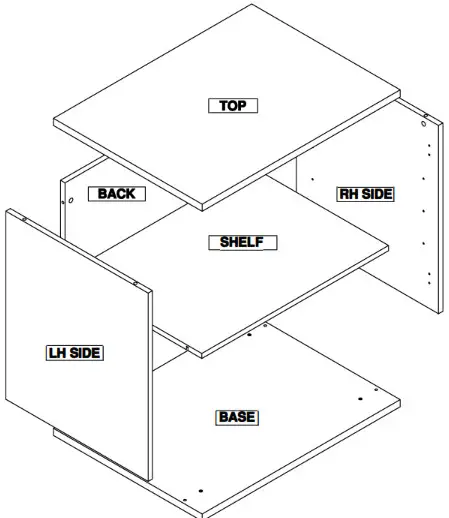
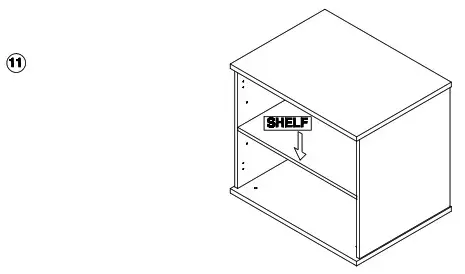
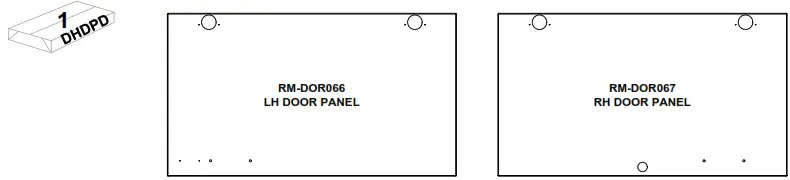
Please check that you have all the panels!
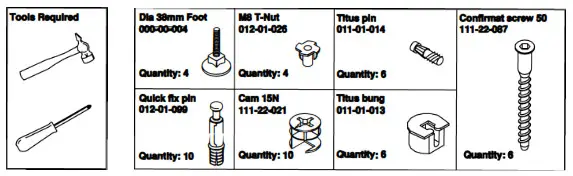
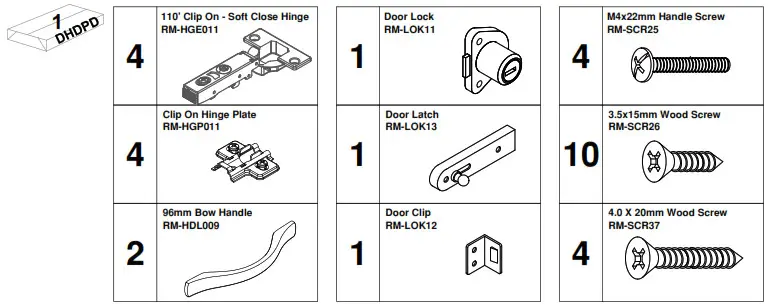
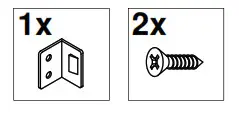
![]() Please check that you have all the fittings!
Please check that you have all the fittings!
Step 1
Place the hinges into the pre-drilled holes on the inside face of each door panel.
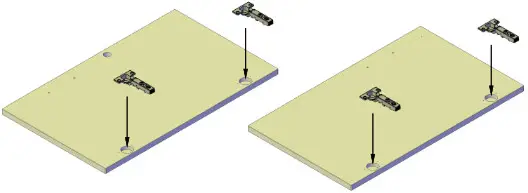

Step 2
Attach the hinges using the 3.5 x 15mm wood screws, 2 screws per hinge.

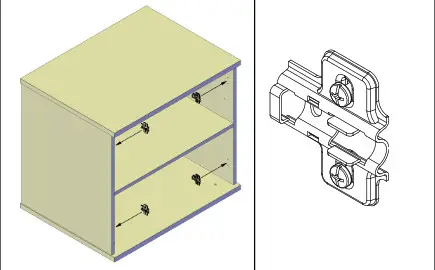
Step 3
Attach the hinge plates to the pre-drilled holes on the inside face of the bookcase side panels, these plates are fitted with pre-attached screws.
Ensure the plate is fitted as per diagram 1.

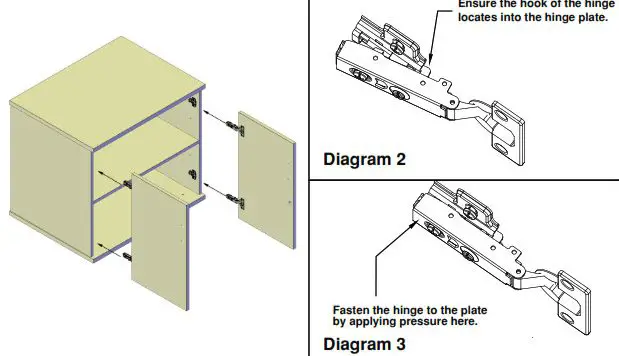
Step 4
Attach both doors to the bookcase. Diagrams 2 & 3 show how to lock the hinge to the plate.
Always lock the top hinge into place first before repeating for all hinges.
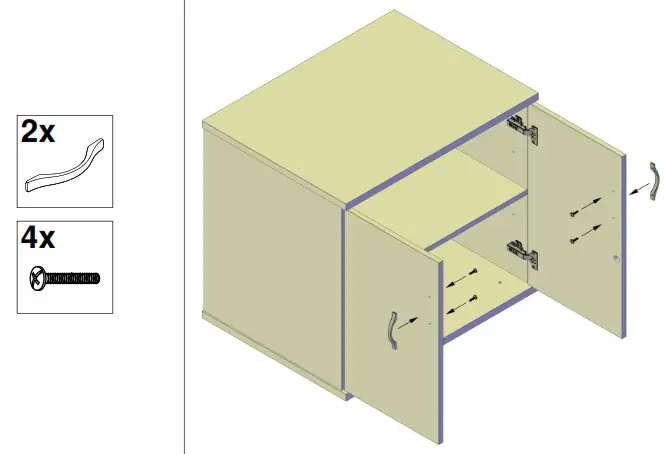
Step 5
Attach handles to both doors using the M4x22 screws.
Step 6
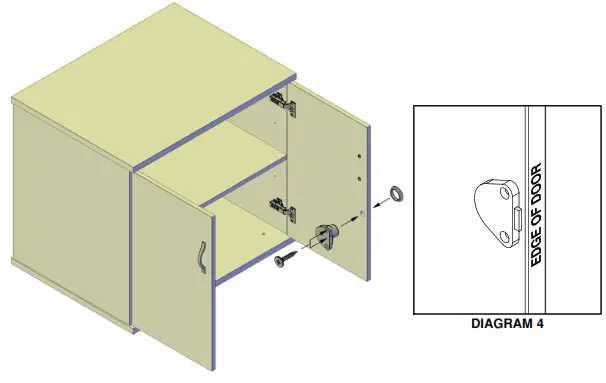
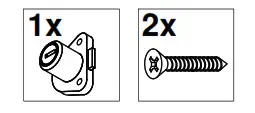
Insert the lock into the back face of the RH door, the rosette should be placed over the exposed lock barrel on the front face of the door.
Align the lock with the edge of the door as shown in diagram 4.
Fix the lock in place using two of the 4x20mm wood screws.
Step 7
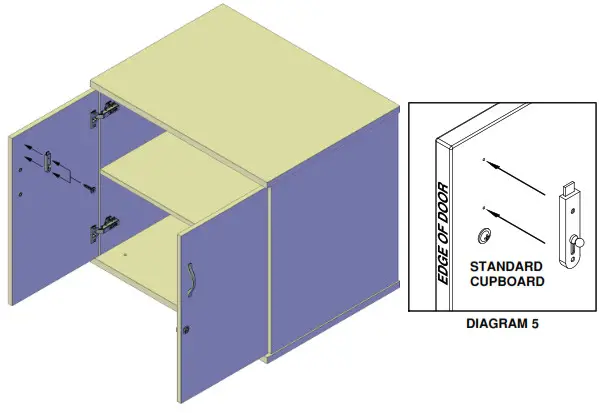
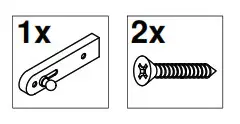
Attach the door latch to the rear face of the LH door.
See diagram 5 for fixing position to be used for both standard double door or combination units.
Fix the lock in place using the remaining x 4x20mm wood screws.
Step 8
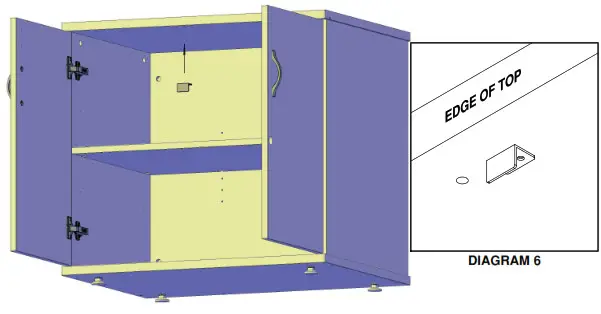
Attach the latch strike plate to the underside of the bookcase top.
This should be fitted to the 2 pre-drilled holes and aligned with the front edge of the bookcase top as shown in diagram 6
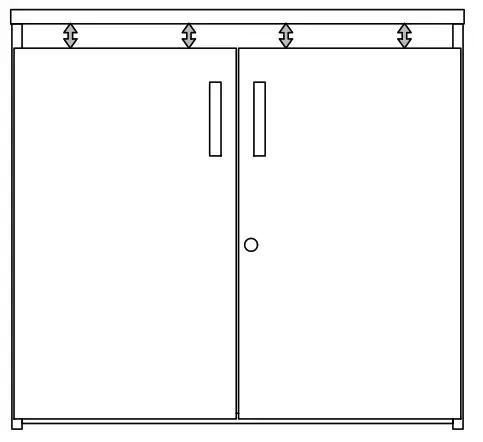
DOOR ADJUSTMENT AND ALIGNMENT
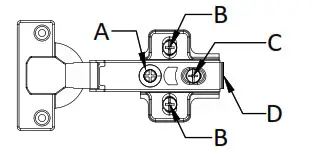
A – SIDE ADJUSTMENT
B – HEIGHT ADJUSTMENT
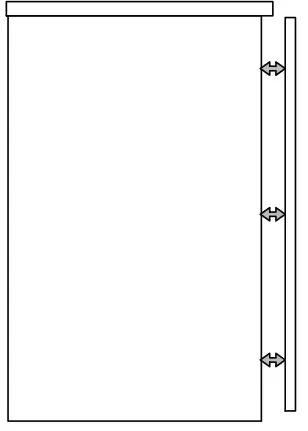
C – DEPTH ADJUSTMENT
D – DOOR RELEASE BUTTON
TO ADJUST THE GAP BETWEEN DOORS
Apply equal adjustment to point A on all hinges. Tighten to make the gap smaller. Loosen to make the gap larger.
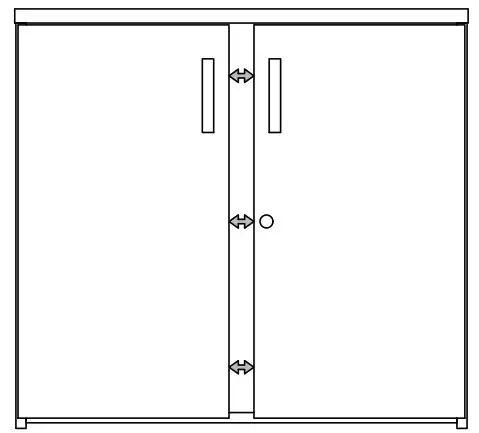
TO RE-ALIGN SKEWED DOORS
Adjust point A on individual hinges to re-align accordingly. Tightening the top hinges will rotate the door clockwise. Tightening the bottom hinges will rotate the door anti-clockwise.
TO ADJUST THE GAP BETWEEN THE DOOR AND TOP
Loosen all point B screws without removing them. Once loose lift the door to close any gap. Whilst the door is held in its preferred position
re-tighten all point B screws again.
TO ADJUST THE GAP BETWEEN THE DOOR AND SIDE PANEL
Loosen point C screws on all hinges. Slide the hinge to your preferred position and re-tighten point C screws.
TO COMPLETELY REMOVE DOORS ACTIVATE BUTTON D ON ALL HINGES
POWER TOOLS SHOULD NEVER BE USED FOR ANY ADJUSTMENTS


