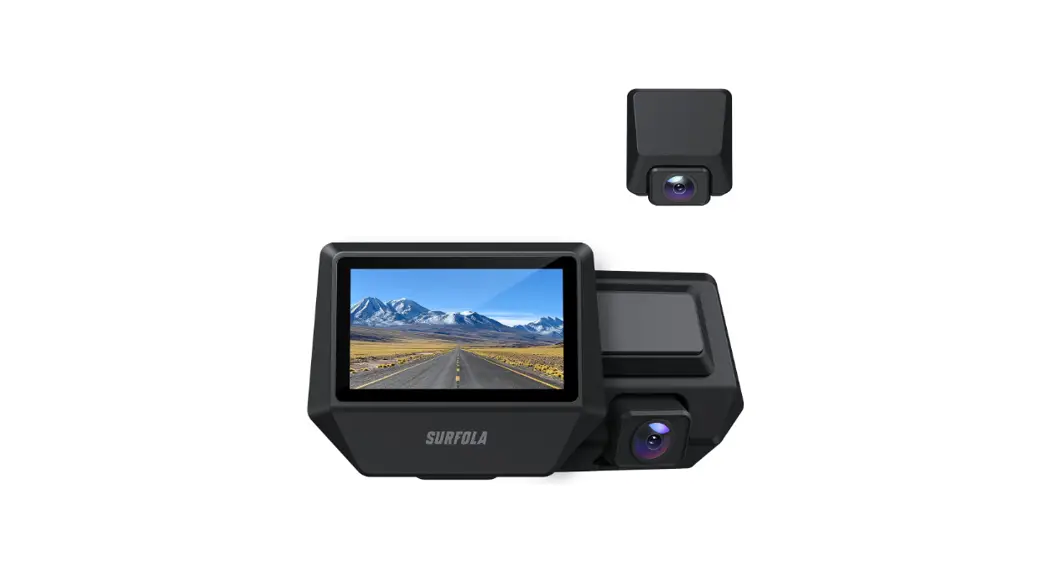
![]() SD710 Dash Camera
SD710 Dash Camera
User Manual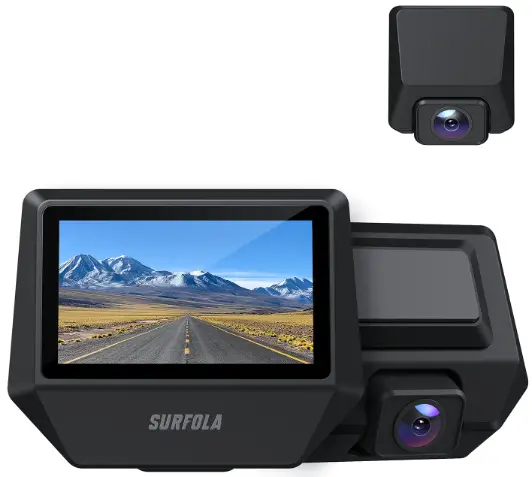
Dash Camera
SD710
SD710 Dash Camera
Thanks for your choosing!
Please read and follow this user manual carefully and keep it in a safe place for future reference.
Safrole consistently attaches great importance to product quality and high customer satisfaction. We sincerely hope you can make a few suggestions during your use to help us improve our products. Your precious suggestions will help us shape our business to perfectly fit your standards. We’ll soon introduce series of new products for our valued customers, please share this with your friends.
Just let us know if you encounter any problem during your use, Our support team will provide you our best solution without any delay. And all items purchased from Safrole are covered by
1 year warranty.
After-sale email address: [email protected]/[email protected]
Look forward to bringing you more great products in the future.
Kind regards,
Safrole Support Team
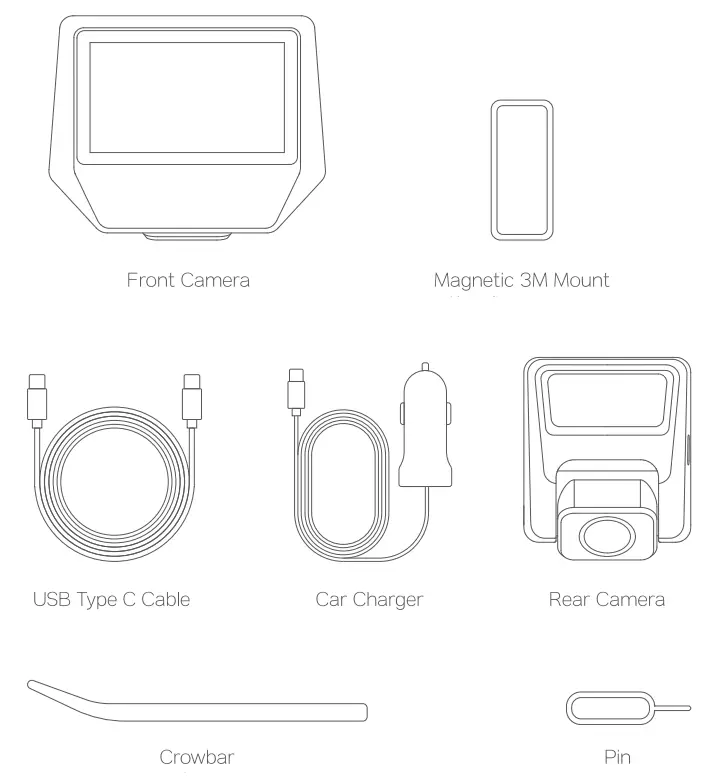
Package Contents
Camera Overview
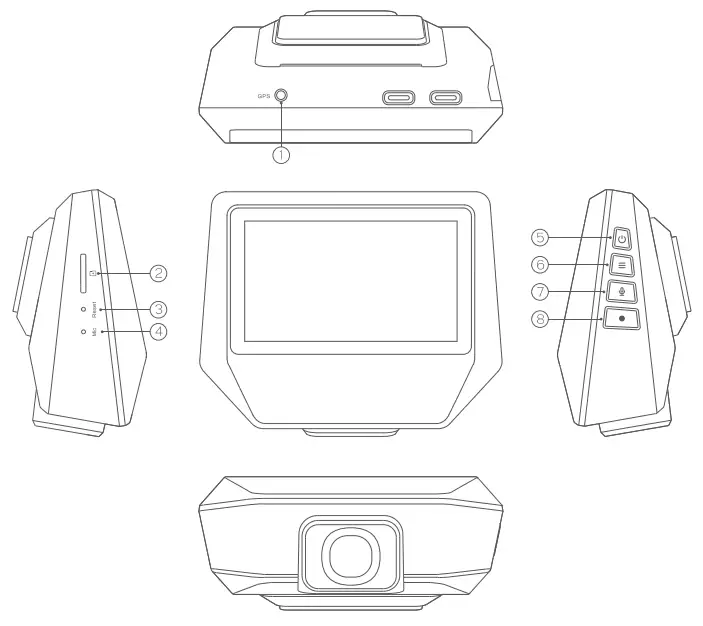
| 1 GPS | 3 Reset | 5 Power | 7 Mic |
| 2 TF Card Slot | 4 Microphone | 6 Menu | 8 Confirm |
Specifications
| Model | SD710 |
| Image Sensor | Sony IMX335 |
| CPU | DSP NT96675 |
| Screen | 3′ IPS |
| Wide-Angle Lens | 170°+ 170° Ultra-Wide Angle |
| Recording Resolutions | 1440p (30fps), 1080p (30fps) |
| Image Format | JPG |
| Video Format | 1-1.264, MP4 |
| Aperture | F=1.8 |
| Image Size | 12MP,10MP,8MP,5MP |
| Operating Temperature | -10°C – 60°C (14°F – 140°F) |
| Input | DC 5V, Above 2A via USB Type C |
| Size | 94 x 41 x 79 mm I 3.71 x 16′ x 3.11 |
System LED Indicator
| Status | Meaning |
| Solid Blue | On; Not recording or charging |
| Red and Flashing Blue | Charging; Recording |
| Red and Blue | Charging; On; Not recording |
| Off | Off |
| Button | Recording Mode | Setup Menu | Playback Mode |
| Power | Start/stop recording; Press and hold to turn on/off the device | Return to previous menu | Return to playlist |
| Menu | / | Move Up | Rewind |
| Mt | Turn on/off Audio Recording | Move clown | Fast-Forward |
| Confirm | Emergency recording | Enter/Confirm | Play/Pause |
| Reset | Short press to reboot the device | ||
Insert Memory Card
For best operation, please prepare a formatted Class 10 Micro SD/TF card with a capacity of 32GB / 128GB, The micro SD card must be formatted to FAT 32 64 KB or EXFAT on computer then format it again with using the “Format” option in Dash Camera “Setup” before the first use. 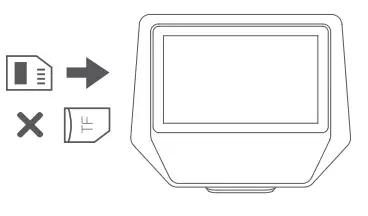
Install the Camera
For optimal performance, install the SD710 camera behind the rear-view mirror to prevent obstructing your view when driving.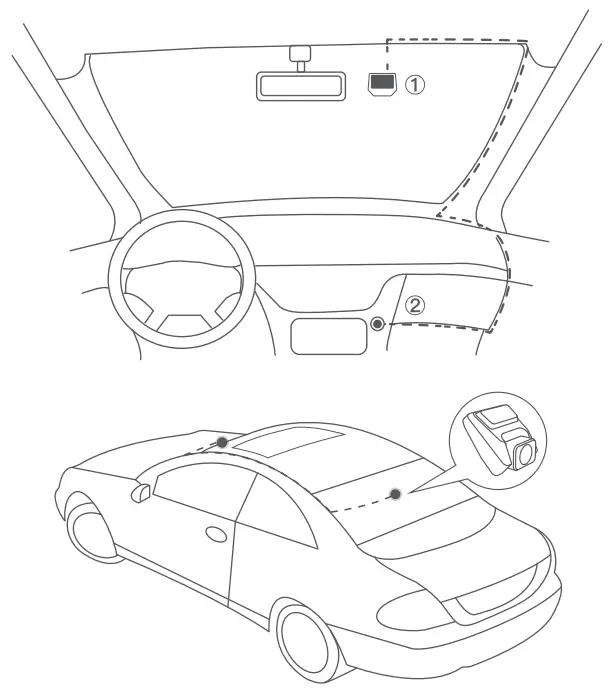
- Clean the windshield and remove the the plastic film on the 3M magnetic adhesive.
- Insert 3M magnetic adhesive on the suitable site of the windshield.
- Insert the dash cam into 3M magnetic adhesive.
- Plug the car charger to the USB type C port.
- Plug the rear camera cable to the rear camera port and install it outside your car. Please install the rear camera following the instructions above carefully to avoid damage to the camera. We strongly recommend that you install it by a professional
Instructions for Video Mode
When the dash cam is turned on, it enters the Video Mode and automatically starts recording. Pressing the “Power” button to stop recording 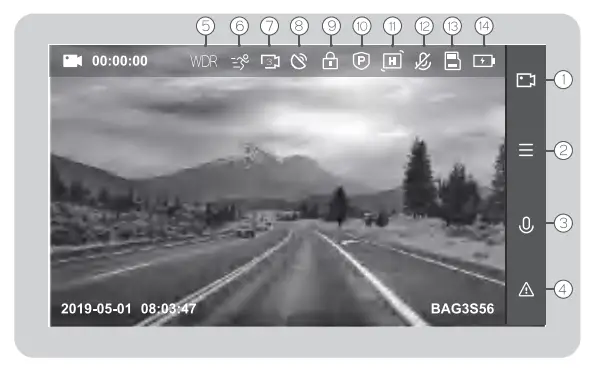
Press the ‘Menu’ button to switch Video Mode to Setup Mode and enter the following functions:
| 1 Recording 2 Menu 3 Audio Recording 4 Emergency Recording 5 WDR | 6 Motion detection 7 Loop recording 8 GPS 9 Emergency Video 10 Parking Guard | 11 Gravity Sensor 12 Audio Recording Status 13 SD/ TF Card 14 Battery |
The above image is for illustration and shows all functions active. Only the currently selected functions will be displayed in normal use
Important Note
A file can only be saved by the machine under normal recording condition.
However, the file may be damaged or lost in the following situations:
- TF card is pulled out during recording. In this case, the last video may be damaged or lost.
- It is powered off abnormally during recording. In this case, the last video may be damaged or lost.
- It suffers a destructive collision during recording. In this case, the last video may be damaged or lost.
GPS Instructions
- For the GPS function, please prepare a GPS antenna (Not included).
- Insert the GPS antenna when the machine is off. There will be a signal icon at the top of the screen after the machine is turned on.
- Install the GPS antenna into the windshield, we advise that you install the antenna in the middle of the windscreen. GPS signal may be affected if you put the cam near A-pillar or roof of your car.
- Please wait until the GPS stamp on the middle of the screen becomes green when you use it at the first time, and it may take 3 to 4 minutes for the cam to receive GPS signal.
GPS Player
GPS Player for Windows/Mac:
If you want to check the GPS information, please contact our after-sales team via [email protected] / [email protected] to get the dedicated player.
Warranty & Customer Support
Alitames purchased from Safrole are covered by a 1 year warranty, If you encounter any problem when using our camera, please feel free to send a message of your problem, including your Amazon order number and product model number, to our official support email: [email protected] / [email protected] We are always ready to provide you with great service! ![]()


