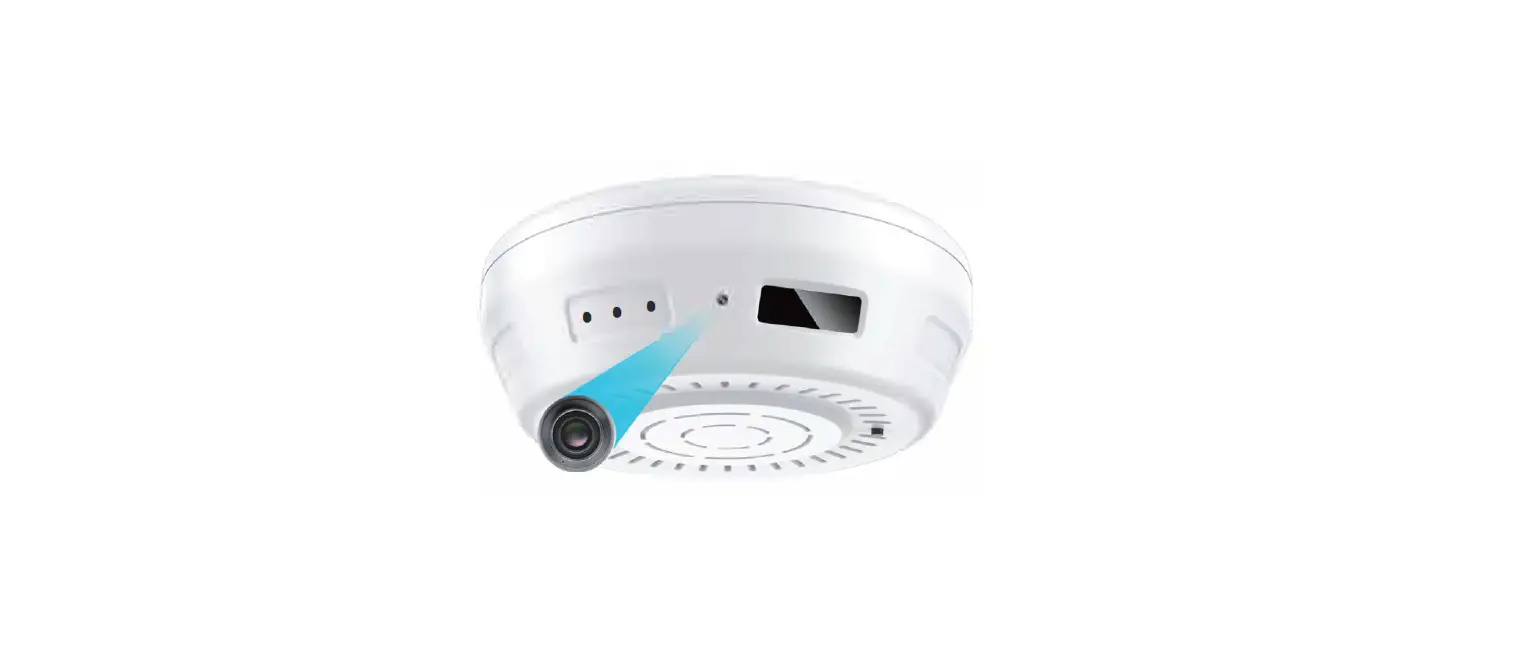
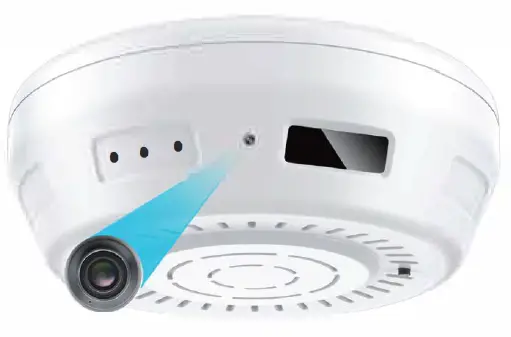
Zetronix zSMKDT-II-WF Smoke Detector Battery Camera
Special Notes
- Make sure you are using 2.4GHz wireless network, not 5GHz.
- Make sure the RED LED light is blinking slowly when power on. if not, please reset the camera.
- Make sure your camera and wifi router are not far away.
- Make sure your phone is close to the camera when configuring.
- Go to Wi-Fi setting of your smartphone to see if camera ID like Smartlife_XXXXX-XXXXX is matched with the one we put the sticker on the device.
- Please do not connect camera ID Smartlife_XXXXX-XXXXX directly from Wi-Fi setting of your smartphone.
- Make sure your Wi-Fi SSID do not contain any symbol or special characters.
- Make sure your camera is charged up to 24 hours for the first time use.
- After finish setting up the camera, please remember to go to “settings” to find “Basic Function Settings” – “Status Indicator” lo swift off the leds indicator.
Key Benefits

- 100% Wire-Free: Free Of Ugly cords and wiring hassles
- HD Quality: Enjoy amazingly sharp 1080P live video
- Micro SD :Memory Card max up to 64GB (Not included), 8GB 400 days videos
- Built-in 6000mA battery: Battery supports to standby 6-8 months
- Low Power Consumption: 200uA at standby mode
- Support 7 days free trial Cloud Storage
- Night Vision: See what’s happening even in the dark
- Wi-Fi: 802.11 b/g/n wireless network
- Motion Alerts: Receive push notifications if anything moves
- Fast Response:1 second enable recording even at standby mode
- Support amazon echo and Google Home
Product Details

SPECIFICATIONS
| Camera | |
| Built-in imaae sensor | 1/3″ proaressive CMOS sensor |
| Sensor sensitivity Anale of View | 1.0 Lux go• |
| Video Spec | |
| Alaorithm | H.264, JPEG |
| File Format | AVl,JPEG |
| Video recordina mode | PIR motion recordina mode |
| Recording capability | 1920xl080P |
| Frame rate Niqht vision | Up 10 15 fps Up 10 S meters (16.4ft) |
| PIR detect distance | 5 meters (16.4ft) |
| PIR boots up | In 1 seconds |
| Video file lenqth | 10-60 seconds option |
| WiFi Spec | |
| WIFI | Built-in WiFi Module(JEEE 802.llb/q/n) |
| Storaoe | |
| Memory type Micro SD Card (Support SDHC max=64GB,not included) Misc | |
| Date/Time Table Snapshot | YYYY/MM/DD, HH:MM:SS Recording |
| Power | |
| Power Input DC SV | |
| Power Consumption
Charging Time | 200uA in standby,190mA-220mA in recording(WiFi), 590mA-650ma mA WiFi + Night vision 24 hours(SV 2A) |
| Battery Input | DC 3.7V/f/JOO mA high polymers battery |
| Battery Lifetime Recording time | 6-8 months in PIR standby 400 days@l920*1080P (8GB micro SD card not included) base on 10 detecting files per day |
| Push alarm notification | Motion detected alarm.Low battery |
| Product Dimension | 12.s•10.4•4.4cm(4.9•4*1.71NCH) |
| Others | |
| App name | Smart Life |
| Mobile surveillance Remote access | iPhone, Android Yes |
| View Angle Indoor/outdoor usage | Side view Indoor |
Charging the Battery
This unit has a built-in rechargeable lithium battery. When using the unit for the first time, please charge it 24 hours. Open the device, make the USB power cable connected with charger seat and insert the charger into the electrical outlet. And tum on the device. The Green LED indicator will be blinking fast and after about 30-60 seconds turn to blinking slowly 3 times; pause, and repeatedly ,until charge 24 hours fully.
(Note: There is no LED indicator displayed during charging for the first 20 minutes when battery is ran out completely.)
LED Light State Introduction
| LED Status | Device Status |
| Blinking green fast 30-60 seconds change to blinking green slowly 3 times; pause and repeatedly | Charging power for battery |
| Blinking red slowly within 180 seconds | Power on device, to be connecting to WiFi |
| Blinking green fast 5-10 times, change to solid green 10 seconds | WiFi connected |
| Blinking red fast 5 times | No battery,device power off |
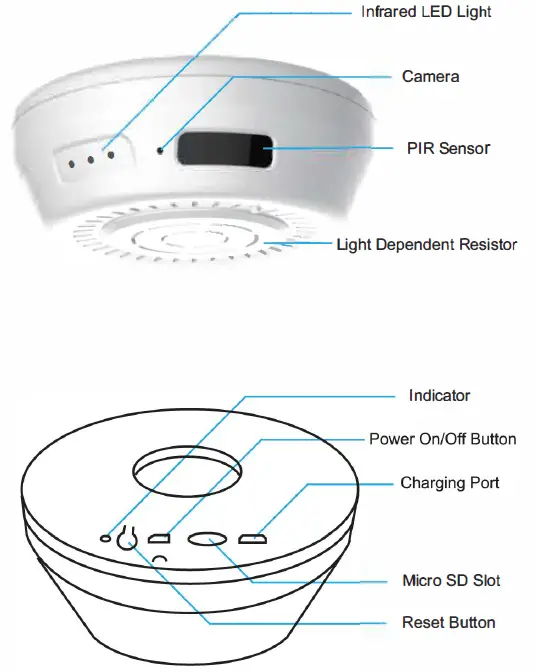
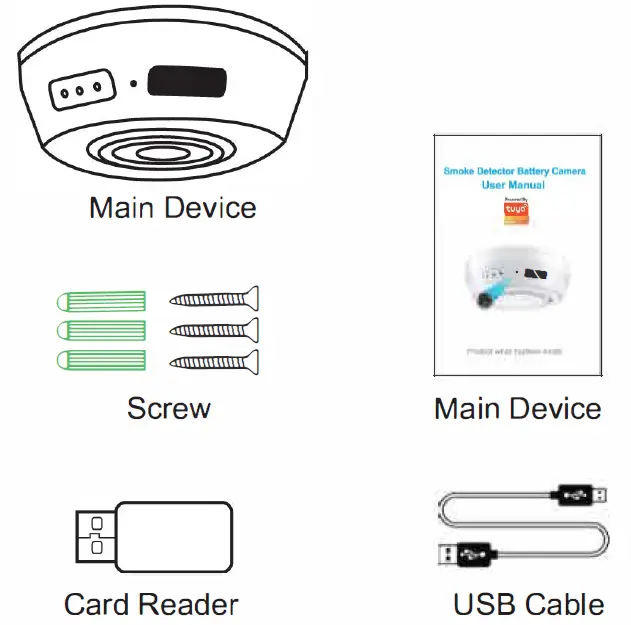
Product & Packlist
Product picture
Packing list:
Set up APP
- IOS; Search “Smart Life” in Apple “APP store” Android: Search “Smart Life” on “Google Play” You also can scan the QR code below to download the APP

- Once you download the APP to your smart phone, you may enter the first page which you can login with existing account or register.

(If you are the new user of Smart Life and don’t have an account, please choose register first and follow the below screens hots to complete the registration.)
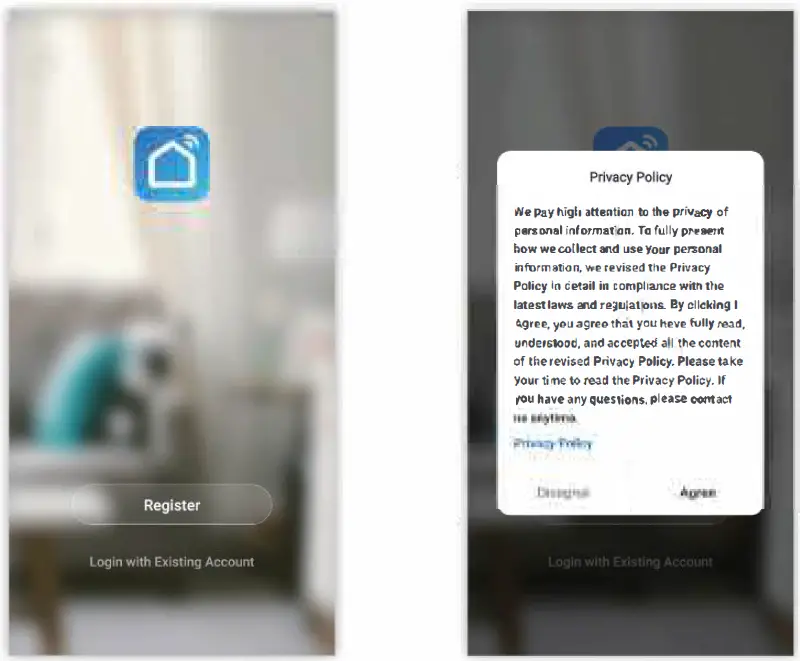

( If you have the existing account.there are two ways to login.one is with SMS verification Code, the other one is with password. In case you forget the password, you may choose login SMS verification code or you can choose forget password to reset it by entering verification code which sent to you phone via message.)
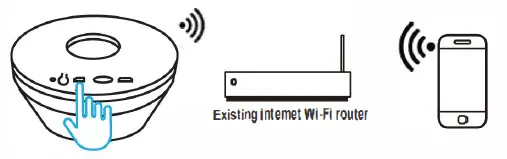
Set up Camera
- Place the camea on a flat surface close to home router, along with user’s mobile phone, turn on the “ON/OFF” switch to position. Red LED blinks within 180 seconds.
Note: lt only support 2.4Ghz internet Wi-Fi network.no 5G network.
- Insert SD card to SDcard slot(as picture), the SD card is not included in the package, should buy by yourself and it supports max to 128GB.

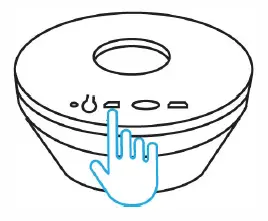
- For reset the device, pis long press and hold the reset button, then you will listen a sound and see the indicator blinks red repidly. That means reset successfully.

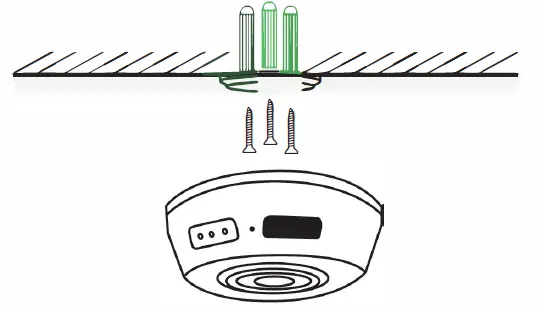
- Please fix the base on wall with screws


Configure Device
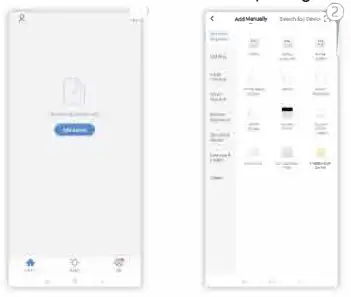
Once the account has been setup successfully, then you will automatically enter the page of “add device”, kindly follow below steps to add the camera.
- Step 1: click “Add Device” or click”+” on top of right on this page.

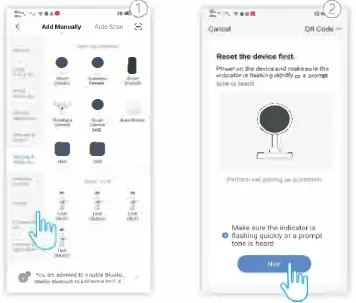
- Step 2: choose “Security & Sensor” and click “Smart Camera” follow the sceenshots below.

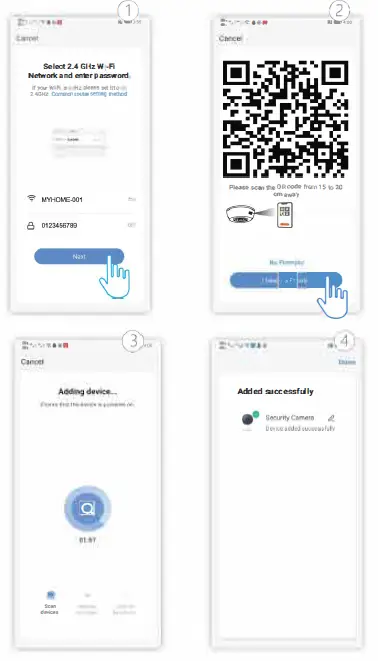
- Step 3: You may choose next step to go to QR code paring mode if you choose the “next step”, you may follow the below screenshots; (Note: When scan the QR code, please make sure the camera faces the QR code.)

FAQ
After the configuration is done, our device will be showed on Smart Life APP which enable you to surf the smart living easily. If you have any questions about App using, you may go to category”me” to find the “Help Center” and check if you have the same issues. If not, you can report the issue and then your problems will be handled and answers will be given soon if you provide as much information as you can.
Safe Battery Handing and Usage
DO NOT allow the battery compartment to ge wet prior or during installation while your Wire-Free camera is weatherproof and safe to use outside.


