
AcuityBrands SmartThings App
Detailed Instructions for SmartThings without a hub
- Download the SmartThings app to your phone or tablet from the IOS app store or Google play store.

- Create an account with SmartThings to get started.
- Once your account is created re-start the app.

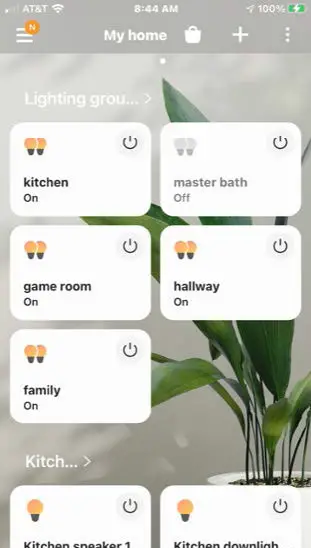
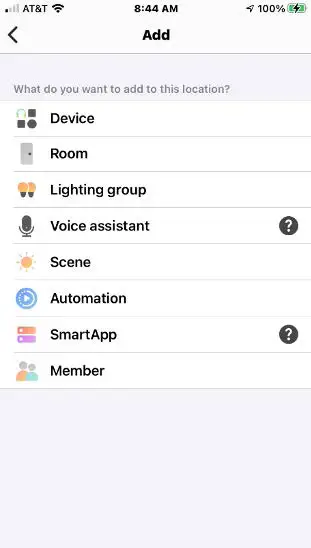
- From the main window select the “+” at the top right corner to add a new device.
- Select “Device” to add a new device.
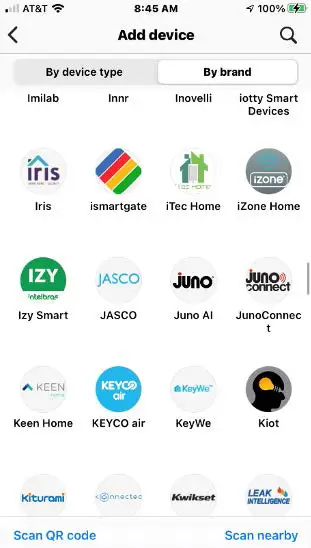
- Set search by brand and search for “Juno Connect”
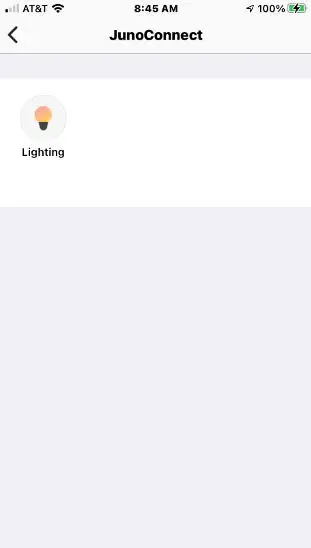
- Select lighting from the list of available devices under Juno Connect.
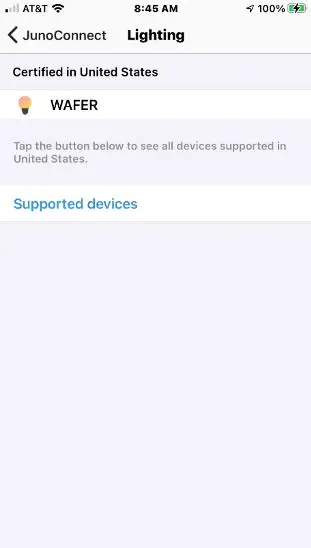
- Select Wafer as the device to onboard.
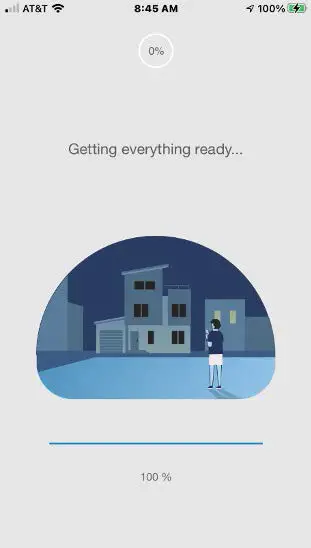
- SmartThings will automatically get the drivers from the cloud. (make sure you are connected to the internet).
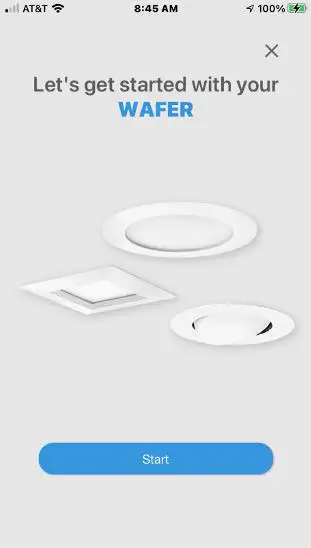
- Once the app is ready press “Start”.
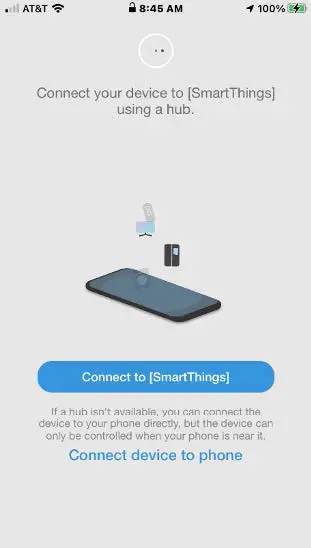
- To connect your Wafer using a phone (Bluetooth) select the “Connect device to phone” option.
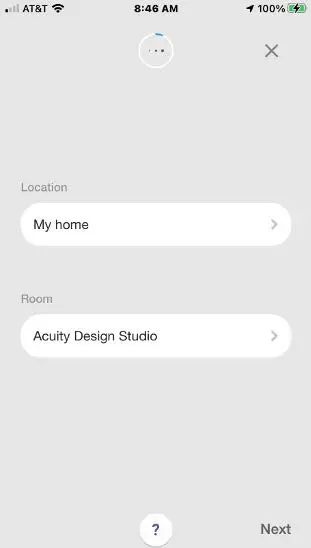
- Select your home and room to place the Wafer. Then press “Next”.
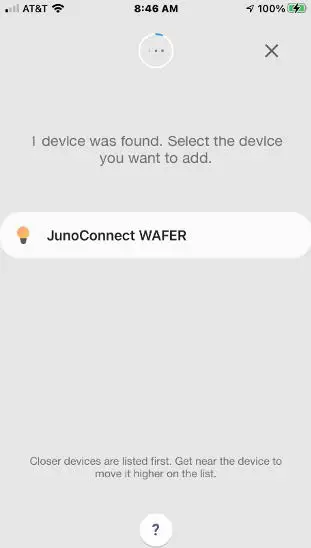
- After scanning your Wafer will be discovered by the app. Press the “Juno Connect Wafer” to continue.
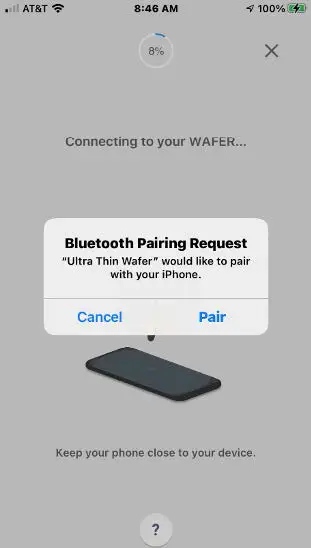
- On iOS devices, a Bluetooth pair request will appear. Press “Pair”.
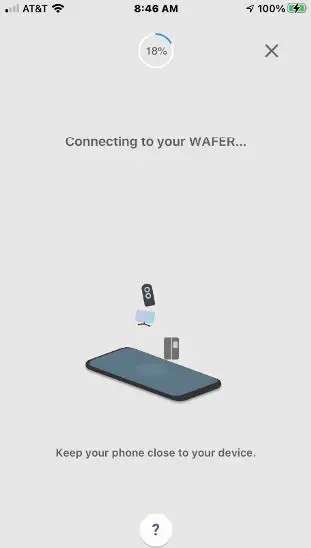
- SmartThings will establish communication with the Wafer. Make sure you are in the same room as the Wafer.
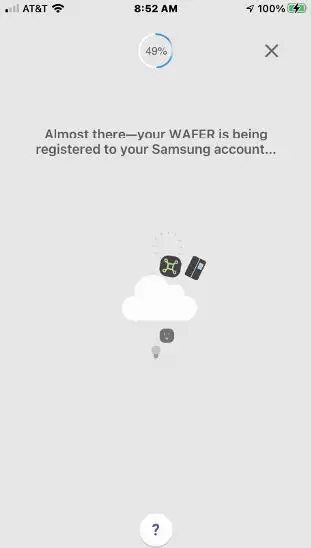
- Once the Wafer is commissioned SmartThings registers your product to the cloud. (Make sure you have an internet connection).
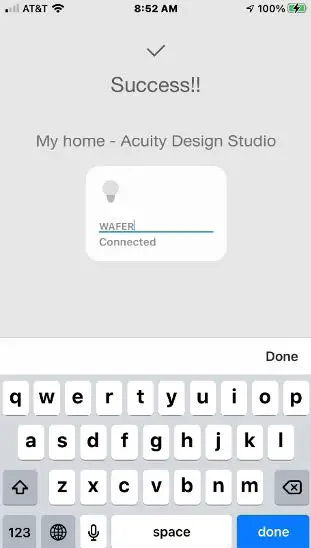
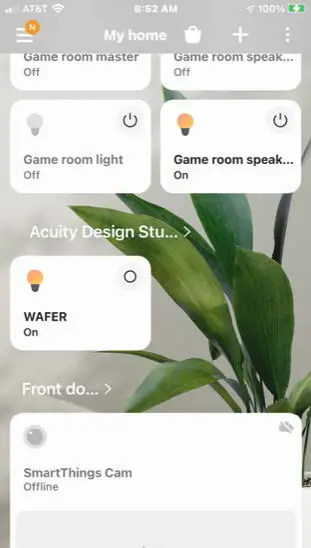
- Once onboard you may rename the Wafer.
- Once re-named, the Wafer tile will appear in your home. The process is now complete.


Detailed Instructions for SmartThings with a hub
- Follow steps 1-10 from the “Samsung SmartThings without a Hub” app to your phone or tablet from the IOS app store or Google Play store.”
- To connect your Wafer using the SmartThings Hub, select the “Connect to (SmartThings)” option.
- Select your home and room to place the Wafer. Then press “Next”.
- After scanning your Wafer will be discovered by the app. Press the “Juno Connect Wafer” to continue.
- Once the Wafer is onboarded SmartThings registers your product to the cloud. (Make sure you have an internet connection).
- Once onboard you may rename the Wafer.
- Once re-named the Wafer tile will appear in your home. The process is now complete. will appear in your home. The process is now complete.


One Lithonia Way, Conyers, GA 30012 | Phone: 770-922-9000 | www.acuitybrands.com © 2021 Acuity Brands, Inc. All rights reserved. | JUN 878950.02_0821.


