Fury Edge SE – Portable Vaporizer
Introductions
Thank you for purchasing the Healthy Rips FURY EDGE SE. Read and follow the instructions carefully before your first use of the FURY EDGE SE.
It is recommended that these instructions are put in a safe place for future reference. Enjoy the quality and performance of your new FURY EDGE SE!
You must be at least 21 years old to purchase and use the FURY EDGE SE. This product should not be used by children, women who are pregnant or breast feeding, or those with life threatening illnesses – without first consulting a doctor.
If you have any health issues, consult your doctor before using the FURY EDGE SE. Any illegal use of this device could subject the user to fines, penalties and/or imprisonment under the law of your jurisdiction. For aromatherapy use only.
THIS PRODUCT DOES NOT CONTAIN TOBACCO OR CONCENTRATE MATERIALS.
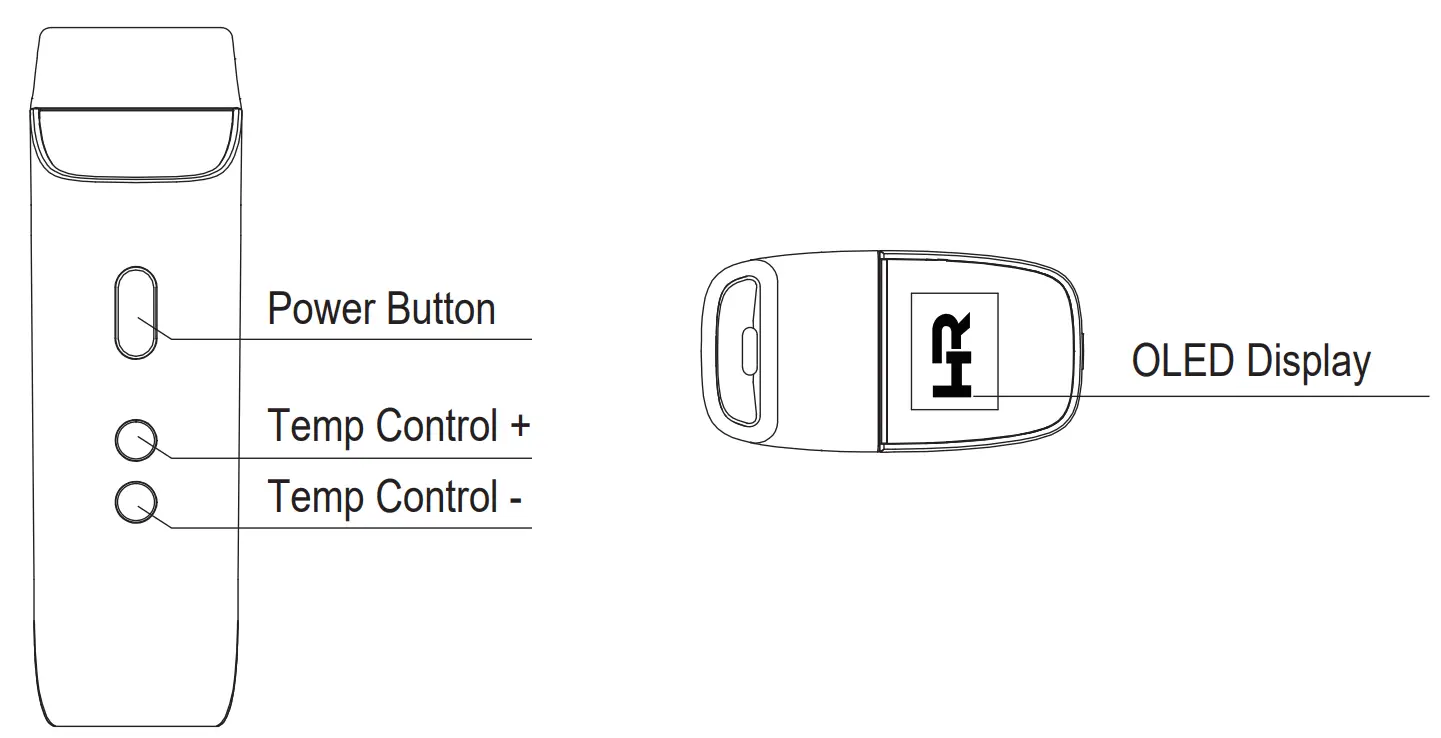
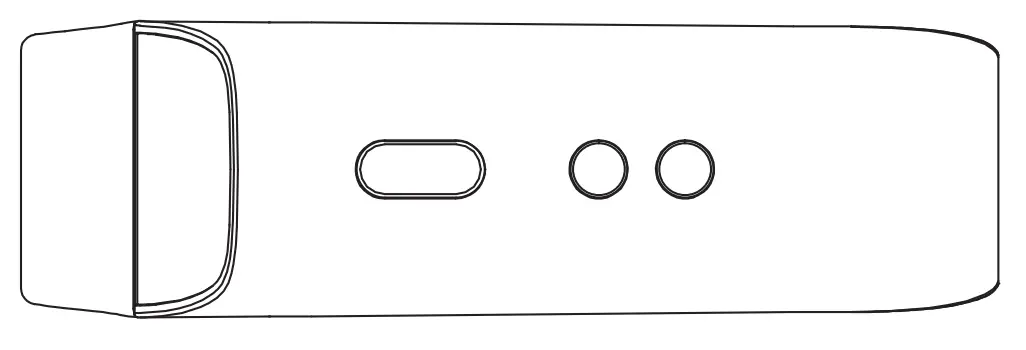
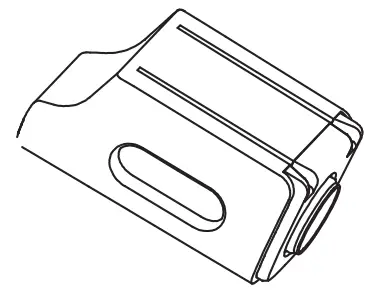
FURY EDGE SE Overview
FURY EDGE SE Start-Up
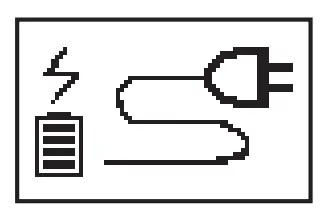
- Charge the unit for 2 hours before first use.
- The battery will stop charging when the battery icon
 is full.
 - Turn the unit on the maximum temperature for a complete 5 minute cycle to burn-off any manufacturing residue.
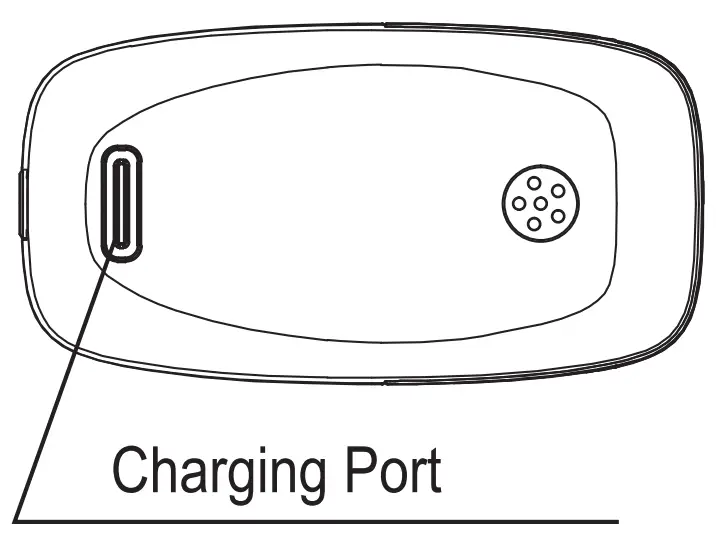
- When the battery level is low – charge the unit with the included USB -C cord.
- Do not use the unit while charging.
- Do not charge overnight or unattended.

Important Features
- Rapidly click the Power Button 3 times within 2 seconds to power on or off.
- Press and hold the Power Button for 3 seconds to flip the display screen.
- Press and hold the Power Button and the [ – ] button simultaneously for 2 seconds to change the display from Fahrenheit to Celsius or from Celsius to Fahrenheit.
- Adjust the unit to your desired temperature by using [ + ] or [ – ] buttons.
- Adjust the Auto Shut-Off Timer between 3-7 minutes: press and hold the Power Button and the [ + ] button simultaneously for 2 seconds to enter the timer ‘Set’ mode. Then change the timer by pressing the [ + ] or [ – ] buttons.
- To check the Battery Level while the Unit is off: press the Power Button once.
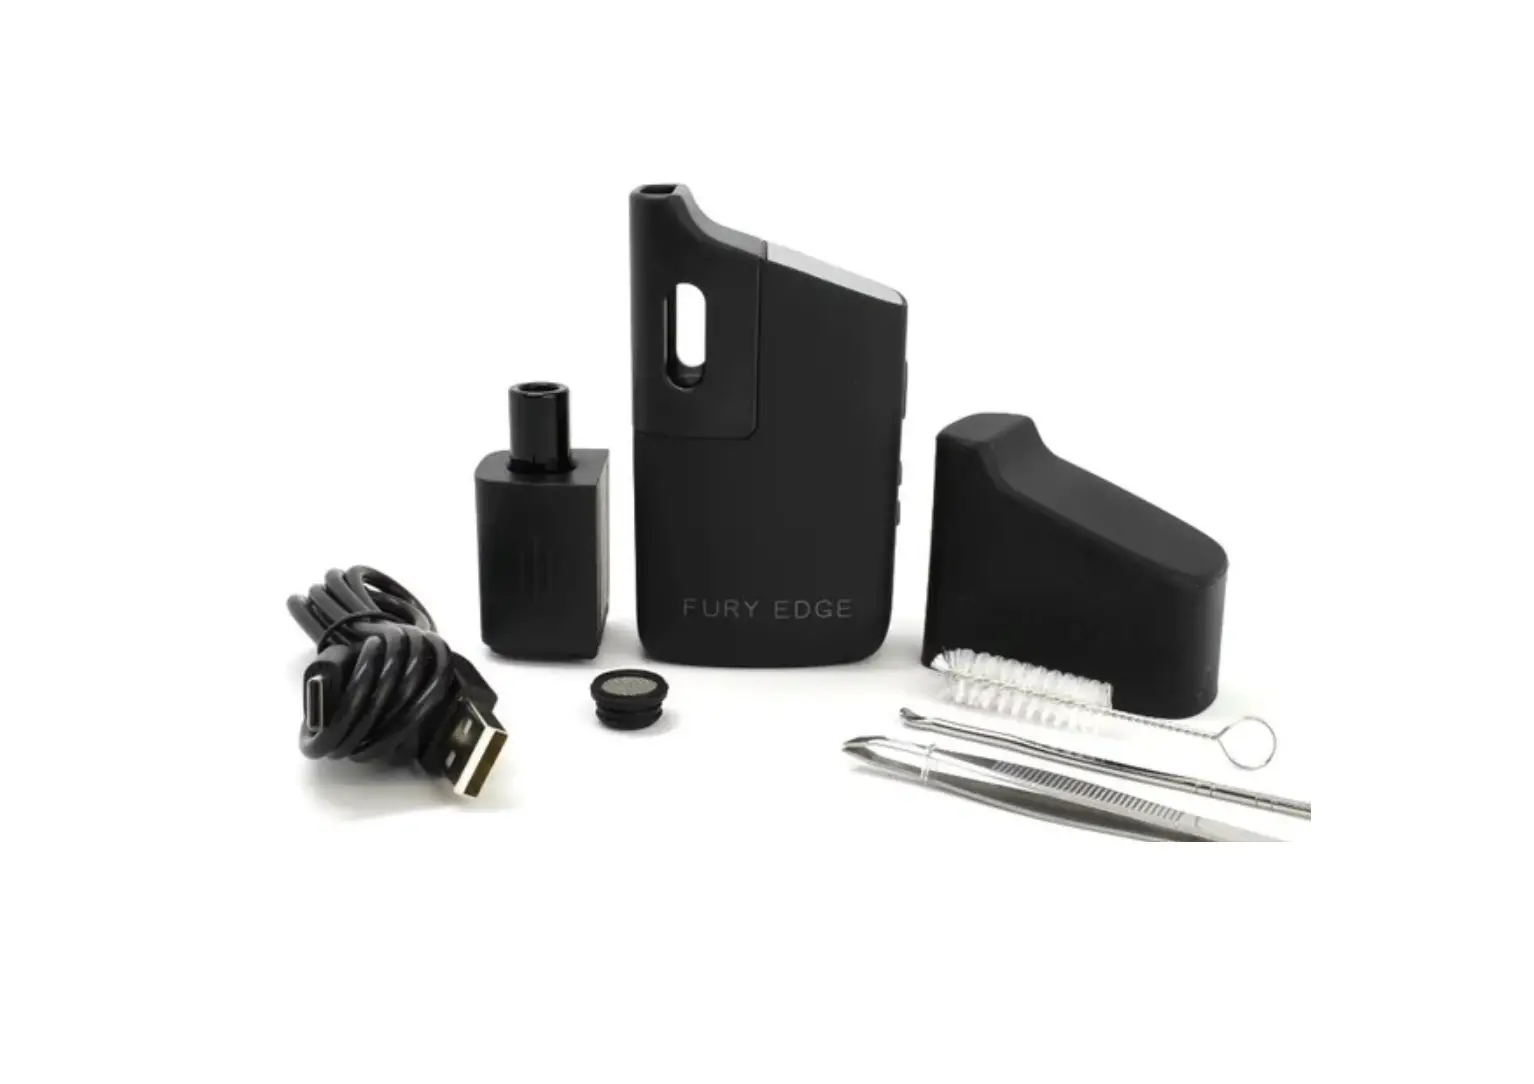
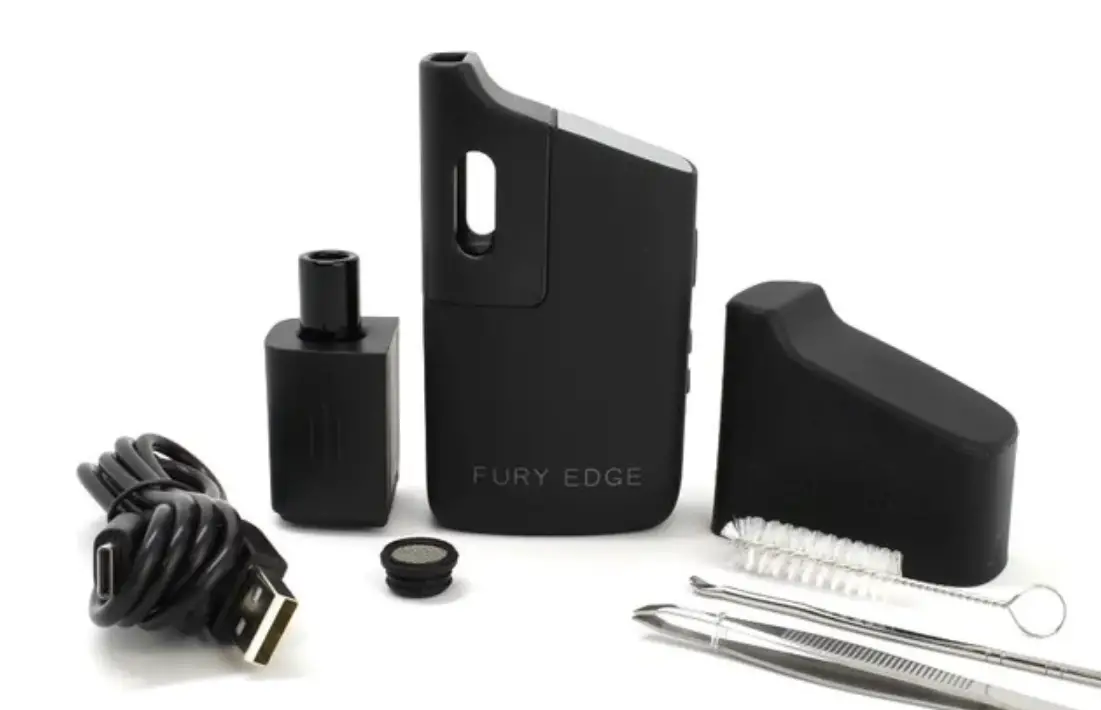
Included in the Box
|
|
|
|
|
|
|
|
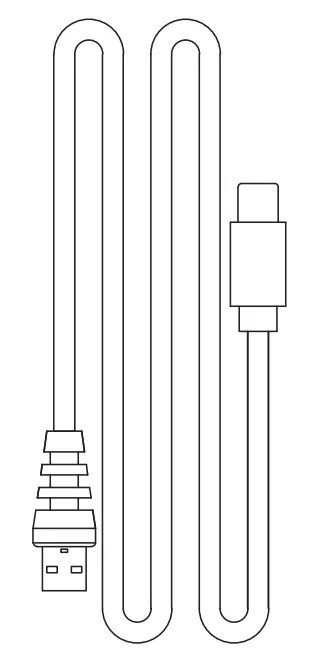 USB-C Cord
 Silicone 0-Ring and Screen
 Tweezers
 Tool
Tool Brush
Brush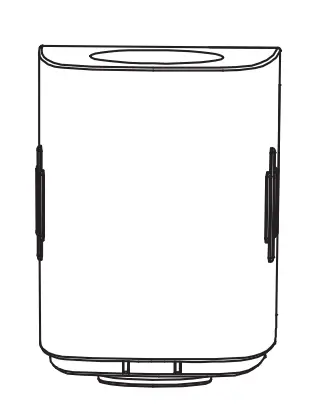 Accessories Attachment
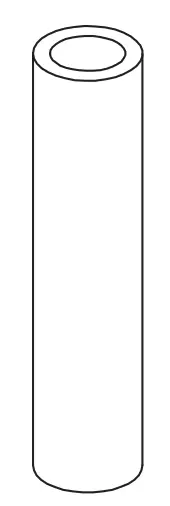 Glass Stem Mouthpiece
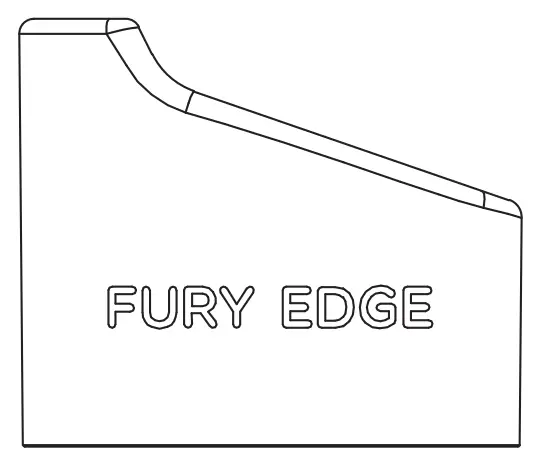 FURY EDGE SE Cover
User Tips
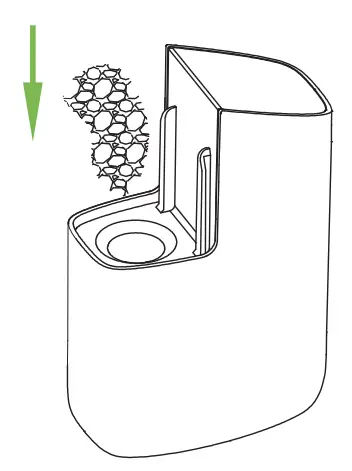
- For best results, fill the chamber halfway or more and do not pack your material. Not packing allows the hot air (convection) to flow easily through your herbs for even heat distribution and extraction.
- Turn off the unit when you are finished by clicking the Power Button 3 times rapidly within 2 seconds. This will preserve your battery life and your herbs.
OLED Digital Screen Displays
|
|
|
|
|
|


Specifications
| Size | 51.8 x 27.4 x 90.5mm |
| Battery Capacity | 2300 mAh Li-Polymer |
| Charging Voltage/Current | 5V/1.5A |
| Turn On/Off | Press 3 Times Rapidly |
| Auto Shut-Off Timer | Adjustable Between 3-7 Minutes |
| Battery Low | Low Battery Symbol Will Display |
| Temperature Range | 280°F – 430°F / 138°C – 221°C |
| Charging Time | Less Than 2 Hours |
| Flip Display Screen | Press Power Button For 3 Seconds |
| Battery Check While Unit is Off | Press Power Button Once |
WARNING:
Always store your FURY EDGE SE in a dry place to protect it from the effects of weather.
KEEP OUT OF THE REACH OF CHILDREN AND/OR UNQUALIFIED PERSONS.
Using the FURY EDGE SE
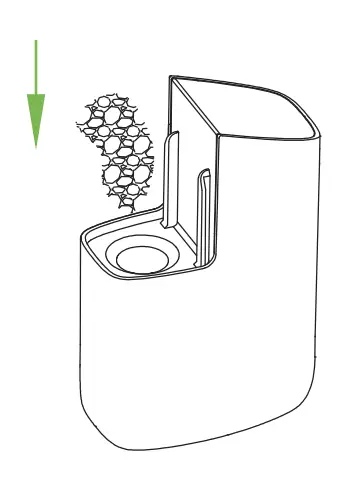
- Load your dry herbs into the chamber and replace the mouthpiece.
- Click the Power Button 3 times rapidly to turn on/off. The Unit will vibrate.
- The OLEO screen will display the Unit’s current temperature.
- Your Device will vibrate once your desired temperature is reached.
- The Unit will automatically shut off to preserve your battery and your herbs. To adjust the Auto Shut-Off Timer see page 4.
- To reactivate the Unit – click the Power Button 3 times rapidly.
KEY FEATURES
 |
|
|
|
|
|
|
 AIR HEATING
 HEATSUPIN 25SECONDS
 ADJUSTABLE 280°F-430°F
 SB-CCORO
 BATTERY LEVEL
 ADJUSTABLE TIMER
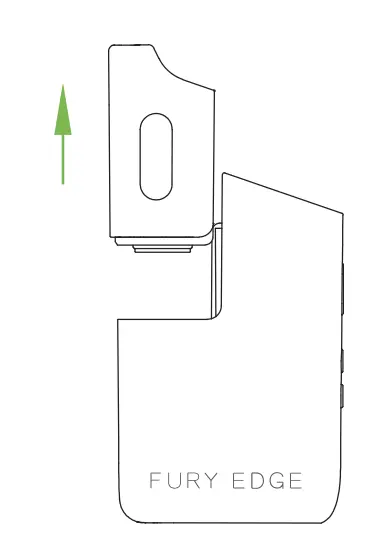
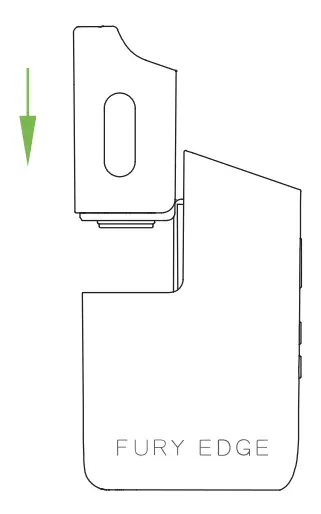
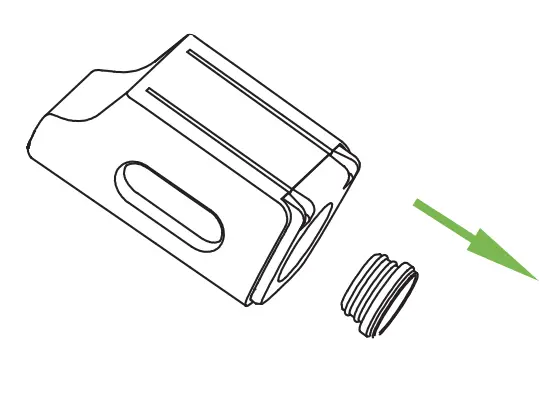
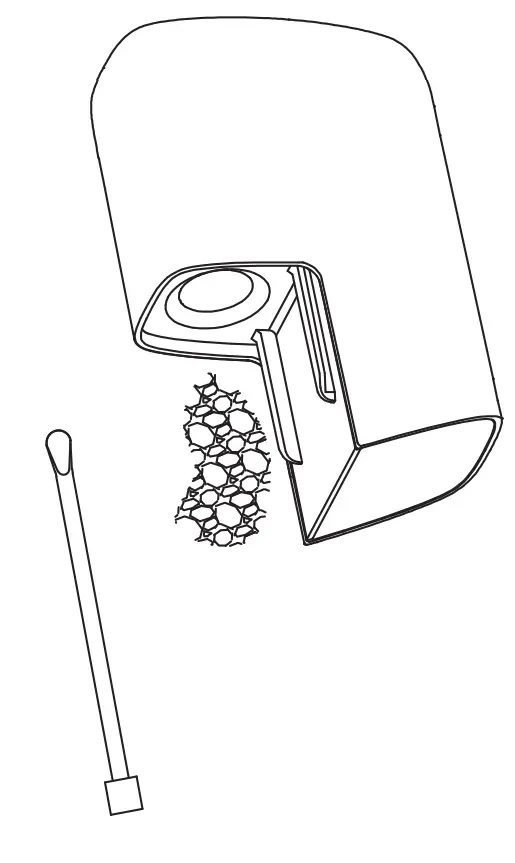
How to Load Dry Herbs
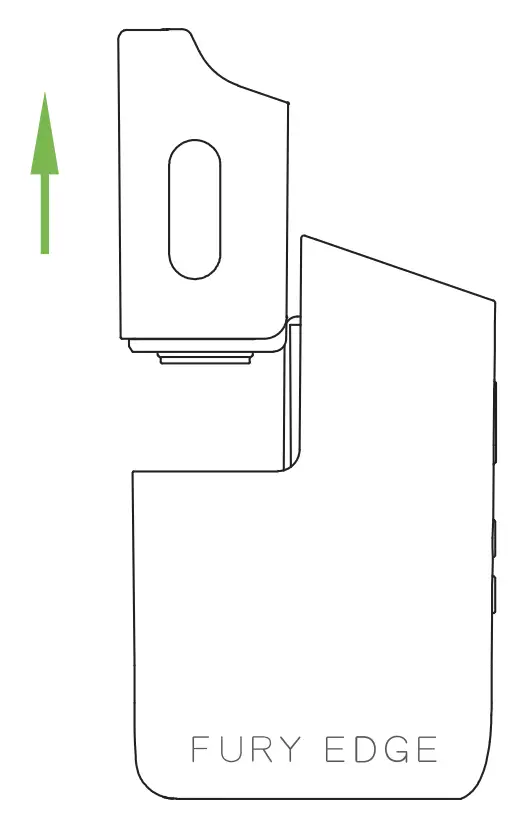
- Push out the mouthpiece

- Load herbs loosely

- Replace the mouthpiece & you are ready to vape

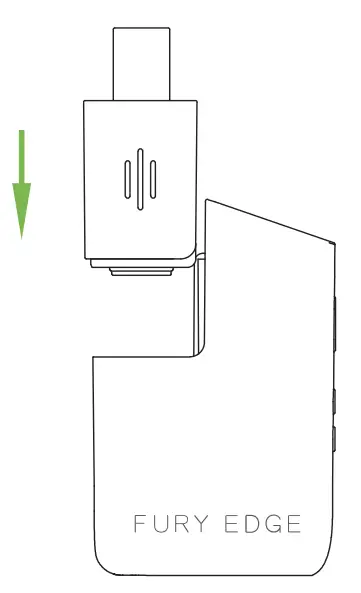
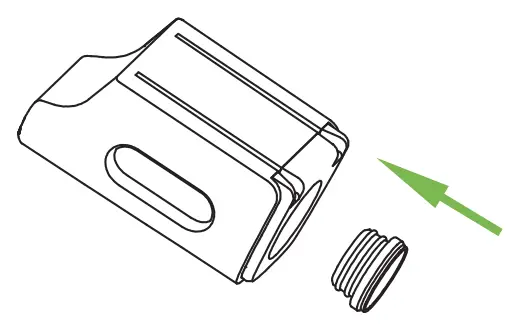
How to Use The Accessories Attachment
- Push out the accessories attachment

- Load herbs loosely

- Replace the accessories attachment & insert the glass mouthpiece


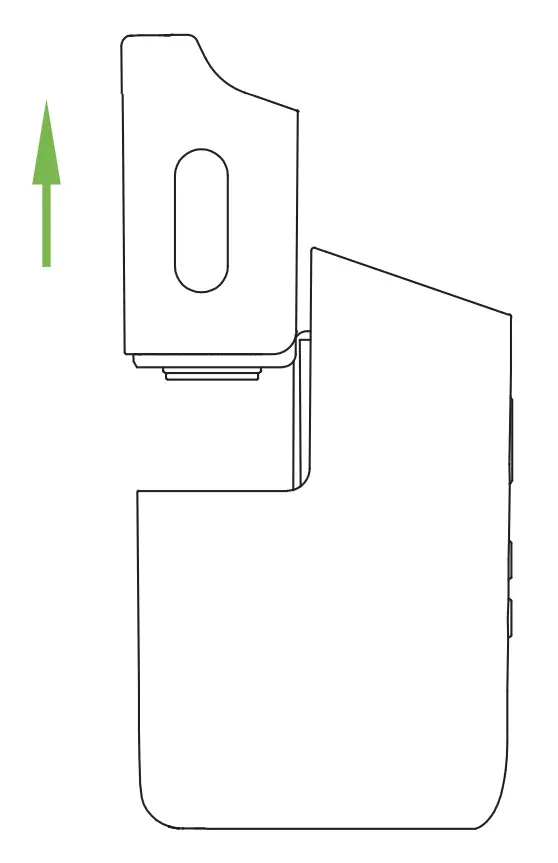
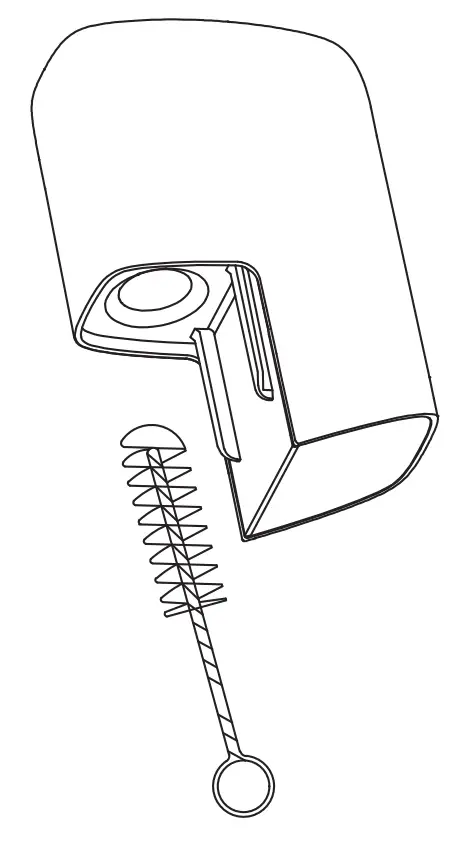
How to Clean or Replace the Screen and O-Ring
- Remove the mouthpiece

- Remove the O-ring & screen

- Replace the new or cleaned O-ring and screen

- Put the O-ring and screen back onto the mouthpiece

How to Clean
- Remove the mouthpiece

- Remove the material from the chamber

- Use the cleaning brush to remove the remaining material from the chamber

Deep Cleaning – Recommended Every Week
- Remove the mouthpiece.
- Empty the chamber.
- Remove the silicone O-ring & screen from the mouthpiece.
- Remove the screen from the O-Ring and brush them using ISO alcohol – then rinse with water.
- Dampen a Q-tip with ISO alcohol and swipe out the chamber & glass mouthpiece.
Do Not drip any liquids into the chamber. - Press the screen & O-ring back onto the mouthpiece.
- Put the mouthpiece back onto the unit and turn it on for 2 minutes to burn-off any cleaning residue.


 Combi Boiler Instruction Manual")