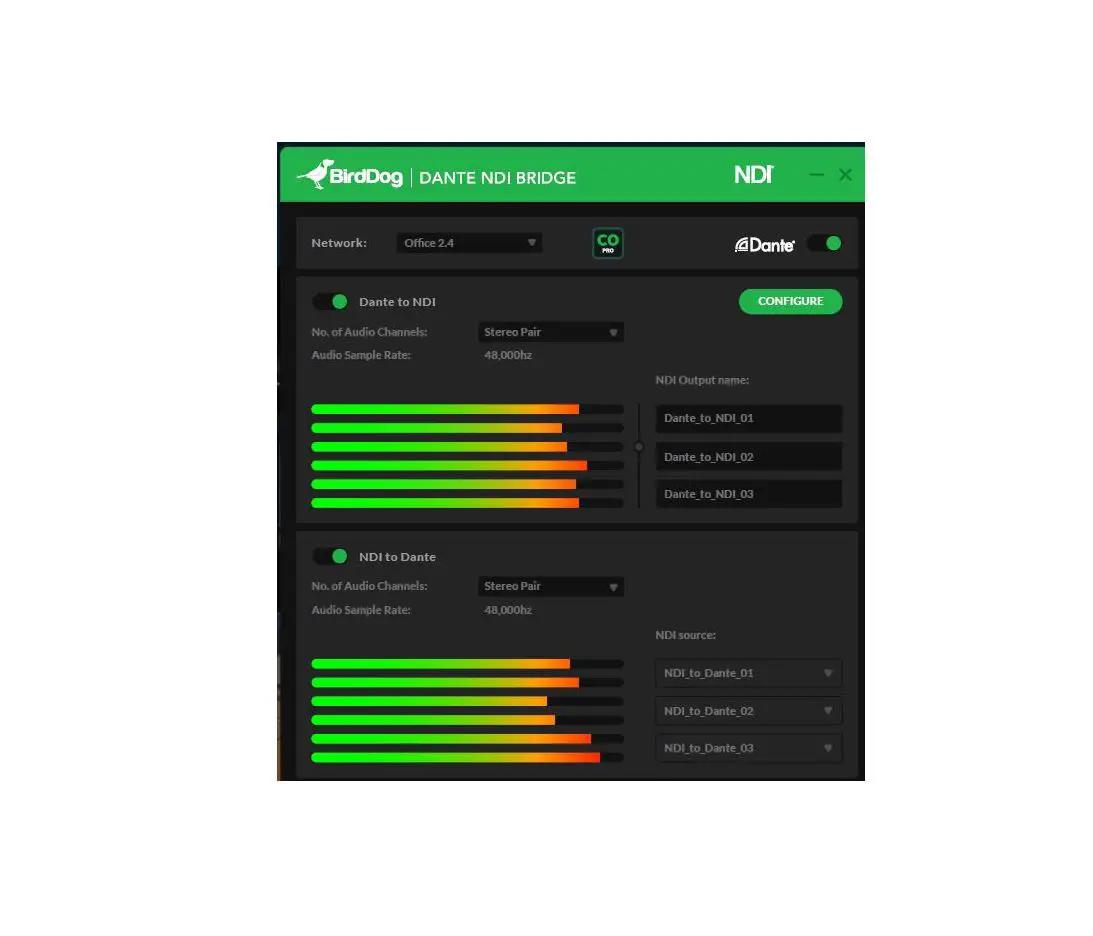
BirdDog Dante NDI Bridge Windows 10 Application
A SHORT WALK THROUGH DANTE NDI BRIDGE
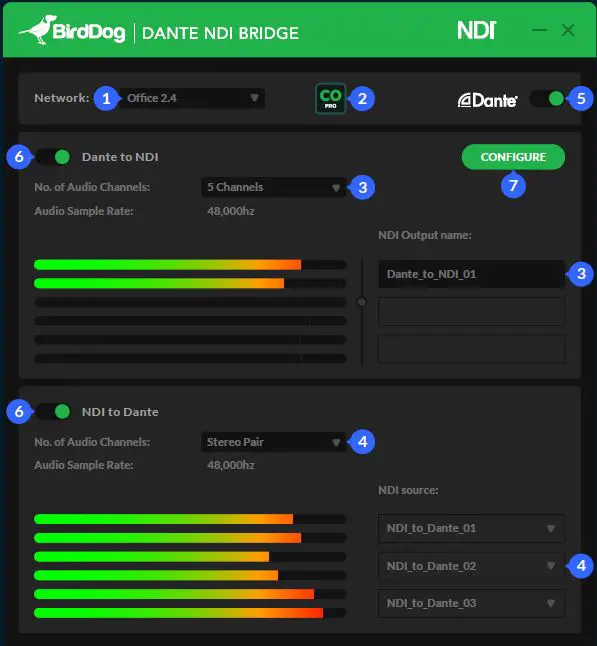
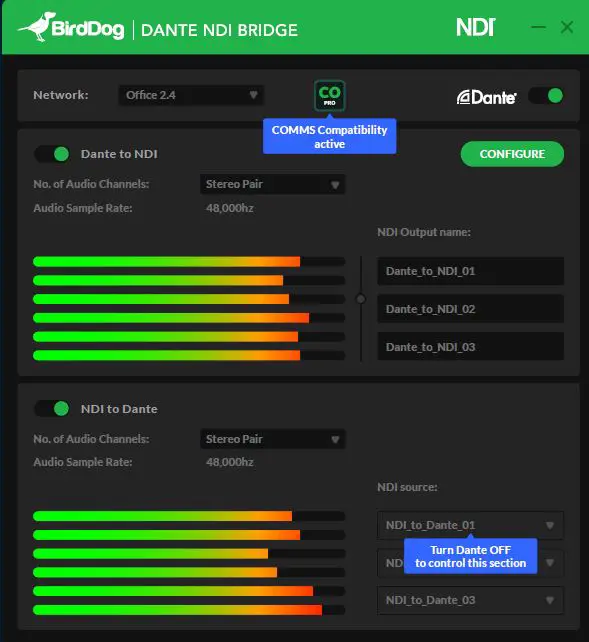
- Choose your Network Adaptor (your Dante Network).
- Activate or Deactivate the BirdDog Comms Pro compatibility.
- Dante to NDI
- If No. of Audio Channels is set on “6 Channels”, you need to choose an NDI Output Name for your Dante to NDI.
- If No. of Audio Channels is set on “Stereo Pair”, you need to choose all 3 NDI Output Names for your Dante to NDI.
- NDI to Dante
- You need to select which NDI Source you prefer to use.
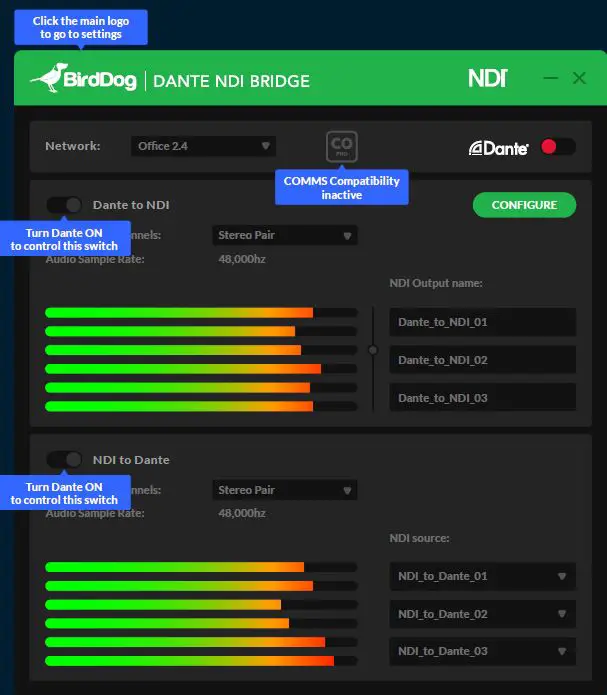
- Once the above settings are complete you can activate Dante with the toggle.
- Once running you can turn ON/OFF Dante to NDI or NDI to Dante (these functions are only active once Dante is turned on as per instruction
NOTE:
To modify the NDI Output Name or the NDI source, you need to turn OFF the Dante main toggle ( )5 To access the free Dante Controller just press the CONFIGURE button on the top-right side. ( ).7 Dante Controller is required to be running somewhere on the network.

IMPORTANT NOTES
Ensure Internet connection Install NDI Tools click here Install Dante Configuration click here


