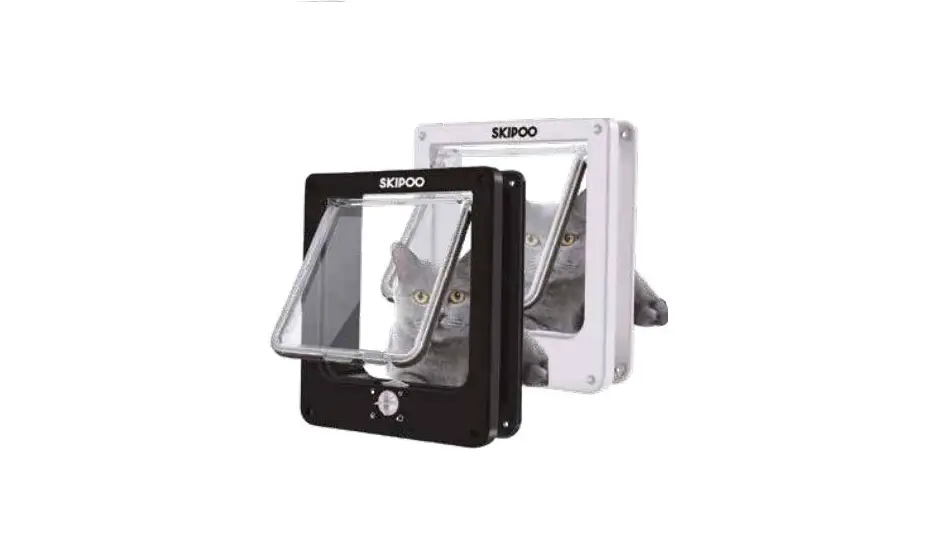
SKIPOO B07P5RJDDT Cat Flap 
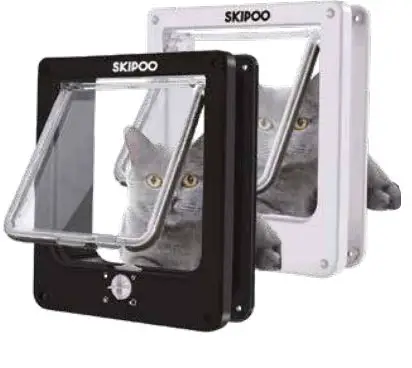
Cat Flap Diagram
Product Overview
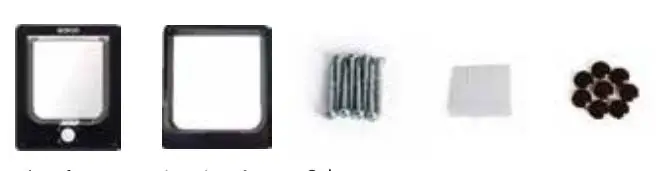
- Front door frame
- Back door frame
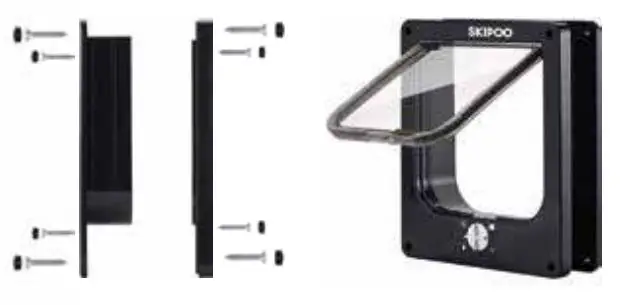
- Screws
- Double-sided tape
- Screw caps
Operating Instructions
4 way-locking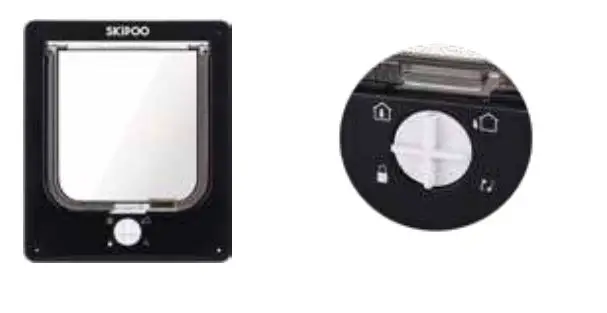
- The arrow is pointed at the lock position and is completely closed.
- The arrow is pointed at the cat outside the door and can’t enter

- The arrow is pointed at the cat inside the door and can’t go outside.
- The arrow is pointed at the circular position and is completely open.

Installation Cat Flap
Required: Pencil, Ruler, Electric saw, Drill and Screwdriver.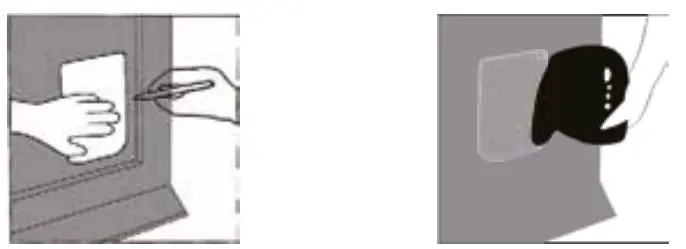
- Define the position of the cat flap
and mark this position with a pencil. - Drill holes (12mm) in all the corners
and cut out the hole with an electric saw.
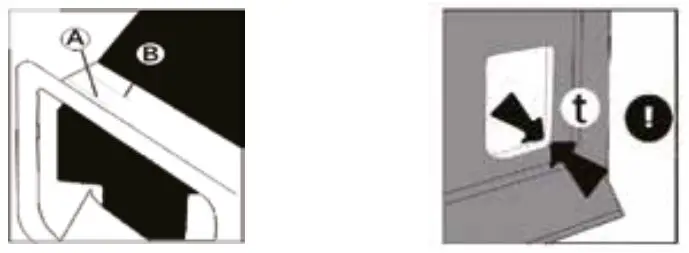
- If the tunnel is too thick, use a cutting machine to cut through the tunnel along the line A or B.
- After the hole is cut out, use
sandpaper around the edges.
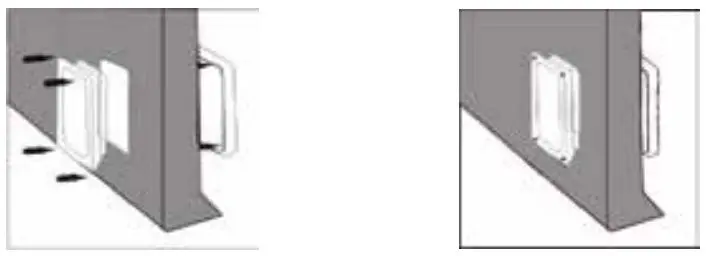
- Place the cat flap in position by using double-sided tape. Put the screws in place and tighten them with a screwdriver.
- Place the screw caps on the screw holes and press on them.
The Skipoo cat flap is now ready for use!

Matters Need Attention
- If the front door is not a solid wooden door or it is a composite door, please prepare a wooden strip in advance to block the doorway.
- Remember to protect the front of the cat flap during installation to prevent scratches.
- If the outdoor temperature is below minus 20 degrees Celsius, please attach protective film on the cat flap to prevent it from breaking.
- Always were safety goggles during installation.


