LOREX B241AJD Series Wired Video Doorbell User Manual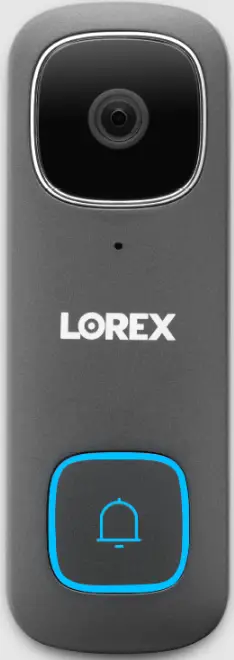
Package Contents
- 1080p Wired Doorbell

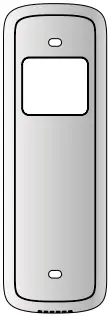
- Mounting Bracket

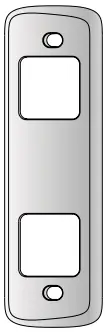
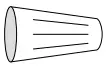
- Horizontal Wedge 15

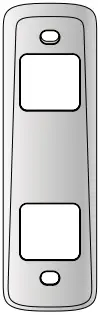
- Vertical Wedge 5°

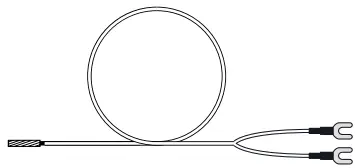
- Connecting Wires

- Wire Caps (x3)

- Anchors & Screws (x2)

- Reset/Release Pin


Tools Needed
- Drill
- Screwdriver
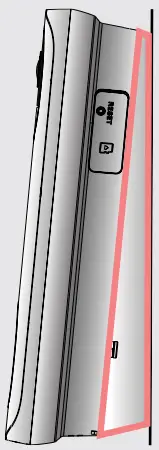
Overview
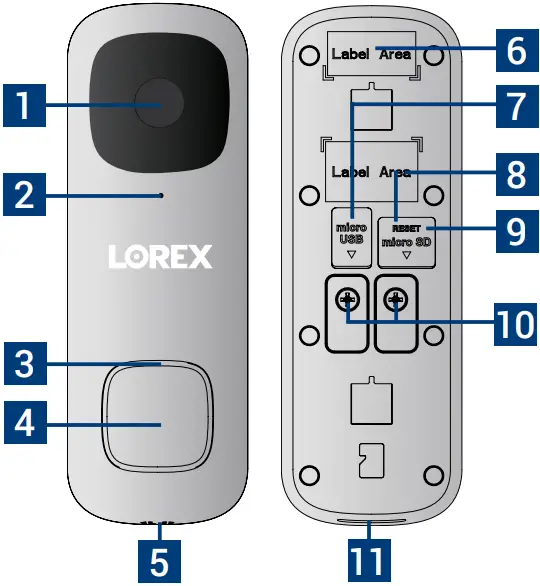
- Camera
- Microphone
- Status Indicator
- Call Button
- Night Light
- QR Code
- USB Port
- MicroSD Card Slot
- Reset Hole
- Power Terminals
- Speaker
Status Indicator
| Device initiating | |
 | Ready for network connection |
 | Pairing to the Lorex Home account / Event detected |
 | Device Ready |
 | 2-way talk |
 | Call ongoing |
 | Factory reset* |
 | Network connection failed* |
 | Firmware update in progress |

WARNING
![]() TURN OFF THE POWER AT THE BREAKER.
TURN OFF THE POWER AT THE BREAKER.
16-24 VAC is required. If you do not have this voltage, you will need the correct doorbell transformer or consult with a licensed electrician. Works with existing mechanical chimes, but not electrical chimes.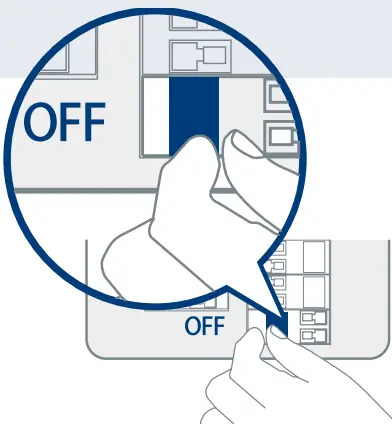
Setup Configuration
- Place the Mounting Bracket on the existing wiring with the arrow
 up, and then mark the holes.
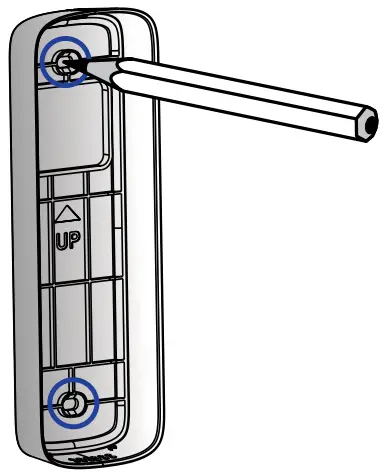
- Attach the Bracket with the provided screws.
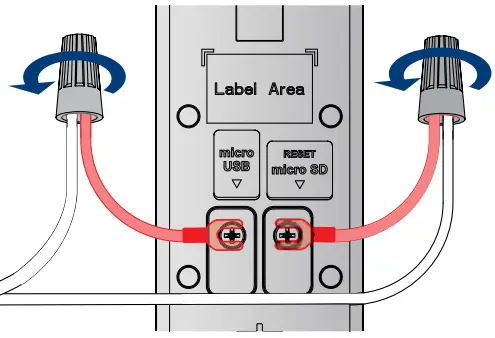
- Connect the Input and Connecting Wires using the Wire Caps.

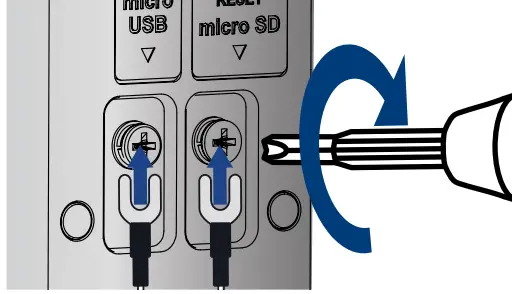
- Use a Phillips-head screwdriver to loosen the terminal screws, and then slide the Connecting Wires underneath the screws.
- Tighten the screws clockwise.

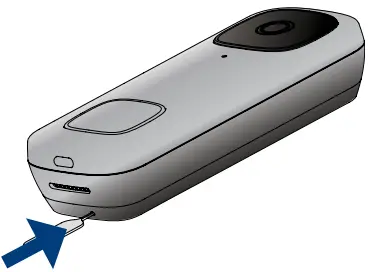
- Push the wiring back, and then press the doorbell into the Mounting Bracket until you hear a “click.”

- Turn the power ON at the breaker
- Download


- Tap
 in the app, and then follow the in-app steps to add your doorbell.


Optional Wedge
Align and place either one of the horizontal or vertical wedges to the Mounting Bracket. To change the direction of the angle, flip the horizontal or vertical wedge upside down.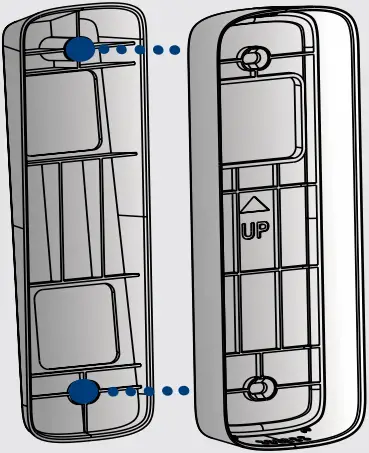
Horizontal Wedge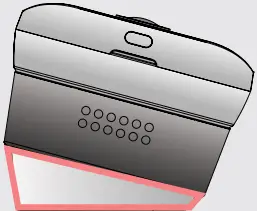
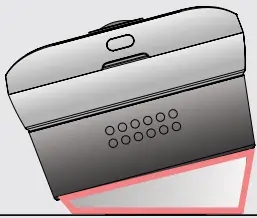
Vertical Wedge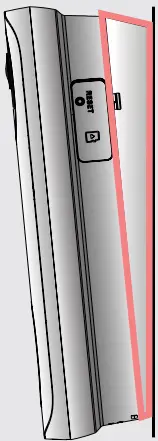
Need help?
For the Quick Start Guide and additional support material, scan the below QR code or visit:
help.lorex.com/B241AJSeries
Register your product
Please see our full Terms of Service and Limited Hardware Warranty Policy at:
Copyright © 2022 Lorex Technology Inc
As our products are subject to continuous improvement, Lurex reserves the right to modify product design, specifications and prices, without notice and without incurring any obligation. E&OE. All rights reserved.

This device complies with part 15 of the FCC Rules. Operation is subject to thefollowing two conditions:
- This device may not cause harmful interference, and
- This device must accept any interference received, including interference that may cause undesired operation.