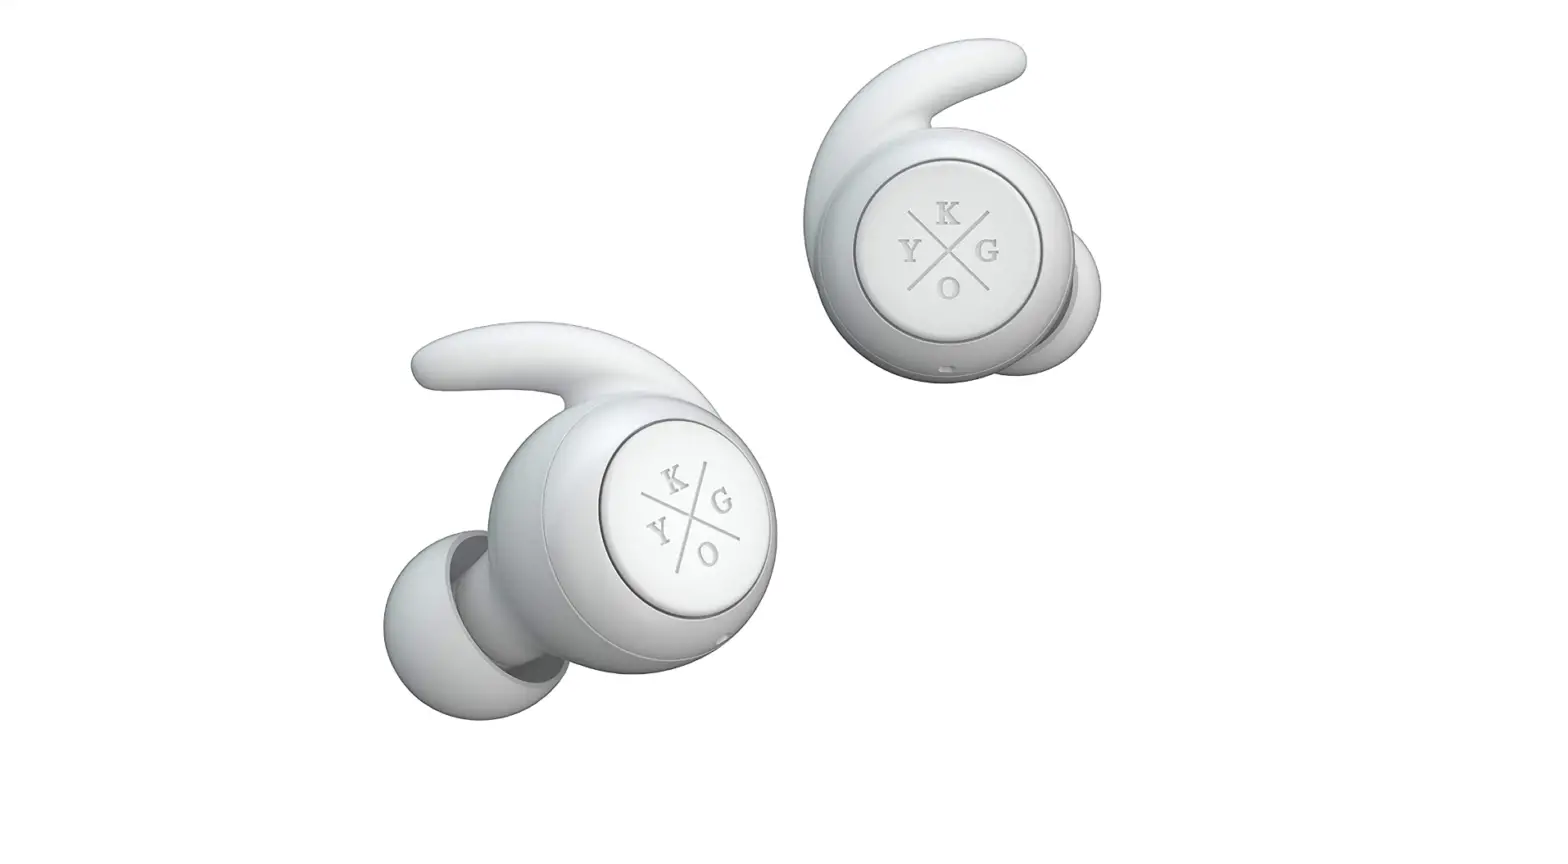

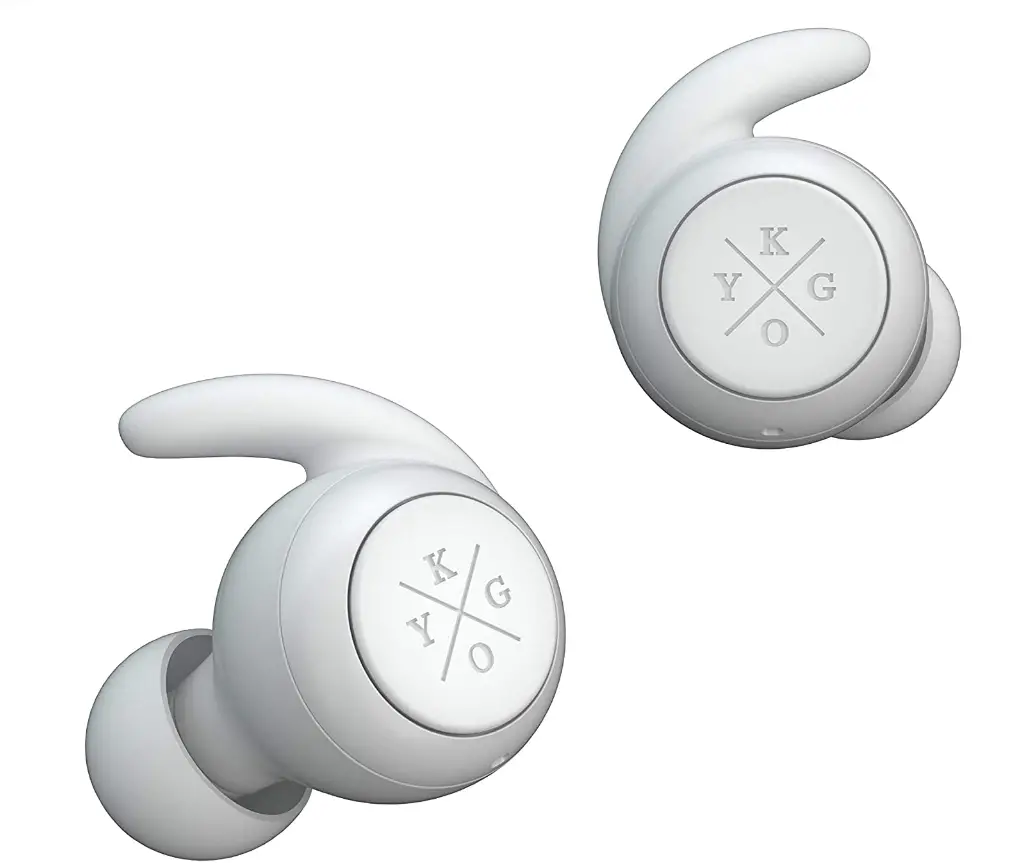
Kygo Life E7/900 | Bluetooth Earbuds with Charging Case, IPX7 Waterproof Rating, Built-in Microphone
Specifications
- Product Dimensions
2.28 x 2.28 x 1.26 inches - Item Weight
10.4 ounces - Batteries
3 Lithium Polymer batteries - Noise Control
None - Connectivity Technology
Bluetooth - Brand
Kygo Life
Introduction
With these very elegant earphones, which are perfect for any kind of physical activity or just everyday use, we’ve raised the bar for wireless technology. With the E7/900 Active, you get 3 hours of playback time and an additional 9 hours of battery life in your pocket when using the smart carrying case. You can do this so that you can listen to your favorite music all day long. One multi-purpose button makes it simple to perform all tasks, including changing music, adjusting the volume, and answering calls. The buds pair automatically, keeping them precisely in sync. Additionally, they are waterproof, so you can run in the rain or work out harder than usual knowing that they will hold up.
Getting Started
Congratulations on your new Kygo E7/1000 earphones! Before using this product, you should read this manual and familiarize yourself with the Bluetooth functions
of your mobile phone or other devices.
The Kygo E7/1000 earphones allows you to listen to your music wirelessly from your mobile phone, tablet, or other Bluetooth® enabled device. It delivers
powerful and clear sound. The built-in microphone also allows you to answer calls from your phone.
Precautions
Please refer to this Users’ Manual before using to ensure proper use. The contents stated herein may be modified from time to time for better service as the product properties and functions are subject to change without prior notice. For the sound performances of the product, never use it in too cold, too hot, too dusty or humid places, especially:
- Near the heater or high-temperature services or solarization.
- In hazardous locations or in places apt to fall.
- Never disassemble the combination audio.
Do not use any diluents or volatile liquids to clean your headset and make sure to use only a charger from the qualified manufacturer. In order to avoid electric shocks and product damage, do not attempt to dismantle, repair or modify the product This product or its battery cannot be disposed with the household waste, therefore it must be returned to a collection point to be recycled. Please check with your local authorities for details.
Features
- Bluetooth 5.0
- Sound quality with AAC® codec
- Waterproof (IPX 7)
- Microphone
- Accessories included: Freebit sport wings, Comply™ Foam ear tips and silicon tips
- Voice command
| Status |
Headset performance |
| The single pairing headset (R) | After the headsets are paired with each other, the indicator light
of the right headset will flash red and blue. When the headsets are paired with a device, the indicator light flashes blue once every five seconds. |
| True Wireless pairing | After the headsets are paired with each other (TWS pairing), the
indicator light of the right headset will flash red and blue. When the headsets are paired with a device, the indicator light flashes blue once every five seconds. |
| Standby Mode |
The indicator light of the right headset flashes blue once every 5 seconds |
| Call Mode | When in a call, the indicator light of the right headset flashes red
every 5 seconds |
| Headset Charging | The indicator light of the headset is red |
| Mode | when being charged, and
will turn off automatically after being fully charged Charging Base |
| Charging Mode | The indicator lights of the charging base flashes when being
charged, and four lights are on after being fully charged |
| Power On State | The indicator light flashes blue for 3 times and then flashes red
once every 5 seconds. |
| Power Off State | The indicator light flashes red for three times. |
| Low Voltage Alarm State | The indicator light flashes red once every
20 seconds |
Wearing guide
- STEP 1 Remove the headset from the charging case and choose between the included silicone or Comply™ Foam eartips and the Freebit sport wings included in the package. We suggest you test the different sizes to find the one that fits your ear best.
- STEP 2: Insert the headset in your ear and slightly rotate the headset until it is firm.
- STEP 3: Make sure the headset is placed properly into the ear before use.
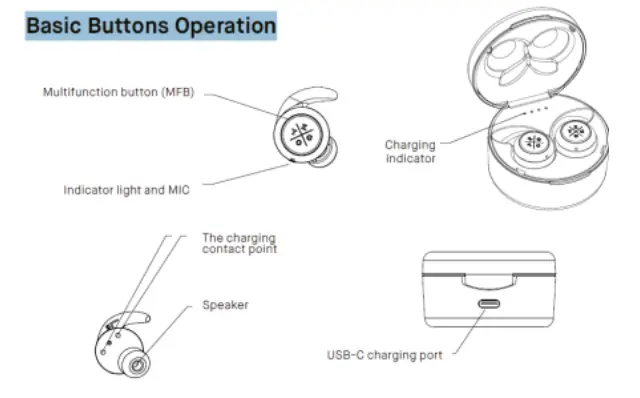
General function
Switching on / off on
METHOD 1
In OFF MODE, press and hold headset(R) and headset(L) MFB for 2 seconds to turn on. In ON MODE, press and hold headset(R) or headset(L) MFB for 5 seconds to turn off.
METHOD 2
Pick up the headsets from the charging base to turn on automatically. Put them back to power off and charge the headset.
True Wireless Pairing
Method 1
Pick up the two headsets from the charging base to power on and wait for 10 seconds. The two headsets will now enter auto-pairing mode and connect with each other after a few seconds. The headset (R) will blink red and blue and prompt “pairing”. Then open the device’s Bluetooth configurations and select “KYGO E7/900 – R”.
Method 2
On OFF state, press both MFB buttons for 2 seconds to power on and wait for 10 seconds. The two headsets will now enter auto-pairing mode and connect with each other after a few seconds. The headset (R) will blink red and blue and prompt “pairing”. Then open the device’s Bluetooth configurations and select “KYGO E7/900 – R”.
After the headset is successfully paired through method 1 or 2, the right headset prompts “connected”. The first time you pair with a new device the earbuds need to be positioned next by one another before they can connect with each other
Reconnect
Method 1
(if the headset was placed in the case without being turned off): Pick up the headsets from the charging base to power on -> After a few seconds the
two headsets will automatically connect with each other -> the headset will pair automatically with the most recently paired device within Bluetooth reach.
Method 2
(if the headset was turned off with the MFB before being put in the case): Press and hold the MFB buttons for 2 seconds to power on -> After a few seconds the two headsets will automatically connect with each other -> the headset will pair automatically with the most recently paired device within Bluetooth reach.
Note
When reconnecting the headset will prompt “connected”, “left channel” and “right channel”. When it successfully connects to a device, the right headset prompts “ connected”.
Adjusting the Volume
In call mode or music playing mode, short press MFB of the headset(R) to increase the volume; short press MFB of the headset(L ) to reduce the volume.
Forward/Backward
In call mode or music playing mode; long press MFB of the headset (R) for 2 seconds and release your finger for going to next song. Long press MFB of the headset (L) for 2 seconds and release your finger for going to the previous song.
Delete Pairing Records on the Headset
On OFF MODE state, press MFB button on both headset (L) and headset (R) for 10 seconds (OFF MODE→ON MODE(2 seconds)→Delete pairing records (10 seconds), until hearing the Beep voice for 3 times, and the red/blue light flashes twice at the same time.
Answering /Ending a Call Headset (R)
When call income, short press MFB of the headset (R) or headset (L) to answer calls;in a call mode, long press MFB of the headset (R) or headset (L) for 2 seconds to end a
call.
Rejecting a call
Press and hold MFB of a headset(R) or headset (L) for 2 seconds to reject the call, the speaker prompts “beep” twice. Please note that this function only supports mobile phones with a voice dialing function.
Music Pause/Playing
On standby mode, shortly press headset (R) or headset (L) to play music. On music playing state, double click headset (R) to PAUSE music. Double click (R) again to play music. But headset (L)cannot pause independently.
Voice Dialing
On standby mode or music playing state, double-click the secondary ear (L) function key, which can be heard “Du”. Please note that this function only supports mobile phones with a voice dialing function.
Two-call
(Only support the mobile phone which has the function of handling two phones.) When you are answering a call, there is another call coming :
- Long press and hold MFB of the headset(R) for 2 seconds to end the current call and answer an incoming call;
- Short press MFB of the headset(R) to hold the current call and answer the incoming call.
- After the second implementation, short press MFB of the headset(R) to switch between two calls;
- After the second implementation, long press MFB of the headset(R) for 2 seconds to end the current call, and long press MFB of the headset(R) for 2 seconds to end the other call.
Note
All the above operations have to respect the precondition that the Phone supported Bluetooth hands-free profile V1.5 and Phones are running under call holding function (Network services) from telecom.
Battery charging
Charging Ways of Headset
The indicator light of the headset is red when being charged, and will turn off automatically after being fully charged. Put the headset (L) (R) to the corresponding position in the bottom of the charging base. The earbuds charge automatically when placed in the base.
Charging Ways of Charging Base
Use the USB-C charging cable to charge. The indicator lights of the charging base flash when being charged, and four lights are on after being fully charged. Use the USB- C cable to connect to a computer.
- Note 1: Check whether the charging device is suited to the headset or not.
- Note 2: Use only the supplied USB-C charging cable to charge the headset. The use of other equipment may harm the product and cause danger.
- Note 3: Do not attempt to force open the built-in battery as this could damage the headset
- Note 4: A fully charged headset will lose its power automatically if left unused. It is recommended to charge the headset each three months.
- Note 5: Do not leave the headset in too hot or too cold condition. This may affect the headset’s operations although it is fully charged
- Note 6: Do not dispose of the headset into fire or water.
Re-connecting to Bluetooth® devices
Every time the headphone is switched on, it will connect to the nearest and the last connected device automatically. When the headphone is in standby mode and doesn’t connect to any device, short press the MFB button and it will connect to last connected device automatically.
Troubleshooting
| Faults | Reasons | Solutions |
| Cannot turn on | low battery protection | Charging headsets for 2-3 hours |
| Can not turn on by picking up the headset /No indicator light when headset being charged | Charging base low battery protection | Charging both the headsets and
charging base for 2-3 hours |
| No sounds after pairing | Wrong pairing | Pairing again |
| The two headsets TWS pairing failure/TWS paired successful but can not find the headset(R) | Too many pairing records | Delete pairing records according to user manual. |
| Charging base without indicator
light when charging | DC power supply
doesn’t output power | Check whether the USB-C charging line is plugged |
| Turning off automatically | Low battery | Charging headset for 2-3 hours |
| Headsets without indicator light when | The headsets couldn’t being charged in | 1)Checking headset charging interface |
| charging | charging base | whether has touched to POGO PIN of charging base and the location
is correct or not. 2)Charging for charging base. |
| Headset echo | Volume is too loud or environment is noisy | Adjust the volume at phone or change a place |
| Noise in call | Environmental interference caused or distance
between headset and mobile is too far | Change a place or move to close the
headset and mobile |
| Low voice of the calling party | Wearing headset is wrong |
Adjusting wearing position of headset |
| The headset reconnected with mobile
phone after put back to the charging base | The charging base without power, the headset will auto turn on and paired |
Charging for charging base |
| Left and right earbud don’t connect with each other. | Left earbud was paired first. | Delete pairing record on headset,
press MFB button for 10 sec. |
Water resistance
The Kygo E7/1000 are waterproof under classification IPX7. This means that the earbuds can tolerate 30 minutes submersed in water up to 1 m (3 feet). The charging case is not waterproof and should not be in contact with water. Kygo E7/1000 has been tested under controlled laboratory conditions with a rating of IPX7 under IEC standard 60529. Waterproof are not permanent conditions and resistance might decrease as a result of normal wear. Do not attempt to charge a wet headset. Liquid damage not covered under warranty.
Warning
NOTE
This equipment has been tested and found to comply with the limits for a Class B digital device, pursuant to part 15 of the FCC Rules. These limits are designed to provide reasonable protection against harmful interference in a residential installation. This equipment generates uses and can radiate radio frequency energy and, if not installed and used in accordance with the instructions, may cause harmful interference to radio communications. However, there is no guarantee that interference will not occur in a particular installation. If this equipment does cause harmful interference to radio or television reception, which can be determined by turning the equipment off and on, the user is encouraged to try to correct the interference by one or more of the following measures:
- Reorient or relocate the receiving antenna.
- Increase the separation between the equipment and receiver.
- Connect the equipment into an outlet on a circuit different from that to which the receiver is connected.
- Consult the dealer or an experienced radio/TV technician for help
Changes or modifications not expressly approved by the party responsible for compliance could void the user’s authority to operate the equipment. This device complies with Part 15 of the FCC Rules. Operation is subject to the following two conditions:
- this device may not cause harmful interference, and
- this device must accept any interference received, including interference that may cause undesired operation.
Kit contents
- True Wireless earphones Kygo E7/900
- 3 pairs of silicone tips
- 3 pairs of Freebie sport wings
- 1 pair of silicon ring
- 1 pair of Comply™ foam ear tips
- Charging case
- USB- C charging cable
- User manual
Frequently Asked Questions
The headset (R) will signal “pairing” and blink red and blue. Then choose “KYGO E7/900 – R” in the device’s Bluetooth options. The right headset indicates “attached” after the headset has been properly paired using methods 1 or 2.
The headphones will enter pairing mode once you press and hold the MFB key for about 6 seconds. When in this mode, the LED will flash blue and red in alternating fashion. Choose “AV:LINK SBH03” from the list of Bluetooth devices on your smart device, and the LED will blink blue when the device is paired.
source for charging. The charging case’s front has an LED indicator that flashes red during charging and stays red when fully charged.
When the battery is fully charged, the RED LED is off. Turn on: Hold down the MFB for roughly 3 seconds, or until the LED begins to flash blue. To turn OFF, hold down the MFB button for roughly 3 seconds or until the LED begins to flash RED.
When your AirPods Pro or AirPods (3rd generation) are charging (showing an amber light) or fully charged, you may check by tapping the case while it’s on the charging pad (green light).
Restart the headphones’ power. They’ll automatically dial “B” from phone “A.” (the last one connected) On phone “A,” go to Bluetooth settings and choose Kygo Xenon to connect.
If the battery in your headphones is low, they might not be able to pair. Additionally, I’ve discovered that certain Bluetooth headphones stay on when in the case, which causes them to deplete to zero percent more quickly than you would expect. Even if they claim to have some battery left, try plugging them in and giving them a thorough charge before pairing.
You are referring to the middle of the number “3.” All of the functions are on the same side, which is fantastic. When connecting to your phone, the centre button also serves as the “answer and hang up” button.
The majority of cases have a lithium-ion battery that keeps the earphones charging until they are fully charged. The earbuds should always be kept on hand just in case.
Ensure that they are placed correctly on the charging case or stand. Some headphones are charged through a stand or case that has a cord attached to it rather than directly through a cable. If you experience this, check that your headphones are set up correctly so that they can receive a proper charge.


