![]()
![]() Vinyl Tile
Vinyl Tile
FLASH COVE INSIDE AND OUTSIDE CORNER INSTRUCTIONS
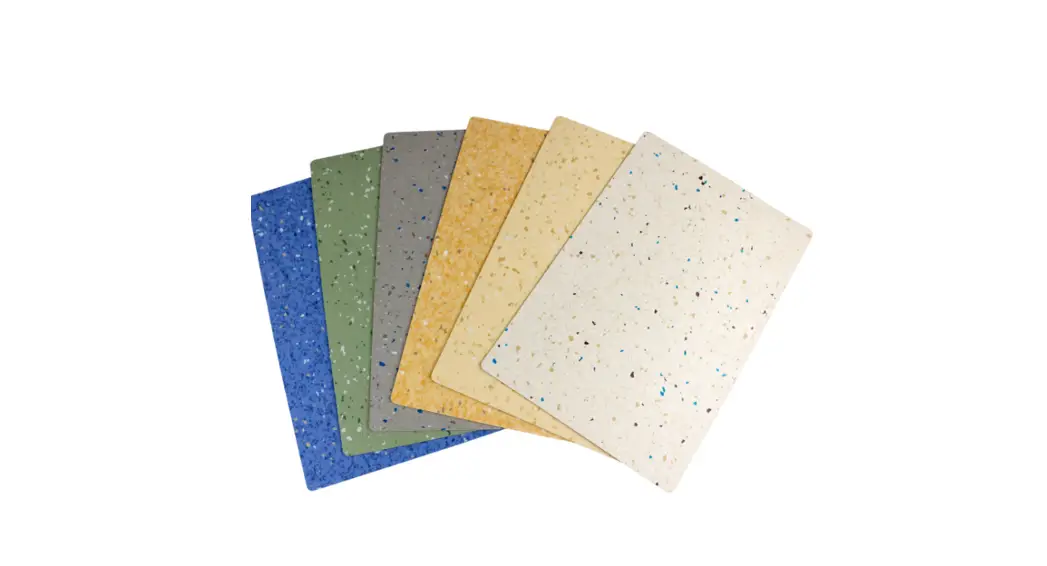
Creative Terrain HVT
Vinyl Tile Flooring
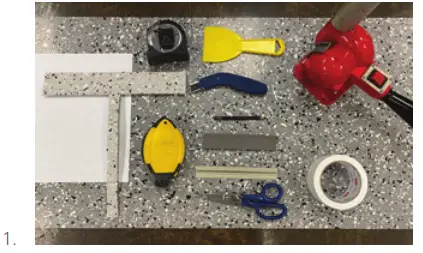
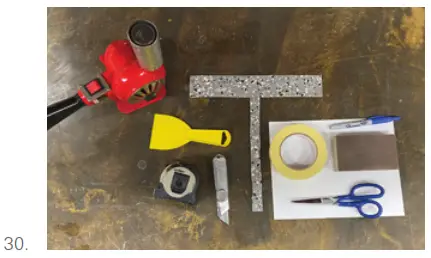
Tools used:
| • Heat gun • Tape measure • Utility knife • Marking tool • Scissors • Tile -T | • Cove cap • Cove stick • Masking tape 1-1/2” • Adhesive brush • Chalk line • Typing paper • Tile cutter |
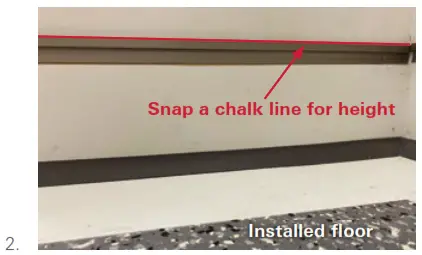 Snap a chalk line for the height of the flash cove you desire.
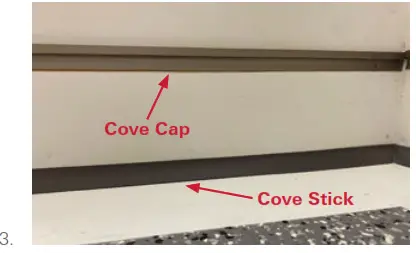 Install Cove Cap and Cove Stick, by using contact adhesive and 1 1/2“ masking tape, staples or brads will work to secure. Let the cove cap and cove stick dry overnight.
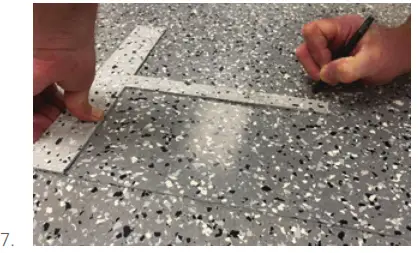
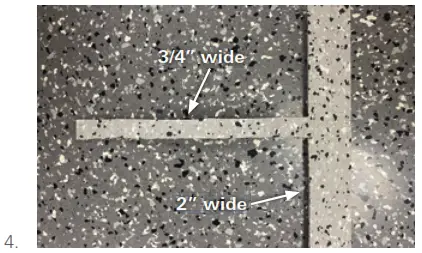 Take one tile and create a Tile – T is used to measure from the top of the cove cap to the edge of the installed tile.
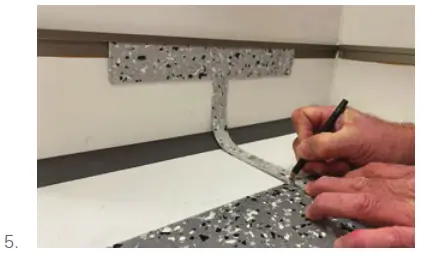
Using your Tile – T, push the flat edge under the cove cap following the radius until you meet the tile edge.

Using your pencil or marking device, put a mark on the Tile – T. This gives you the total height of the tile that will be formed.
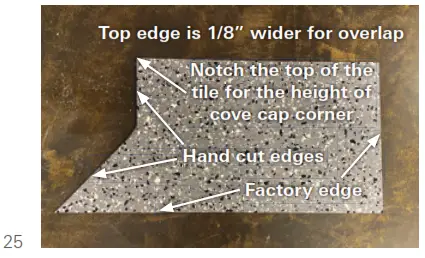
Transfer your pencil mark on the tile from the mark made on the Tile – T.
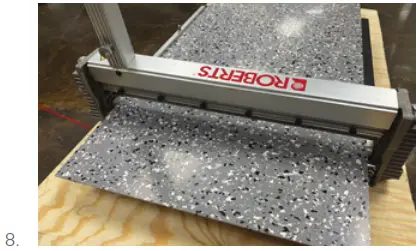
Cut your tile to the height transferred from the Tile -T.
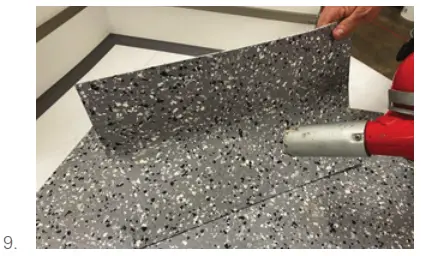
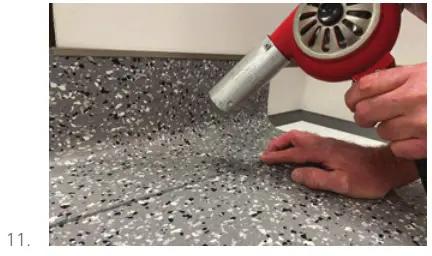
With your heat gun, warm the tile where the cove stick and the tile will meet until it becomes flexible. Keep the heat moving across the piece.
Insert the warmed tile under the cove cap and slowly move the tile in place so the bottom edge slides next to and flushes to the installed floor.
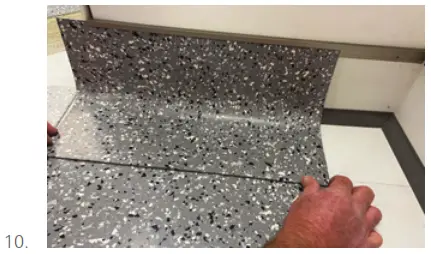
Repeat the process until you come to an inside or outside corner.
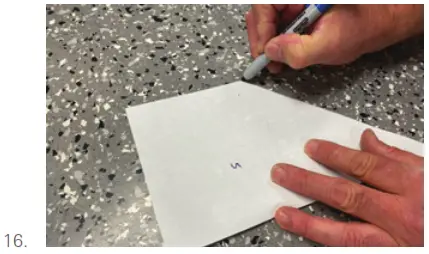
Have masking tape available to hold seams tight while the tile cools. Label each flash cove piece as you go so they don’t get mixed up.
Continue to warm the tile until you have the tile in place. Using 1 1/2” masking tape, tape the tile to the installed floor edge as it cools to maintain the shape.
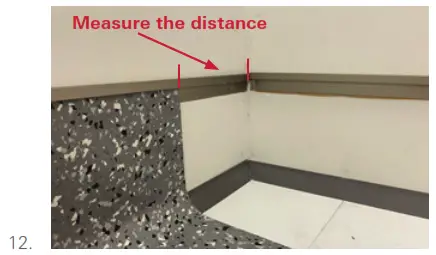
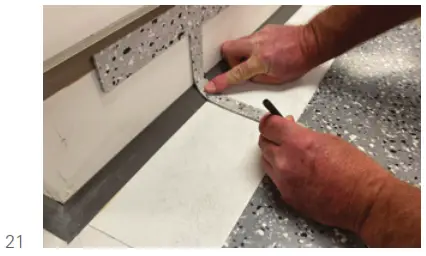
Measure the distance from the installed fl ash coved tile to the inside corner.
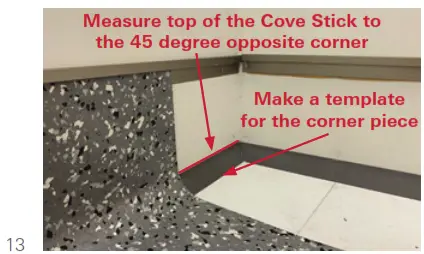
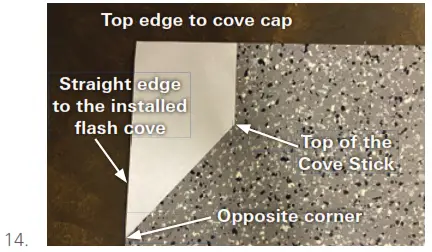
Make the first piece for the corner using a piece of paper to follow the contour of the wall.
Cut out the piece and warm up the piece with a heat gun and install the piece. Adjustments are not uncommon.
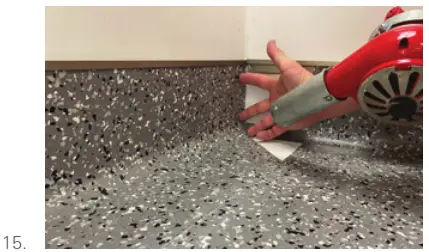
Warm your corner piece until it slides into place. Tape to secure and hold the warm corner piece in position until cooled.
This next piece takes a little more care to install. A little free forming is needed to make the radius of the cove fit tight. Several dry fits will happen until you get the right fit.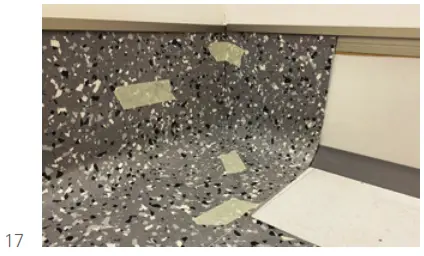
Warm up the corner piece, bending and adjusting the fit until the tile is in place properly. Tape the seams until the tile is cooled.
Continue to form the tile to complete your run of straight pieces. Let them cool, then apply the correct adhesive to all areas where the flash cove tile is positioned. Continue to tape the pieces together to hold a tight seam.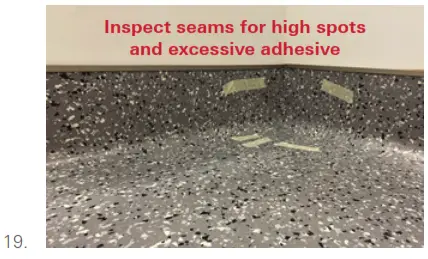
Hand roll and inspect any areas for seam movement. Clean and repair adhesive spills or seam blowouts. Follow clean-up instructions on the adhesive label.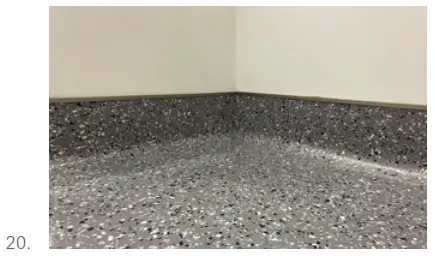
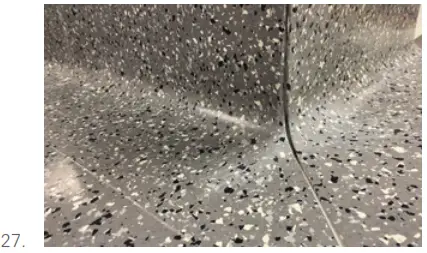
The finished inside corner should appear seamless.
Repeat the same process as above on straight runs by marking the Tile – T against the installed tile floor. Tight to the radius. This will influence the high edges during cooling.
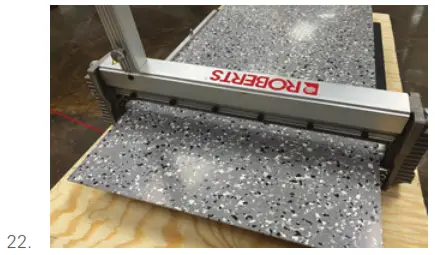
Cut the pieces to the proper height.
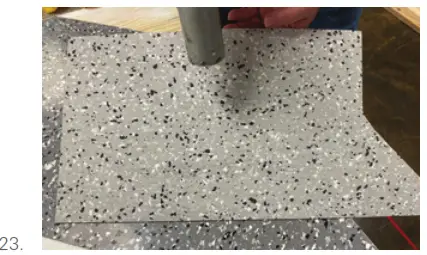
Warm up your tile pieces evenly on both sides across the radius area.
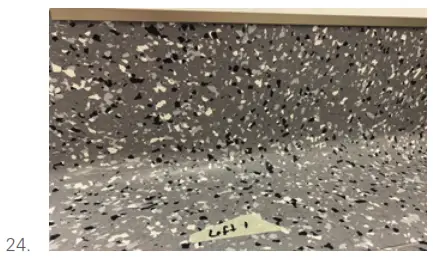
Install and mark each straight piece with masking tape.
It should be a snug fit at the corner.
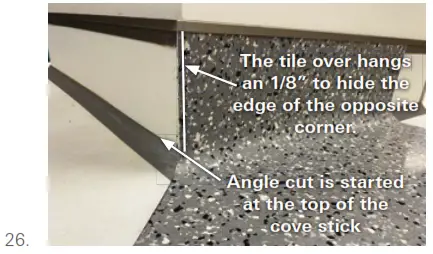
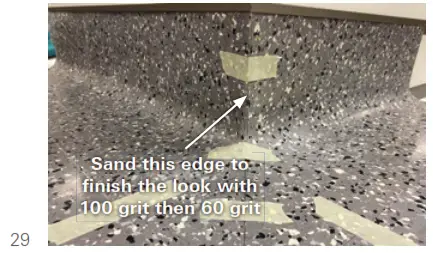
Dry fitting the outside corner pieces and modifications several times are needed for a proper fit.
Back cutting on the radius and having sandpaper to form the corner is helpful for a good look.
Refer to the inside corner installation for added details.
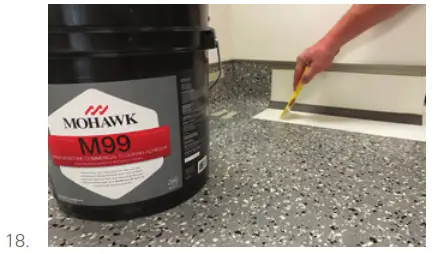
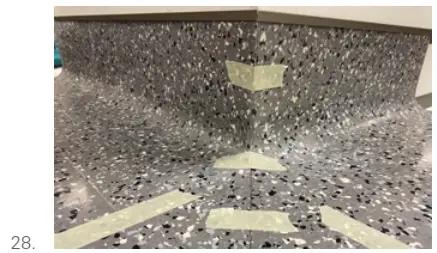
After the detail work is completed, use your adhesive and masking tape to hold the pieces in place until the adhesive has been set. A small hand trowel or paint brush can work. Be careful not to over-glue along seams.
| • Tile – T • Sand Paper 100 / 60 grit • Utility knife • Masking tape • Tape measure • Heat gun • Tile cutter | • Straight Edge • Hand Roller • Paint Brush • Hand Trowel • Pencil • Scissors • Typing paper |
©2021 mohawkgroup.com
800.833.6954 1614_Nov/2021
160 South Industrial Blvd.
Calhoun, GA. 30701
MohawkGroup.com
Technical Services Department
196 S. Industrial Blvd.
Calhoun, GA 30701
800.833.6954
[email protected]


