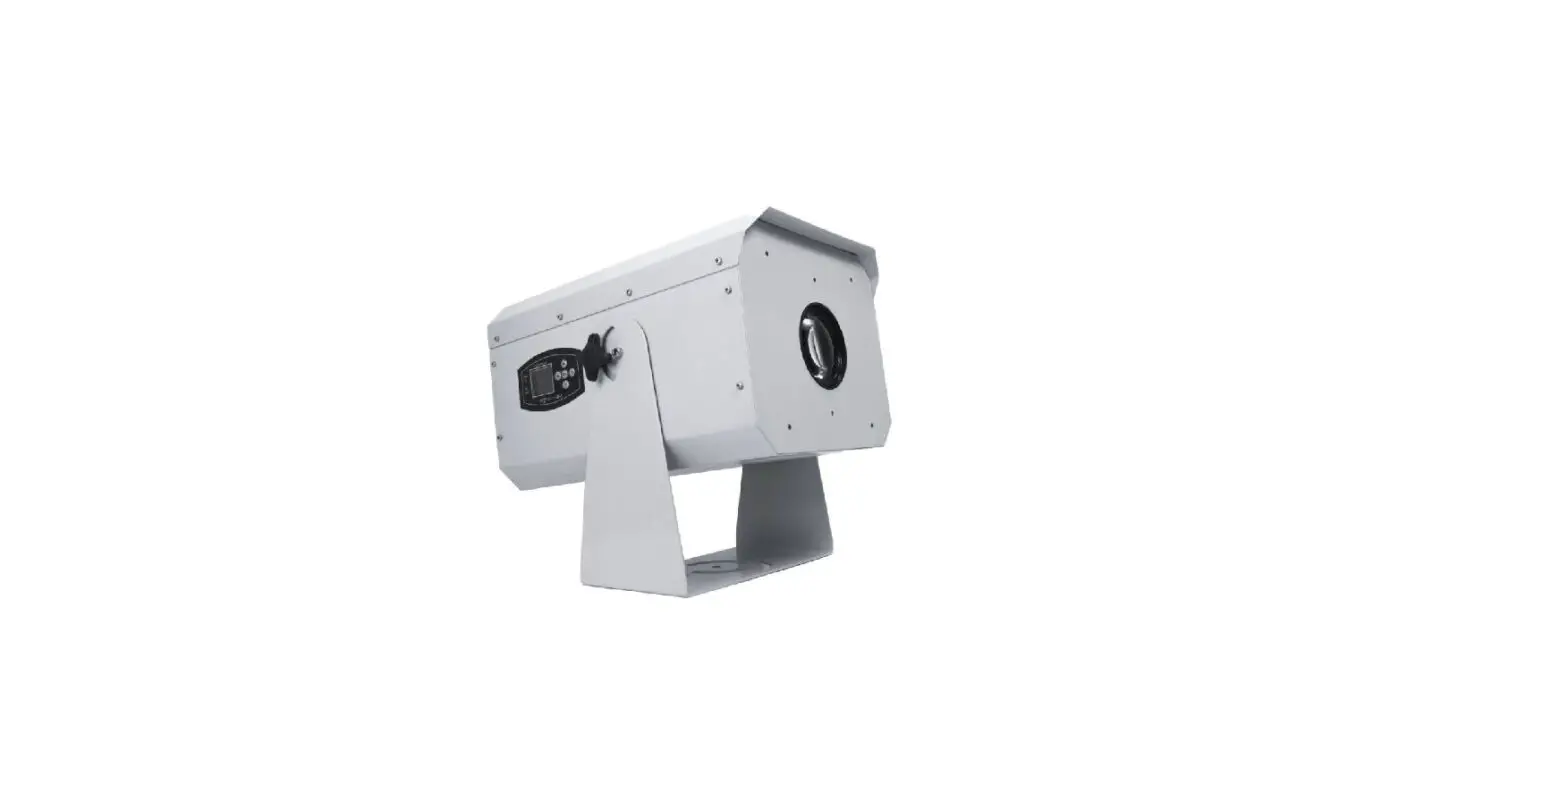
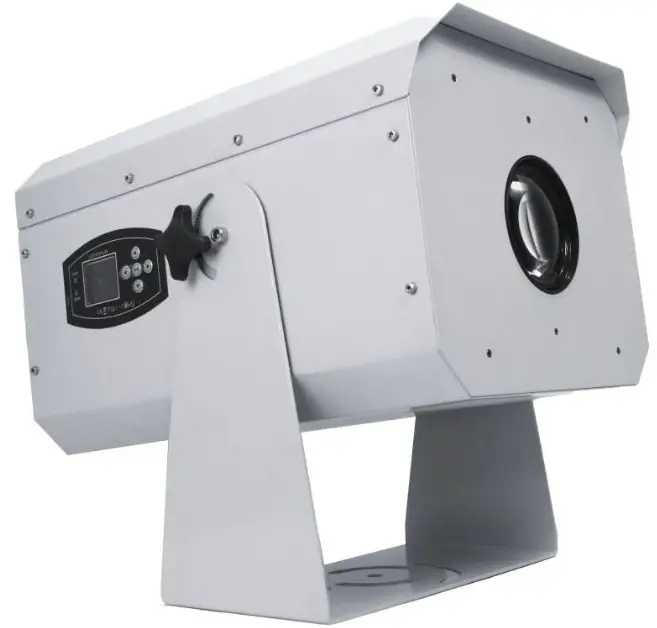
sistemamt 2560 Avalon 400 ZOOM 400W Outdoor LED Gobo Projector
Product Information
The AVALON400 ZOOM 10-30 / 20-60 is a 400W outdoor LED Gobo projector. It offers various modes and functions such as dimming, color control, rotating gobo wheel, focus, zoom, gobo flutter, and prism. The fixture has 13 DMX channels and can be operated in DMX mode, Manual mode, Slave mode, or Auto run mode. It comes with a user manual that provides detailed instructions on how to use the product.
Product Usage Instructions
- Mode Setup: Use the MENU button to navigate through the different menus. Long press MODE+SET for 3 seconds to unlock the menu, and press MODE+SET in other interfaces to quickly lock it.
- Menu: The menu has multiple options for DMX address setup, Auto Mode settings, Auto Run Scene editing, Slave Mode selection, Manual Control, and various settings.
- Slave Mode: Select the Slave Mode menu and press SET to enter Slave Mode. In this mode, the fixture will receive signals from the master device and mirror its state.
- DMX Fail: Set the DMX Fail option to either OFF (No DMX, lighting is off) or HOLD (No DMX, lighting maintains the original state).
- Display: Use the display reverse option when the fixture is mounted upside down.
- Key Lock: Enable the key lock function to automatically lock the keys after 30 seconds of inactivity. Press MODE+SET for 3 seconds to unlock.
- Back Light: Choose between always-on or 60-second auto-off for the backlight display.
- Reset: Perform a reset operation to test the motor and save modified parameters. It is similar to re-powering on the fixture.
- Default: Restore the DMX address and parameters to factory values. The default address is 1.
- Information: Displays the fixture’s software version and UID code of RDM (Remote Device Management).
DMX Channels and Functions
| DMX Channels | Function | DMX Value |
|---|---|---|
| Dimmer | 000-255 | |
| Strobe | 0-10, 11-127, 128-255 | |
| Color | 0-7, 8-15, 16-23, 24-31, 32-39, 40-47, 48-55, 56-63, 64-71, 72-79, 80-87, 88-95 |
Introduction
- 4 MODES:DMX mode, Manual mode , Slave Mode, Auto run mode
- DMX Channels: 13 channels
- Main functions: dimming, color, rotating gobo wheel, focus, zoom, gobo flutter, prism
- 4 menu buttons: Long press MODE+SET for 3 seconds to unlock, press MODE+SET in other interface to quickly lock
| MODE | Menu/Back to previous menu |
| SET | Confirm the selection function |
| UP | Select the previous option |
| DOWN | Select the next option |
| Menu 1 | Menu 2 | Menu 3 | Menu 4 |
| 1)DMX Address | 001-512 | ||
| 2)Auto Mode | Auto Run | ||
| Scene Edit | Scene1-Scene7 | 1. Dimming: 0-255 | |
| 2. Strobe: 0-255 | |||
| 3. Color: 0-255 | |||
| 4. Color_F: 0-255 | |||
| 5.Gobo: 0-255 | |||
| 6. GoboR: 0-255 | |||
| 7. Gobo_F: 0-255 | |||
| 8. Focus: 0-255 | |||
| 9. Zoom: 0-255 | |||
| 10. Flutter: 0-255 | |||
| 11. Prism: 0-255 | |||
| 12. Prism R: 0-255 | |||
| 13.Time: 0-255 | |||
| 3. Slave Mode | |||
| 4. Manual Control | 1. Dimmer: 0-255 | ||
| 2. Strobe: 0-255 | |||
| 3. Color: 0-255 | |||
| 4. Color_F: 0-255 | |||
| 5. Gobo: 0-255 | |||
| 6. GoboR: 0-255 | |||
| 7. Gobo_F: 0-255 | |||
| 8. Focus: 0-255 | |||
| 9. Zoom: 0-255 | |||
| 10. Flutter: 0-255 | |||
| 11. Prism: 0-255 | |||
| 12. PrismR: 0-255 | |||
| 5. Settings | 1. Curve Select | 1.Linear |
| 2.Square Law | |||
| 3.InvSquareLaw | |||
| 4.S-Curve | |||
| 2.DMX Fail | Off | ||
| Hold | |||
| 3.Display | Normal | ||
| Inverted | |||
| 4.Key Lock | Lock after 30s | ||
| Unlocked | |||
| 5.Back Light | Off after 60s | ||
| Always On | |||
| 6.Reset | No | ||
| Yes | |||
| 7.Default | No | ||
| Yes | |||
| 6. Calibrations | Password | 1. Color: 0-255 | |
| 2. Gobo: 0-255 | |||
| 3. GoboR: 0-255 | |||
| 4. Focus: 0-255 | |||
| 5. Zoom: 0-255 | |||
| 6. Flutter: 0-255 | |||
| 7. Prism: 0-255 | |||
| 8. Default | |||
| 7.Information | Version and UID |
Menu description
- DMX Address
- Press the UP/DOWN button to set the initial address code (001 ~ 512). After setting the address code, press the SET button to confirm the save and automatically exit to return to the main menu. The fixture is in DMX mode after this operation.
- Auto Mode
- Select the Auto Mode menu, there are two menus for option, one is Auto Mode, another is Scene Edit with 8 scenes for editing. Each scene can be edited independently, and also includes all the DMX channels function and time-keeping function, but no Reset function.
- The editing process is the same as Manual Control, exit to save. This fixture has a maximum of 8 gobos, so it can set 8 scenes. If you need less than 8 scenes, set the scene time-keeping to “0”. The unit of time is seconds.
- Slave Mode
- Select the Slave Mode menu, press the SET button to enter Slave Mode, then it will receive the signal from the master and keep the same state as the master. The fixture in Auto Mode or Manual mode is the master.
- In the screensaver, it will switch to DMX mode in response to the channel sent from the console whenever the master or slave receives the DMX512 signal.
- Manual Control
- Select the Manual Control menu, Press the UP/DOWN button to select which function to operate. The right number after pressing the SET button is selected. Then press the UP/DOWN button to modify the value, long press to continuously modify, and press the SET button to change the options on the left. Press the MODE button to exit and return to the main menu. It will not exit the manual mode in this state. It’s need to enter other modes for switching. For example, if you set the DMX address, then will enter the DMX mode.
- Settings
- Curve Select
- To choose one of linear dimming/square curve dimming/inverse square curve dimming/S-curve dimming. The characteristic of linear dimming is that the light output brightness maintains a linear relationship with the channel value; square curve dimming is relatively linear dimming, and the channel value range occupied in the low brightness area is more, that is the low brightness area is more abundantly adjusted; the low brightness area occupies few channels. When the channel value increases from 0 to up, the brightness quickly becomes very bright, and it allocates more channel value ranges in the high brightness area; the S-shaped curve is in the low brightness area Both the high-brightness area and the high-brightness area are allocated, and the medium brightness area is few.
- DMX Fail
- “OFF” (No DMX, lighting is off.), “HOLD” (No DMX, lighting keeps the original state).
- Display
- The display reverse is used when the fixture is upside down.
- Key Lock
- When using the key lock function, not key operation after 30 seconds, the key is locked.
- Pressing the key in the locked state is invalid. It needs to press the MODE+SET key combination for 3 seconds to unlock.
- Back Light
- Select always on or 60S off if no operation
- Reset
- In order to verify whether the motor is working normally, and whether to save it after modifying the parameters, it can be perform a reset operation, like re-powering on.
- Default
- Restore the DMX address and parameters into factory values. The default address is 1, and the gray background option in the menu table is the default.
- Curve Select
- Calibrations
- Enter 088 on the Password interface and press SET to enter the Calibrations menu. When the option on the left is selected, press the UP/DOWN button to select which function to operate. After pressing the SET button, the number on the right is in the selected state. At this time, press the UP/DOWN button to modify the value. Long press can be modified continuously. After pressing the SET button again, it changes back to the left option as the selected state. Press the SET button on the Default option to restore the default value.
- Information
- Display the fixture software version and UID code of RDM.
DMX channels
| Function | DMX Value | Setting | 13 Channels |
| Dimmer | 000-255 | 0~100% | 1 |
| Strobe | 0-10 | Always on | 2 |
| 11-127 | Random strobe slow to fast | ||
| 128-255 | Linear strobe slow to fast | ||
| Color | 0~7 | White | 3 |
| 8~15 | Color1 | ||
| 16~23 | Color2 | ||
| 24~31 | Color3 | ||
| 32~39 | Color4 | ||
| 40~47 | Color5 | ||
| 48~55 | Color6 | ||
| 56~63 | Color7 | ||
| 64~71 | White+ Color 1 | ||
| 72~79 | Color 1+ Color 2 | ||
| 80~87 | Color 2+ Color 3 | ||
| 88~95 | Color 3+ Color 4 | ||
| 96~103 | Color 4+ Color 5 | ||
| 104~111 | Color 5+ Color 6 | ||
| 112~119 | Color 6+ Color 7 | ||
| 120~127 | Color 7+ White | ||
| 128~191 | Clockwise rotation: fast to slow | ||
| 192~255 | Counterclockwise rotation: slow to fast | ||
| Color_F | 0-255 | Fine adjustment of color wheel (corresponding to a color change) | 4 |
| Gobo | 0~8 | Gobo 1 ( or White circle) | 5 |
| 9~17 | Gobo 2 |
| 18~26 | Gobo 3 | ||
| 27~35 | Gobo 4 | ||
| 36~44 | Gobo 5 | ||
| 45~53 | Gobo 6 | ||
| 54~62 | Gobo 7 | ||
| 63~71 | Gobo 7 shake from slow to fast | ||
| 72~80 | Gobo 6 shake from slow to fast | ||
| 81~89 | Gobo 5 shake from slow to fast | ||
| 90~98 | Gobo 4 shake from slow to fast | ||
| 99~107 | Gobo 3 shake from slow to fast | ||
| 108~116 | Gobo 2 shake from slow to fast | ||
| 117~127 | Gobo 1 shake from slow to fast | ||
| 128~191 | Clockwise rotation fast to slow | ||
| 192~255 | Counterclockwise rotation slow to fast | ||
| GoboR | 0~127 | Static rotation by a certain angle | 6 |
| 128~191 | Clockwise rotation fast to slow | ||
| 192~255 | Counterclockwise rotation slow to fast | ||
| GoboF | 0-255 | Gobo positioning fine-tuning | 7 |
| Focus | 0~255 | Focusing | 8 |
| Zoom | 0~255 | Zooming | 9 |
| Flutter | 0~127 | No action | 10 |
| 128-255 | Gobo flutter slow to fast | ||
| Prism | 0~31 | Prism close | 11 |
| 32~255 | Prism open | ||
| PrismR | 0~127 | No rotate | 12 |
| 128~191 | Clockwise rotation fast to slow | ||
| 192~255 | Counterclockwise rotation slow to fast | ||
| Reset | 0~9 | No action | 13 |
| 10~19 | All reset after three seconds | ||
| 20-255 | No action |
RDM Supported Parameters
| Readable | Writable | RMD instruction | value | description | customize |
| DISC_UNIQUE_BRANCH | 0x0001 | search | |||
| DISC_MUTE | 0x0002 | Lock | |||
| DISC_UN_MUTE | 0x0003 | Unlock | |||
| √ | SUPPORTED_PARAMETERS | 0x0050 | Supported instruction list |
|
√ |
PARAMETER_DESCRIPTION |
0x0051 | Custom instruction description | ||
| √ | DEVICE_INFO | 0x0060 | Device Information | ||
|
√ | DEVICE_MODEL_DESCRIPTIO N |
0x0080 | Product model description | ||
| √ | MANUFACTURER_LABEL | 0x0081 | manufacturer | ||
| √ | √ | DEVICE_LABEL | 0x0082 | Device label | |
| √ | √ | FACTORY_DEFAULTS | 0x0090 | Factory defaults | |
|
√ |
SOFTWARE_VERSION_LABEL |
0x00C0 | Software version description | ||
| √ | √ | DMX_START_ADDRESS | 0x00F0 | starting address | |
| √ | SENSOR_DEFINITION | 0x0200 | Sensor definition | ||
| √ | √ | SENSOR_VALUE | 0x0201 | Sensor value | |
| √ | RECORD_SENSORS | 0x0202 | Record sensor value | ||
| √ | √ | DISPLAY_INVERT | 0x0500 | Display reversed | |
| √ | √ | IDENTIFY_DEVICE | 0x1000 | Identify device | |
| √ | RESET_DEVICE | 0x1001 | Reset device | ||
| √ | CAPTURE_PRESET | 0x1030 | Capture preset | ||
| √ | √ | PRESET_PLAYBACK | 0x1031 | Preset playback | |
|
√ |
√ |
FAC_RUN_MODE |
0xD320 | Lamp operation mode |
√ |
|
√ |
FAC_SAVE_RUN_MODE |
0xD321 | Save operating mode |
√ |
- Instructions of lamp operation mode: data is 1-byte unsigned number, 0 means DMX mode, 1 means manual control mode, 2 means Auto run mode, 3 means slave mode.
- Save operation mode description: The 0xD320 instruction is only a temporary modification of the operation mode. You need to use the 0xD321 instruction to save, write 1 to save the current operation mode, and write 0 to restore the previously stored operation mode.


