![]()
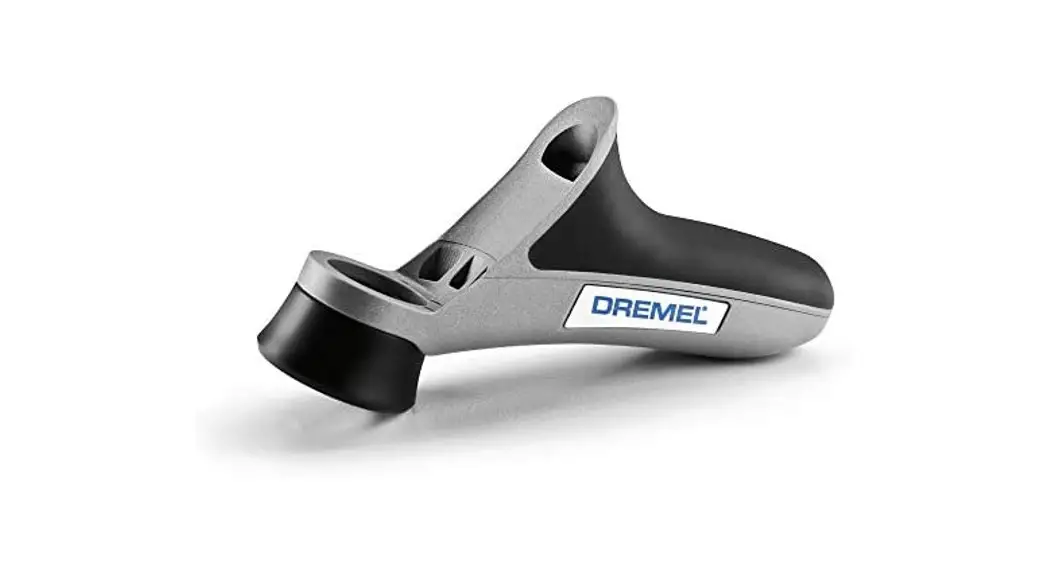
Detailer’s Grip Attachment Model A577![]()
![]() ! WARNING Read and understand the manual for the use of the tool with this accessory.
! WARNING Read and understand the manual for the use of the tool with this accessory.
SAVE THESE INSTRUCTIONS
![]() WARNING Prevent fingers from making contact with the rotating bit.
WARNING Prevent fingers from making contact with the rotating bit.![]() CAUTION Do not tighten the detailer’s grip over the shaft lock button. Attachment for use with Dremel Rotary Tool Models 100, 200, 300, 400, 4000, 800, 275, 285, 395, 398.
CAUTION Do not tighten the detailer’s grip over the shaft lock button. Attachment for use with Dremel Rotary Tool Models 100, 200, 300, 400, 4000, 800, 275, 285, 395, 398.
The attachment comes with its own nose piece to tighten the handle to the tool.
Detailer’s Grip Attachment
Installation Instructions
Step 1: Remove the housing cap A from the end of the tool and set the housing cap aside. The original housing cap must be reinstalled when this attachment is not used (Fig. 1
Step 2 & 3: Place handle B over housing collar C with the handle in the desired position and securely tighten the handle B with the nose piece D that’s provided with the handle Fig. 2). Make sure the detailer’s grip is fully secured before using the tool.
Note: Attachment may not install flush onto tool’s housing.
Removing the Detailer’s
Grip Attachment
Step 1 & 2: Hold the handle B firmly and twist the tool until the nose piece D is loose. Remove nose piece D and handle B from housing collar C and reinstall original housing cap A (Fig. 2).
Introduction
This attachment is designed to give you the ultimate precision and control when working on your projects. It is designed for you to hold and control the tool like a pencil, between your thumb and forefinger. When held in this position you can hardly feel the weight of the tool. It is meant to be an extension of your hand. To be comfortable with the Detailer’s Grip-it is important to get the “feel” of it. (See drawings for the recommended way to hold)
The Dremel Detailer’s Grip is intended to be used on applications such as finishing sanding, engraving, carving, etching, polishing, and cleaning, to name a few.
- Pencil Grip – For best control of the Detailer’s Grip, hold the tool like a pencil between your thumb and forefinger (Fig. 3).
- Side Grip – Rotate the tool sideways, with the handle pointing out while resting your hand on the table (Fig. 4).
- Stable Grip – For ultimate stability, rest the handle of the tool on the table to help stabilize and control the accessory (Fig. 5).