
Telstra Wi-Fi Booster Set-up
Set-up guide
How to set up and place your Booster to improve a low Wi-Fi signal.
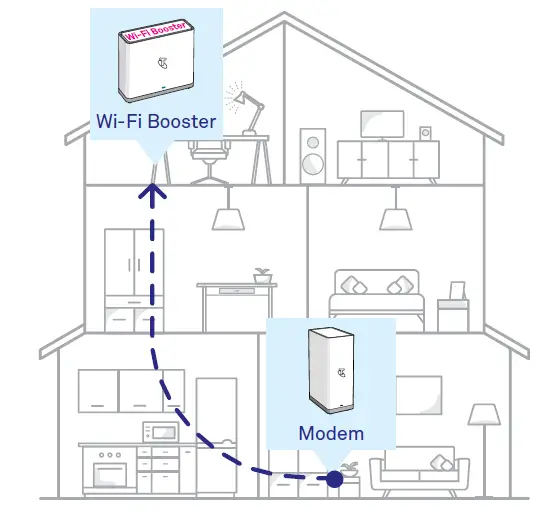
- Place the Wi-Fi Booster close to your Modem* .
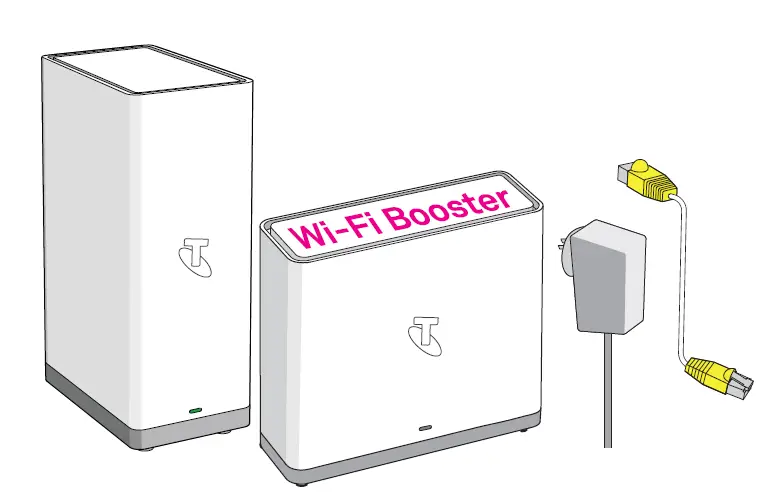
This is so that the units can be paired before the Booster can be moved to the low Wi-Fi area in your home.- Check that you have the Wi-Fi Booster, power adapter and yellow-ended cable.
* Check your modem base for model details. If it is not the Telstra Gen 2 Smart Modem or DJA0230, contact Telstra.
- Check that you have the Wi-Fi Booster, power adapter and yellow-ended cable.
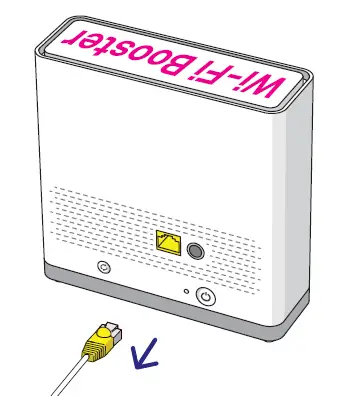
- Connect the yellow-ended cable.
- Insert one yellow end of the cable into the yellow port at the back of the Wi-Fi Booster.
- Insert the other yellow end into any of the yellow ports on the back of the Modem.

- Power up the Wi-Fi Booster.
- Plug the Booster power adapter into a power point so that your equipment is set up as per the diagram above.
- Switch the power point on.
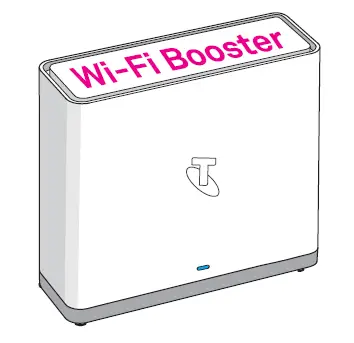
- Check that there is now a light showing on the front of the Wi-Fi Booster.
If there is no light, press the power button on the lower back corner of the unit (refer to diagram on the Troubleshooting page for its location).
- Wait for the pairing process to complete.
The light on the front of the unit will change colour during the process.- The light will pulse between purple and blue when starting up.
- The light will turn a solid blue after 3 minutes.
Wait an additional 2 minutes after the solid blue light appears to ensure that the pairing process is complete.
- Get ready to move.
The Wi-Fi Booster is now paired and ready to be moved to its new location in your home.- Unplug the Wi-Fi Booster power adapter.
- Detach the yellow-ended cable from both units.
You will not need to use the yellow-ended cable again during this set-up process. Store it somewhere safe as you will need it again if the units need to be paired in the future.
- Move the Wi-Fi Booster to its new location where the Wi-Fi signal is low.
- Plug the Wi-Fi Booster into a power point and switch the power on.
- Watch the light on the front of the unit. The light should pulse between purple and blue, and will then settle to the solid blue light within 3 minutes.


Refer to the Troubleshooting page if the light shows amber and not solid blue. This means that the Wi-Fi Booster has been moved too far away from the Modem. Set-up is now complete. Enjoy the improved Wi-Fi service!
Troubleshooting Tips.
What does my Wi-Fi Booster light mean?
- Solid Blue: The set-up has been successful. You have a strong connection back to your Modem.
- Purple: The software is updating, pairing or starting up. Keep the device switched on and wait 5 minutes for the light to turn solid blue. If the purple start-up light does not change colour, press the Wi-Fi Booster power button* to switch it off. Wait 30 seconds and turn it back on to complete updates.
- Amber: A poor signal. The Wi-Fi Booster is too far away from the Modem. Simply move the Wi-Fi Booster closer to the Modem until you succeed in getting the solid blue light.
This step may involve some trial and error until you find the right spot. - Red: No connection to the Modem. Press the power button* to switch the unit off, wait 30 seconds and turn it back on again to complete updates. If the red light reappears, repeat Steps 1–6 from the set-up process to pair the Modem with the Wi-Fi Booster.
- No light: No power source or the Wi-Fi Booster unit is not switched on. Check that the power adapter is plugged into a working power point and switched on. If there is still no light showing, push the power button at the back of the Wi-Fi Booster.
Need more help?
Visit telstra.com/smartwifi for more information, answers to frequently asked questions or for Live Chat with a Telstra consultant
Call us on 13 22 00


