eeese 2506 Carl Dehumidifier and Air Purifier User Manual
 Read the user manual before use, refer to the corresponding section of these user instructions.
 Recycle unwanted materials instead of disposing of them. All appliances and packages must be sorted and delivered to a regional recycling centre and processed in an environmentally friendly manner.
 The product complies with the applicable EU directives and other provisions.
 R290 Refrigerant This device uses a flammable refrigerant. If refrigerant leaks and comes into contact with a fire or heating element, it creates harmful gas and there is a risk of fire.
Safety instructions
Warning
This appliance is intended for indoor use only in private homes. Any other use is not recommended by the manufacturer and may cause fire, electric shock, or other personal injury or damage.
- Warnings

- Wet hands are not allowed
- Warning


Power cord
Do not try to unplug the power cord from the wall socket.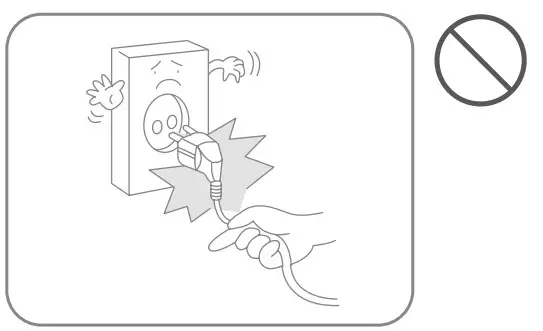
Do not place heavy objects on the power cord in order to avoid safety risks.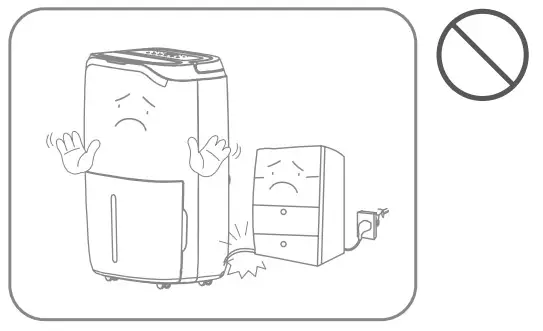
Do not attempt to replace the power cord, contact the authorised service workshop for repair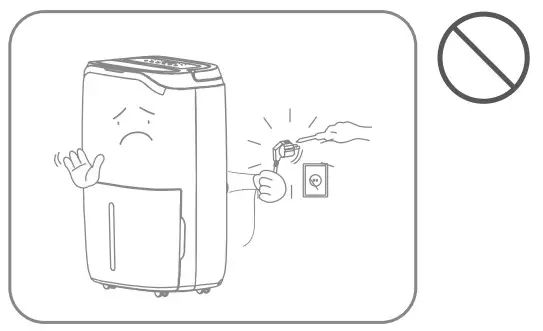
The socket must be grounded and properly secured.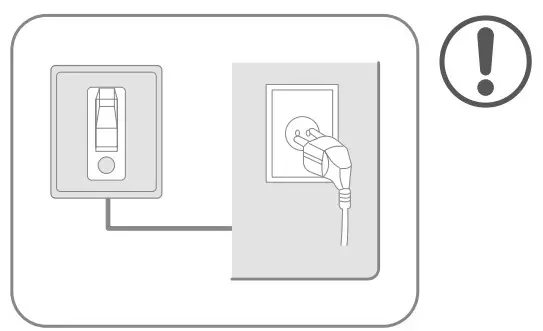
Do not connect the appliance to an overloaded extension lead.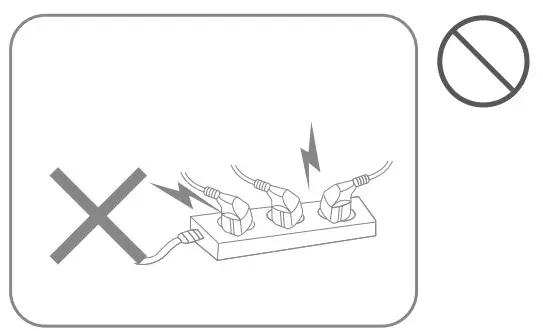
Do not use the appliance if the power cord cannot be securely fastened in the plug socket.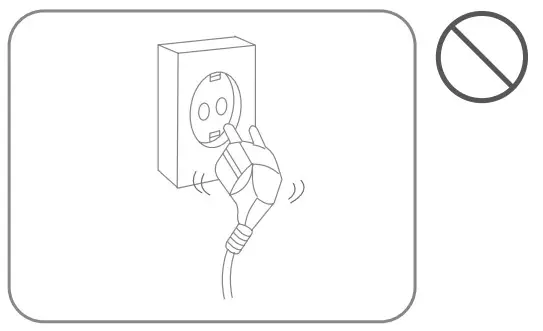
Do not touch the plug with wet hands in order in order to avoid electric shock.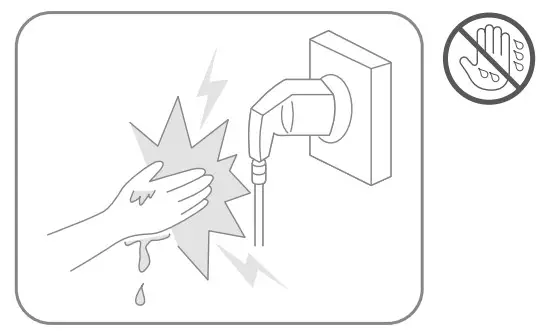
Unplug it during lightning storms.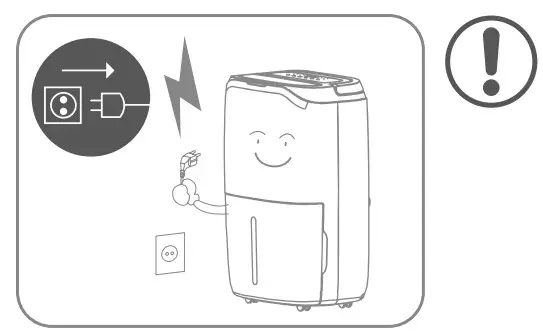
Location
Do not place flammable and explosive objects around the appliance in order to avoid fire.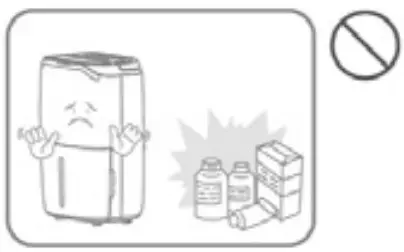
Do not use the appliance in locations with a draught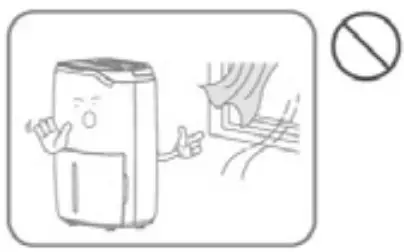
Place the appliance on a stable, flat surface.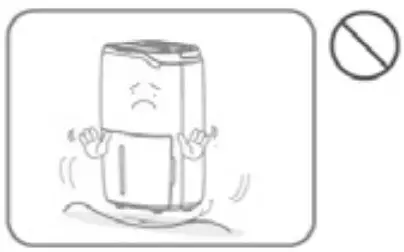
Do not use the appliance in swimming pool or similar facilities in order to avoid safety hazard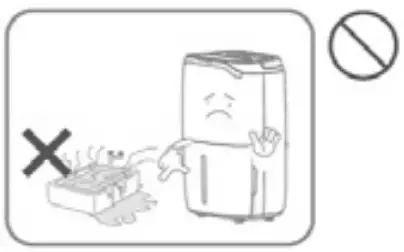
During use
Turn off the power and unplug the power cord before moving the device.
Children should be supervised to ensure that they do not play with the appliance.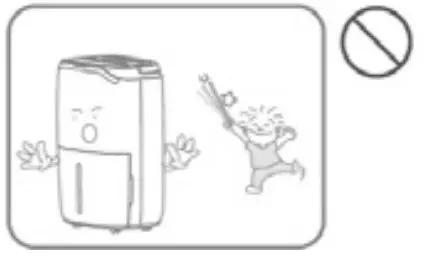
The apparatus must not be knocked over or subjected to impact or shock in order to avoid malfunction.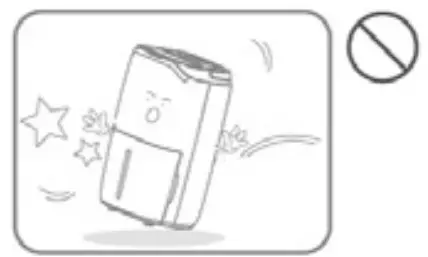
Do not place your hands on the air outlet in order to avoid damage or malfunction.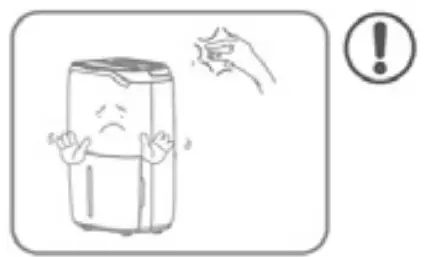
Do not pour water into the appliance in order to avoid malfunction.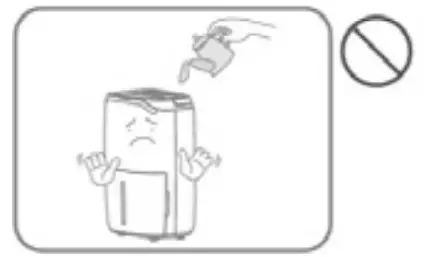
Do not place heavy objects on the appliance in order to avoid malfunction.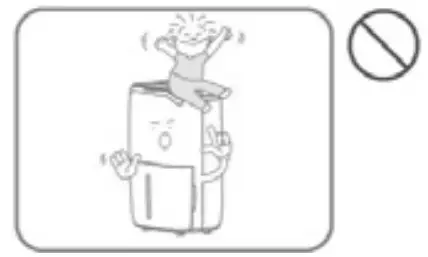
The appliance must not be covered when in use.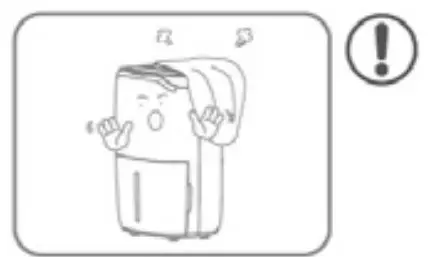
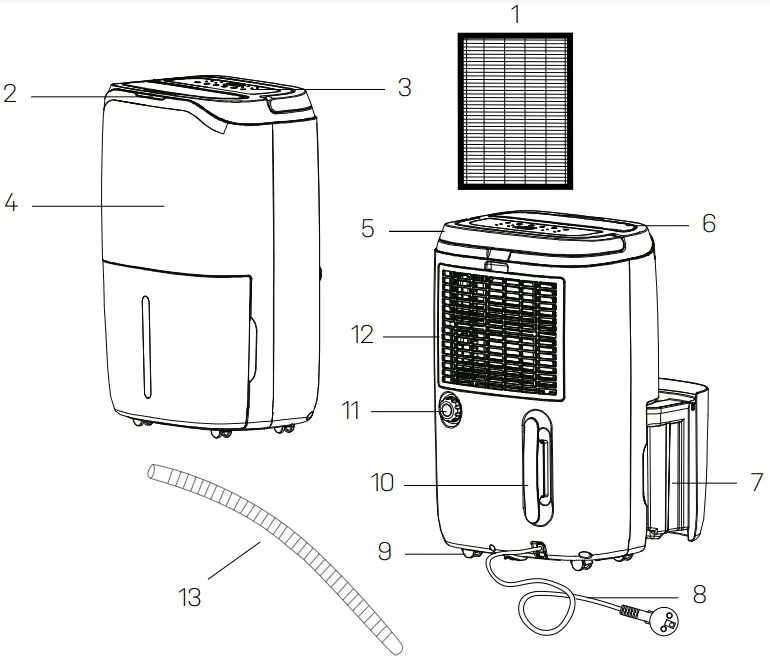
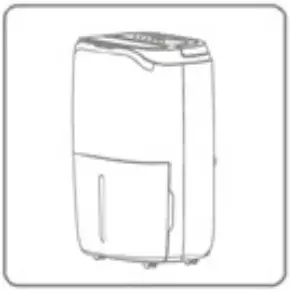
Parts list
Components
- Installed HEPA filter
- Tri-color Humidity Light
- Control Panel
- Front Cover
- Handle
- Air Outlet
- Water Tank
- Power Cord
- Castors
- Power Cord Bracket
- Drainage Outlet
- Air Inlet Gril
- Drainage Pipe

Control Panel - Laundry Drying Indicator
- Manual Dehumidifying Indicator
- Air Purifying Indicator
- Auto dehumidifying Indicator
- Humidity Level
- Timer Button
- WiFi Indicator
- Work Indicator
- Full Tank Indicator
- Defrost Indicator
- On/Off Button
- Auto Button/Child Lock Button
- Up and Down Button
- Timer Button
- Mode Button
Drainage - Drainage Outlet Plug
- Drainage Pipe


Before operation
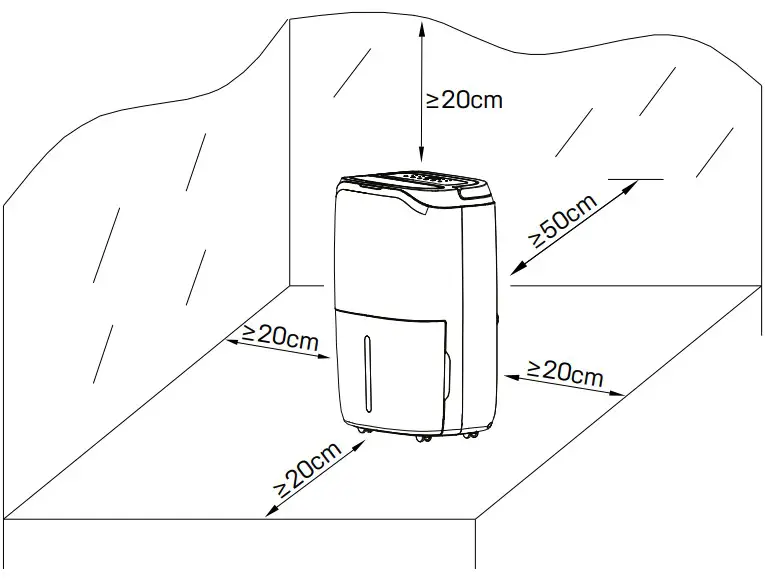
- Place the dehumidifier in an upright position on a stable, flat surface.
- Ensure the dehumidifier is at a safe distance at least 50 cm away from a wall or furniture.
- Supply power should be in correspondence with the value on the nameplate, power outlet needs to be grounded.
- Ensure the tank is correctly fitted, if the tank is full or not in place, the tank full light comes on and the dehumidifier will stop working
Continuous Drainage
In general, water will be collected by tank, if you want continuous drainage, please do steps as follows (refer to section 2 “Part List”)
a. Insert the drainage pipe with 19mm inner diameter through the drainage outlet.
b. Put the water tank back in place.
![]() Please always make sure the pipe is going downhill, and is not blocked or kinked.
Please always make sure the pipe is going downhill, and is not blocked or kinked.
Operation Instructions
![]() Desired setting will be confirmed 3s after the operation.
Desired setting will be confirmed 3s after the operation.
Tri-color light will reflect the environment humidity: Red light: RH% ≥ 65% // Green light: 55% ≤ RH% ≤ 65% // Yellow light: RH% < 55%
Switch On / Switch Off The Unit [ Power button ]
Connect to the power supply and press the power button (A) once to turn on the unit. By default the unit runs on manual continuous dehumidifying (B) with low fan speed. The working indicator will be on (C)
![]() Press the power button to turn off the unit, it will stop working, fan will work for some seconds to blow out the hot air inside the unit.
Press the power button to turn off the unit, it will stop working, fan will work for some seconds to blow out the hot air inside the unit.
Auto Shut-off Timer Function [ Timer button ]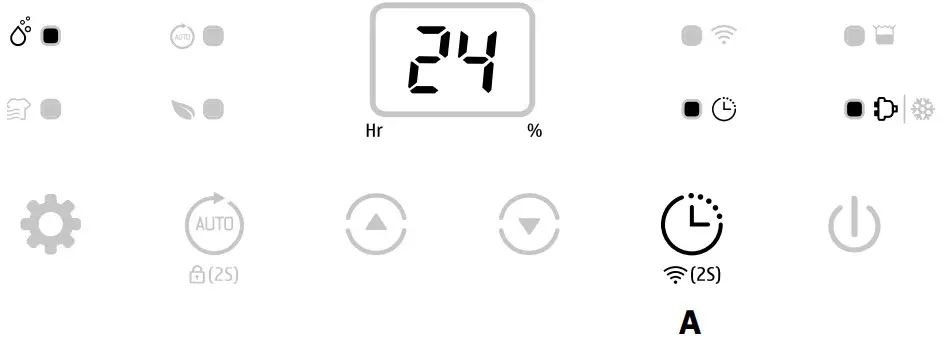
Press the timer button (A) to select your preferred timer hour from 00-24-00 for automatic shut off setting by each press.
![]() Auto timer off setting will be cancelled if the timer button is pressed 2 times in 5 seconds.
Auto timer off setting will be cancelled if the timer button is pressed 2 times in 5 seconds.
Auto timer off setting will be cancelled if the unit is switched off and switch on again.
Humidity Setting [ Up and Down buttons ]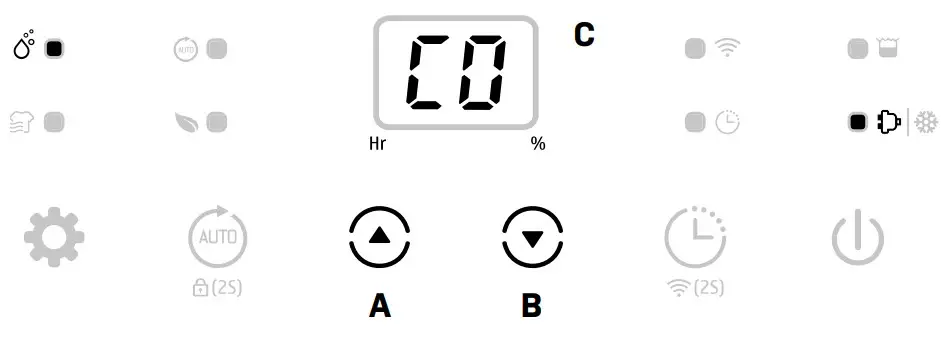
Auto Dehumidifying Function [ Auto button ]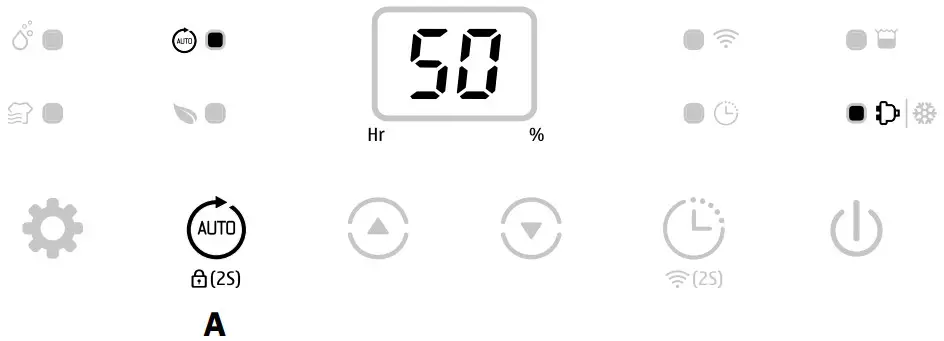
Press the auto button (A) to select the Auto Dehumidifying mode, the unit runs automatically accordance to the ambient humidity detected below:
| Ambient RH% detected | Compressor | Fan Speed Level |
| RH% > 60% | Working | High |
| 40% ≤ RH% ≤ 60% | Working | Low |
| RH% < 40% | Stops working | Low |
![]() Up/Down buttons cannot be used with auto dehumidifying function
Up/Down buttons cannot be used with auto dehumidifying function
Multifunction [ Mode button ]
Laundry Drying Mode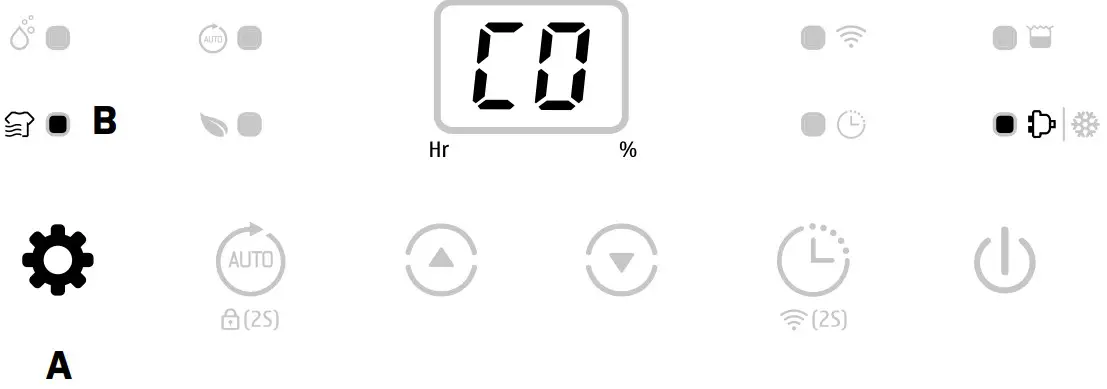
Press the mode button (A) to select Laundry Drying mode (B), the unit runs in continuous dehumidification with high fan speed for 6 hours and then switches off automatically.
![]() The Timer will not work together with the laundry mode.
The Timer will not work together with the laundry mode.
Air Purifying Mode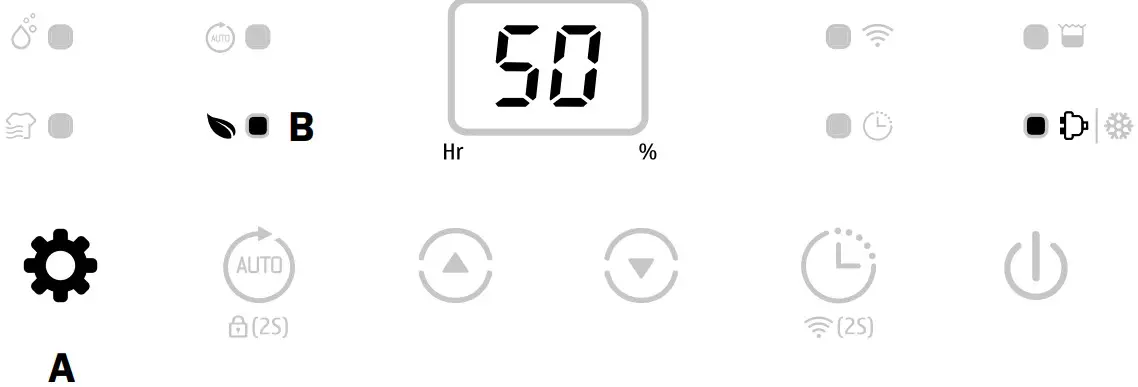
![]() The light on the unit will be on, even if the unit is in air purifying mode. The light reflects the environment humidity. Thus, help you decide if you need to change to dehumidifying mode or if you need to humidify.
The light on the unit will be on, even if the unit is in air purifying mode. The light reflects the environment humidity. Thus, help you decide if you need to change to dehumidifying mode or if you need to humidify.
Light modes:
Red light: RH% ≥ 65% // Green light: 55% ≤ RH% ≤ 65% // Yellow light: RH% < 55%
Manual Mode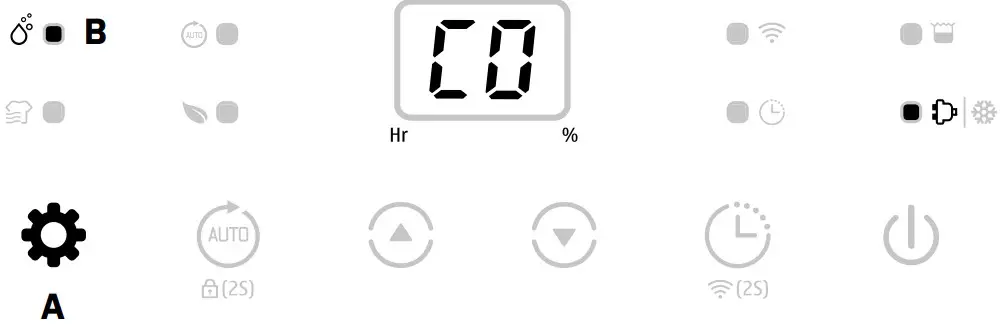
Press the mode button to select Manual mode, the unit runs by default continuous dehumidifying (B) with low fan speed.
![]() At Manual mode all buttons are enabled to use
At Manual mode all buttons are enabled to use
WiFi Function [ Timer button-2 seconds]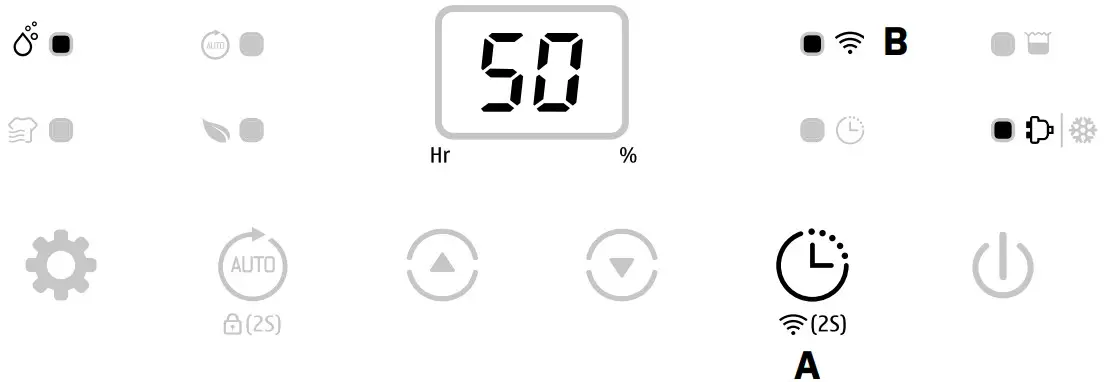
Press the Timer (A) button for 2s to activate WiFi function and enter the network mode, during the network configuration, the WiFi indicator flash quickly, after WiFi connected the indicator is on (B).
![]() Detailed wifi operation, please refer to the manual ”Smart Connection Operation Guide”.
Detailed wifi operation, please refer to the manual ”Smart Connection Operation Guide”.
When the machine is in network mode, press the timer button for some seconds to disconnect the WiFi connection.
Safety Childlock Function [ Fan Speed button-2 seconds ]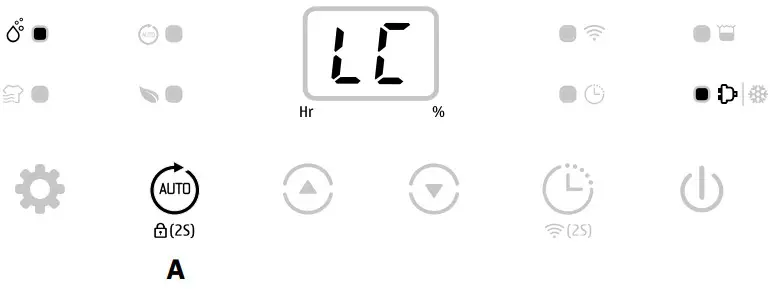
Press the Auto button (A) for 2s to lock all buttons with a beeping sound, the same operation can unlock it.
![]() Safety childlock function can be set at standby mode and working mode but can’t be activated when water tank is full.
Safety childlock function can be set at standby mode and working mode but can’t be activated when water tank is full.
Low Temperature Defrost Indicator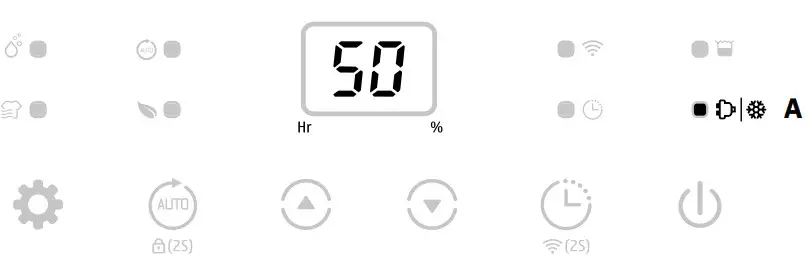
When the ambient temperature is too low, the dehumidifier will enter into defrost mode
(A), the unit runs with high fan speed without dehumidifying and the work indicator starts flashing.
Auto Shut off with Water Tank Full Indicator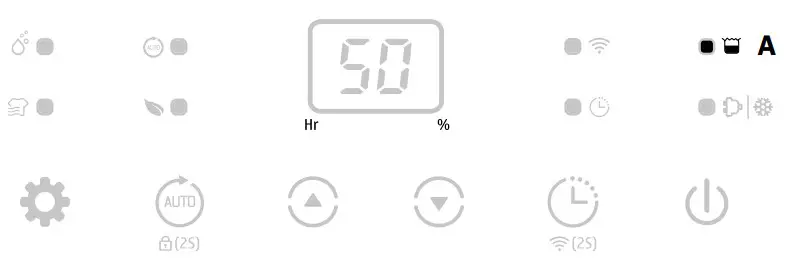
The unit will enter into standby mode when the water tank is full (A) or when the water tank is not installed properly. After emptying the tank, or installing the water tank properly, the unit will go on to the previous mode.
![]() bExcept for the power button, all other buttons are invalid.
bExcept for the power button, all other buttons are invalid.
Memory Function:
a. When unplugged directly or power is cut, then reconnect to the power supply, the dehumidifier will run with the mode prior to the shutdown. The timer setting will be kept.
b. Press the power button to switch off the dehumidifier, and then press the power button to switch it back on. The dehumidifier will run with the mode prior to the shutdown. The timer setting will be cancelled.
c. Switch off the dehumidifier and unplug the power cord, then reconnect the power supply and switch on the dehumidifier. It will run in factory preset mode.
Cleaning
MPORTANT!
The HEPA filter needs to be replaced once a year. This guarantees sufficient dehumidifying and air purifying efficiency.
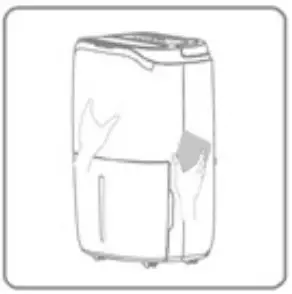
When the appliance is used regularly, the filter grill can become clogged with dust and particles. Therefore, the filter grill should be cleaned at least every two weeks. Follow these steps:
- Turn off the unit and unplug it before cleaning.

- Clean the cabinet with a soft, dry cloth. If the unit is very dirty, use a mild detergent. Wipe the dehumidifier with a slightly damp cloth. Never spray water on the unit.
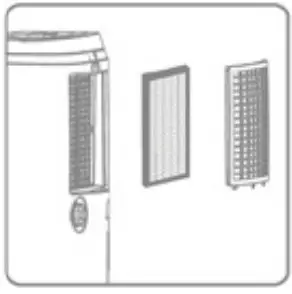
- Remove the filter grill (B) and clean with a vacuum cleaner or soapy water no hotter than 40°C. The HEPA (A) cannot be cleaned and needs to be replaced once a year.
- Rinse and dry the filter grill completely before installing back to the device.

Storage
If the unit will not be used for an extended period, do the following:
- Unplug the unit.
- Clean the air filter with a vacuum cleaner.
- Make sure the device is in perfect condition so that it is safe to use again after a long storage period.
- Store the unit in appropriate packaging.
- Store the unit in a dust-free place and out of direct sunlight. It is recommended to cover it with a piece of plastic.
Display Error Codes
Please contact your local distributor if any of the error codes below appears
| No. | Display code | Error | Display | Observation |
| 1 | E1 | Temperature sensor error | Flashs every 30 seconds | Dehumidifier works normally. |
| 2 | E2 | Humidity sensor error | Flashs every 30 seconds | Dehumidifier works normally, but can’t set the humidity. |
3 | L3 | Air inlet temperature is too high≥42ºC | Slow flash L3 | Compressor stops working, fan works at low fan speed.If the dehumidifier temperature decreas- es below 40ºC, the dehumidifier will start working normally. |
5 | L4 | Air inlet temperature is toolow ≤0ºC | Slow flash L4 | Compressor stops working, fan works at low fan speed.If the dehumidifier temperature increas- es above 2ºC, the dehumidifier will start working normally. |
Troubleshooting
Before contacting technical Support, check the following
| PROBLEM | POSSIBLE CAUSE | SOLUTION |
The device does not work | The power is not connected | Insert the plug into the wall outlet |
| The water tank is full | Empty the tank | |
| The tank has not been replaced correctly | Replace the tank | |
| Water removal ca- pacity is too low | Runtime is too short | Be patient and wait |
| Ambient temperature or humidi- ty is too low | It is normal that the device does not dehumidify in these conditions | |
The device works, but reduces the relative humidity insufficiently | The room is too big | We recommend using a dehu- midifier with a greater capacity |
| There is too much ventilation | Reduce ventilation (e.g. close windows and shut doors) | |
| The air filter is clogged | Clean the air filter grill or change the HEPA filter | |
| Set humidity is higher than the ambient humidity | Set the humidity lower than ambient humidity | |
| Dehumidifier is blowing out warm air | The dried air is passed over heating coils before it is blown into the room as part of the dehumidifying process | This is normal, a dehumidifier is not an air cooler |
| The display is not showing the hu- midity set point | The display shows the room rel- ative humidity not the set point | Press the humidity control button once to see the target relative humidity |
| Water on floor | There is residual water in tank, and the device is lurched too much by moving | Be careful when moving the tank |
| The dehumidifier is noisy | The air filter is blocked or the device is on an uneven surface | Clean the filter or put the de- vice on a flat surface |
IMPORTANT!
Please do not try to repair the dehumidifier by yourself to avoid any risk.
Technical specifications
| Model Carl, Item No. | 2506 |
| Max working area, m2 | 120 |
| Recommended working area, m2 | 2-85 |
| WiFi | Yes |
| Filter | HEPA |
| Timer h | 1 – 24 |
| Operating air temperature, ˚C | 5 ~ 35 |
| Dehumidification capacity, l/day (Air 30˚C, RH 80% ) | 25 |
| Dehumidification capacity, l/day (Air 27˚C, RH 60% ) | 15 |
| Power consumption (Air 35˚C, RH 80% ) | 400 |
| Power consuption (Air 27˚C, RH 60% ) | 280 |
| Rated power, kW (Air 30˚C, RH 80%) | 0.11 ~ 0.73 |
| Rated current, A (Air 35˚C, RH 80%) | 1.80 |
| Rated current, A (Air 27˚C, RH 60%) | 1.30 |
| Power supply V, Hz | 220V-240/50 |
| Sound level, dB (A) | 46 |
| Air flow, m³/h | 180 |
| Tank volume, L | 6.5 |
| Refrigerant. kg | 0.08 |
| Refrigerant | R290 |
| Compressor | Rotary |
| Dimension, (WXDXH) mm | 360 x 285 x 564 |
| Drain Hose Diameter, mm | 19 |
| Drain hose included | Yes |
| Length of cable, cm | 180 |
| Net weight | 14.5 |
Smart Connection Operation Guide
APP Binding Device
Search an APP platform for “TuyaSmart” or scan the following QR code to download the APP
Step One
Make sure the phone is connected to the WIFI at home, and turn on the Bluetooth device, tap the upper right corner of the home page + to add device.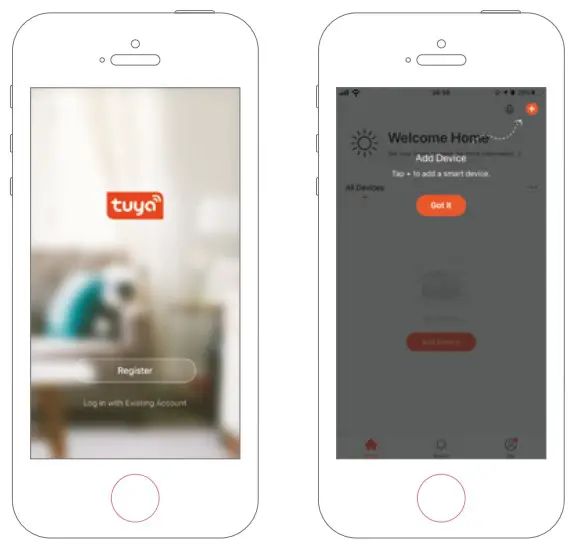
Step Two
Follow the guide to select the device to be configured, then enter the WiFi password.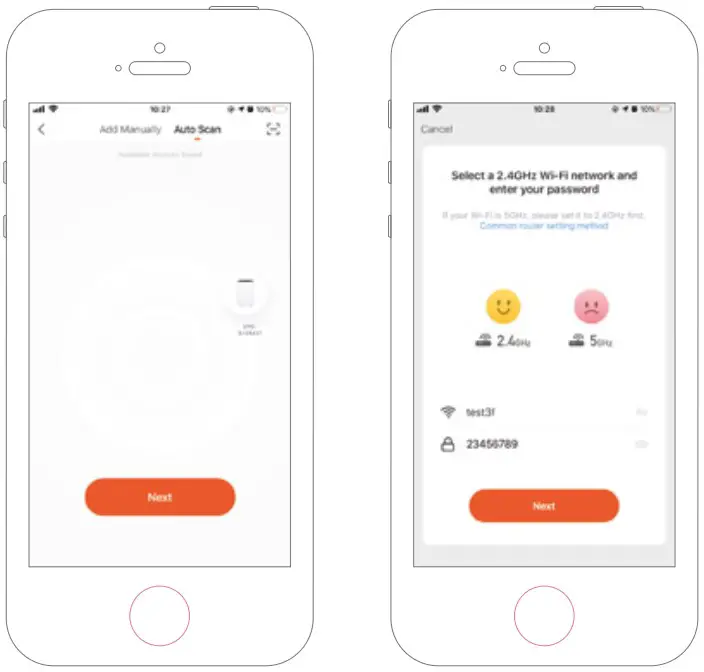
Step Three
Complete the connection to set the dehumidifier with APP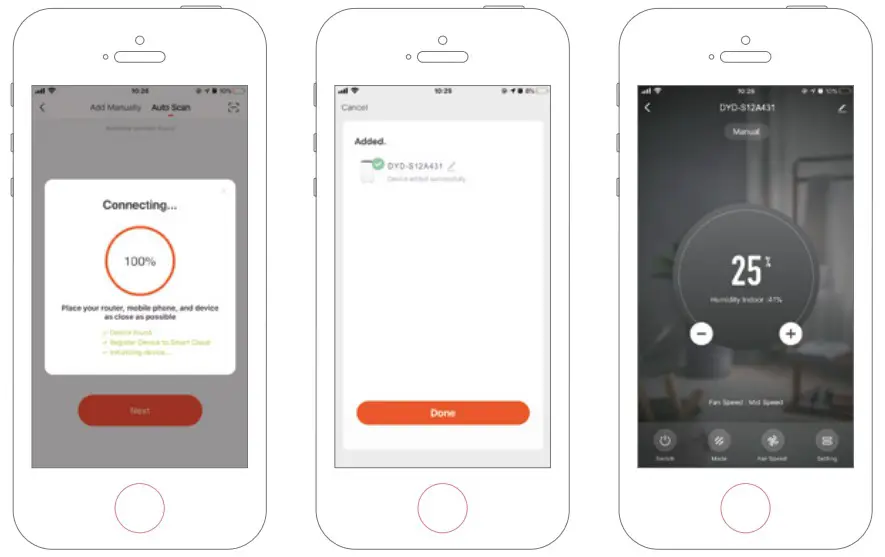
Adding Device Manually
Step One
Tap Add Device on the home page or + in the upper right corner to go to the Add Device page.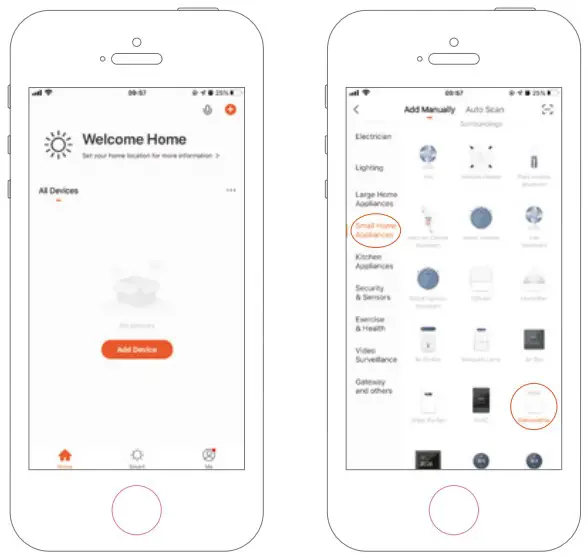
Step Two
Confirm the indicator rapidly blink and enter the WiFi password.
Step Three
Complete the connection to set the dehumidifier with APP.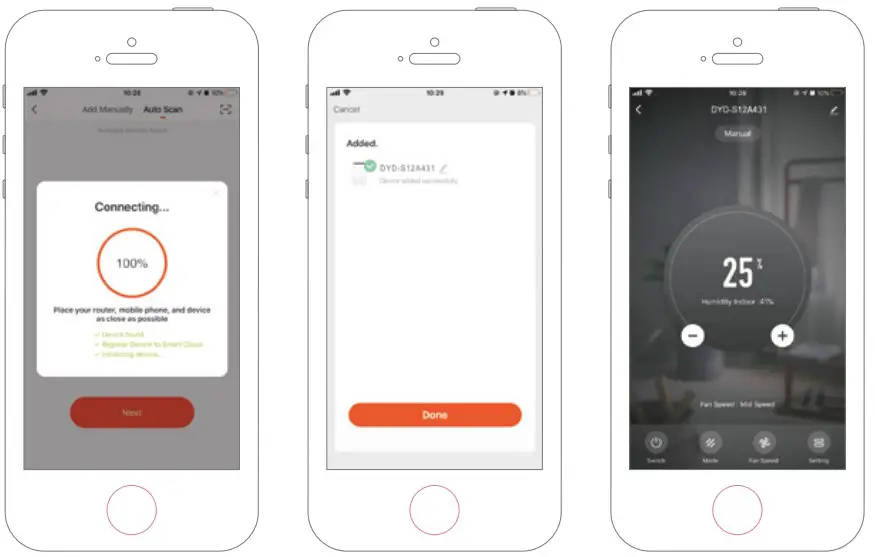
MV-2506-01-2023 . eeese-aircare.com © All rights reserved by eeese air care ApS
Thank you for choosing this product. Please read this instruction manual before using it
eeese air care . [email protected] . Web: eeese-aircare.com . MV-2506-01-2023


