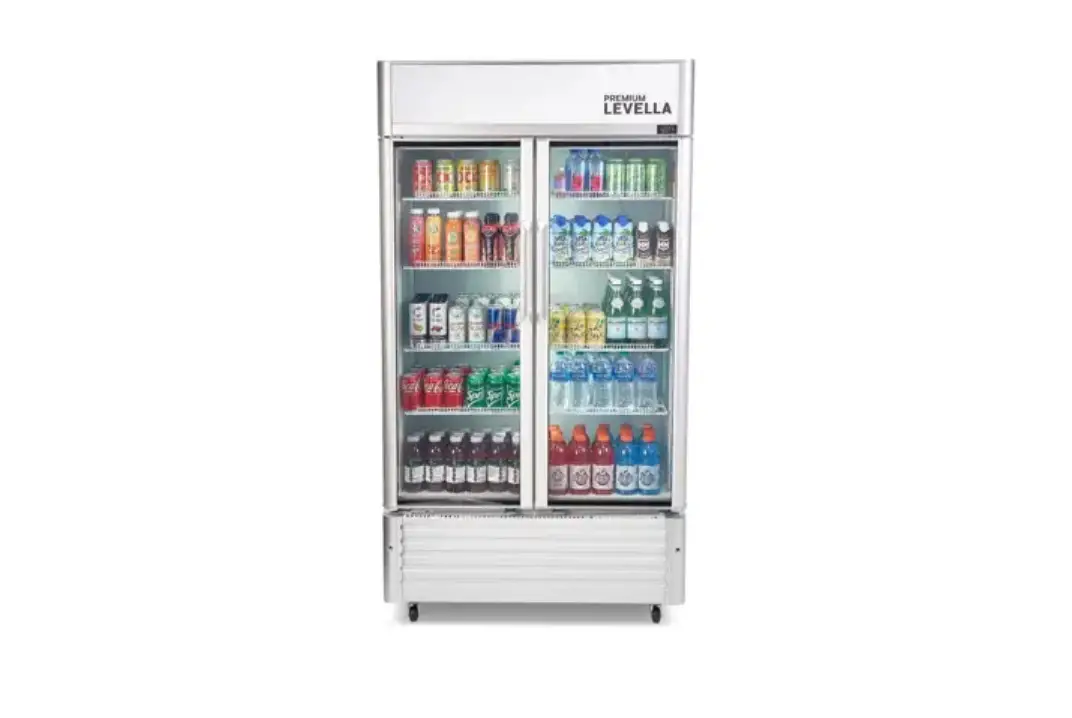
PREMIUM LEVELLA PRN Series Exhibidor Vertical Refrigerator Display User Manual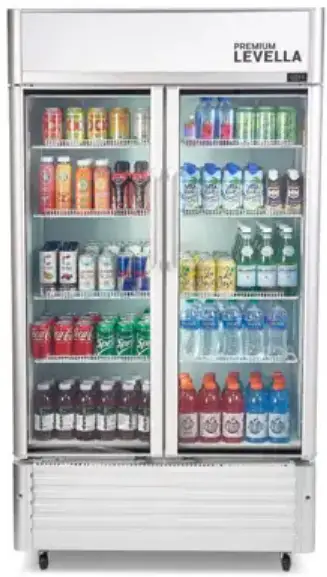
Dear Consumers:
Thank you for purchasing our products very much. In order to ensure your safety and achieve the best using effect,please read this instruction carefully
INSTALLATION & OPERATION IMPORTANT!!! PLEASE READ BEFORE INSTALLATION
- If the unit has recently been transported, please let unit stand still for a minimum of 24 hours before plugging it in.
- Make sure that the unit drops down to the desired temperature before loading the unit with product.
- Make sure that there is proper ventilation around the unit in the area where it will operate.
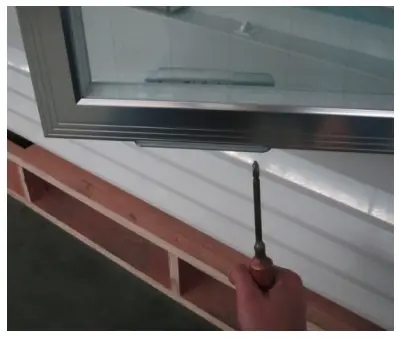
- Make sure all accessories are installed (i.e. shelves, shelf clips, casters)
before plugging the unit in. - Please read through the Operation / Owner’s Manual in its entirety before installation.
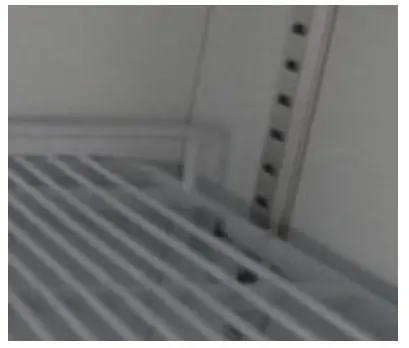
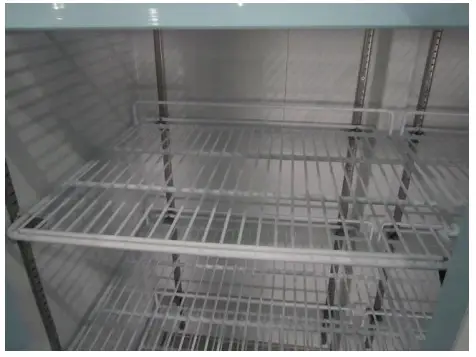
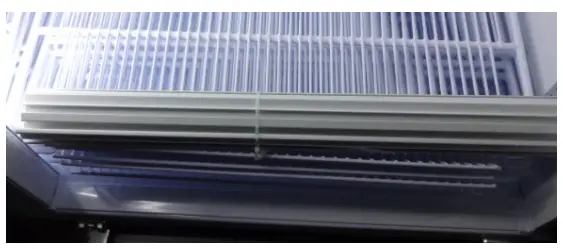
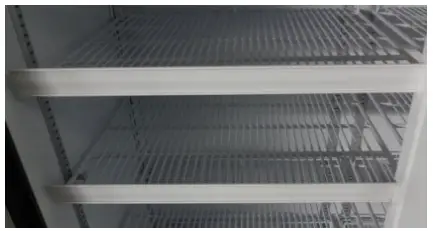
- Shelf installation
- A. Hook shelf clips onto clip hanger


- B. Place shelves on shelf clips making sure all corners are seated properly

- C. Hook the plastic frame of price tag on shelves


- A. Hook shelf clips onto clip hanger
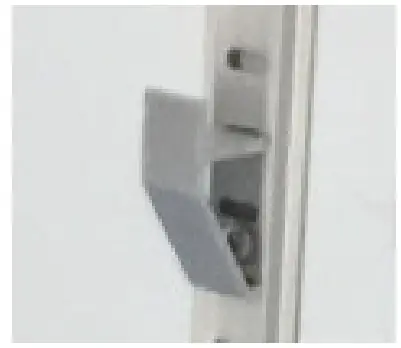
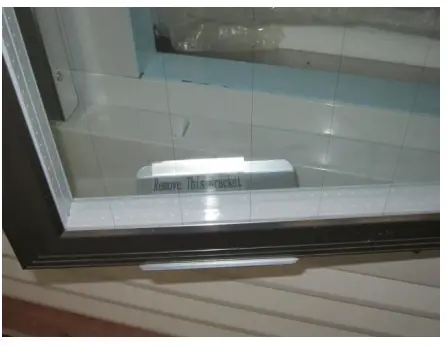
Remove the glass door bracket from the door before use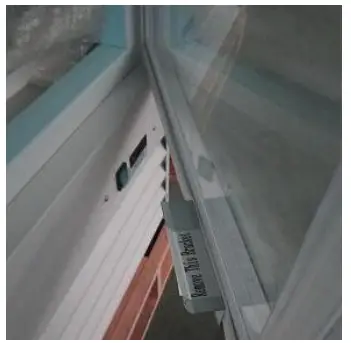
- Shelf installation
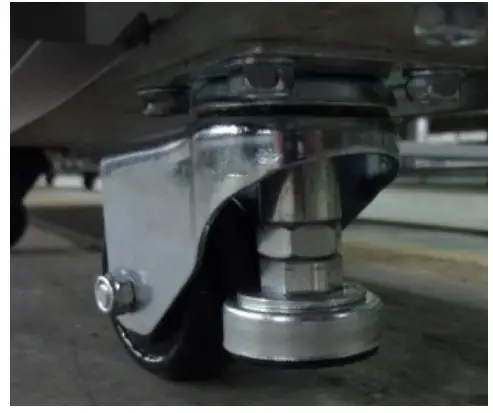
- Universal caster with support)

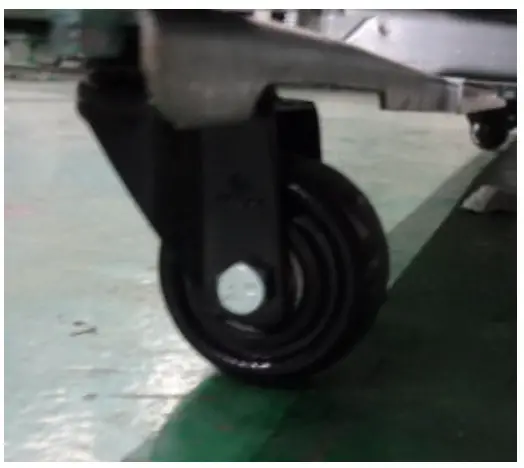
- Universal caster

- Universal caster with support)
ELECTRICAL
- Please ensure that the required voltage of the compressor is being supplied at all times
CAUTION: Low or high voltage can detrimentally affect the refrigeration unit. - All units should be plugged into a grounded and properly-sized electrical outlet with appropriate surge protection.
Please refer to the electrical requirement on the nameplate.
If you do not have the right outlet, have a certified electrician install the correct power source. - Please make sure that your unit has its own dedicated outlet.
Do not use an extension cord.
After proper installation, please plug the cord and turn on the power switch.
Temperature controller operation instructions
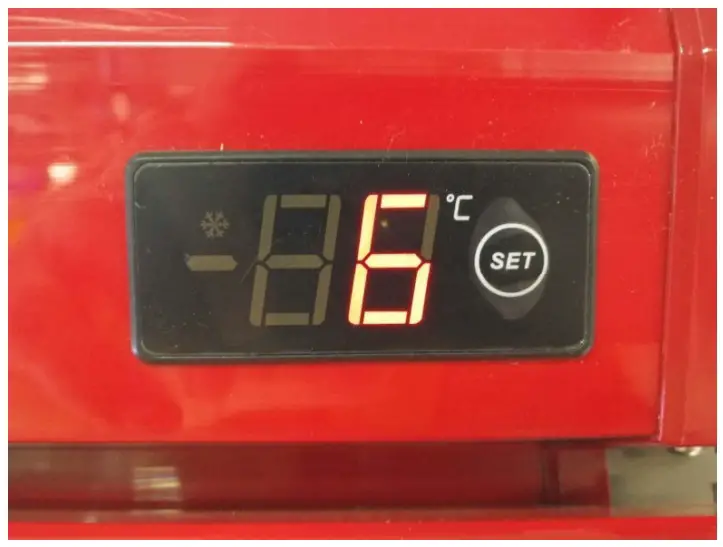
Setting the set point (desired temperature value)
To display or set the set point, proceed as follows:
- Press SET for 1s, the set value will start flashing ;
- Increase or decrease the value by per click ;
- Press the SET button again to confirm the new value.
TROUBLE SHOOTING
Before requesting any service on your unit, please check the following points.
Please note that this guide serves only as a reference for solutions to common problems.
SYMPTOM | POSSIBLE CAUSE | CORRECTIVE ACTION |
| Compressor not running | Fuse blown or circuit breaker tripped. Power cord unplugged. Thermostat set too high. Cabinet in defrost cycle | Replace fuse or reset circuit breaker. Plug in power cord. Set thermostat to lower temperature. Wait for defrost cycle to finish |
| Condensing unit runs for | Excessive amount of warm product placed in cabinet. | Allow adequate time for product to cool down. |
| long periods of time | Prolonged door opening or door ajar. Door gasket(s) not sealing properly. Dirty condenser coil. Evaporator coil iced over | Ensure doors are closed when not in use. Avoid opening doors for long periods of time. Ensure gaskets are snapped in completely. Remove gasket and wash with soap and water. Check condition of gasket and replace if necessary. Clean the condenser coil. Unplug unit and allow coil to defrost. Make sure thermostat is not set too cold. Ensure that door gasket(s) are sealing properly |
| Cabinet temperature is too warm | Thermostat set too warm. Blocking air flow. Excessive amount of warm product placed in cabinet. Fuse blown or circuit breaker tripped. Dirty condenser coil. Prolonged door opening or door ajar. Evaporator coil iced over. | Set thermostat to lower temperature. Re-arrange product to allow for proper air flow. Make sure there are at least four inches of clearance from evaporator. Allow adequate time for product to cool down. Replace fuse or reset circuit breaker. Clean the condenser coil. Ensure doors are closed when not in use. Avoid opening doors for long periods of time. (see above) |
| Cabinet is noisy | Loose part(s). Tubing vibration. | Locate and tighten loose part(s). Ensure tubing is free from contact with other tubing or components. |


