Heavy Duty Digital 2.4Ghz
the wireless video camera system
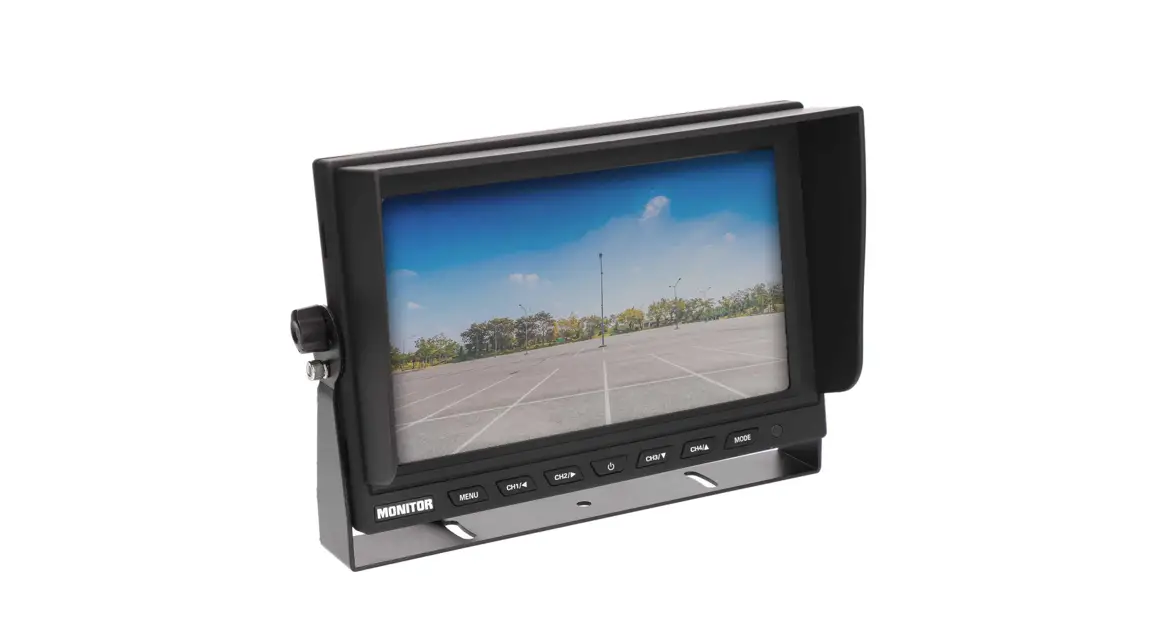
Key instruction:
- Menu key enter to the menu set, also quit from sub-menu.
- After you pair the camera, the fast channel key can help you select the camera channel, etc.
- The left key is the parking line key, press can display parking or not display.
4. For the paring, one set we had paired well for you; if you need to change, please press the menu pairing key, and press the camera pairing button at the camera end. This camera pairing key can make it more available to do pair operations.
Menu screen: Press “MENU” enter to menu screen as Image 1

Detail features:
 Color,brightness,contrast;each channel can be set;as following image2
showed:
 Image turn: up/down/mirror/normal images; Press the “ok” key to turn.
 this is the memory, time set,50/60HZ, default setting: Press move “left”, “right” key to select, and “ok” key confirm.
 50Hz&60Hz;
 Default set;
 Time set;
 SD format
Note: the first time use the SD card, please do SD card format,
- Paring:
When you need to change the camera or trailer etc, need to do paring again; Method is to press the menu
Select the paring, and then press “ok” have the following image 4, and then press the camera end pairing key. We update this as this is more available for pairing, to make
sure pairing ok and paired that camera you want to pair. This is the pairing, press the “ok” key to select and confirm when there have
“√” Then paired ok.
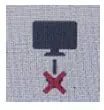
 This is dis paring, press “ok” key to select, to disconnect the paired camera.
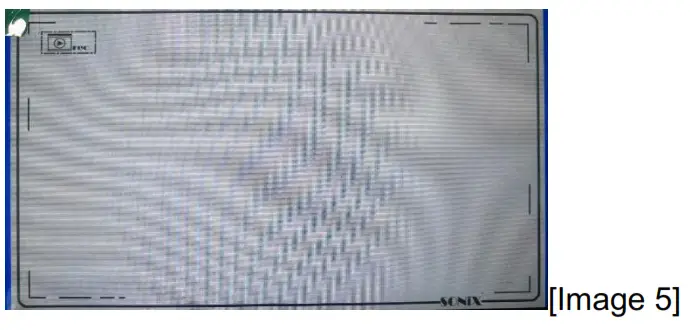
 Video playback, the press plays back key fast enter to the playback menu.

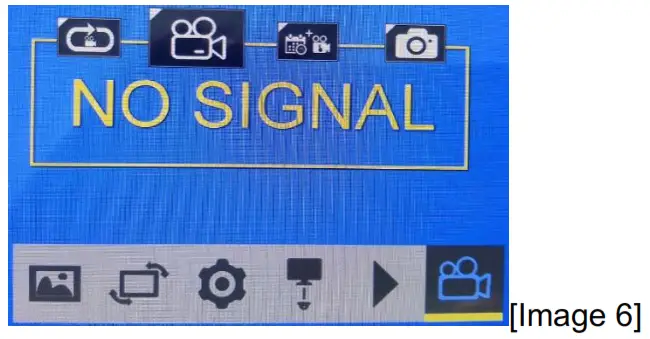
- Video recording, or take picture set: from select the first one:cycle recording power one start recording; manual recording, select the second one, press “+” start or stop video recording; the fourth is the taking picture, press“+” to take pictures
 Color,brightness,contrast;each channel can be set;as following image2
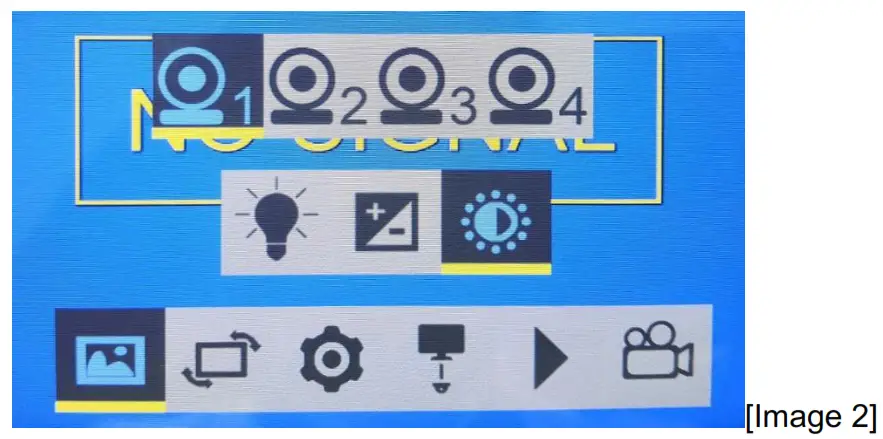
 Image turn: up/down/mirror/normal images; Press the “ok” key to turn.
 this is the memory, time set,50/60HZ, default setting: Press move “left”, “right” key to select, and “ok” key confirm.
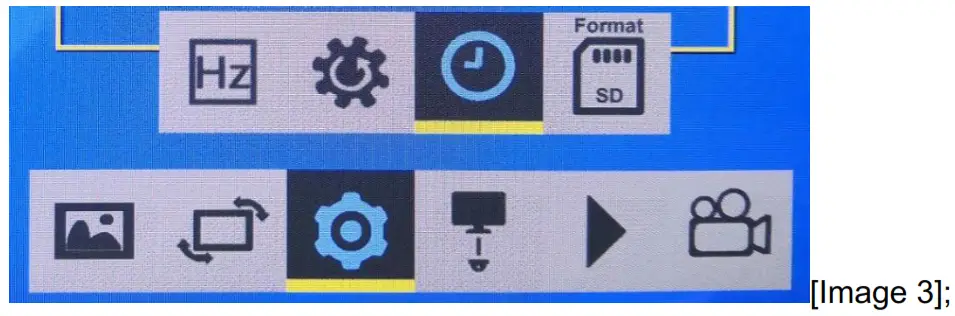
 50Hz&60Hz;
 Default set;
 Time set;
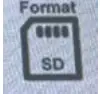 SD format
 This is the pairing, press the “ok” key to select and confirm when there have
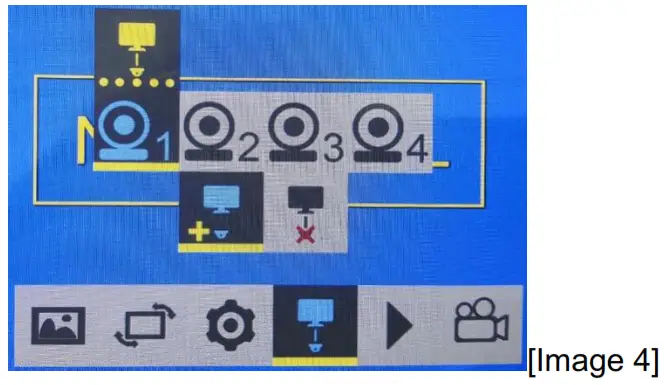
 This is dis paring, press “ok” key to select, to disconnect the paired camera.
Detail specification:
| Digital Wireless Receiver Monitor |
| Digital Wireless Waterproof IR Camera |
| Image Type: 1/3 inch Color CMOS HD 720P |
| Built-in 2.4GHz Digital wireless transmitter |
| Line of Sight Range:≤100M |
| Horizontal Resolution:1200TV Lines |
| Effective pixel:1280(H)X720(V) |
| Usable Illumination: 0Lux ( Built-in 18pcs IR LEDs for Picture Support in the Dark) |
| Free viewing angle: 120° |
| Waterproof: IP69K |
| Shockproof: 10G |
| Free Operating Voltage: DC10-32 Volts |
| Dimensions: 80(L) x 70(W) x 77(H) mm (with mounting) |
| Weight: 450g |
| Accessories |
| U- Support Bracket、Angle Adjustment Screw*2、Removable Sun Visor*1、Electrical Connecting Cable*1、Antenna*2、Stainless steel Screw *2、User’s Manual*1 |
This device complies with Part 15 of the FCC Rules. Operation is subject to the following two conditions: (1) this device may not cause harmful interference, and (2) this device must accept any interference received, including interference that may cause undesired operation
NOTE: This equipment has been tested and found to comply with the limits for a Class B digital device, pursuant to Part 15 of the FCC Rules. These limits are designed to provide reasonable protection against harmful interference in a residential installation. This equipment generates, uses, and can radiate radio frequency energy and, if not installed and used in accordance with the instructions, may cause harmful interference to radio communications. However, there is no guarantee that interference will not occur in a particular installation.
If this equipment does cause harmful interference to radio or television reception, which can be determined by turning the equipment off and on, the user is encouraged to try to correct the interference by one or more of the following measures:
— Reorient or relocate the receiving antenna.
— Increase the separation between the equipment and receiver.
— Connect the equipment into an outlet on a circuit different from that to which the receiver is connected.
— Consult the dealer or an experienced radio/TV technician for help.
Warning: Changes or modifications not expressly approved by the party responsible for compliance could void the user’s authority to operate the equipment


