
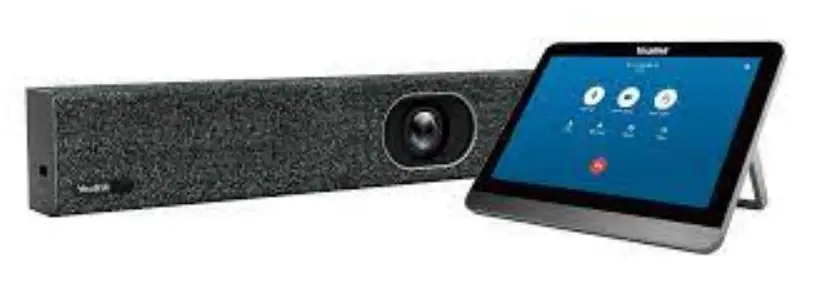
Yealink A30 All-in-one Video Collaboration Bar MeetingBar
Package Contents
Standard accessories
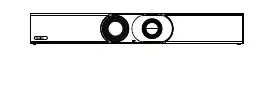
- MeetingBar A30

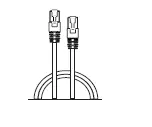
- 3m Ethernet Cable

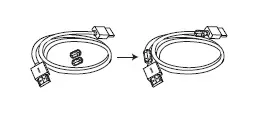
- 1.8m HDMI Cable×2 (for the display device)

- Cable Tie×5

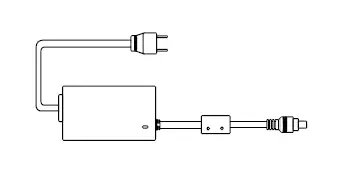
- Power Adapter

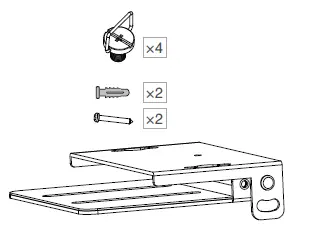
- Mounting Bracket and Accessories

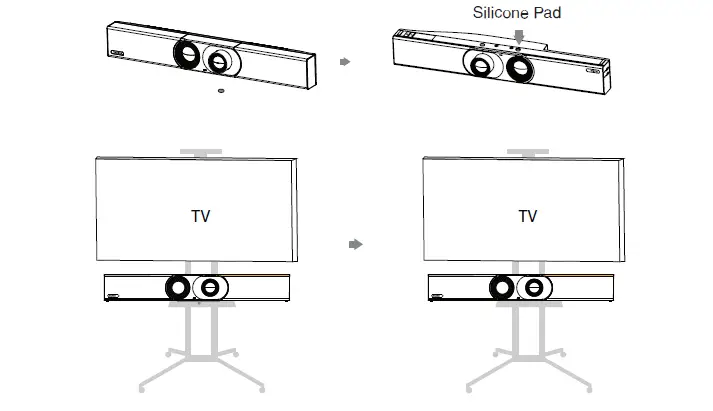
- Silicone Pad×2

- Quick Start Guide


Optional accessories
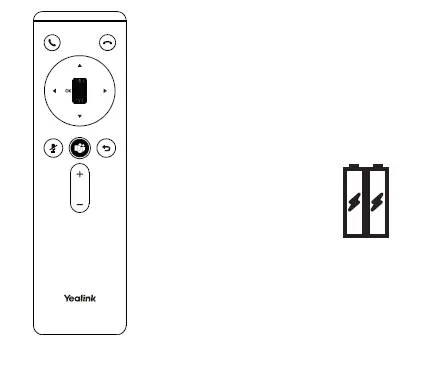
- Remote Control Package (Only Teams edition)

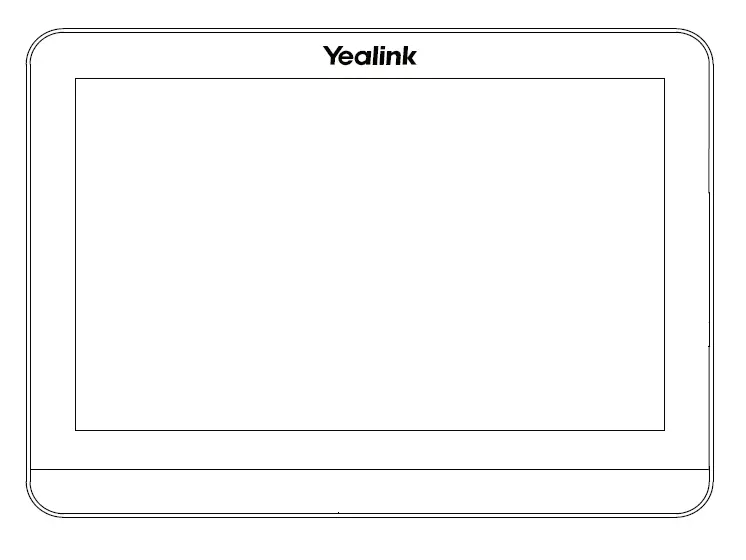
VCR20-Teams AAA Battery×2 - Touch Panel Package

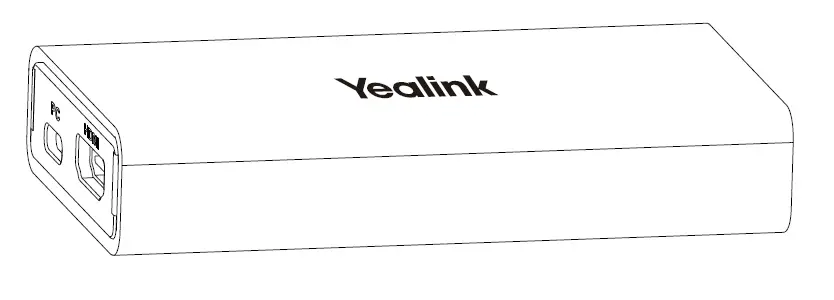
CTP18 - VCH51 Sharing Kit

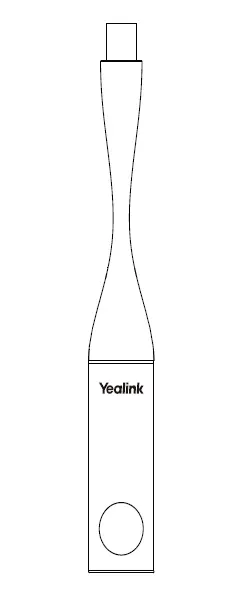
VCH51 - Wireless Presentation Pod

WPP20
Note:
- We recommend that you use the accessories provided or approved by Yealink. Unapproved third-party accessories may result in reduced performance.
- Use the Yealink original adapter (48V/0.7A) to charge the endpoint only. The use of the third-party adapter may cause damage to the endpoint.
- Put the magnet rings on the HDMI cable to prevent electromagnetic interference.
- The device supports Yealink product CPW90(Bluetooth wireless microphones) or some third-party Bluetooth microphones/headsets.
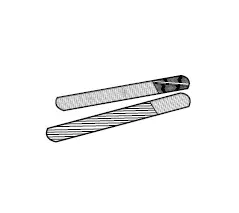
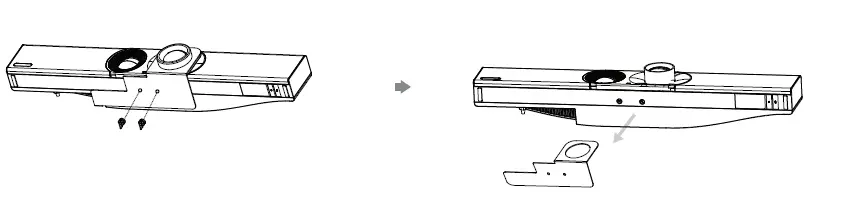
Remove the Protective Shell
Endpoint Installation
Mount on a Wall
A30 position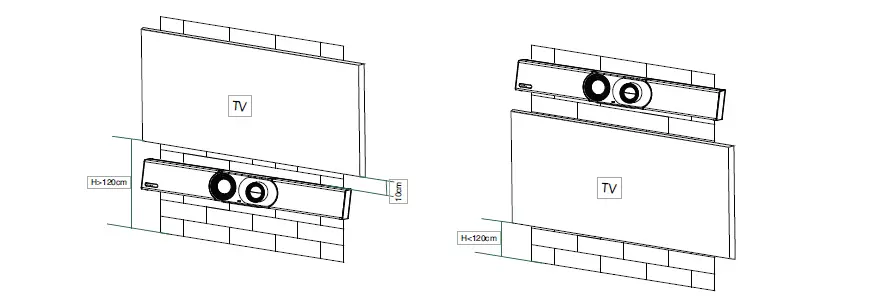
Wall Mounting
Use the bracket to mount your endpoint on a wall. The mounting height affects your camera view. The recommended height is 1.1m above the ground.
Step1: Assemble the mounting bracket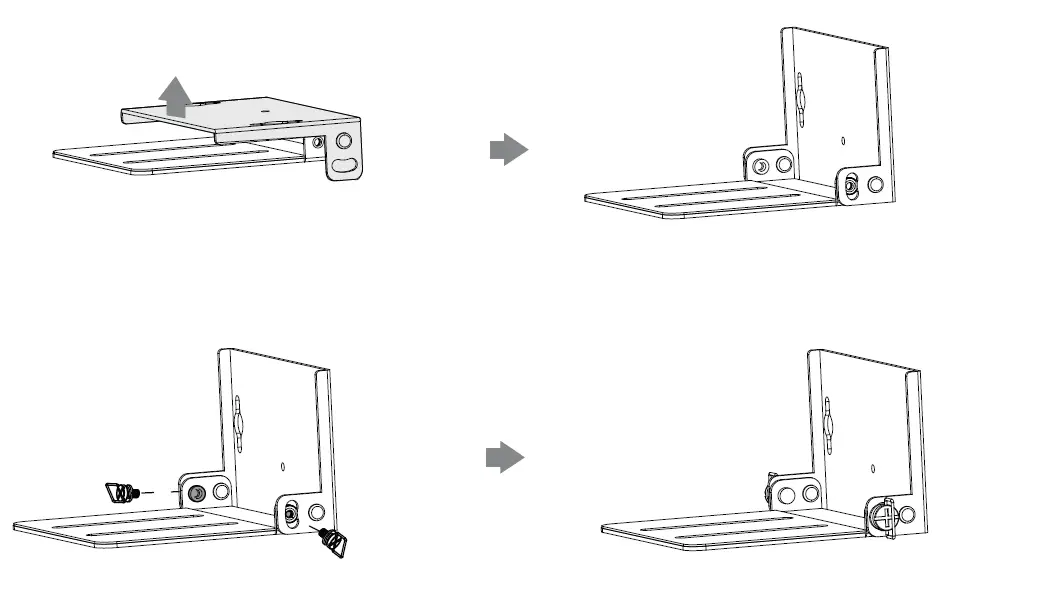
Step2: Mount the A30 to the wall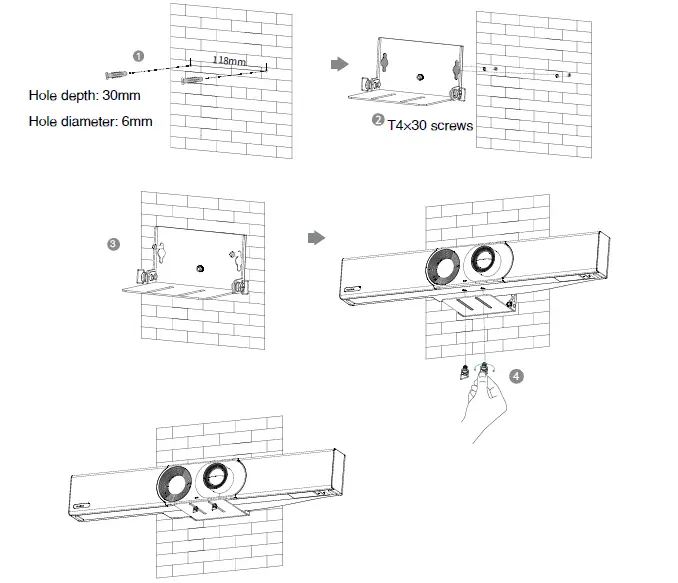
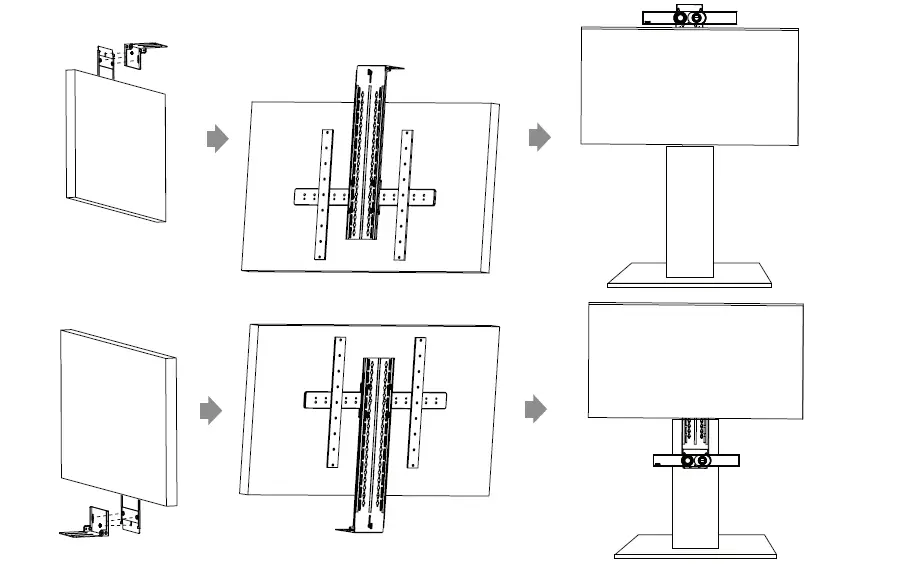
- Using Yealink TV Mount Bracket

- Put on a TV stand cart platform

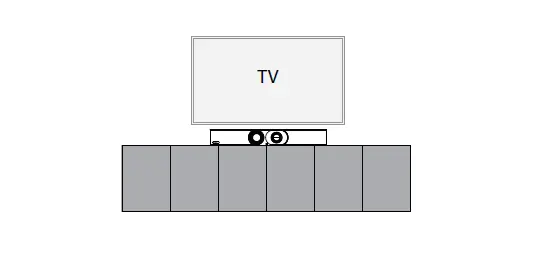
- Put on a desk

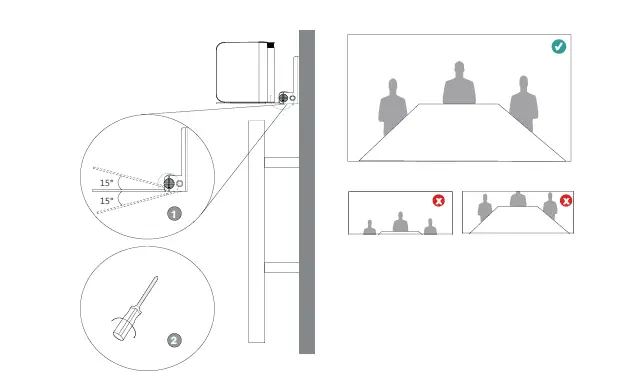
Adjusting the Camera Tilt
Endpoint Connections
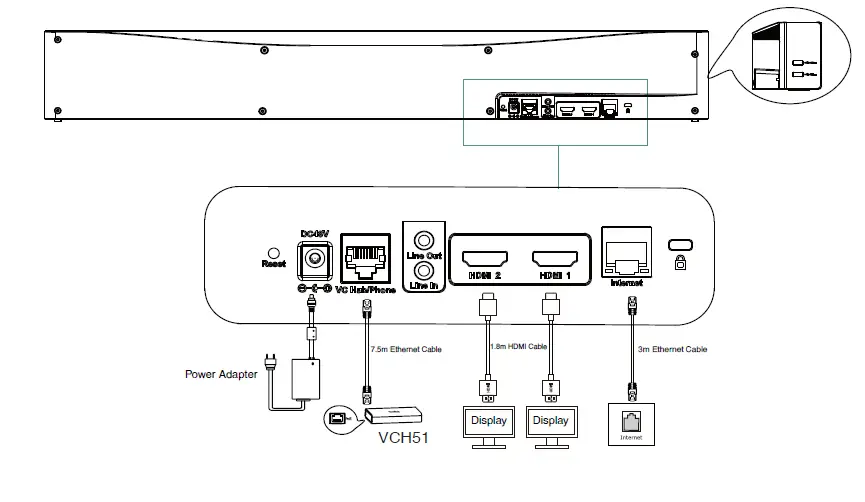
Note:
- If you connect a touch display device, you can operate the A30 either by remote control or touch control.
- If you connect a non-touch display device, you can use the remote control, mouse, or CTP18.
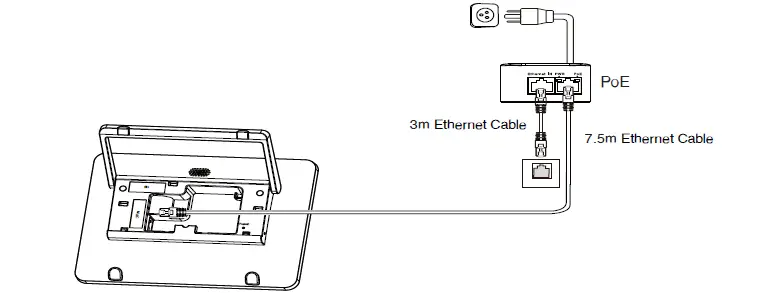
CTP18 Connection
Pair the CTP18 with A30-Teams
Sign into the same Microsoft account on both CTP18 and the endpoint, then enter the PIN code according to the on-screen prompts, after that the system will be auto-matically paired with the CTP18.
Pair the CTP18 with A30-Zoom
Enter the IP Address, then the system will be automatically paired with the CTP18.


