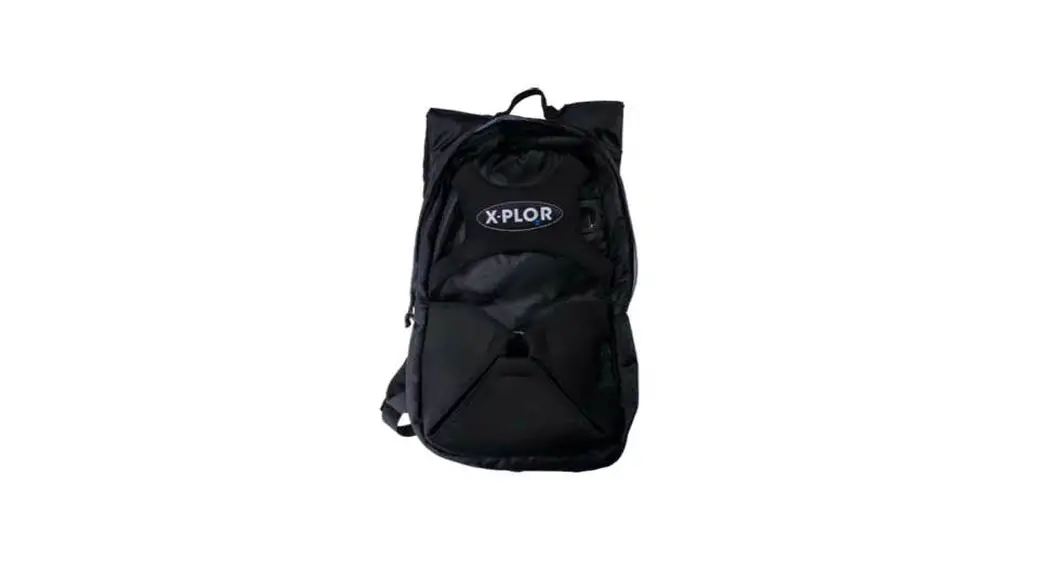
![]() Placing X-PLO R Backpack
Placing X-PLO R Backpack
Instructions
Placing X-PLO R Backpack
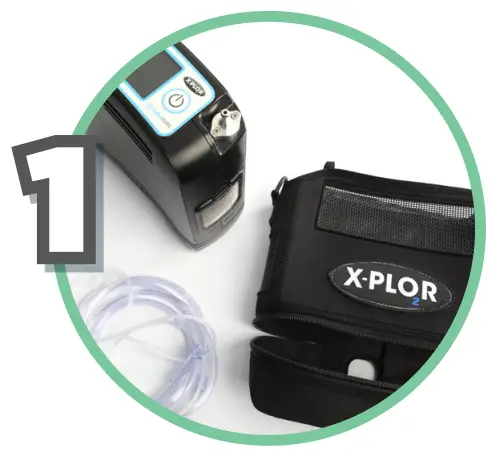 |  |
| Disconnect the cannula and remove the X-PLO₂R from the small carrying bag, if applicable. | Place backpack on a flat surface with the front pocket and ring facing up. |
 | 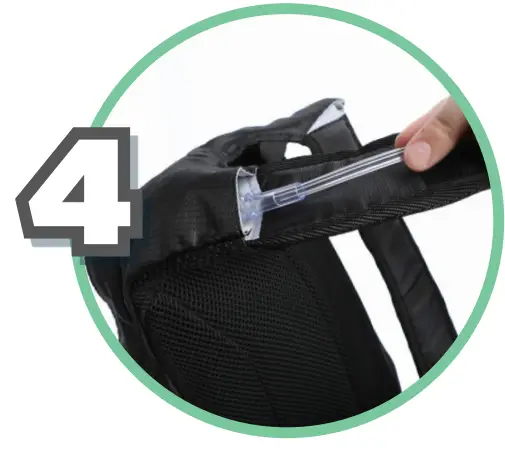 |
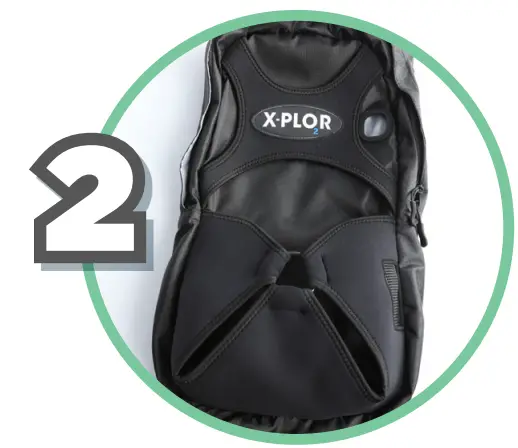
| Pull on ring to open the front pocket, so you can place the X-PLO₂R inside. (Be sure that the LCD screen is facing up, the cannula connector is located on the right side, and the intake vent aligns with the mesh panel.) | Insert and thread the cannula through the opening at the top of the right shoulder strap. |
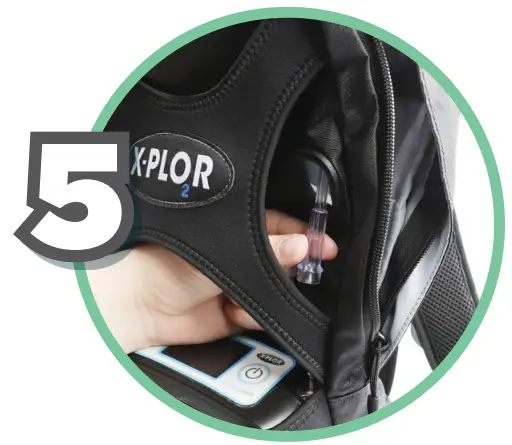 | 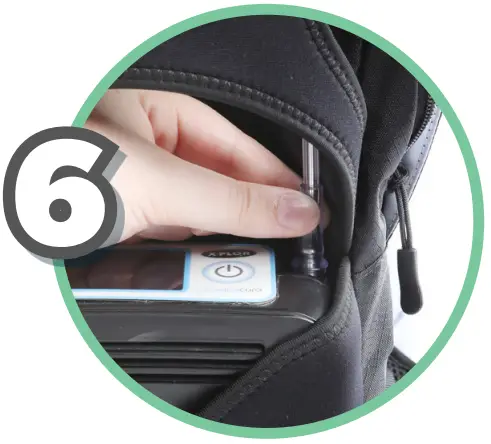 |
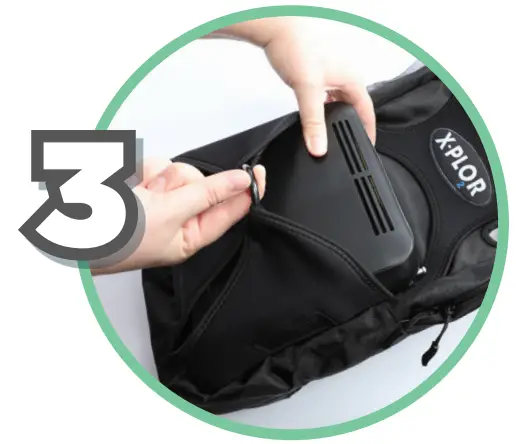
| Continue threading the cannula down through the backpack, toward the X-PLO₂R. (Pull the cannula out through the grommet so it can connect to the X-PLO₂R.) | Connect the cannula to the X-PLO₂R. |
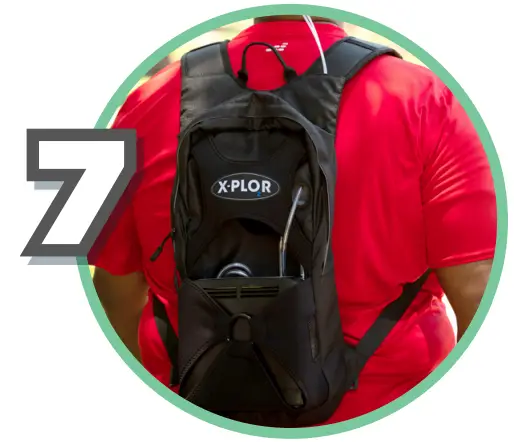 | 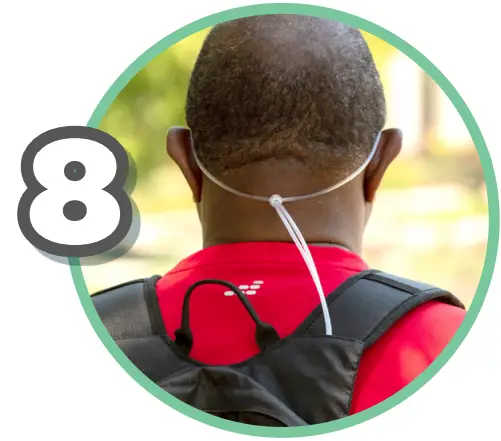 |
| Place backpack on shoulders and adjust the shoulder straps so the backpack is comfortable. | Wrap the cannula up and over both ears and insert the nasal prongs into your nostrils. (The cannula should fit comfortably around your head.) |
 |  |
| Roll the cannula tubing to the desired length. Secure the excess tubing inside the backpack with the Velcro straps, making sure not to kink the tubing. | Zip up the backpack and you’re ready to go X-PLO₂R. |
![]()
![]() You can place additional batteries inside the backpack if desired.
You can place additional batteries inside the backpack if desired.
XplorOxygen.com


