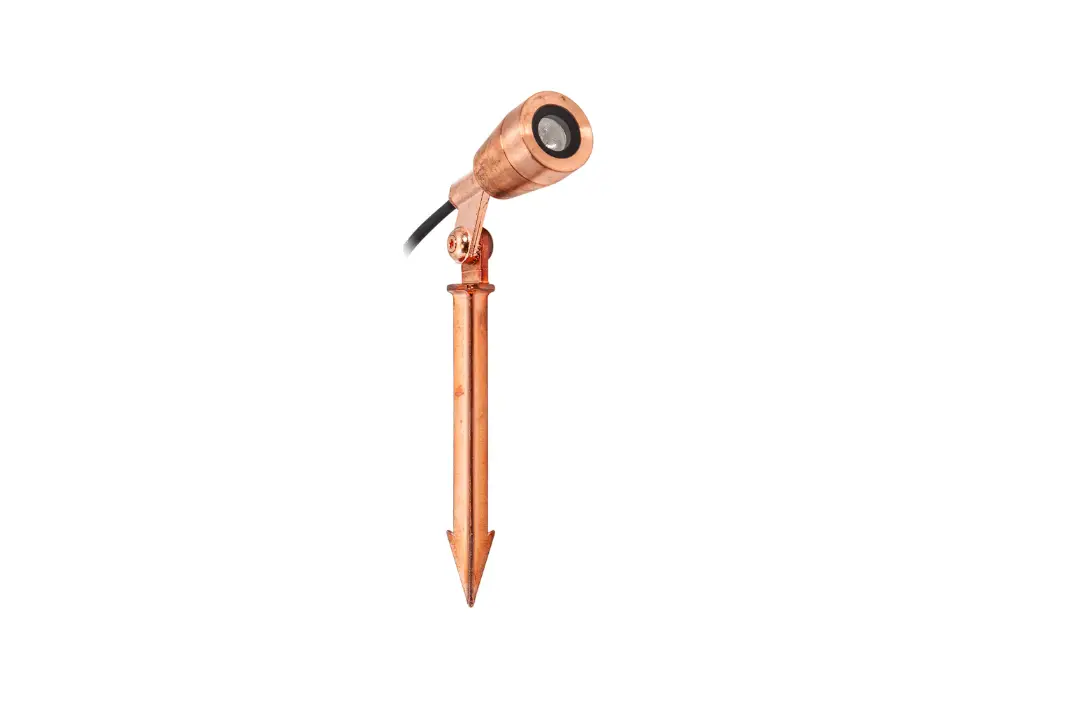
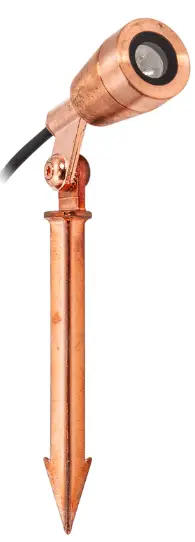
HALCYON EX105 Dimmable Landscape Spike Spot
SAFETY INSTRUCTIONS
Read these instructions carefully before commencing installation and retain for future reference. The luminaire should be installed by a licensed electrician and in accordance
- Modification or misuse of the luminaire voids warranty.
- Do not connect luminaire to live power source.
- Take care during installation, incorrect connection may damage the luminaire resulting in reduced lifespan.
- 316 Stainless steel surfaces should be maintained regularly if the factory polished appearance is desired, clean with a soft cloth and a neutral detergent.
- Halcyon lighting is free to change the design, specifications and instructions for assembly of the luminaire without notice.
- Halcyon Exterior products go through extensive waterproof testing prior to sale. Due to the nature of the tests all Copper luminaires will have slight “water staining”. Please note that once installed Copper develops a natural patina finish and this will negate any effects from the aforementioned testing process.
INSTALLATION INSTRUCTIONS
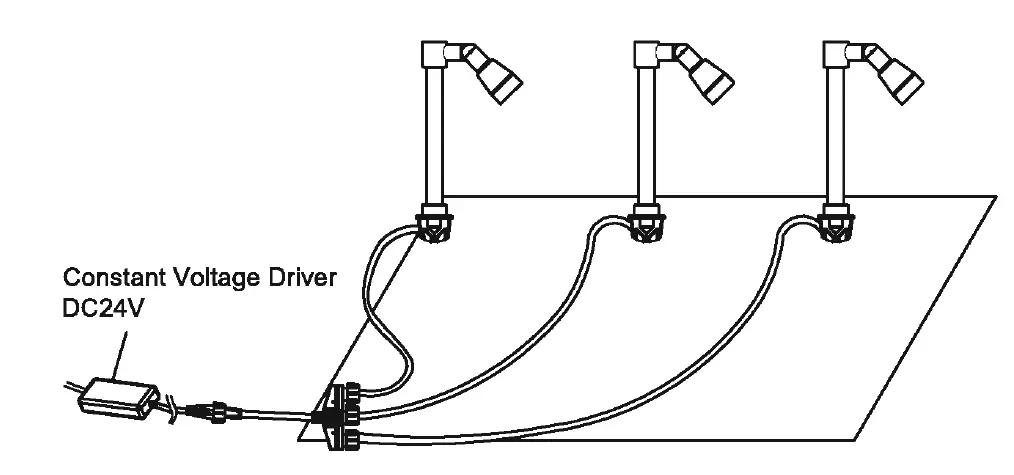
Maximum Circuit Runs:
| Halcyon 24V Driver | 20W/0.83A | 40W / 1.67A | 50W /2.0A | 75W/3.0A | 150W/6.25A | 200W/8.34A | 320W/13.3A |
| Maximum Connected EX105 1T Tall | 4xEX1051T | 8xEX1051T | 9x EX1051T | 14x EX1051T | 31xEX1051T | 41xEX1051T | 66xEX1051T |
| Maximum Connected EX105 2T Tall | 1xEX1052T | 3xEX1052T | 4xEX1052T | 6xEX1052T | 13xEX1052T | 18xEX1052T | 29xEX1052T |
Maximum recommended circuit runs are calculated by the max wattage/amperage of driver vs the number of lights of the circuit and start up / operating current required by each light. For long runs voltage drop must also be taken into account.
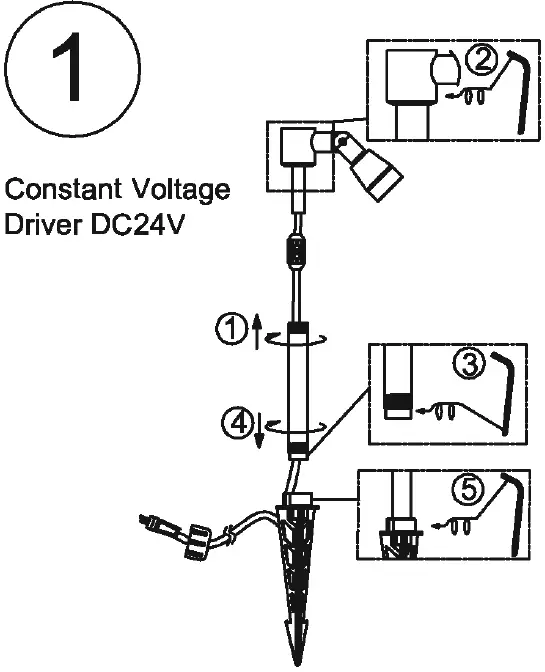
- Tighten threaded extension into spot head.
- Secure grub screw to lock spot head in place.
- If additional extension is required, thread both extensions together to create a double length extension piece.
- Secure in place (if extra extension is being used).
- Secure cable clamp to ensure cable is not twisted during steps 6/7.
- Carefully thread spike adapter to extension base, allow feed cable to hang freely and rotate spike around cable.
Important: Ensure feed cable does not bind/twist when tightening spike. If the feed cable is rotated around and around with spike it will twist connections internally and potentially damage the spot head. - Secure in place.

Note: Due to the rugged nature of exterior landscape lighting installations EX105 series feature an easily replaceable lamp for ease of maintenance and repair. Replacement lamp code EX105 3W27KREP.
| CODE | Watt | Color | LED | Input |
| EX105 1TSTS27 EX1051TB27 EX1051TCO27 | 3W | 2700K | Epistar | DC24V |
| EX105 2TSTS27 EX105 2TB27 EX105 2TCO27 | 2x3W | 2700K | Epistar | DC24V |


