INSTALLATION INSTRUCTIONS
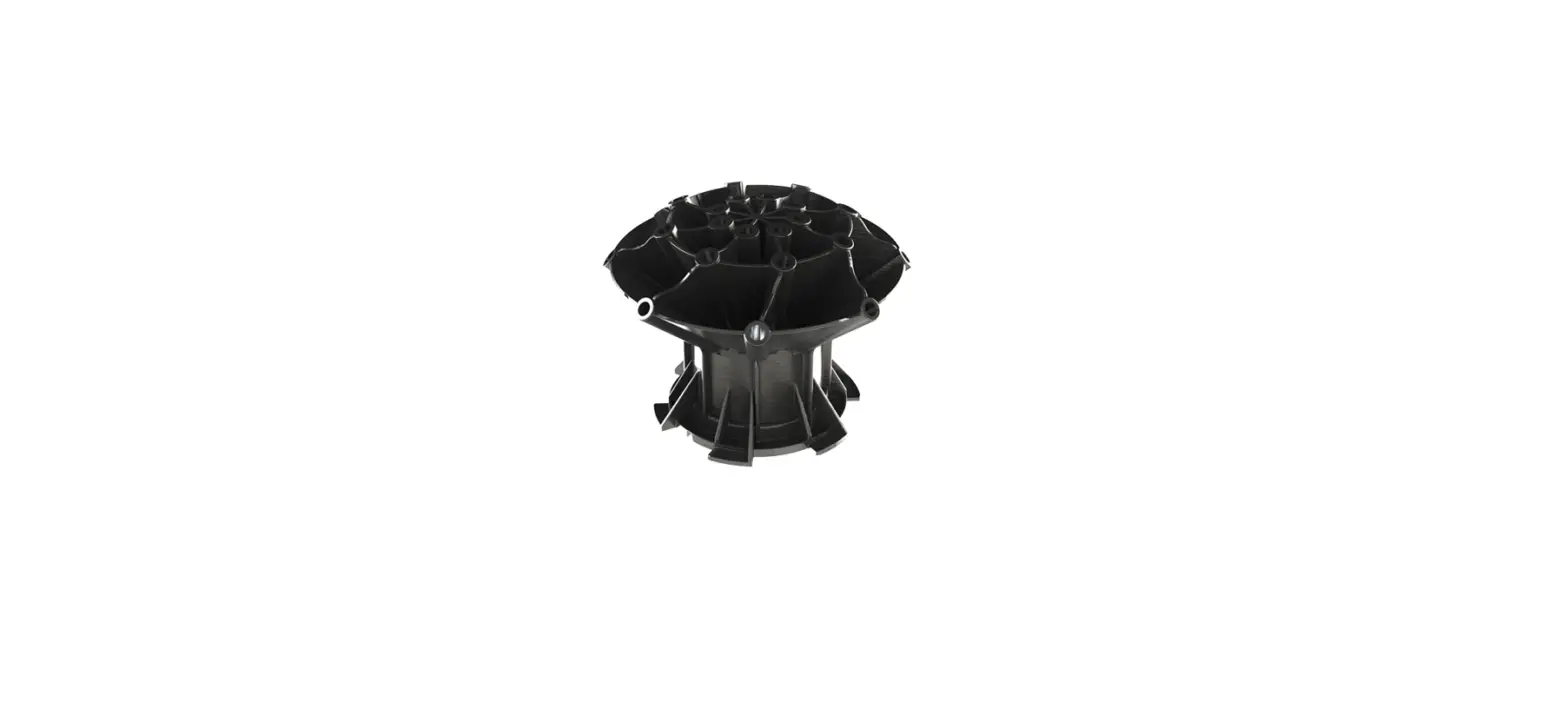
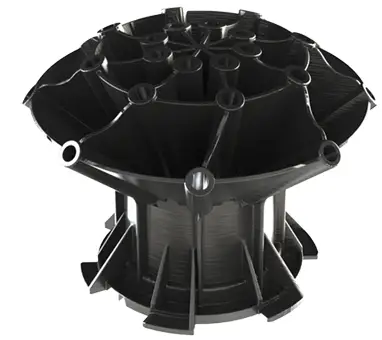
After removing the current nozzle and ensuring that the nozzle O-ring (A) is properly seated in its groove, twist the nozzle clockwise (as viewed from the top) so that the flanges in the nozzle lock into place on the top of the pump chamber by hand. Twist until the nozzle flanges can move no further and are completely snug. Nozzles can be changed conveniently without removing the float or using any tools.
Note
If it is difficult to twist the nozzle into place, dielectric grease can be applied to the nozzle O-ring. After removing the current nozzle and ensuring that the nozzle O-ring (F) is properly seated in its groove, twist the nozzle clockwise (as viewed from the top) so that the flanges in the nozzle lock
This kit includes a retaining clip that you can install to prevent possible rotation of the nozzle when the fountain is running. See the instructions on the opposite side of this sheet.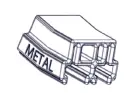
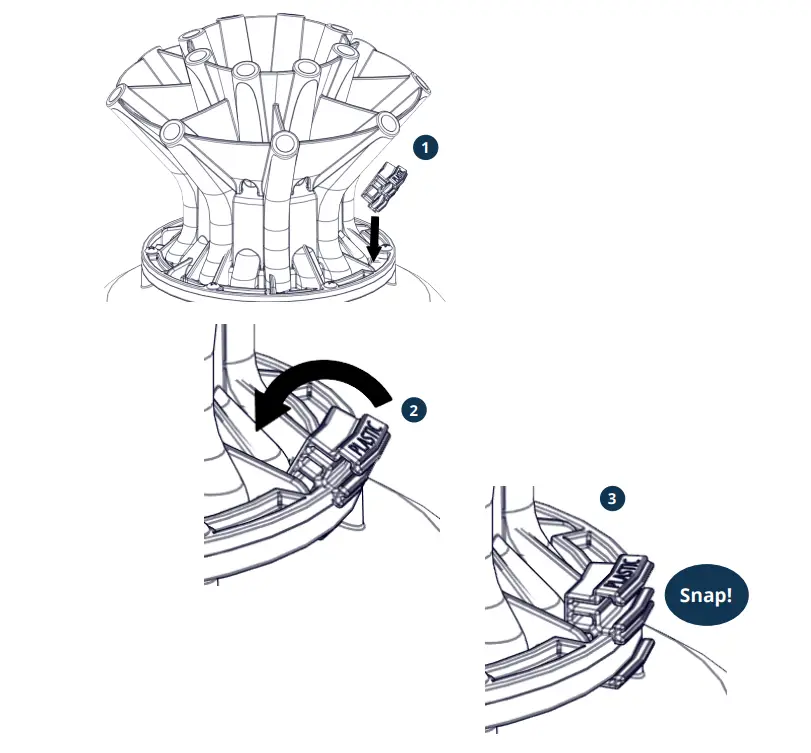
RETAINING CLIP INSTALLATION INSTRUCTIONS
Position the clip with this side up if the nozzle ring is metal.
Position the clip with this side up if the nozzle ring is plastic.
- Insert the clip into one of the aligned gaps in the nozzle and ring.
- Twist the bottom of the clip over the ring.
- Snap the clip into place.

- 800 Deere Rd. Prescott,
- WI 54021 | 715.262.4488
- [email protected]
- kascomarine.com


