![]()
 Quick Setup Guide
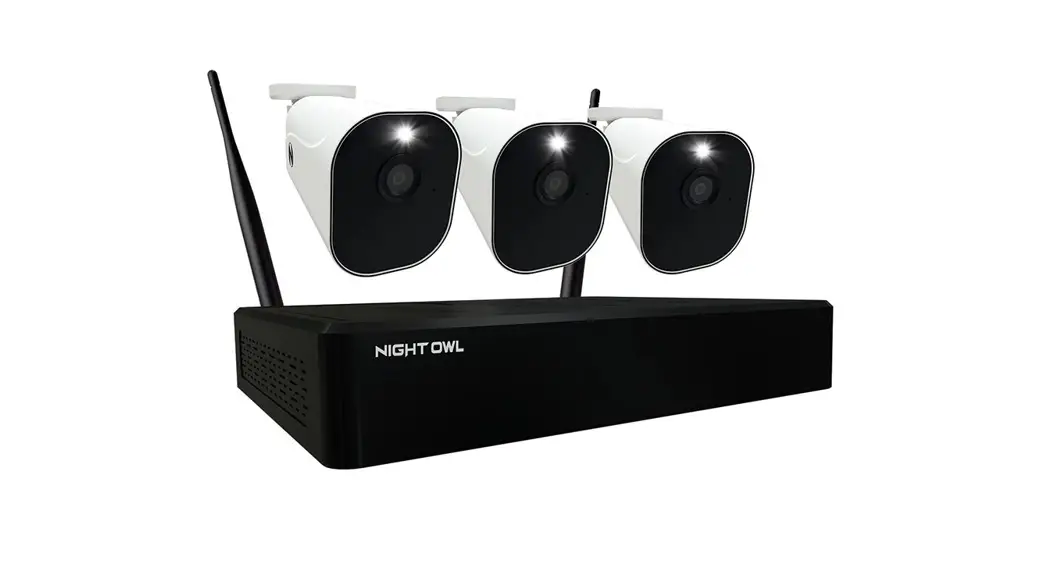
![]() STOP: This camera is NOT for standalone use and MUST be paired to the Night Owl WNIP2 Series Wi-Fi NVR. Only install a camera in its final location AFTER it’s paired, and the setup is completed.
STOP: This camera is NOT for standalone use and MUST be paired to the Night Owl WNIP2 Series Wi-Fi NVR. Only install a camera in its final location AFTER it’s paired, and the setup is completed.
Hardware Setup
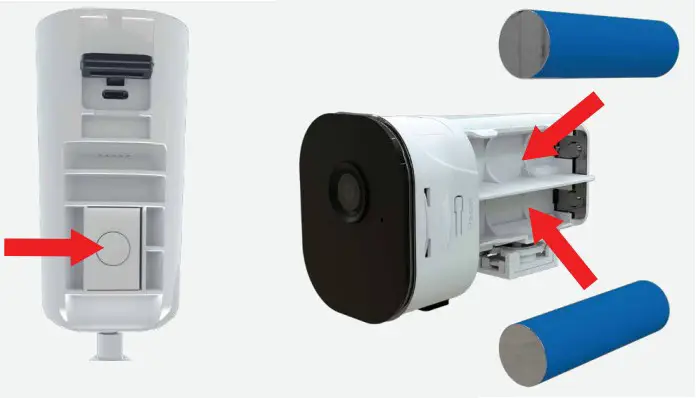
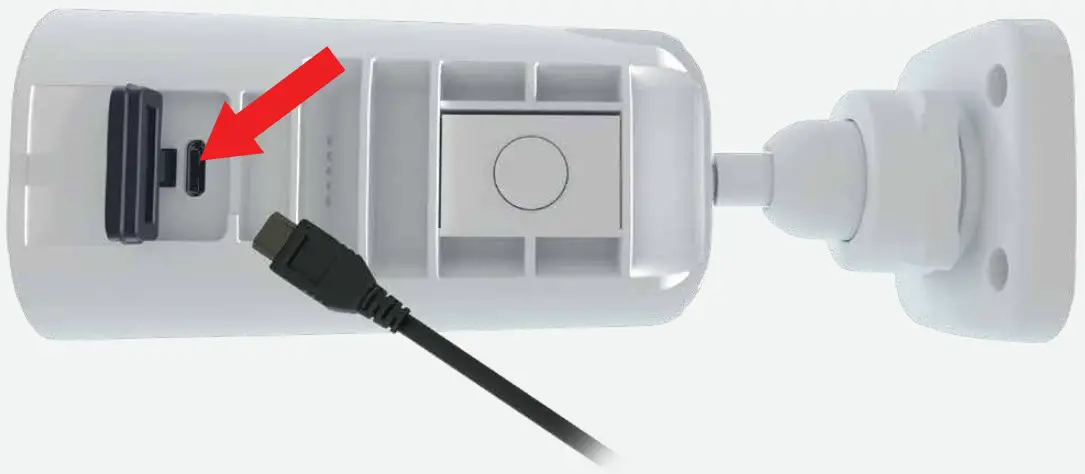
- Install the batteries. Press the button on the camera’s belly to release the battery cartridge and insert the batteries. Replace the cartridge and connect the USB cable to the port under the rubber piece.
NOTE: Each camera requires 2 rechargeable batteries, but can hold up to 4 batteries.
- Charge the camera(s) for at least 3 hours. Lift the rubber piece on the camera’s belly and connect the USB cable to the camera and a USB power supply. Please ensure the batteries are installed or the camera(s) will not charge.

- Scan the OR Code to watch the Setup Video on how to pair your camera(s) to the Night Owl WNIP2 Series Wi-Fi ns, N, NVR (Wi-Fi NVR required for use).
 https://scnv.io/j86E?qr=1
Scan to Watch our Setup Video
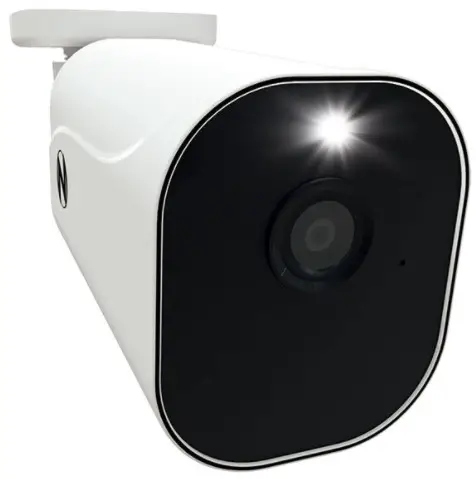
Wire-Free Camera
Placing the Camera in Pairing Mode
If the camera is not in pairing mode, press the button on the camera’s belly to release the battery cartridge. Press and hold the reset button for 10 seconds or until the camera says, “Camera is in Pairing Mode.”
NOTE: The camera MUST be reset if it isn’t paired to a Recorder within 2 minutes.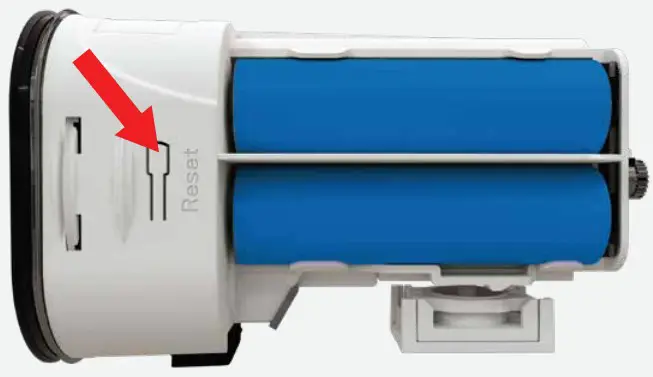 Status Light
| Pairing Mode: | GREEN light flashes rapidly |
| Failed to Connect: | Solid RED light |
| Charging: | GREEN light flashes slowly |
| Fully Charged: | Solid GREEN light |
NOTE: For a complete list of Status Lights, see your owner’s manual by visiting our support site and typing BWNIP2 into the search bar.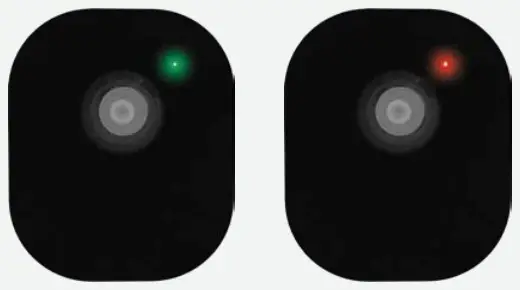
NEED HELP?
![]() Why Call? Our Support Site Has it All!
Why Call? Our Support Site Has it All!
For system manuals, troubleshooting guides, FAQs, video tutorials, and more:
- Please visit Support.NightOwISP.com
- Enter BWNIP2 into the Search bar. Search Model / Serie% CM

![]() For more Support Videos, go to www.youtube.com/nightowlsp
For more Support Videos, go to www.youtube.com/nightowlsp
FCC RADIATION NORM
FCC
This device complies with Part 15 of the FCC Rules. Operation is subject to the following two conditions: (1) this device may not cause harmful interference, and (2) this device must accept any interference received, including interference that may cause undesired operation. FCC Compliance Statement These limits are designed to provide reasonable protection against frequency interference in a residential installation. This equipment generates, uses, and can radiate radio frequency energy, and if not installed or used in accordance with the instructions, may cause harmful interference to radio communication. However, there is no guarantee that interference will not occur in television reception, which can be determined by turning the equipment off and on. The user is encouraged to try and correct the interference by one or more of the following measures:
- Reorient or relocate the receiving antenna.
- Increase the separation between the equipment and the receiver.
- Connect the equipment into an outlet on a circuit different from that to which the receiver is connected.
- Consult the dealer or an experienced radio/TV technician for help.
CAUTION!
The Federal Communications Commission warns the user that changes or modifications to the unit not expressly approved by the party responsible for compliance could void the user’s authority to operate the equipment. This equipment should be installed and operated with a minimum distance of 8 inches between the radiator and your body. REV 1-200803


