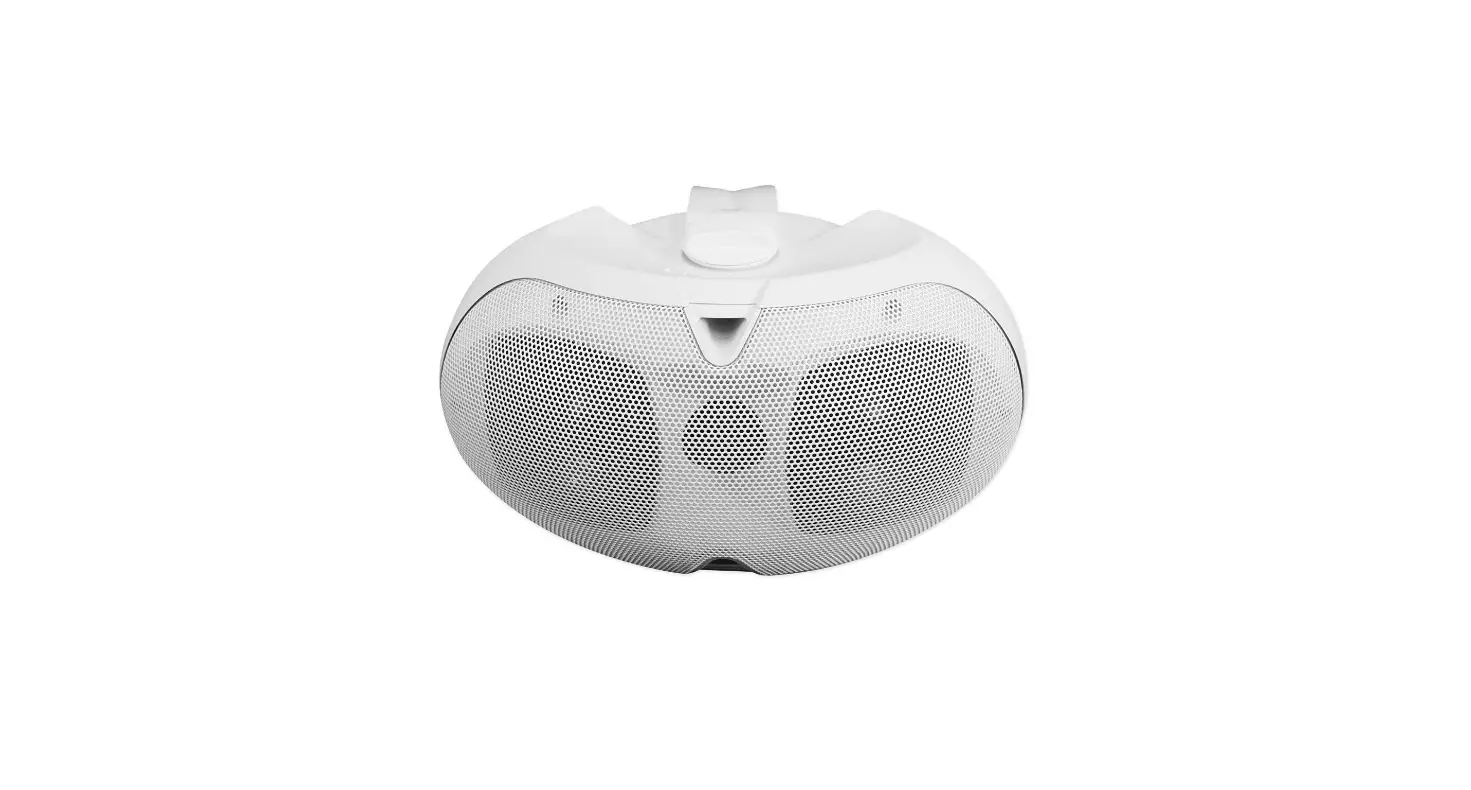
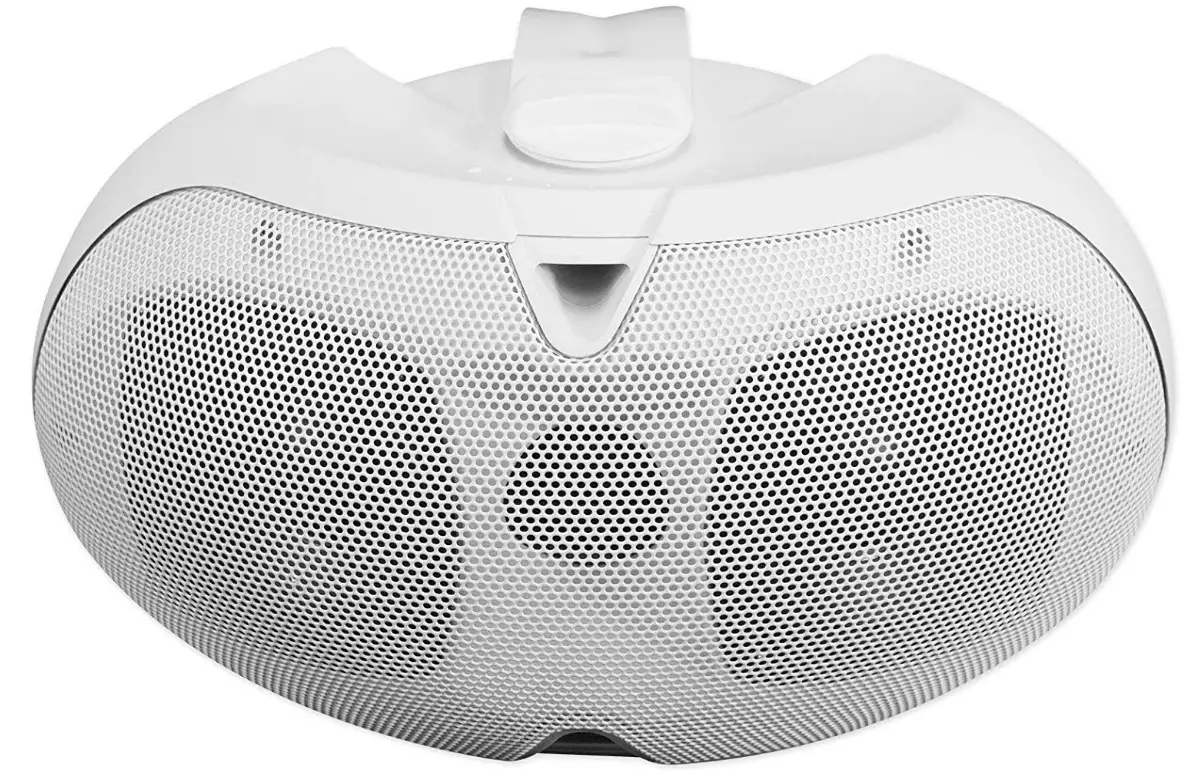
Rockville D4-70 White Wall Mount Speaker
Overview
Rockville is 8 ohm and 16-ohm commercial wall mount speakers. They are a great choice for any restaurant, office, school, retail store, or other commercial application. These speakers will sound great for all your PA announcements and background music.
Functions
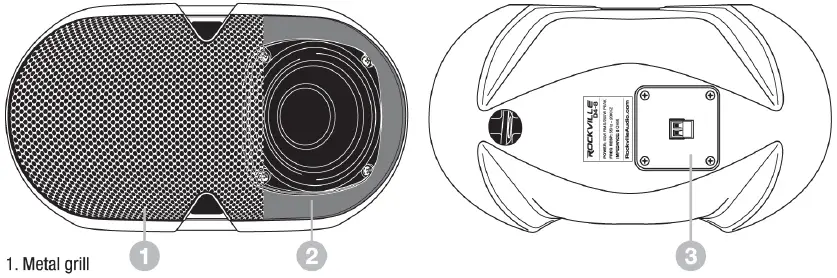
- Metal grill
- Full range speaker
- European-style terminal block (euro block)
Connecting the Speakers
These speakers are passive and thus require an amplifier or receiver to give them power. They can be connected to any 4 or 8-ohm amplifier. If your speakers are relatively close to the signal source (50 feet or less), a 16 gauge wire can be used. For longer distances, 12 or 14-gauge wire is recommended. Be sure to observe proper polarity by ensuring that the wire from the positive speaker terminal is connected to the red or positive terminal of the signal source and that the wire from the negative speaker terminal is connected to the black or negative terminal of the signal source.
Features/Specifications
- Weather resistant with rugged ABS cabinet is perfect for outdoor patio or indoor use
- Curved cabinet design for better sound coverage with an 80° x 120° dispersion
- A dual swivel mounting bracket supports a vertical 90° swivel and horizontal 100° swivel
- Polypropylene Cone
- Rubber Surround
- (2) 4” Woofers
- 1″ Kapton Voice Coil
- 1″ Soft Silk Dome Tweeter
- 9. 75 oz. Ferrite Magnets
- Detachable Euro-Block terminals with quick disconnect
- Built-in 12dB/Octave crossover with dynamic speaker protector
- Crossover details 2nd order/2500Hz roll-off
- Impedance Available in 8 ohms or 16 ohm
- Frequency Response 55Hz – 20KHz
- Sensitivity 88dB@ 1w/1 m
- Available in black or white
- Dimensions in inches 12.05′ x 6.6″ x 8.T
- Weight 6.4 Lbs
Installation
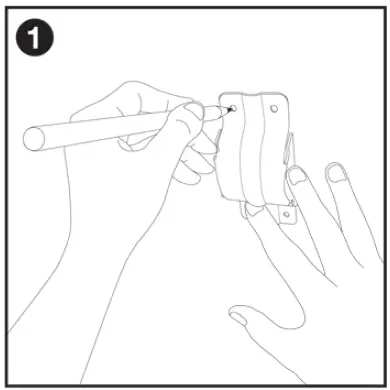
- Using the mounting bracket as a template, mark the mounting screw locations.

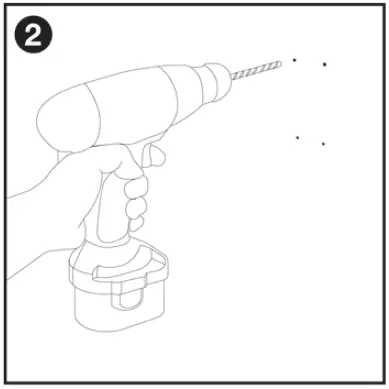
- Drill pilot holes for the screws. Be sure to use the proper drill bit size for the anchors. We recommend using a 7/3″ drill bit.

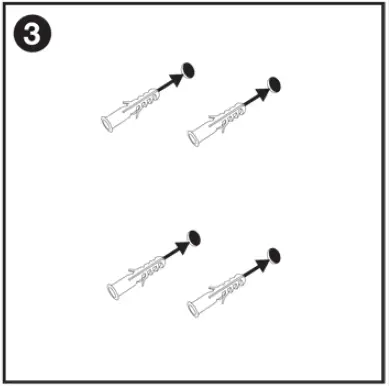
- insert one of the included.chors into eachhole Do notmoontthebracket yet.

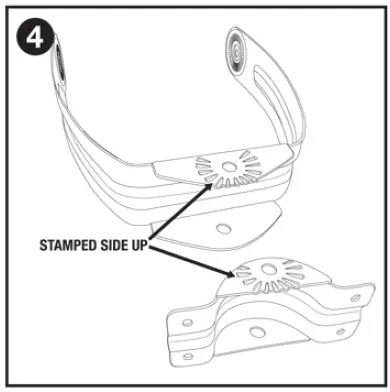
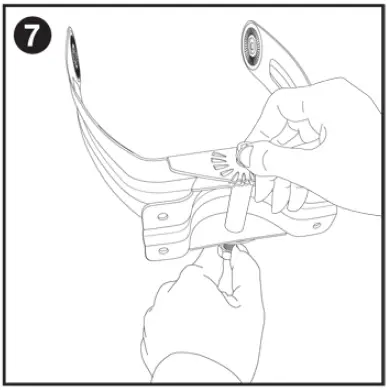
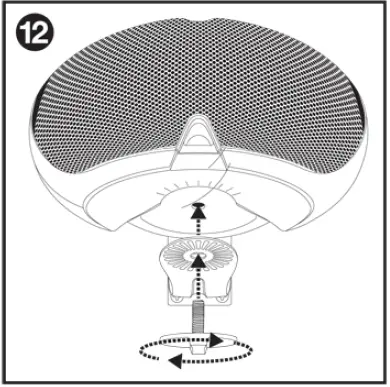
- Slide the mounting bracket into the speaker bracket as shown above. Make sure the stamped side of the bracket,as well as that of the mount, is facing down.

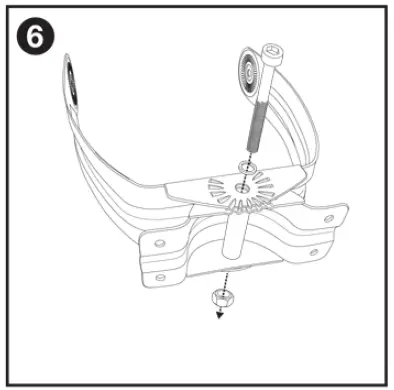
- insert the hex bolt sleeve.

- Align the bracket screw hole with that of the mount and the hex bolt sleeve. Slide the locking bolt and insert the bolt assembly into the hole.

- Attach the nut onto the hex bolt and hand tighten. but do not fully tighten.

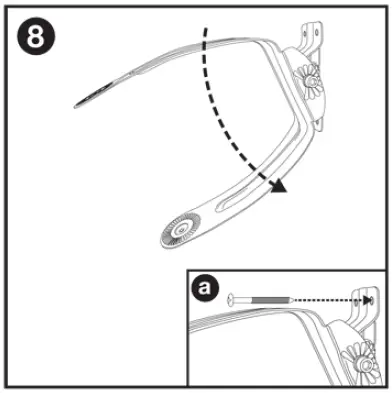
- Place the entire bracket assembly against the wall and align the mounting bracket’s screw holes with the anchors.nltthewallbrackelclowninorderto exposethe two top holes. Insert one screw in each hole. We recommend using a power tool in order to firmly drive the screws into the wall anchors.

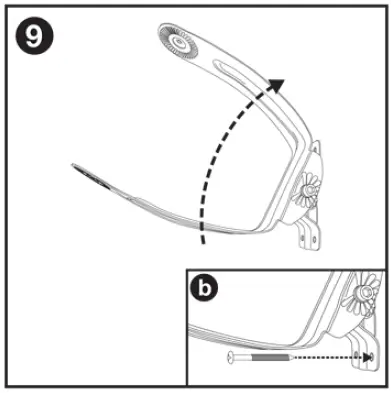
- Tilt the wall bracket up to expose the two bottom holes. insert one screw in each hole and firmly drive these crews into the wall anchors.

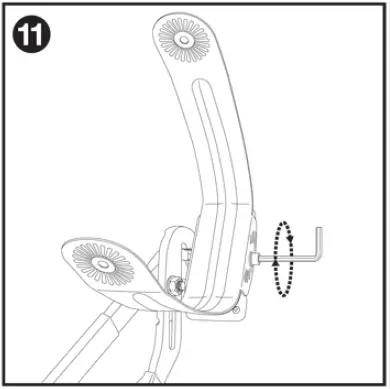
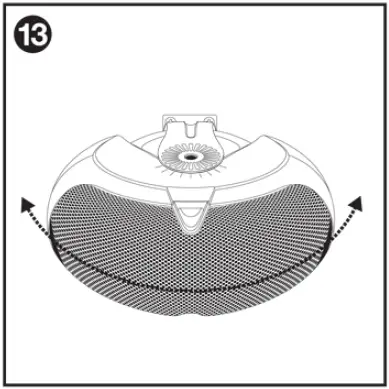
- Prior to mounting the speaker to the wall bracket, set the desired angle at which your speaker will be mounted.

- To set the bracket position, hold the nut on the stamped side with a pair of pliers or an adjustable wrench and use the Allen wrench to tighten. Do not be afraid to overtighten.

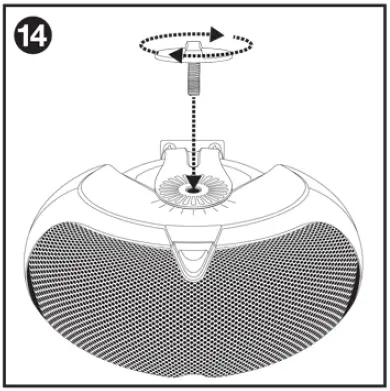
- Put the speaker in place and insert the bottom tightening screw first. Do not fully tighten.

- Adjust the speaker to the desired angle.
- Insert and fully tighten the top screw. Fully tighten the bottom screw. Now, enjoy the music.


Keep in mind that walls also reflect sound. At least two to three feet should separate speakers from the closest wall (especially if your speaker is in a corner). Many speakers have bass ports that face the back. A rear bass port that is too close to a wall will reflect sound waves, blurring time.
A center-channel speaker is sometimes a good candidate for a wall mount. If the center is to be housed in a cabinet, be sure to position it as near as you can to the edge of the cabinet. Any exposed shelf in front of the speaker will cause the sound to reflect off of it and bounce back, degrading the sound quality.
Although many in-wall speakers come with rotating tweeters that can help make up for installations high on the wall, you’ll get the greatest sound if you position the speakers at the same height as a freestanding speaker, which is roughly 2 feet above ear level.
Put the picture hook where you want your speakers to be on the wall. Place a marker exactly where the holes are. Incorporate two nails into the wall. Use the picture hooks to secure your speakers.
Furthermore, using an average ear height of 91cm to 96.5cm (36-38″) is frequently just as suitable as measuring the distance from your ears to the floor if more than one person will be listening to the speakers or if you frequently have guests over.
In-wall speakers are tuned while they are installed in a wall. This is taken into consideration during the design of the enclosure and the drivers, ensuring that once you install them at home, the system sounds identical to one from a speaker located farther away from the listening area.
To enhance sound quality, think about adding some R-13 insulation to the wall cavity beneath the speakers. Insulation is typically pre-cut for breadth; all that is required is for you to cut it to length and insert it into the gap behind the speakers.
You can produce realistic soundstage and stereo imaging by putting on-wall speakers at ear level, depending on critical listening and dispersion. These systems differ from in-ceiling speakers in that they add dimensionality in addition to the stereo effect.
The ideal distance from the back wall is therefore one to two feet, if possible and if you can live with the aesthetics. But give it a go. The only qualification I’ll make is that some speakers are made to be installed quite close to a back wall.
In most cases, in-ceiling speakers may easily be mounted in a wall, and vice versa and they will sound the same.
Simply said, ceiling speakers are positioned down-firing from the ceiling above, whilst in- and on-wall speakers are mounted front-firing with the woofers pointing horizontally across the room.
In-wall speakers are frequently more potent and of greater quality as a result than in-ceiling speakers. When in-wall speakers are installed in numerous walls of a room or other space, they can add more sound dimensions than just a downward-firing one.
The use of two sheets of MDF or OSB with a coating of Green Glue damping compound sandwiched in between is advised by several home theatre specialists. Your speakers will be much more effectively soundproofed with a damped box.
If the speakers are too far apart, the music will play in some areas of the room too loudly and in others too softly. In larger rooms, use two speaker pairs for balanced sound. We advise keeping in-wall and ceiling speakers at least 18 to 24 inches away from one another.
A person could desire to wall mount speakers for a variety of reasons. Smaller rooms can benefit from speaker wall mounting, which also shields speakers from curious kids and animals. Additionally, it’s a simple method for positioning smaller satellites at the ideal altitude for the best audio quality.


