![]()
150 RGBW Bluetooth Headlights
Installation Guide
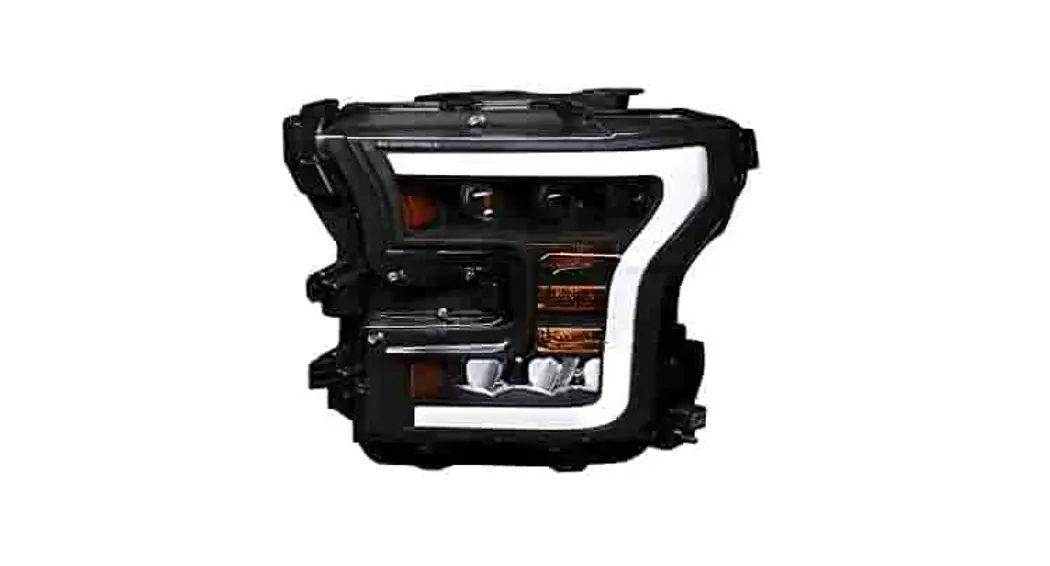
2015-2017 FORD F-150 RGBW Bluetooth Headlights
 | ||
| X2 HEADLIGHTHOUSINGS | X1 BLUETOOTHCONTROL BOX | X1 10FT EXTENSIONCABLE |
INSTALLATION
TOOLS NEEDED

- SCREWDRIVERS (+ AND -)
- SOCKET WRENCH
- SOCKETS
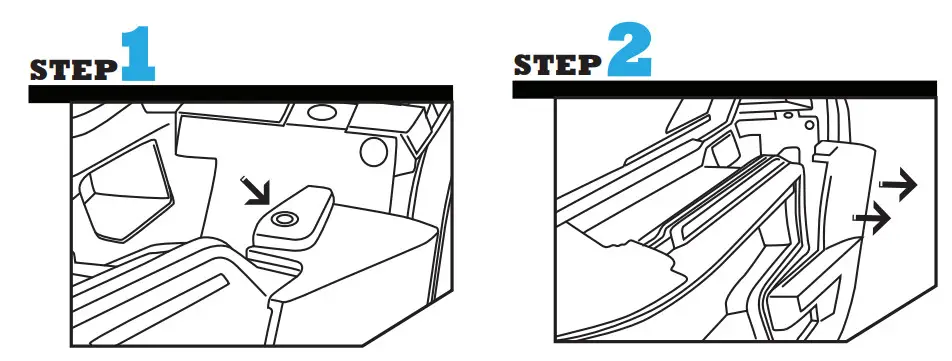 | |
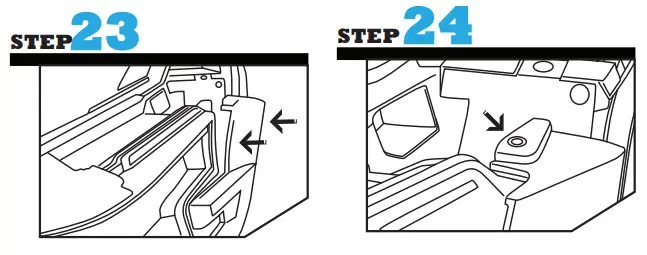
| Remove the 2 plastic pop clips holding the trim in. | Release the trim piece. |
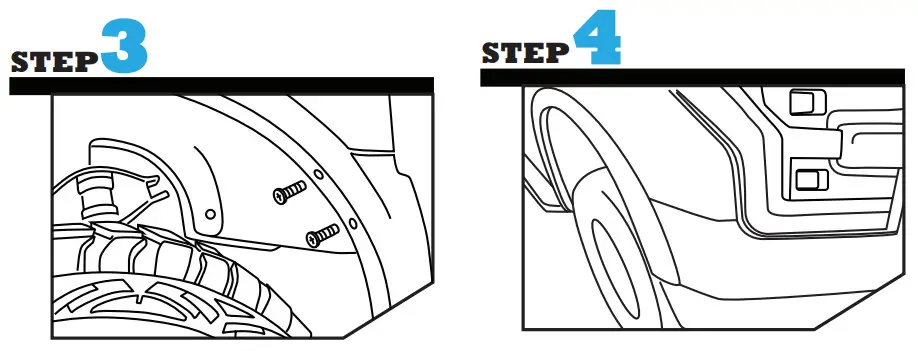 | |
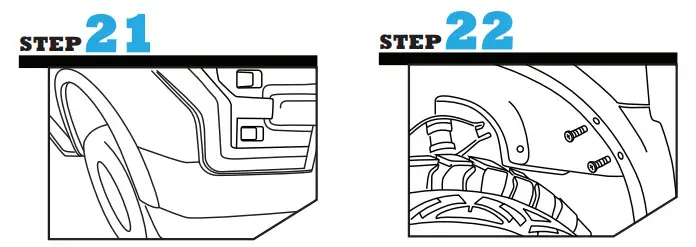
| Remove the 2 bolts in the wheel well. | Remove the wheel arch trim by away from the vehicle. |
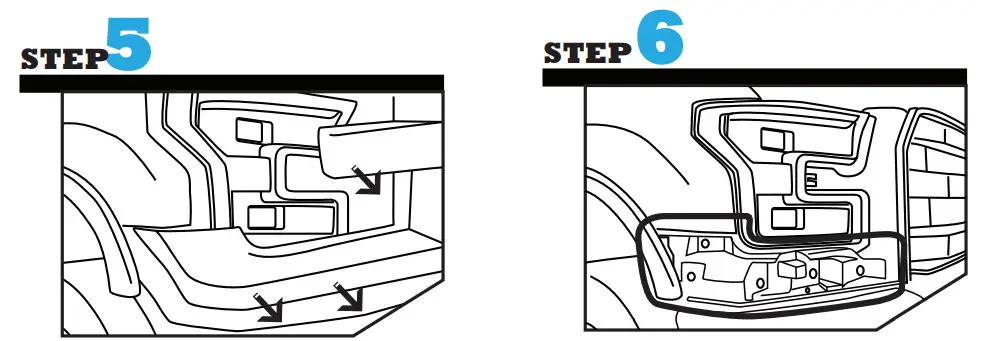 | |
| Remove the trim by pulling away from the vehicle. | Remove the bolts holding the plastic reinforcement. |
 | |
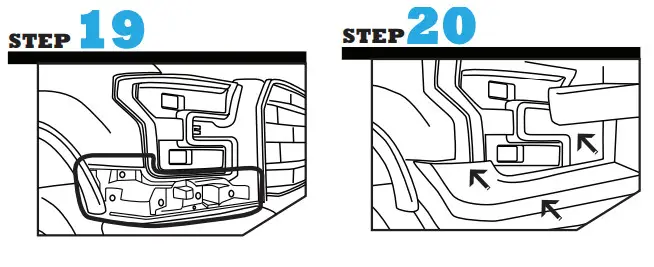
| Ensure the plastic reinforcement is loose, it is not required to remove the part from the vehicle as a whole unless needed. | Remove the two bolts on top of the headlight housing using the screwdriver. |
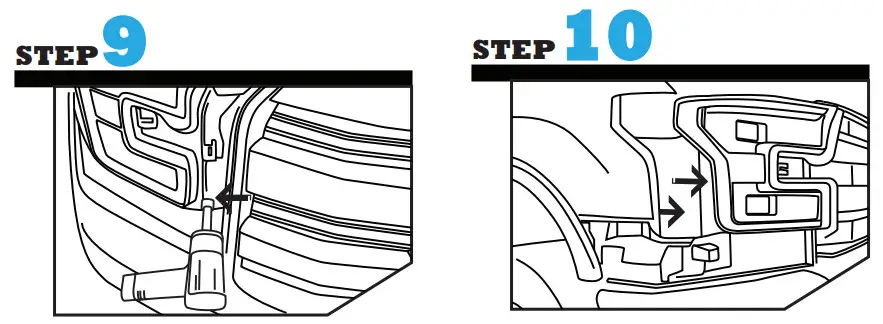 | |
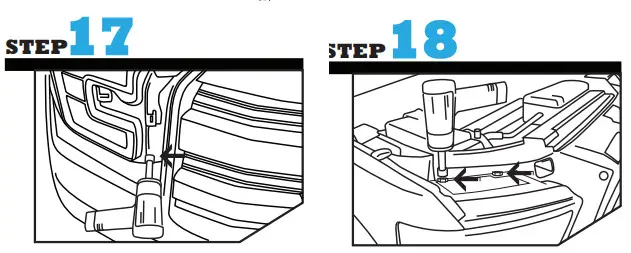
| Remove the final bolt to release the headlight ousing. | Pull the front of the projector headlight towards you to remove the headlight housing from the vehicle. |
 | |
| Unplug the electrical harnessfrom the back of the headlight housing. | Remove headlight housing. |
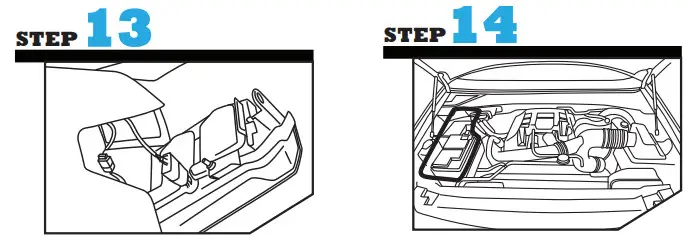 | |
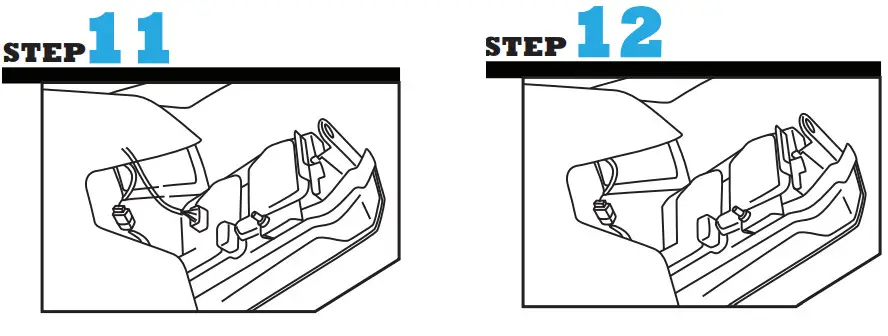
| Install new headlight housing by onnecting the electrical harness. Black and Green Wires: Not needed a connection for DRL Tube to function. Ensure the wires are tied up securely to ensure wires are organized and store away from any metal surface. | Install the Aura Control Box by connecting the positive wire for a constant on functionality (always on when battery is on) or an accessory wire (only on when the vehicle is on) which can be found in the Fuse Box. Connect the negative wire to a ground wire. |
 | |
| Replace the headlight housing by lining up the tabs and locking it into place. | Replace the bolt to secure the headlight. |
 | |
| Replace the bolt to secure the headlight. | Replace the two bolts on top to secure the headlight housing. |
 | |
| Replace the bolts to securethe plastic reinforcement. | Replace the vehicle trim. |
 | |
| Re-attach the wheel arch trim. | Replace the 2 bolts securing the trim. |
 | |
| Push the trim into place. | Secure the trim by inserting the plastic clip and locking into place. |
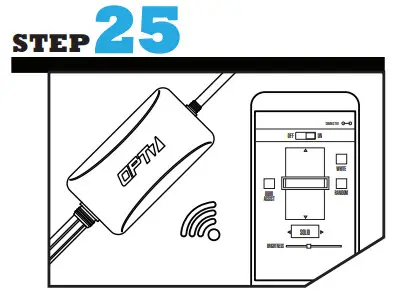 | |
| Test out your headlights using the AURA App. | |
DISCLAIMER
OPT7 Lighting is not liable for damages or personal injuries while installing this product. The Installation Guide is intended as assistance to reduce setup time. OPT7 Lighting assumes no responsibility for improper installation. If you are unfamiliar with your vehicle or inexperienced with aftermarket upgrades, please seek professional assistance.


