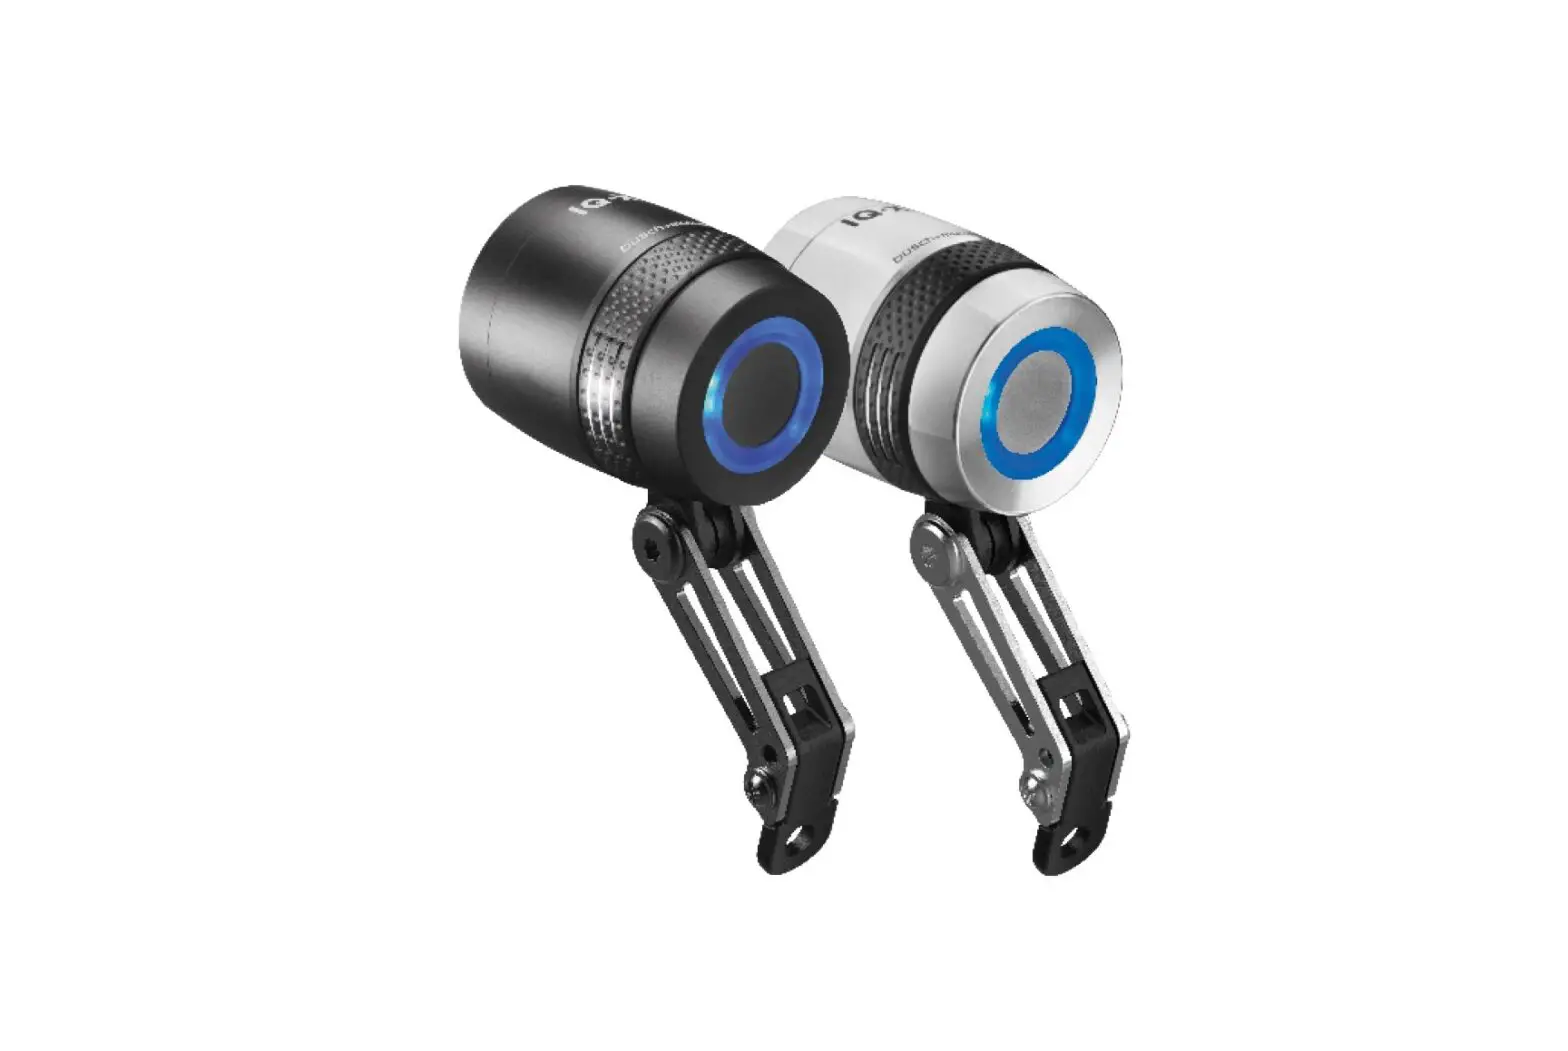
busch muller IQ-X Dynamo Headlight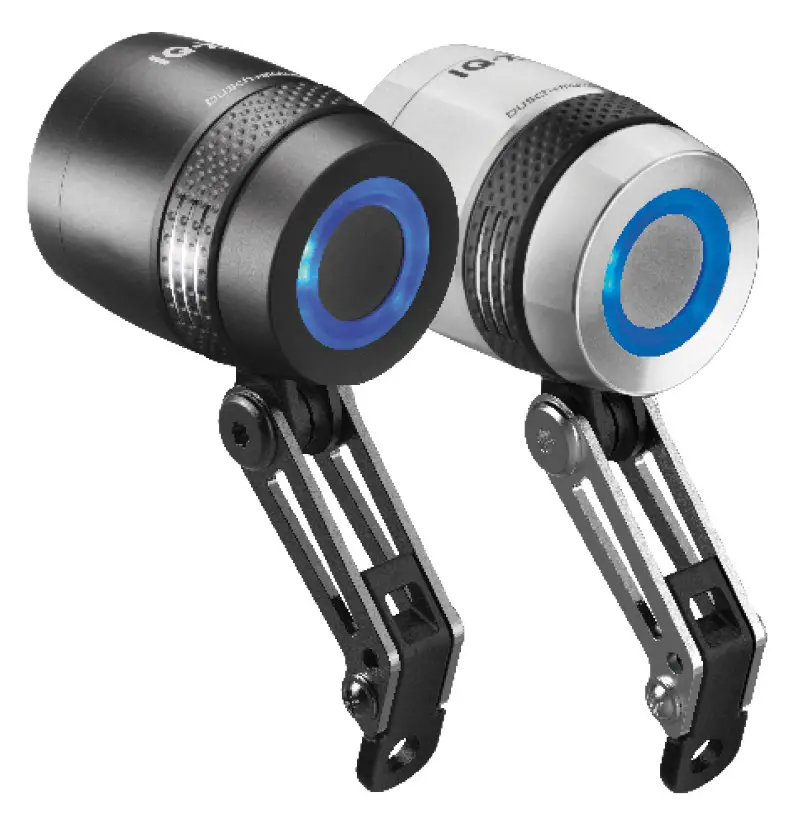
Instruction Manual for IQ-X dynamo headlight from Busch + Müller
Not for e-bikes and not approved for vehicles requiring a registration plate (fast e-bikes)
This Instruction Manual is intended for users with knowledge and experience in assembling and installing bicycle components. Special tools are required. If you do not know how to assemble or install bicycle components or do not have all the necessary tools for the job, please contact a bicycle specialist to have the installation done properly. Otherwise, the cyclist may fall off and suffer serious injuries as a result of improper assembly or installation of the light components. Read this Instruction Manual carefully, follow all the steps described and keep it in a safe place.
Packaging content
Headlight IQ-X | Busch + Müller bracket | Front reflector | Instruction Manual
Safety information
This Instruction Manual uses signal words to alert you regarding potential hazards or important
information.
The meaning of the signal words is listed below:
![]() Describes a hazardous situation which, if not avoided, could result in a fatal accident or serious injury.
Describes a hazardous situation which, if not avoided, could result in a fatal accident or serious injury.![]() Indicates information considered important, but not hazard-related (e.g. information related to property damage).
Indicates information considered important, but not hazard-related (e.g. information related to property damage).
The ![]() symbol is used to provide other useful information about your new bicycle component.
symbol is used to provide other useful information about your new bicycle component.![]() Products made by Busch + Müller are suitable for use on bicycles cycling on a firm surface. Avoid any extreme use, and never ride down stairs or perform jumps, stunts, tricks, bunny hops or vertical descents on rough terrain.
Products made by Busch + Müller are suitable for use on bicycles cycling on a firm surface. Avoid any extreme use, and never ride down stairs or perform jumps, stunts, tricks, bunny hops or vertical descents on rough terrain.
Legal regulations
Before cycling on public roads you must, at any time, be aware of and observe the applicable national laws and statutes as well as local regulations. For information, either consult the Road Traffic Regulations or – depending on your respective place of residence – other sources for information.
Technical specification
Headlight dimensions: Height: 55 mm | Length: 46 mm | Width: 54 mm | 120 g Brightness: 150 Lux
Precondition: Alternating current (dynamo operation)![]() Please contact your bicycle specialist if you require special e-bike headlights for DC voltage from 6 to 42 V.
Please contact your bicycle specialist if you require special e-bike headlights for DC voltage from 6 to 42 V.
Assembly
General information
![]() Make sure your headlight is not covered under any circumstances. Take care that the headlight has been mounted and aligned as prescribed. For headlights with a separate reflector, make sure that the make sure that the reflector
Make sure your headlight is not covered under any circumstances. Take care that the headlight has been mounted and aligned as prescribed. For headlights with a separate reflector, make sure that the make sure that the reflector ![]()
is aligned perpendicular to the road surface.
In Germany, the prescribed mounting height for headlights 1 and reflectors ![]() ranges between about 400 and 1,200 mm. For details, consult your national Road Traffic Regulations or contact a local bicycle specialist retailer. Always make sure the headlight is mounted and aligned in a way to ensure that oncoming traffic is not blinded.
ranges between about 400 and 1,200 mm. For details, consult your national Road Traffic Regulations or contact a local bicycle specialist retailer. Always make sure the headlight is mounted and aligned in a way to ensure that oncoming traffic is not blinded.
![]() To avoid falls, accidents and severe injuries, always use the enclosed Busch + Müller assembly bracket. If unsuitable or improperly positioned brackets are used, the headlight may probably come loose, slide down and, in the worst case, get caught in the wheel spokes.
To avoid falls, accidents and severe injuries, always use the enclosed Busch + Müller assembly bracket. If unsuitable or improperly positioned brackets are used, the headlight may probably come loose, slide down and, in the worst case, get caught in the wheel spokes.![]() Never mount brackets on forks or seat stays!
Never mount brackets on forks or seat stays!![]() Never mount brackets on conical components!
Never mount brackets on conical components!
Make sure to tighten all screws in a way to ensure the headlight ![]()
cannot move all by itself. This is especially important when cycling on uneven terrain.
Headlight alignment
Align the bicycle headlight ![]() in a way to ensure that oncoming traffic is not blinded. On a completely flat road, the horizontal light edge (cut-off line) must always be visible on the road!
in a way to ensure that oncoming traffic is not blinded. On a completely flat road, the horizontal light edge (cut-off line) must always be visible on the road!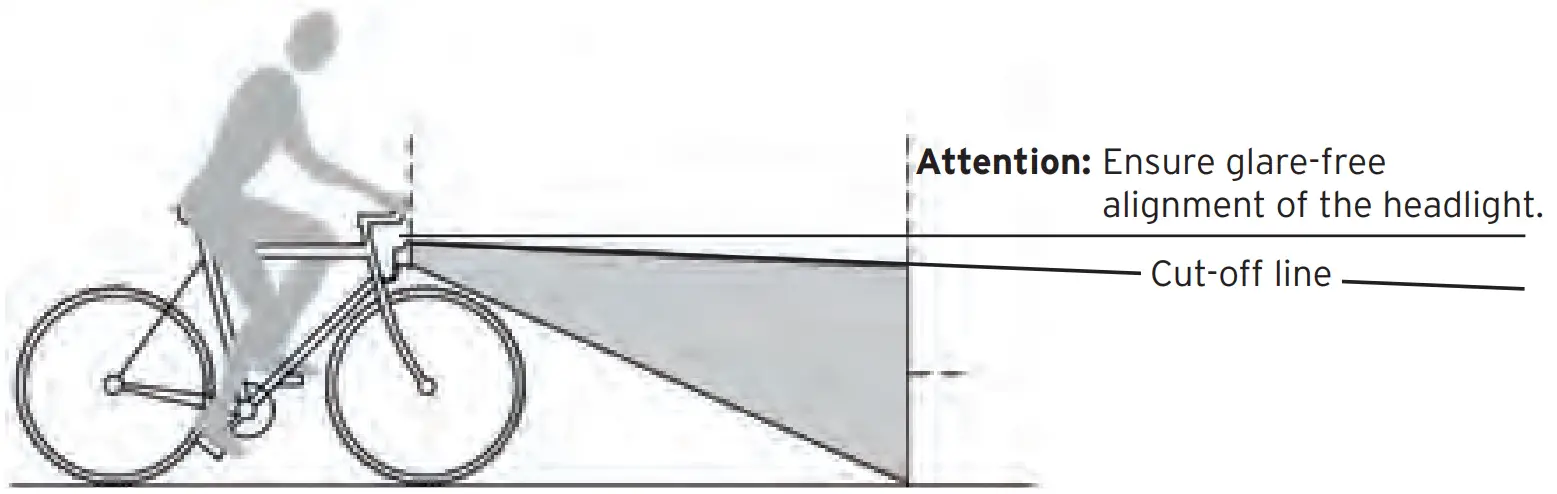
![]() Do not use the bicycle if the light beam of your headlight
Do not use the bicycle if the light beam of your headlight ![]()
is misaligned or the headlight ![]()
is too loose.
Only align or tighten the bicycle headlight ![]()
when the bicycle is not moving. Blinding oncoming traffic can lead to accidents. Before aligning the bicycle headlight ![]()
loosen the bracket retaining screw. Make sure to retighten this screw again after aligning the headlight ![]() so that neither the screw nor the headlight can come loose or move all by themselves.
so that neither the screw nor the headlight can come loose or move all by themselves.
![]() Never look directly into the light of the bicycle headlight
Never look directly into the light of the bicycle headlight ![]() when switched on
when switched on ![]()
.
IQ-X Assembly
Securely attach the headlight ![]() to the bicycle using the enclosed Busch + Müller bracket
to the bicycle using the enclosed Busch + Müller bracket ![]() so
so
that it does not adjust itself, and its position on the bicycle cannot change. This adjustment must be checked before initial use. If other brackets are used, no guarantee can be given for secure attachment. Never mount on the fork leg or on conical components.
Mounting example fork crown: First loosen the existing screw on the fork crown of your bicycle.
Insert this screw through the screw hole provided at the lower end of the Busch + Müller bracket ![]()
and then tighten it again to ensure the the headlight ![]() cannot come loose or move all by itself.
cannot come loose or move all by itself.
Suspended assembly
ATTENTION: If the headlight ![]() is to be mounted in a suspended position, please ensure to not simply turn it or place it upside down. Other road users would be dazzled!
is to be mounted in a suspended position, please ensure to not simply turn it or place it upside down. Other road users would be dazzled!![]() In order to align the headlight correctly in a suspended position, loosen the plastic ring around the headlight
In order to align the headlight correctly in a suspended position, loosen the plastic ring around the headlight ![]() and turn it by 180°. For this purpose, detach the headlight 1 rom the Busch + Müller bracket
and turn it by 180°. For this purpose, detach the headlight 1 rom the Busch + Müller bracket ![]() first and then slightly spread the circumferential plastic ring and move the ring around the headlight 1 by 180°.
first and then slightly spread the circumferential plastic ring and move the ring around the headlight 1 by 180°.
IMPORTANT: Make sure that the cable outlets on the headlight ![]() always point straight down. This is the only way to ensure that the light pattern of the headlight 1 is ideally aligned and protected from water penetration in the best possible way.
always point straight down. This is the only way to ensure that the light pattern of the headlight 1 is ideally aligned and protected from water penetration in the best possible way.![]() The headlight
The headlight ![]() must be mounted either upright (Busch + Müller bracket
must be mounted either upright (Busch + Müller bracket ![]() and the cable outlet pointing in exactly the same direction) or suspended and rotated by 180° (Busch + Müller bracket
and the cable outlet pointing in exactly the same direction) or suspended and rotated by 180° (Busch + Müller bracket![]() and the cable outlet pointing in exactly the opposite direction). Otherwise, there is a risk that the headlight
and the cable outlet pointing in exactly the opposite direction). Otherwise, there is a risk that the headlight ![]() might adjust all by itself.
might adjust all by itself.
For suspended assembly, the reflector ![]() must not be mounted „overhead“. Please mount the the reflector
must not be mounted „overhead“. Please mount the the reflector ![]() elsewhere parallel to the road at a height between 400 and 1,200 mm.
elsewhere parallel to the road at a height between 400 and 1,200 mm.
Connection
Two double cables of different lengths are mounted in the headlight ![]() Connect the long cable with the hub dynamo (shorten if necessary), and the short cable (with plugs) with the rear light. For this purpose, tilt the headlight
Connect the long cable with the hub dynamo (shorten if necessary), and the short cable (with plugs) with the rear light. For this purpose, tilt the headlight ![]() forward, if necessary, and either use the existing cable on the bike or connect it with the enclosed double cable.
forward, if necessary, and either use the existing cable on the bike or connect it with the enclosed double cable.
If you do not use the rear light cables, the plugs should be insulated in order to prevent malfunction.![]() Always ensure correct polarity.
Always ensure correct polarity.
Black wire = current / white/black wire = mass.![]() Cables on the headlight
Cables on the headlight ![]() must never be cut off completely. The headlight
must never be cut off completely. The headlight ![]() is only suitable for use with hub dynamos, not for side running dynamos.
is only suitable for use with hub dynamos, not for side running dynamos.
Standlight
The stand light function is always ready for operation, entirely maintenance-free, and it works without batteries or accumulators.
While cycling, a small amount of the energy supplied by the dynamo is stored in a capacitor. After about ![]() minutes of cycling, the capacitor is fully charged. When stationary, this stored energy supplies power to the headlight LED, the LEDs in the lateral light slots and the blue indicator LED in the rear button of the headlight
minutes of cycling, the capacitor is fully charged. When stationary, this stored energy supplies power to the headlight LED, the LEDs in the lateral light slots and the blue indicator LED in the rear button of the headlight ![]() They keep on shining. The stand light can be switched off prematurely by pressing the button on the rear side of the headlight
They keep on shining. The stand light can be switched off prematurely by pressing the button on the rear side of the headlight ![]() .
.
Operation
By pressing the button on the rear side of the headlight ![]() it is switched ON or OFF. When switched on, the headlight is always in the SENSO mode. (A prerequisite for a functioning SENSO operation is a constantly running hub dynamo). Even if the headlight was switched off while cycling, it is switched on again in the SENSO mode when cycling again after an extended stop. Exception: If the headlight is switched off while stationary in order to shut down the standlight function prematurely, it remains switched off initially even when continuing the ride. In bright light, the headlamp operates in the daytime mode. The headlight provides dimmed light on the road while the additional LEDs shine with full brightness ensuring maximum visibility for oncoming traffic! (The indicator LED in the rear button lights up blue with full intensity while the light emerging from the lateral light slots is white.)
it is switched ON or OFF. When switched on, the headlight is always in the SENSO mode. (A prerequisite for a functioning SENSO operation is a constantly running hub dynamo). Even if the headlight was switched off while cycling, it is switched on again in the SENSO mode when cycling again after an extended stop. Exception: If the headlight is switched off while stationary in order to shut down the standlight function prematurely, it remains switched off initially even when continuing the ride. In bright light, the headlamp operates in the daytime mode. The headlight provides dimmed light on the road while the additional LEDs shine with full brightness ensuring maximum visibility for oncoming traffic! (The indicator LED in the rear button lights up blue with full intensity while the light emerging from the lateral light slots is white.)
At dusk and in darkness, the headlight automatically switches to the night mode. The headlight shines on the road. The additional LEDs do not light up. Maximum visibility on the road, additional visibility for oncoming traffic! (The indicator LED in the rear button provides a blue-dimmed light, and white-dimmed light shines through the lateral light slots). The headlight‘s light/dark sensor has a changeover delay of approx. 8 seconds from the night to the day mode. This provides additional safety. At night, the headlights of passing cars do not affect the sensor. The headlight cannot accidentally switch to day mode.
![]() Never adjust the range of your headlight
Never adjust the range of your headlight ![]() while cycling. This may cause severe falls and injuries.
while cycling. This may cause severe falls and injuries.
Additional information
Cleaning: Protect your headlight from the effects of high pressure water. For example, never point a water hose or high-pressure cleaner directly at the headlight.
Transport: If you transport your bicycle by car in rainy weather, cover the headlight with a plastic bag, for example, to protect it from moisture.
Teletachimetri: The electronics of radio speedometers and LED headlights can interfere with each other. Interference can be reduced by keeping the distance between the LED headlight and the radio speedometer as large as possible, and the shortest possible distance between the transmitter and receiver of the radio speedometer.
Disposal: Electronic components must not be handled as household waste but are to be disposed of as hazardous waste.
Overvoltage protection: Overvoltage protection of the headlight is also active without a rear light connected.
Liability
In addition to the above-mentioned exclusions of warranty, we do not assume liability for any and all other damage caused by improper handling (e.g. dropping the system, inadequate safety of assembly and its consequences, submersion in water or other liquids etc.). Likewise, warranty is excluded if products are opened.
Have fun with your headlight and enjoy safe cycling!
Technical modifications reserved.
Customer Service
Busch + Müller KG • 58540 Meinerzhagen, Germany
Tel. +49 2354 915-6000
[email protected] www.bumm.de

![]()


