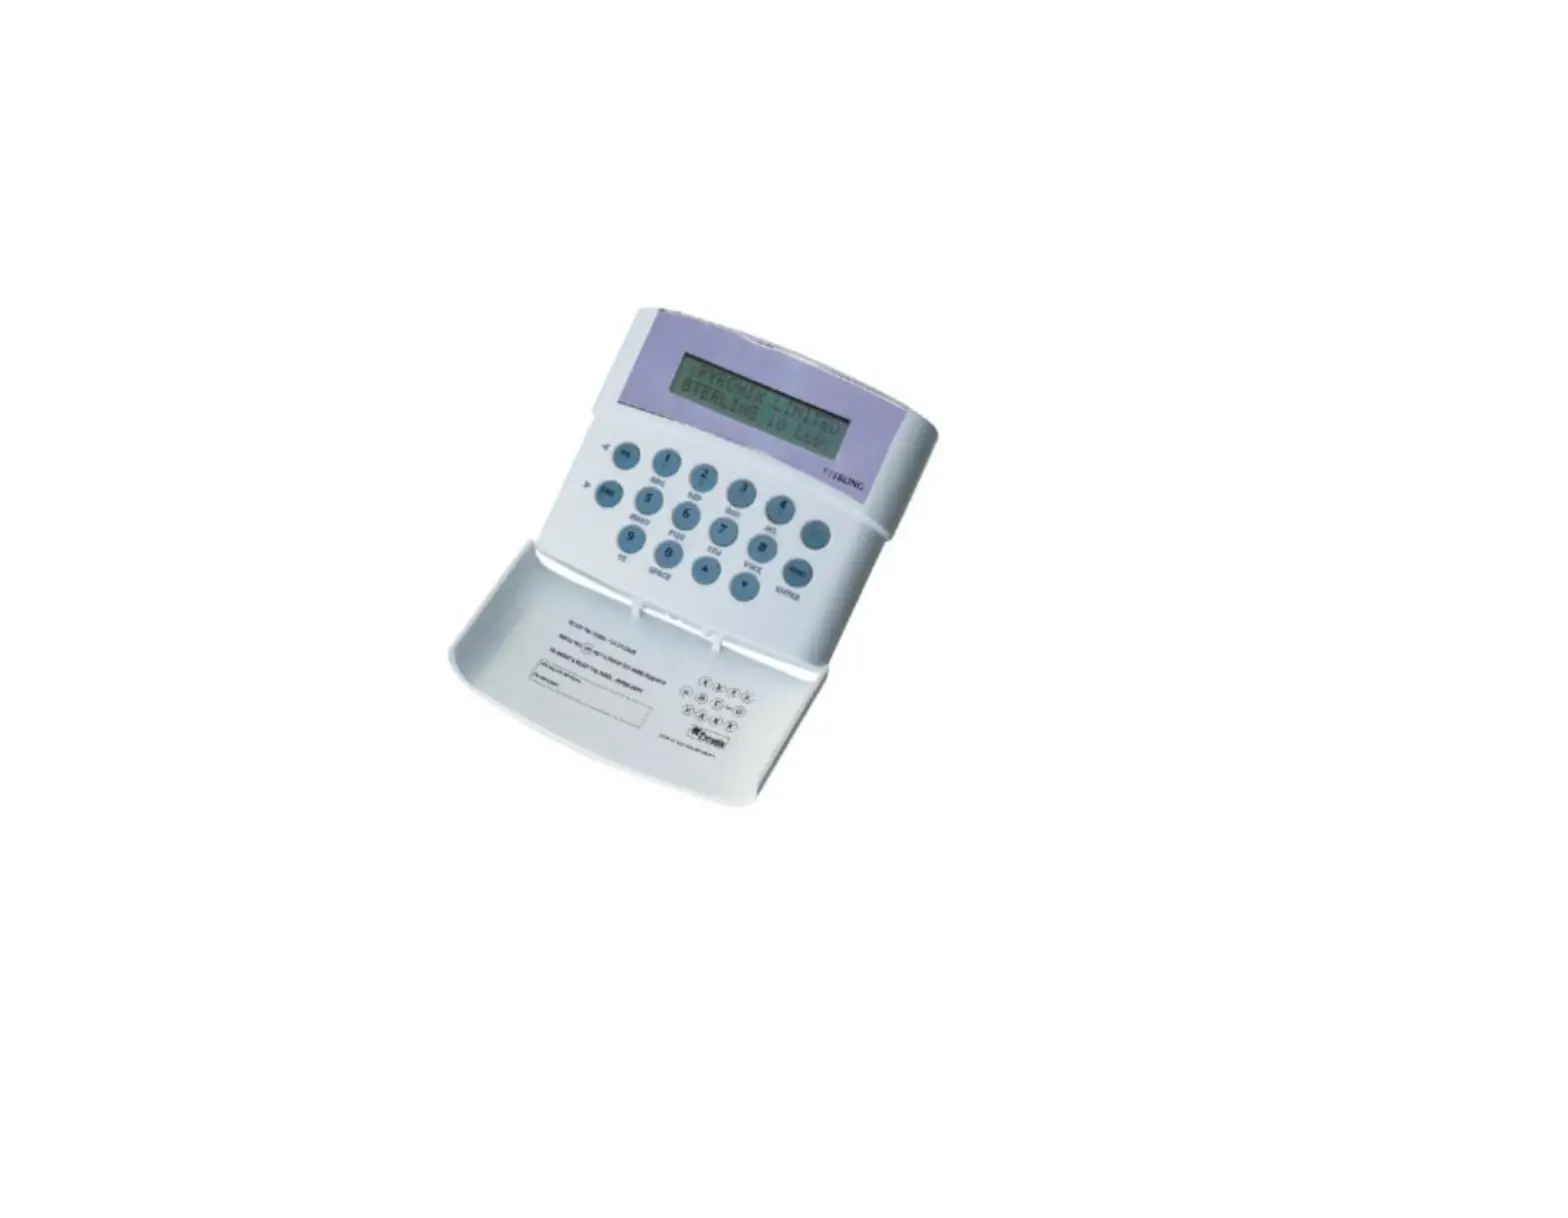
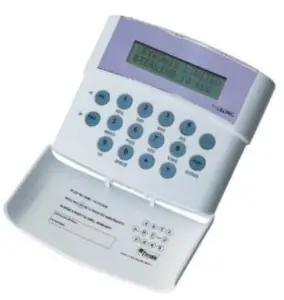
STERLING 10 LCD Rins211-4 Intruder Alarms and Security Systems
WELCOME
Thank you for buying the Sterling 10. The Sterling panel uses the latest technology in design and manufacture.
As the end user of the Sterling this manual is written to help you use the functions of your alarm system enabling you to get the best out of your system. Once you are familiar with the panel and its functions it is advisable to change the factory set ‘Master and User’ codes.
NOTE: The fire zone is intended as an extra feature to the alarm system and must not be regarded as a total fire protection system.
There are two levels of user access to the system:
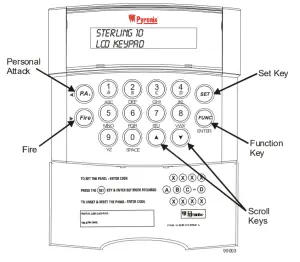
The Master Code (Code 1), access to all user functions and programming features.
The User Codes (Codes 2 to 7) – 6 codes, allow setting / unsetting of the panel, enabling and disabling of the door chime and viewing of the event log only.
Change Text
Press the ![]() key. Use the
key. Use the ![]() scroll key to display CHANGE TEXT and press the
scroll key to display CHANGE TEXT and press the ![]() key to accept. USER 1 will now be displayed, use the scroll keys to display the text to change. When the required user is displayed the text can be changed by using the number keys 1 to 9. Each key has been assigned three letters of the alphabet, by pressing the key several times the number and letter sequence will be scrolled through.
key to accept. USER 1 will now be displayed, use the scroll keys to display the text to change. When the required user is displayed the text can be changed by using the number keys 1 to 9. Each key has been assigned three letters of the alphabet, by pressing the key several times the number and letter sequence will be scrolled through.
To insert spaces between text press the ![]() key twice.
key twice.
When the desired letter or number is displayed use the ![]() and
and ![]() scroll keys to move between segments on the display and when the text is complete
scroll keys to move between segments on the display and when the text is complete
press the ![]() key to accept, the dual tone will be heard on acceptance. The
key to accept, the dual tone will be heard on acceptance. The ![]()
key must be pressed or the text changes will not be accepted.
Use the key to scroll to EXIT and press ![]() to accept.
to accept.
AC Mains Loss
If the AC mains fails and there is no power to the system, (Only battery power) power fail will be shown on the LCD display with a fault tone, every 5 secs.
Panel will automatically run off backup battery when there is a mains fail.
To reset press ![]()
System Faults
There are 4 fault conditions automatically detected by the Sterling 10. The user
Is informed of a fault via the LCD display. The LCD will illuminate and an error tone will be emitted every 5 seconds when the panel is in day mode, press the function key to stop the error tone. The LCD display will remain until the fault has been corrected.
To determine the fault go into the log by entering ![]()
![]() . Fault will be displayed.
. Fault will be displayed.
- Bell Fuse Failure.
- Auxiliary Fuse Failure.
- Telephone Line Failure.
- Mains (AC) Failure.
Walk Test Mode
Enter ![]() and use the
and use the ![]() key to scroll to
key to scroll to ![]() and press the key to accept. Use the key to select the set required whilst in walk test and press the key to accept.
and press the key to accept. Use the key to select the set required whilst in walk test and press the key to accept.
Enter (master code) after the countdown timer has stopped the system is ready to be tested.
When the walk test mode is enabled the keypad will display any activated zones.
This enables all the zone configurations to be walk tested individually. The walk test mode is cleared when the panel is unset.
Any activated zones will be entered into the event log. Zones programmed as Keyswitch zones when activated in walk test will not be entered in the event log.
Changing Master and Limited User Codes
Master Code:
Enter and use the key to scroll to ![]() and press the key to accept.
and press the key to accept.
Enter the master user code , ![]()
![]()
![]()
![]()
Enter ![]()
Enter the new code twice as per the display prompts, three tones will be heard on acceptance of each command, a single low tone indicates programming not accepted.
Master code cannot be deleted.
Limited User Code:
Enter ![]() and use the
and use the ![]() key to scroll to
key to scroll to ![]() and press the
and press the ![]() key to accept.
key to accept.
Enter the master user code ,![]()
![]()
![]()
![]()
Enter ![]() to
to ![]()
Enter the new code twice as per the display prompts, three tones will be heard on acceptance of each command, a single low tone indicates programming not
accepted.
To delete a user code press the ![]() key after
key after ![]() –
– ![]() is entered.
is entered.
MASTER AND LIMITED USER FUNCTIONS
Setting The Panel
Enter ![]()
![]()
![]()
![]() (User Code)
(User Code) ![]() and then
and then ![]()
![]()
![]() or
or ![]() for set required.
for set required.
Refer to the Zone Programming Status Label to see how each Set was configured by the installation engineer.
Setting the Panel when Mains Fails
Under normal operation the panel will indicate a fault condition if the AC supply is disconnected. It will still be possible to Set and Unset the control panel during a mains fail if allowed by the engineer, and no further action is required. Full functionality of the control panel is available during mains fail.
Silent Setting The Panel
Enter ![]() and then
and then ![]()
![]()
![]() or
or ![]() for set required.
for set required.
A dual tone will be heard on acceptance of the command and another dual tone will be heard when the panel is set.
Push To Set (PTS)
Set the panel in any of the above methods, the panel will count down but will not set until the PTS button is pressed.
Set With Omits
Enter: and use the key to scroll to ![]() and press key to accept.
and press key to accept.![]() is now displayed, use the key to scroll through set A, B, C and D and press to accept set required.
is now displayed, use the key to scroll through set A, B, C and D and press to accept set required. ![]() (user code), display reads
(user code), display reads ![]() use the and keys to scroll through the zones and the key to select the zone or zones to be omitted. After all the required zones have been selected press the key to accept programming.
use the and keys to scroll through the zones and the key to select the zone or zones to be omitted. After all the required zones have been selected press the key to accept programming.
Exit timer starts countdown.
(Note: it is not possible to omit all zones)
Unsetting The Panel
The panel may be unset by entering the building via the entry/exit route and then entering either the Master Code or any of the User Codes.
Enter ![]()
![]()
![]()
![]() (User Code)
(User Code)
Reset After Alarm Condition
The user code should be entered twice to reset the system after an alarm condition
Enter ![]()
![]()
![]()
![]() User code to stop alarm
User code to stop alarm
Enter ![]()
![]()
![]()
![]() User code to reset the system
User code to reset the system
If the panel will not reset then your installer has enabled engineer or Anti -code reset, please contact your installation company
Duress Set/Unset
Enter ![]()
![]()
![]()
![]() (User Code) Reverse the last two digits of the code.
(User Code) Reverse the last two digits of the code.
The panel will then appear normal but a silent PA will be sent to the Alarm Receiving Centre (on a connected system).
Personal Attack Alarm (PA)
To Activate the Personal Attack Alarm Enter ![]()
![]() Enter a user code to cancel.
Enter a user code to cancel.
Fire Alarm
To Activate the Fire Alarm Enter ![]()
![]() Enter a user code to cancel.
Enter a user code to cancel.
Turning Chime On and Off
(Panel must be in ‘day’ mode)
Enter ![]() and use the
and use the ![]() key to scroll to
key to scroll to ![]() and press
and press ![]() key to accept. The display now reads
key to accept. The display now reads ![]()
![]()
![]()
![]() To turn the chime on press the
To turn the chime on press the ![]() key or to turn the chime off press the
key or to turn the chime off press the ![]() key. A symbol will be displayed in the top left hand corner of the display to indicate the chime is turned on.
key. A symbol will be displayed in the top left hand corner of the display to indicate the chime is turned on.
Reading The Event Log
Panel must be in ‘day’ mode and Unset by the Master User.
Enter ![]()
![]() The most recent event stored in the log will be displayed.
The most recent event stored in the log will be displayed.
If the up arrow key ![]() is pressed the previous log entry will be displayed.
is pressed the previous log entry will be displayed.
Similarly if the down arrow key ![]() is pressed the next most recent entry will be displayed. The event log may be scrolled backwards and forwards using the up and down arrow keys to allow the last 100 events to be viewed.
is pressed the next most recent entry will be displayed. The event log may be scrolled backwards and forwards using the up and down arrow keys to allow the last 100 events to be viewed.
To leave this function press the ![]() key.
key.
An error tone will be produced if an attempt is made to scroll outside either end of the event memory log.
MASTER USER ONLY FUNCTIONS
Event Log Reset
Enter ![]() and use the
and use the ![]() key to scroll to
key to scroll to![]() and press
and press ![]() key to accept and clear the event log. A two tone sound will be heard on acceptance.
key to accept and clear the event log. A two tone sound will be heard on acceptance.
This feature will only operate if, whilst programming, the engineer selected the feature allowing the Master User only to clear the event log.
System Test
Enter ![]() and use the
and use the ![]() key to scroll to
key to scroll to ![]() and press
and press ![]() key to accept.
key to accept.
Press any numeric key to complete the following tests.
Test
1) Display test
2) Strobe test
3) Bell test
4) Sounders tes
To exit test mode press the ![]() after the sounder test.
after the sounder test.


 Lcd Monitor User Manual")


