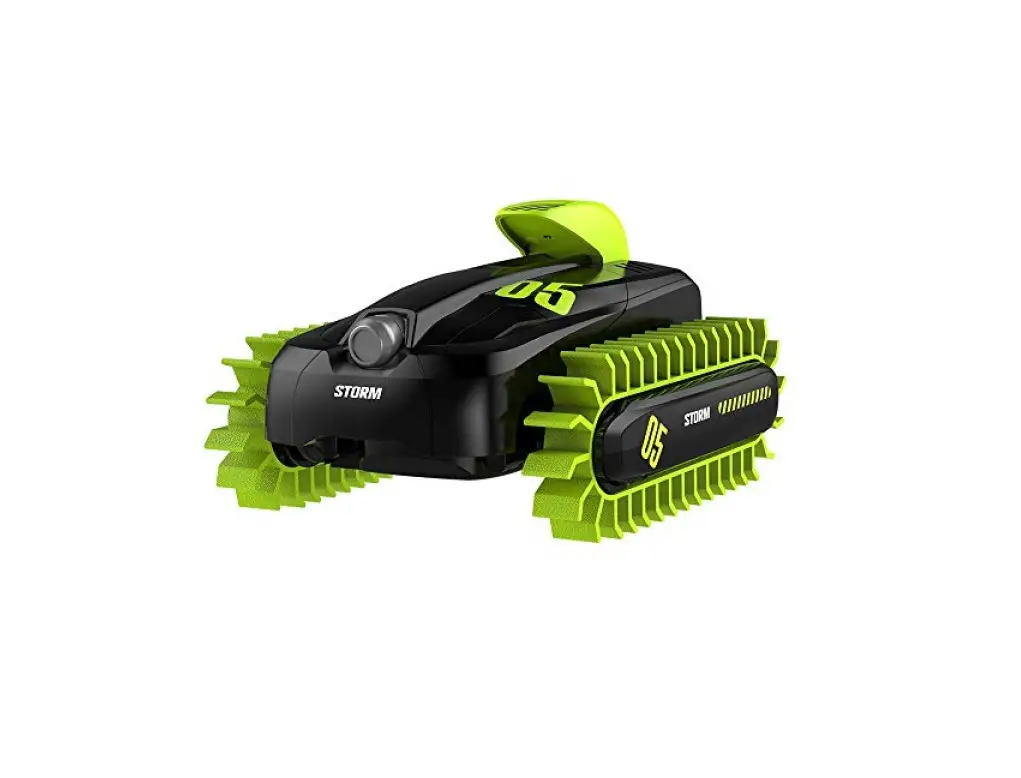
ComTec Amphibious Stunt Car Instruction Manual
Contents hide
Welcome
Thank you for purchasing our product Please refer to the instruction manual for better understanding and operating this product.
- Please understand that the product might be different from it in the picture
Product Content
- Transmitter

- Amphibious stunt car

- 7.4V lithium battery (included)

- 2×1 SVAA Gallery(not included)

- 1xUSB charging wire

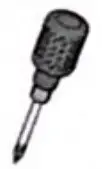
- 1x mini screw driver

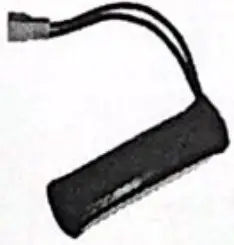

- 7.4V Lithium rechargeable battery is built-in in the car dody
- SV AA batteries for tfie controTTer are required but not included in the package.
- US8 Charging cadle is included in lfie
- User Instruction manual is included
- Mini screw dfiver.
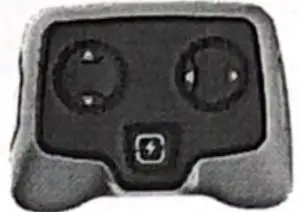
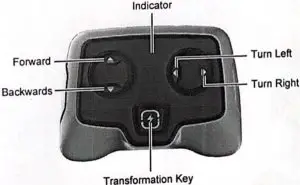
Remote Control
Function description of the remote control
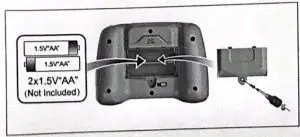
How to install battery into the controller
- Open the battery cover of controller with the screw driver (included in the package).
- Place 2 pieces 1.5V M batteries into the battery compartment with correct polarity side. 3) Install the battery cover back on and tighten it up with the screw driver.

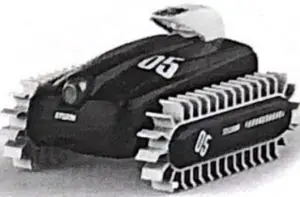
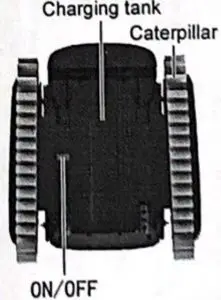
Amphibious Stunt Car
Function diagram

How tot charge your amphibious stunt car
- Connect to computer

- Connect to power bank

- Connect to USB with charger


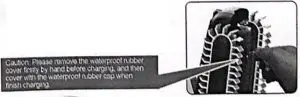
Chirping time is about 2.5 hours, Playing time on the land can last up to 20 minuts. Playing time in the water can last up to 30 minuet.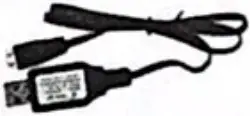
Getting start
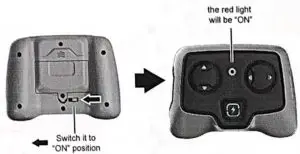
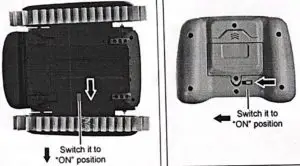
- Switch the ON/OFF button to the ‘ON” position
- The red indicator light will be on when the vehicle frequency is paired up with the controller. This pairing may take up to 5 – 10 seconds.
Note : (When decoding is successfully finished the R/C will be trembling forward or backward automatically.)
- Switch the ON?OFF button to the “ON” position.
Operating steps
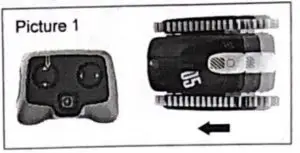
- Forward
Press “forward” button on the controller and The car will go forward.
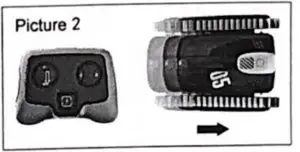
- Backward
Press -backward” button on the controller and the car will go backward
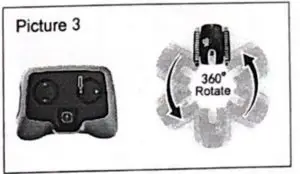
- Anti-clockwise rotation
Keep pressing the “left” button on the controller, the car will be be rotating on the spot in anti-clockwise direction
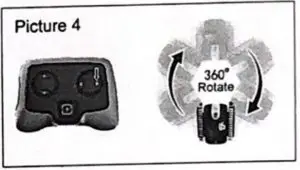
- Clockwise rotation
Keep pressing the “right” button on the controller, the car will be be rotating on the spot in clockwise direction.
- Forward & Turn-left
Press the key (Forward+ Turn-left) on the transmitter, the amphibious stunt car will go forward while turning left.
- Forward & Turn-left
Press the key (Forward+ Turn-right) on the transmitter, the amphibious stunt car will go forward while turning right. - Backward & Turn-left
Press the key (Backward+ Turn-left) on the transmitter, the amphibious stunt car will go backward while turning left. , - Backward & Turn -right
Press the key (Backward+ Turn-right) on the transmitter, the amphibious stunt car will go backward while turning right.
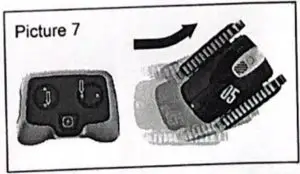
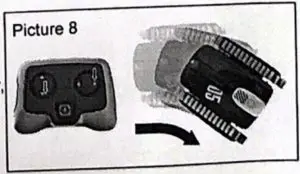
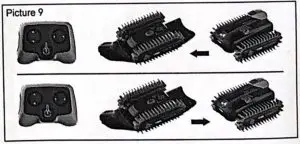
Make transformation as you like in the water - Transformation Key
Press the “Transformation key on the transmitter, the amphibious stunt car will transform from the state of Car to Boat , press once again the transformation key on the transmitter, the amphibious stunt car will make transformation from the state of Boat to Car.


Caution on using the battery
- 7.4V built-bs lithuim battery Is used In the amphibious stunt car at, 2×1.5V “A” non-chargeable batteries are required VI the transmitter.
- Chargeable battery can only be charged under the surveillance of the adult
- The toy switch is to be pushed from ‘OW to ‘OFF* before charging the chargeable battery
- Non-chargeable batteries we NOT to be charged
- Only batteries recommended or battery of Use same brand can be used
- Old batteries are NOT to be mixed with new battenes Nor batteries of different types
- Batteries are to be loaded as per correct’.?- polarity
- Exhausted batteries we to be removed from this toy
- Power ends are NOT to be short-circuited.
- Ibis toy is FORBIDDEN to be connected with the powers more than recommended
- Charger is to be checked each month to seed there is any damage with the electric wire, plug, outer shell or other parts II any damage is found, abase stop using until It Is well repaired.


