![]() Lexie Hearing Aids
Lexie Hearing Aids
Powered by Bose
WAX GUARD
REPLACEMENT GUIDE
We’re here to help.
For help,
call (779) 212-7334 and speak to a Lexie Expert™ or go to lexiehearing.com/us/support
What you need:
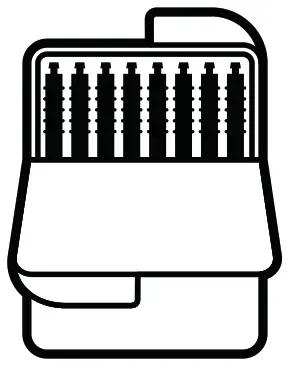
Wax guard replacement tools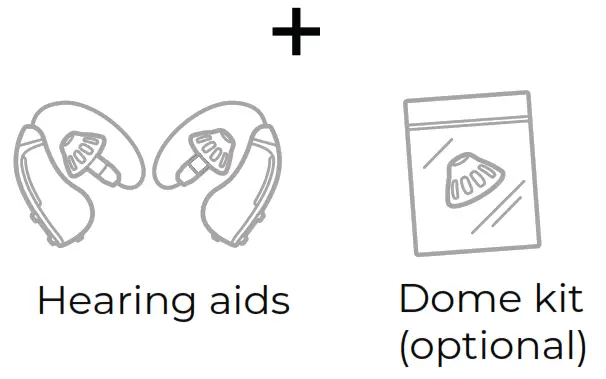
Step 1: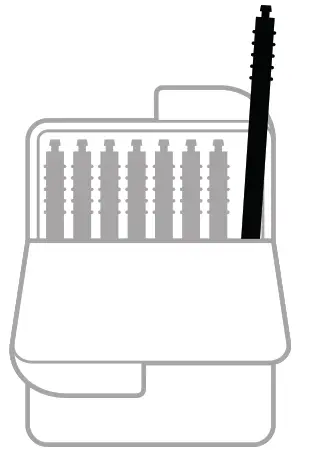
Open the case and remove one of the tools.
Step 2: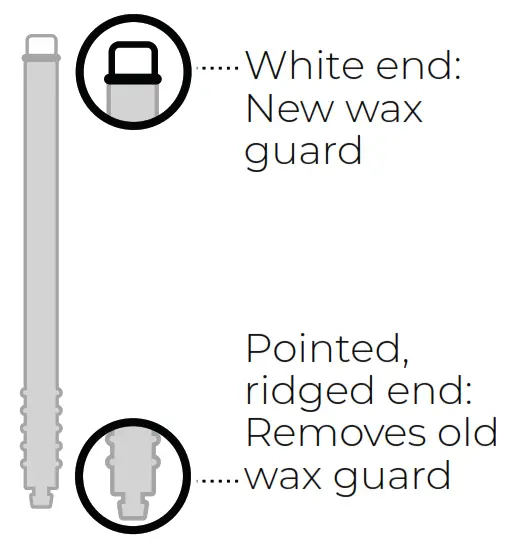
Identify the two ends of the tool.
Step 3: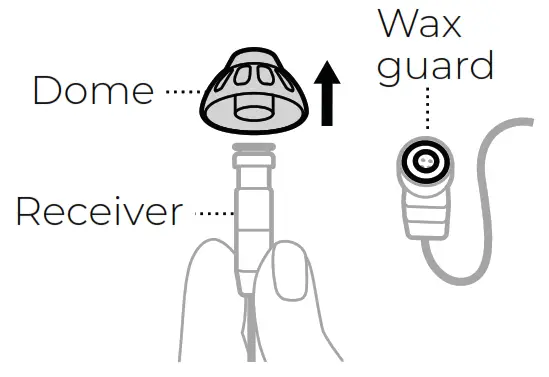
On one of the hearing aids, firmly pull the dome off of the receiver. The white part under it is the old wax guard.
Step 4: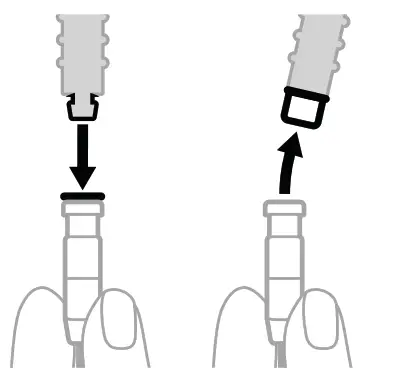
Press the pointed end of the tool into the old wax guard, then pull it out to remove it.
Note: To prevent damage, don’t insert anything into the open receiver underneath.
Step 5: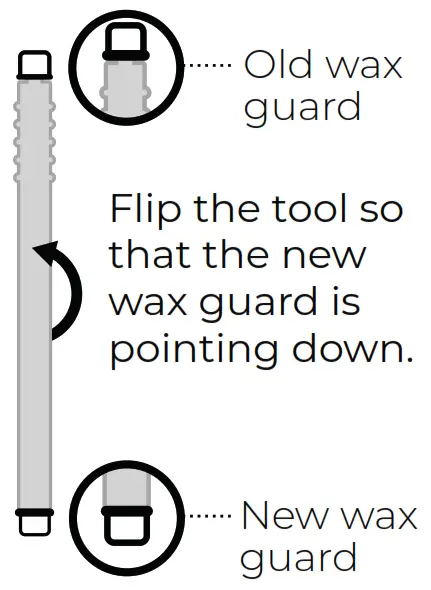
Step 6: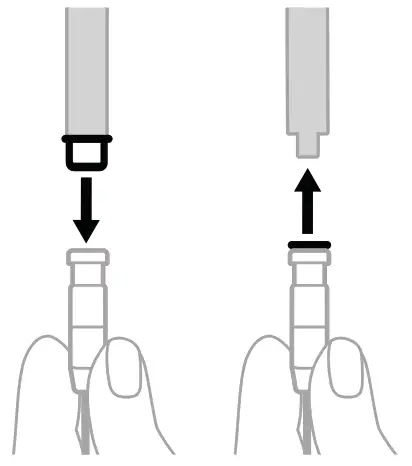
Fully insert the new wax guard so that it’s flush with the top of the receiver, then pull the tool straight out.
Step 7: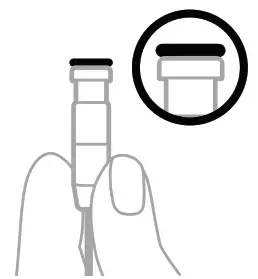
Check that the wax guard is flush with the top of the receiver and not poking out.
Note: This helps prevent the wax guard from falling off in your ear canal.
Step 8: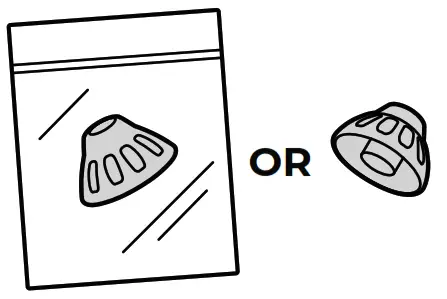
Get a dome to put on the receiver. Either choose your size from a dome kit (available separately) or reuse the old dome.
Step 9: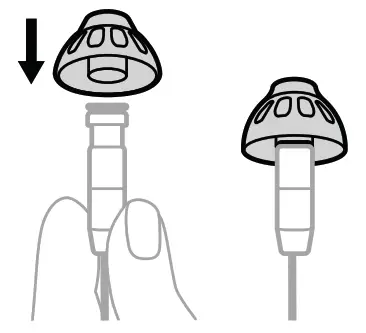
Align the opening of the dome with the receiver and slide the dome onto the receiver.
Step 10: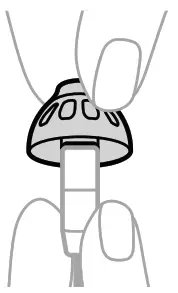
Gently tug the dome to make sure it’s securely fastened.
Note: This helps prevent the dome from falling off in your ear canal.
Step 11:
Repeat steps 1 – 10 for the other hearing aid. When you’re done, throw away the used tools and wax guards.
 Copyright © 2016-2022 heard IP (Pty) Ltd.
44-0010-04, REV1


