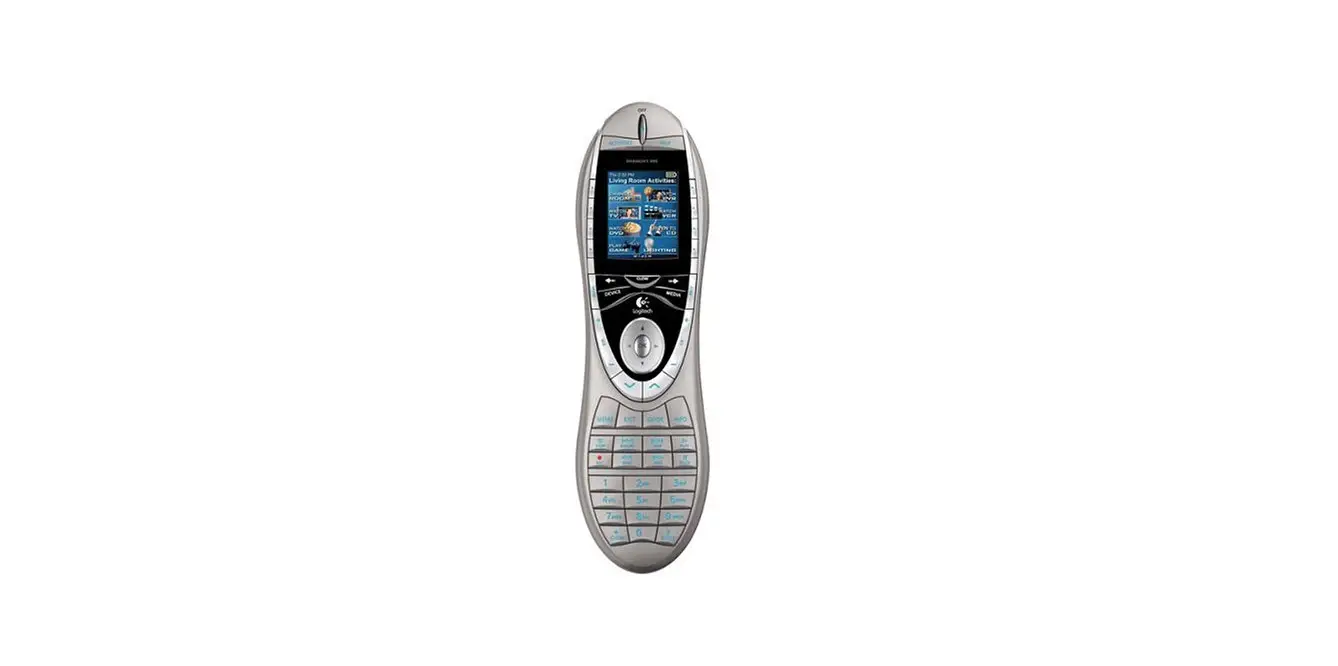
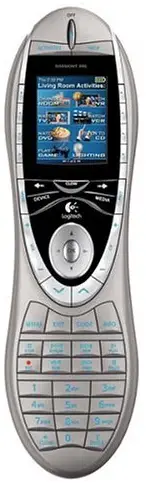
Logitech Harmony 890 Universal Remote Control
Introduction
Congratulations on the purchase of your Harmony remote! This User Manual will introduce you to the basic online setup process, customizations, and main features of your Harmony remote, and instructions on using the remote with a Harmony RF Wireless Extender. If in doubt about how to set up your Harmony remote, follow the information and instructions using the Logitech Harmony remote software (also referred to as Harmony remote software). The Harmony remote is an Internet-powered universal remote control. Your Harmony remote can control most devices that understand infrared (IR) signals.
The configuration of your Harmony remote is simple:
- You will be prompted to answer questions about your entertainment devices to create your own personal Harmony remote configuration.
- Your answers will provide us with a description of the entertainment devices you want to control, how they are set up, and your preferences for controlling them.
- If one of your devices is not in the Harmony remote’s database, the Harmony remote software will learn about your device and add it to your configuration.
- Once you have told us about your devices, you will then be guided through setting up Activities. Creating Activities is simple: you will be prompted to indicate the devices you use within an Activity and how you want to control specific features, such as the volume, within that Activity.
- An Activity is a set of commands the Harmony remote sends to your entertainment system to turn on the necessary devices.
- Once you have selected an Activity, you are in Activity mode, and the functionality of each button on your Harmony remote is automatically configured for that Activity.
- Additionally, the display buttons will give you access to other commands for that Activity, which cannot be set to the standard buttons.
Example
For the Watch Television Activity, the Harmony remote sends commands to your entertainment system to turn on the necessary devices so you can watch television. The remote will automatically be configured for the Activity based on the answers you selected during the online setup process for the Activity.
At the end of the setup process, you will have your own configuration loaded in your Harmony remote. Use your Harmony remote software to:
- Customize any of your Harmony remote’s features.
- Add more entertainment devices.
- Add more Activities.
Getting to Know Your Harmony Remote
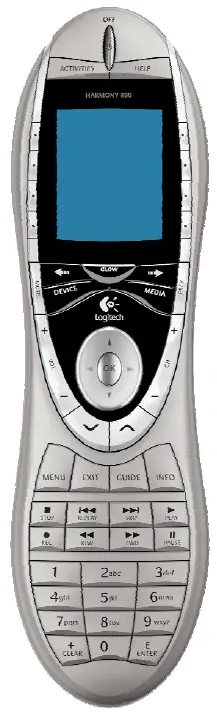
Many of the Harmony remote’s buttons are standard remote buttons. However, there are buttons and other hardware that may not be so familiar to you. The extra buttons and hardware give you access to the special features of the Harmony remote.
- USB Connector: Connect one end of the USB cable to this connector and the other end to your computer so that you can download your configuration using the Harmony remote software.
- OFF: Turns all devices off with one button press.
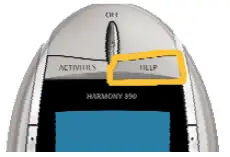
- ACTIVITIES: Press Activities to view a list of Activities you have added. Press the display button next to the Activity you want and the Harmony remote will set up your entertainment system.
- HELP: Asks you simple questions so that your Harmony remote can fix problems you are having within an Activity.
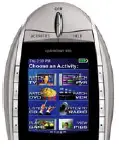
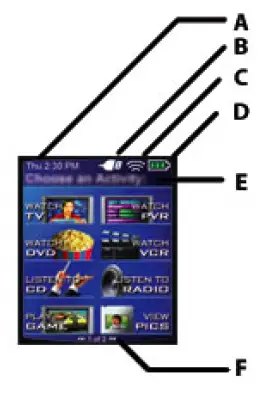
- Display: Shows a list of your Activities and devices, help, infrared (IR) commands and any available listings.
- Display Buttons: Use the buttons at the side of the display to select the corresponding command.
- GLOW: Turns on and of the backlight on the Harmony remote.
- PREV: Goes to previous television channel.
- DEVICE: Lists all your devices on the display, and allows you to select and directly control any device.
- MEDIA: In the Watch TV Activity, press this button to view your Favorite Channels on the display.
- Left/Right Arrow: Allows you to view more options on the display.
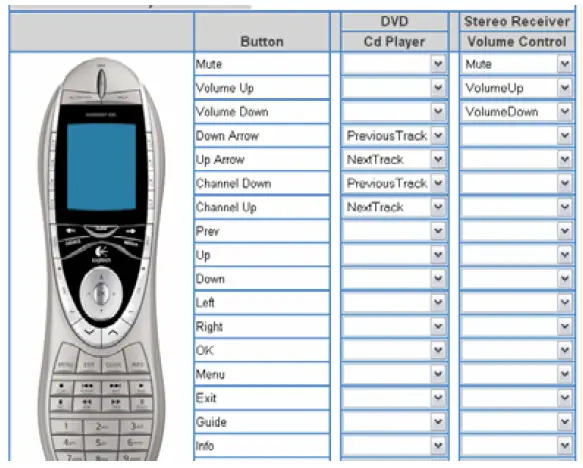
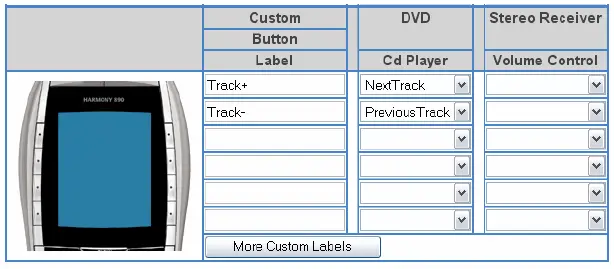
- Smart Buttons: While there is a default setting for the buttons in most Activities, you can customize these buttons to send different commands.
- MENU: Gives you access to the menu system on a device, if you have a device with this feature.
- EXIT: Exits from the Guide feature.
- GUIDE: Gives you access to view program listings, if you have a device with this feature.
- INFO: Gives you additional information on program listings, if you have a device with the Guide feature.
- Infrared Learning Port: The Harmony remote uses this port to learn commands from your original remote.
Beginning the Setup Process
Once you have installed the Logitech Harmony remote software, connect your remote and you will be guided through a series of question-and-answer steps to complete each of the five main steps of the online setup process:
- Login Information: Create your login information.
- Check Connection: Ensures your computer and your Harmony remote are communicating properly.
- Set Up Devices: Helps you provide us with information about the devices in your personal home theater system.
- Set Up Activities: Helps you provide us with information about the way your devices work together to perform Activities (e.g. Watch Television Activity).
- Update Remote: Updates your remote with your personal settings.
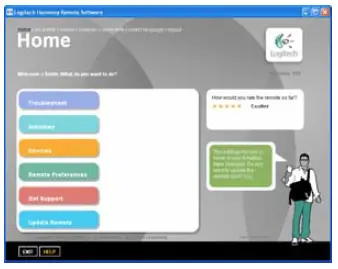
Note: When using the Harmony remote software, click Help to view specific help for the step you are at.
Using Your Harmony Remote
This section provides you with information that will help you use your remote.
Using the Remote with the RF Wireless Extender
The Harmony RF Wireless Extender allows you to use the Harmony remote to control devices that are out of view (e.g. they are inside a cabinet).
Note: Update the RF Wireless Extender each time you make any changes to the configuration of your remote.
The RF Wireless Extender has four dual-head IR (infrared) emitters (one emitter can control two devices) that can be used to control up to eight devices that are out of extender’s range.
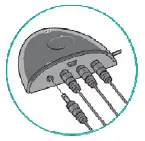
The lights on the RF Wireless Extender provide users with important information, such as:
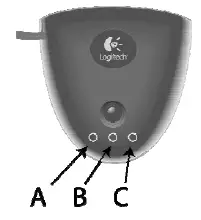
- Status (A)
Indicates that the RF Wireless Extender is sending commands. - Power (B)
Indicates that the RF Wireless Extender is powered either by AC or USB. - RF (C)
Indicates that the RF Wireless Extender is receiving RF signals.
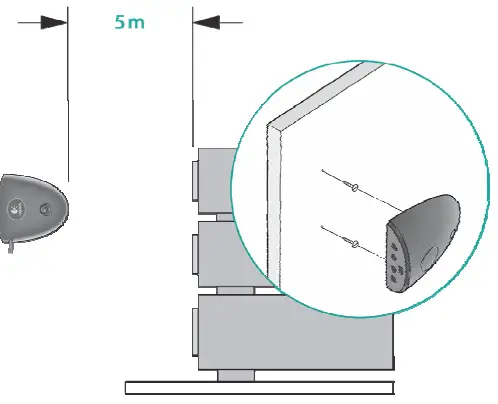
Installing the RF Wireless Extender
The extender can be wall-mounted or installed inside the cabinet where you devices are located.
Wall-Mounted
Cabinet

Adding the RF Wireless Extender to the Z-Wave Network
Anytime you update the remote, you must add the RF Wireless Extender to your Z-Wave network again. To add the extender to your Z-Wave network:
- Take your remote to the RF Wireless Extender you want to add. Make sure the extender is plugged into a power outlet.
- Press Add on the remote when you see a message reminding you to add an RF Wireless Extender to your network.
- Press Connect on the RF Wireless Extender. By pressing Connect you will add the extender to your Z-Wave network.
Anytime you update the RF Wireless Extender you must add the extender to your Z-Wave network again. To manually add the extender to your Z-Wave network:
- Take your remote to the RF Wireless Extender you updated. Make sure the extender is plugged into a power outlet.
- Press the display button next to System Options on the remote’s display.
- Press Z-Wave Setup.
- Press Connect to RF Extender.
- Press Connect on the RF Wireless Extender and follow the instructions on the remote.
Assigning Devices to the Harmony Remote and the RF Wireless Extender
You can assign either the Harmony Remote of the RF Wireless Extender to control your devices.
Controlling a Device With the RF Wireless Extender:
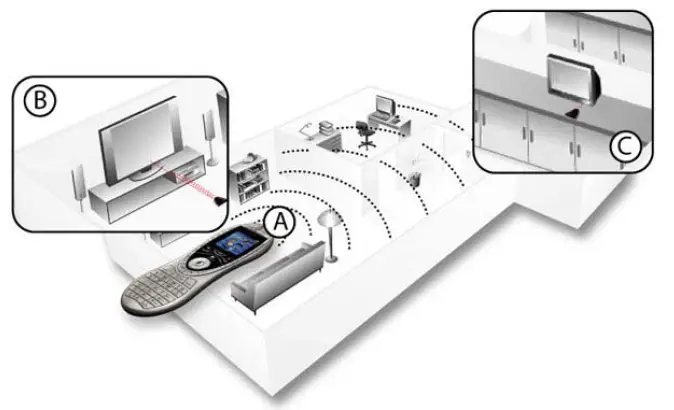
If you have set the RF Wireless Extender to control a device, the remote will send RF (radio frequency) signals (see A) to the RF Extender, which will then convert the signals to IR and send the signals to the device. Controlling devices using the RF Extender means you can control the devices even if they are behind closed doors (e.g. a cabinet) or in a different room (see B and C).
Controlling a Device With the Remote:
If you have set the remote to control a device, the remote will use IR (infrared) signals to control the device. In order for the remote to control the device, there must be a direct line of sight between the signal sent by the remote and the device receiving the signal (see A).
Using the Glow Button
Press the Glow button to light up or turn off the display backlight. To determine the length of time the backlight stays on:
- From Home in the Harmony software, click Remote Preferences.
- Click Settings.
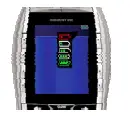
Recharging the Battery
Place your remote in the base station to charge. While the remote’s battery is charging:
- The display and its backlight, and the keypad backlight remain on.
Note: Press the GLOW button to turn the backlight off. - The battery level icon in the status bar flashes when the battery is still charging or will display a full battery level when charging is complete.
 When the battery is low, the display will flash a message to remind you to charge the battery.
 When the battery is low, the display will flash a message to remind you to charge the battery.


FREQUENTLY ASKED QUESTIONS
DOWNLOAD THE PDF LINK: Logitech Harmony 890 Universal Remote Control User Manual


