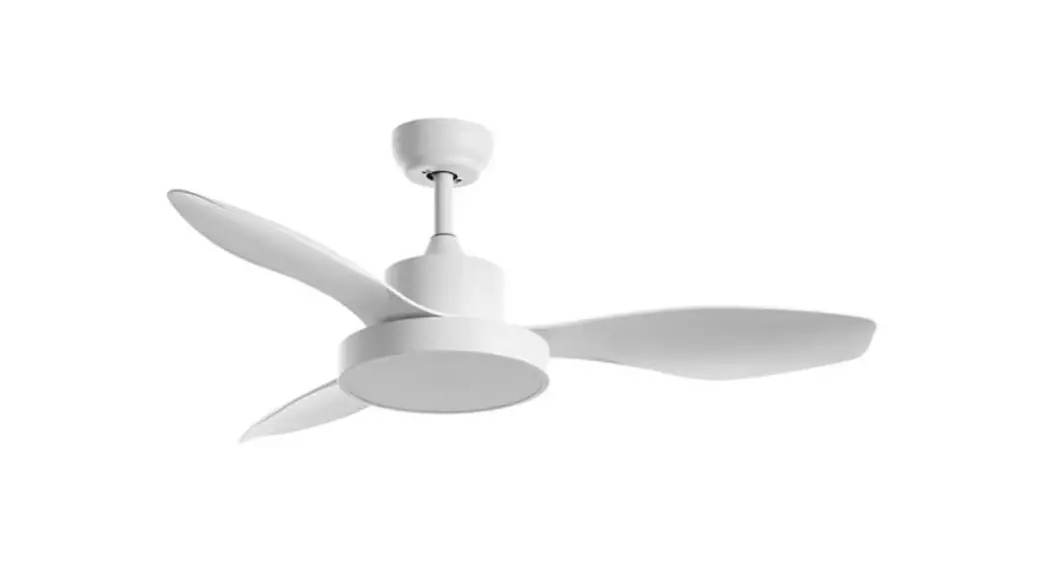
![]() D96-DC-CCT-2200LM Bronze Wood Blade
D96-DC-CCT-2200LM Bronze Wood Blade
DC Ceiling Fan and Remote Control
Instruction Manual INSTRUCTION MANUAL
D96-DC-CCT-2200LM Bronze Wood Blade DC Ceiling Fan and Remote Control
Shut off the main power before installation. The installation must be carried out by a specialist or quailed personnel.
All wiring must be done in accordance with the local electrical codes or National Electrical Code.
Make sure about the clearance between the oar and the fan blade tips is at least 2,3m. At least 1m must be kept free between typo blades and walls or any objects.
Do not attempt to take apart or modify the fan in any way. Doing so could cause the risk of serious injury and it will void your warranty. Do not insert objects on the fan blades while they are rotating.
Do not attempt to take apart or modify the fan in any way. Doing so could cause the risk of serious injury and it will void your warranty. Do not insert objects on the fan blades while they are rotating.
Do not lift or carry the fan by holding the cables.
It is clear that some areas cannot be taken into account inside this instruction manual, as can be use the device with caution by installers or users. The responsibility of these factors falls on the user.
The fan is suitable for indoor use only.
Not suitable for inclined ceiling.
CHECK THE CONTENTS BEFORE INSTALLATION

| NAME | QUANTITY |
| AA | 6 |
| BB | 3 |
| CC | 1 |
| DD | 4 |
| EE | 2 |
 |
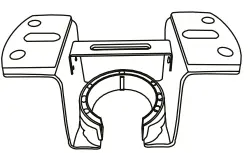
|  | |||
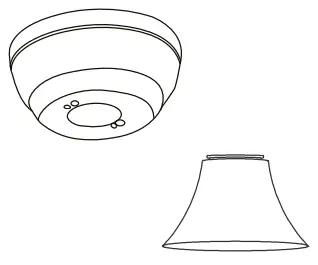
| Fan-motor assembly | 1 | Acrylic cover. | 1 | Light&driver | 1 |
|
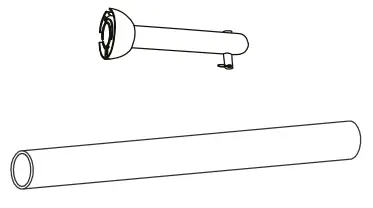
|  |
| |||
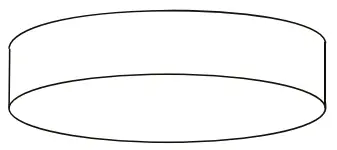
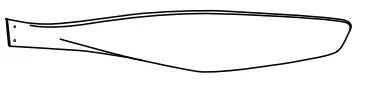
| Light Pan | 1 | Canopy | Blades | 3 | |
 |  | Remote control | |||
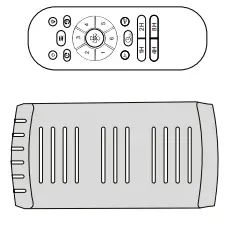 | |||||
| Mounting Bracket | 1 | Downrod&hanger ball | Remote receiver | ||
INSTALL THE VFAN
TOOLS REQUIRED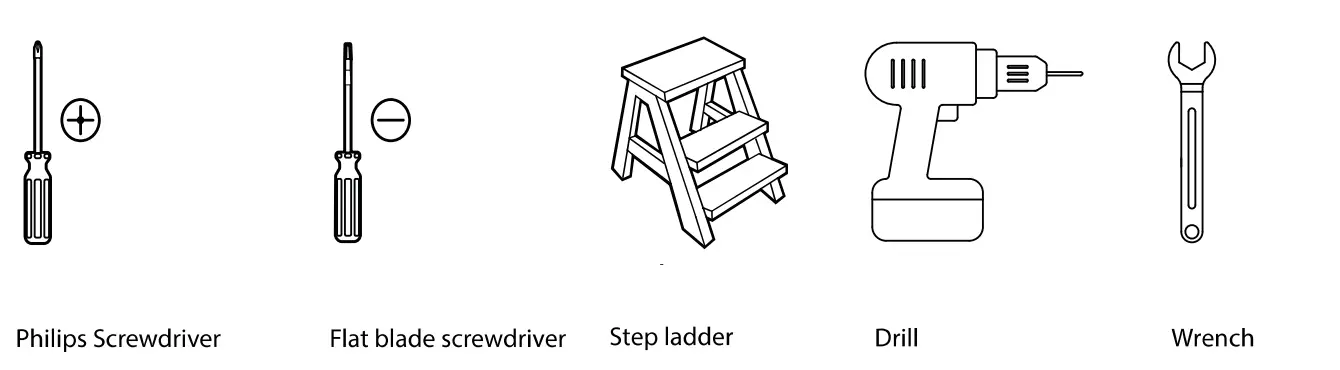
CEILING INSTALLATION FOR THE MOUNTING BRACKET
Ensure that the hanging location allows the blende clearance of 2.13m from the floor and 1 m from any wall or obstruction. 
ASSEMBLY INSTRUCTIONS
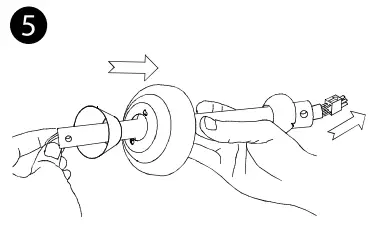
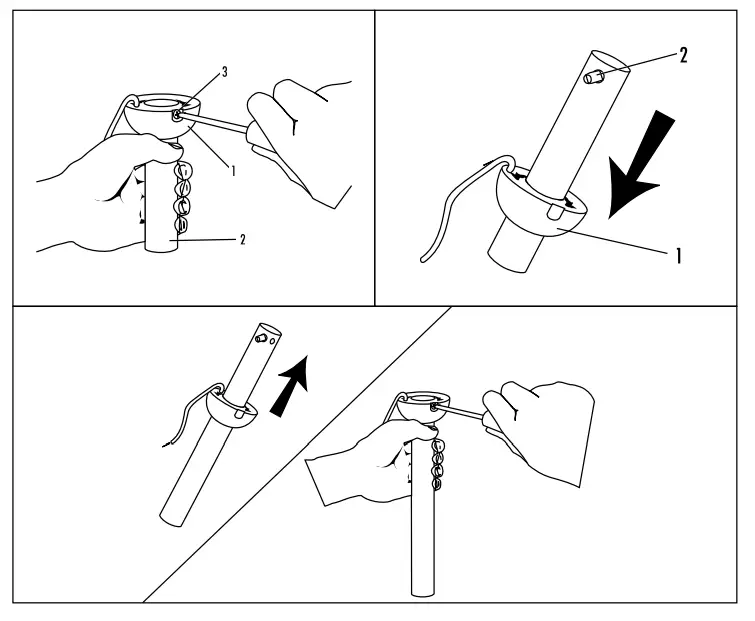
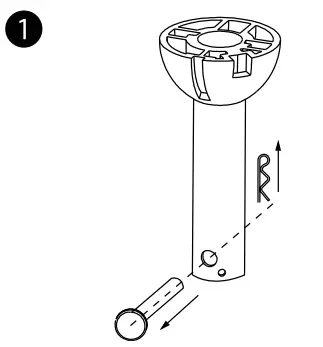 | 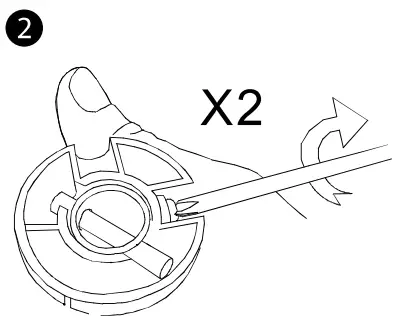 | 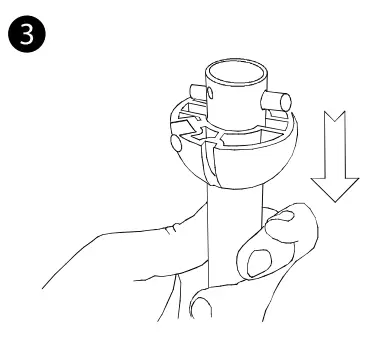 |
| Remove the lock pin and the bolt of the base of the dowered. | Unscrew the screws of the hanger ball. | Slide the ball dawn the dowered |
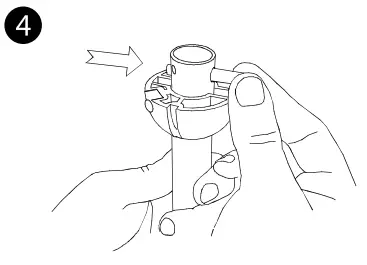 |  | 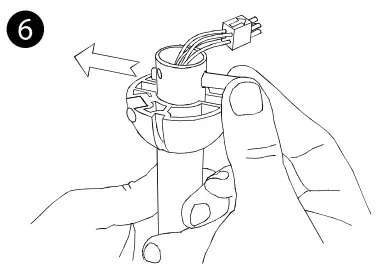 |
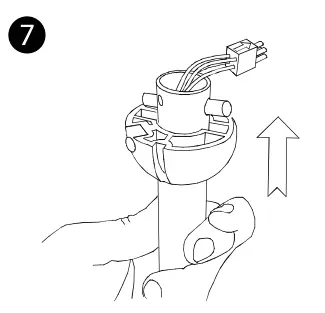
| Remove the bolt of the dowered. | Insert on the dowered the canopy and the Bolt&Pin cover. Carefully feed motor wires through the dowered assembly. | Replace the bolt of the hanger ball. |
 | 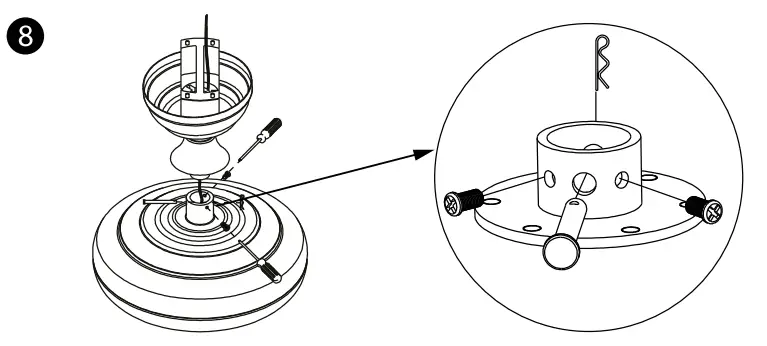 |  |
| Replace the hanger ball at its normal position. | Loosen the two set screws in dowered coupling. Insert dowered and install bolt through coupling and dowered. Insert pin in order to lock the bolt. Tighten set screws in coupling. Slide coupling cover over the dowered coupling. | Mount the blades on the motor and fix it with screws. |
![]() WARNING: Remove the rubber motor stops before installing the blades or testing the motor.
WARNING: Remove the rubber motor stops before installing the blades or testing the motor.
CHANGE DOWNROD (OPTIONAL)
The ceiling fan comes with 127mm standard dowered which is preassembled and attached to the hanger ball, one longer 254mm dowered is also included for higher ceilings.
- Loosen the hanger ball from dowered by removing set screw.
- Slide downrod ball off of downrod and remove bolt.

- Re-install the bolt into new dowered, and slide dowered ball up to the top of the dowered.
- Re-install set screw to secure ball to dowered.

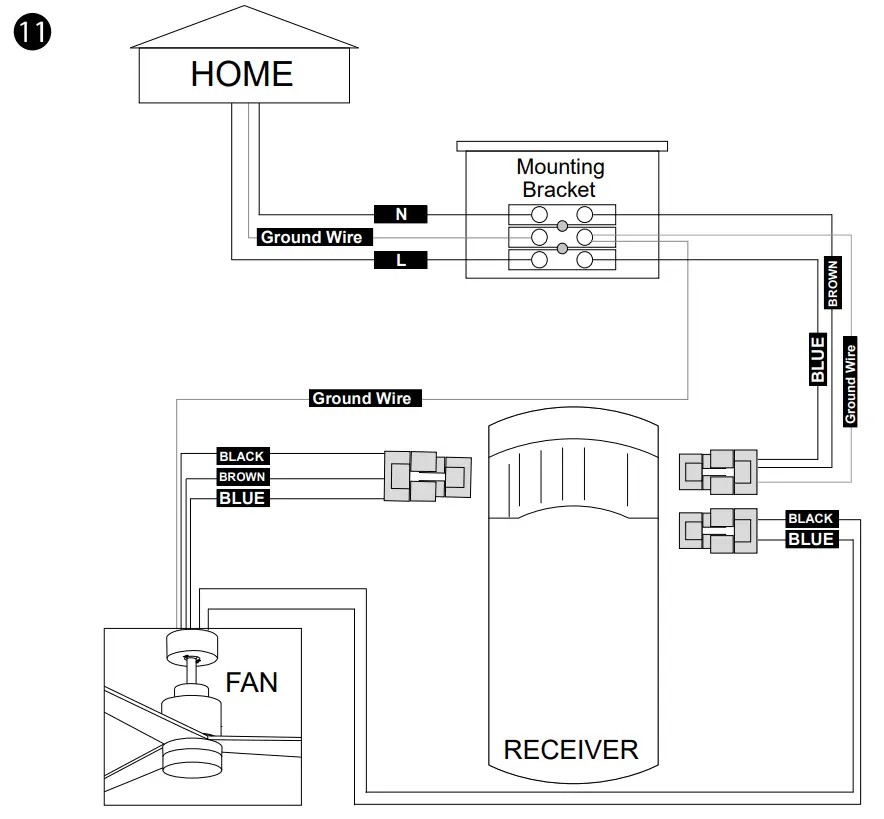
ELECTRIC CONNECTIONS
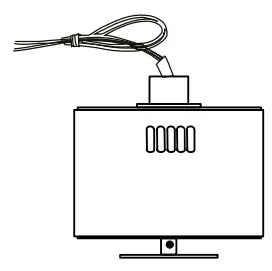
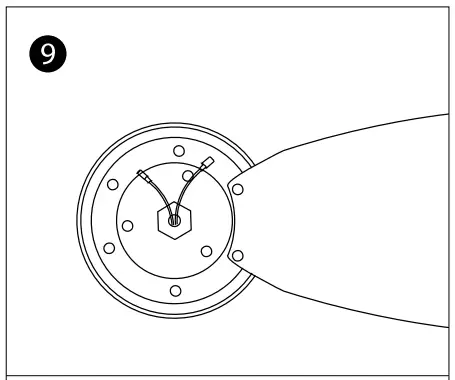
Make wiring connections from the house and the motor to the remote receiver as shown right. Once wiring step has been completed, slide the wired remote receiver in between the mounting bracket and the top of the dowered ball for dowered fans.
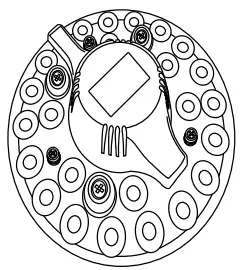
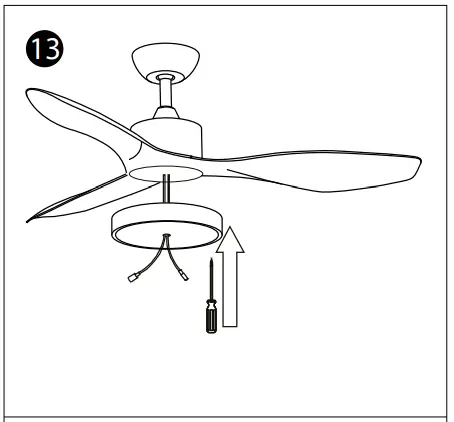 Remove the screws from the fan base, install the light pan and screws in order to fix it.
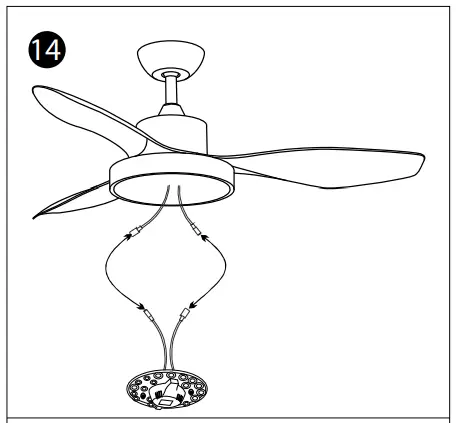 Make the wiring connections and install the LED light on the light pan.
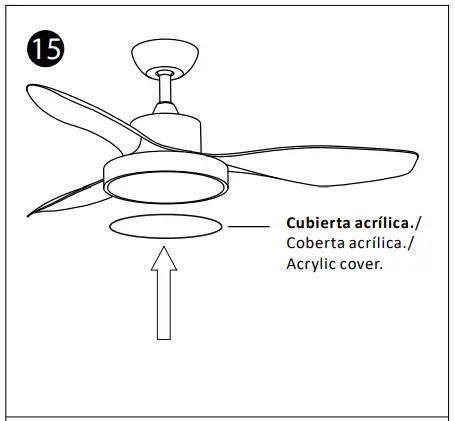 Install the acrylic cover.
REMOTE CONTROL

![]() This lamp memorizes the temperature of the color and the brightness assigned.
This lamp memorizes the temperature of the color and the brightness assigned.![]() Before depositing the device in the collection facilities, the end user must remove the batteries and deposit them at the selective collection points for these waste. This product light contains a light sources of the energy efficiency CLASS “F”
Before depositing the device in the collection facilities, the end user must remove the batteries and deposit them at the selective collection points for these waste. This product light contains a light sources of the energy efficiency CLASS “F”
WARNINGS
Balance kit is included with the fan. If the fan is unbalanced, the wights of the kit only can be installed by a professional. Fan can make small noises. Please allow 24-hour breaking-in period.
IMPORTANT: MAKE SURE THE POWER IS OFF BEFORE YOU ATTEMPT ANY CLEANING. Do not use water when cleaning your ceiling fan. It could damage the motor or the blades and create the possibility of an electrical shock.
Voltage: AC9OV – 265V (50Hz)![]()


