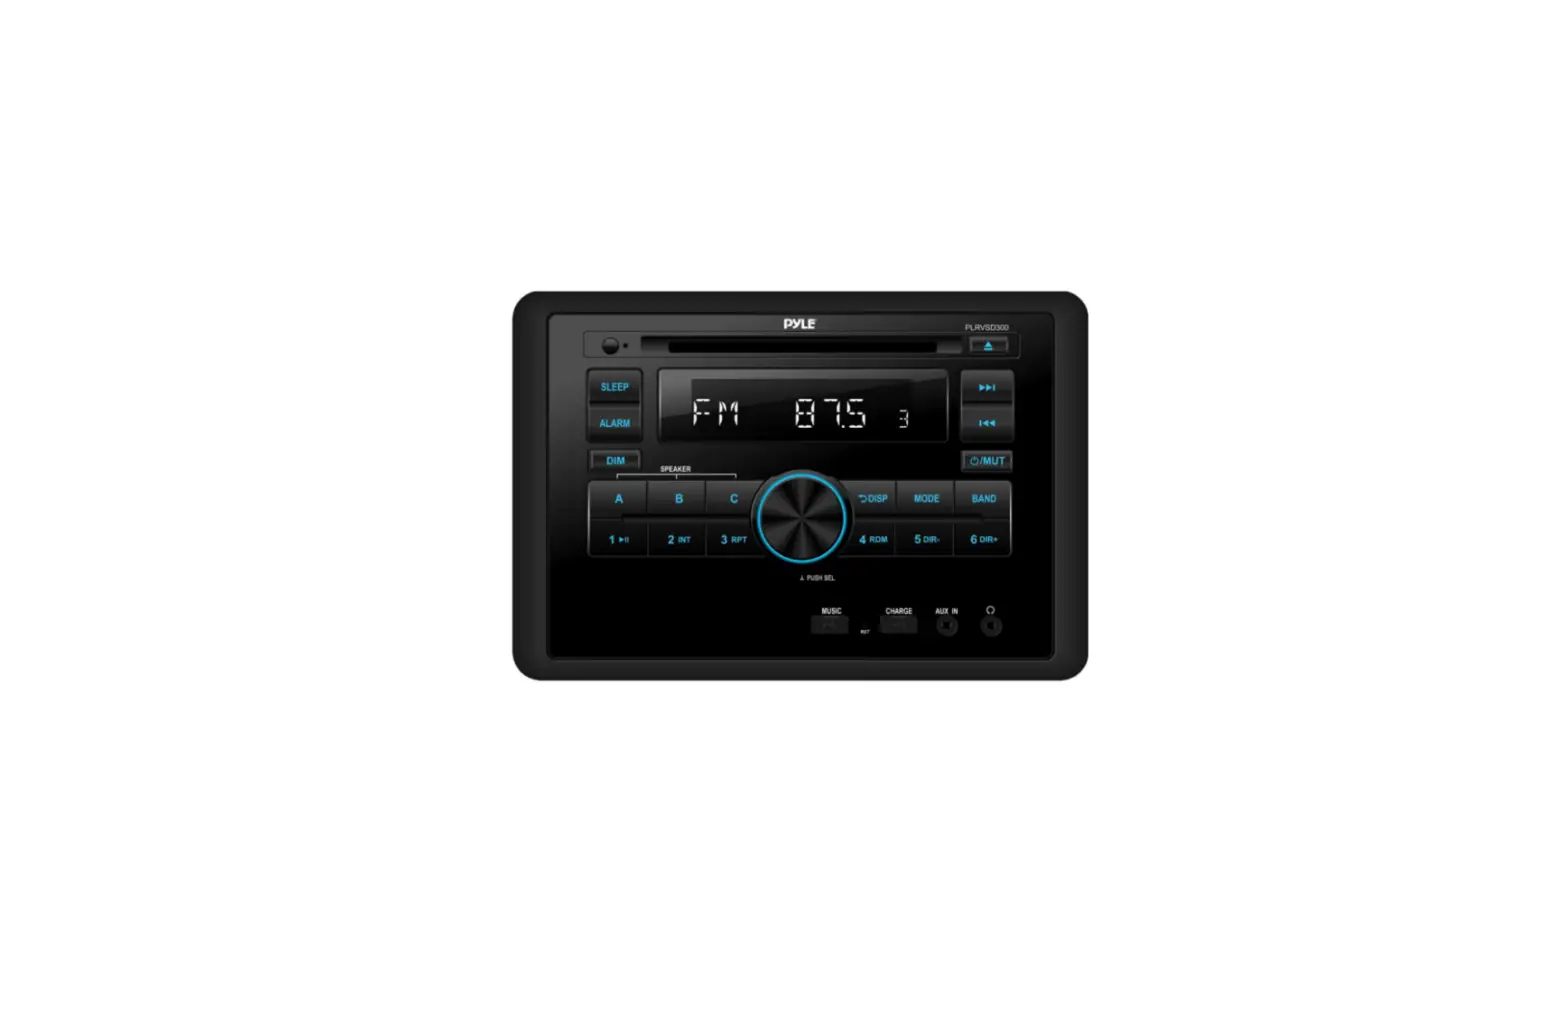
PYLE RVSD300 Digital Mobile Receiver System User Manual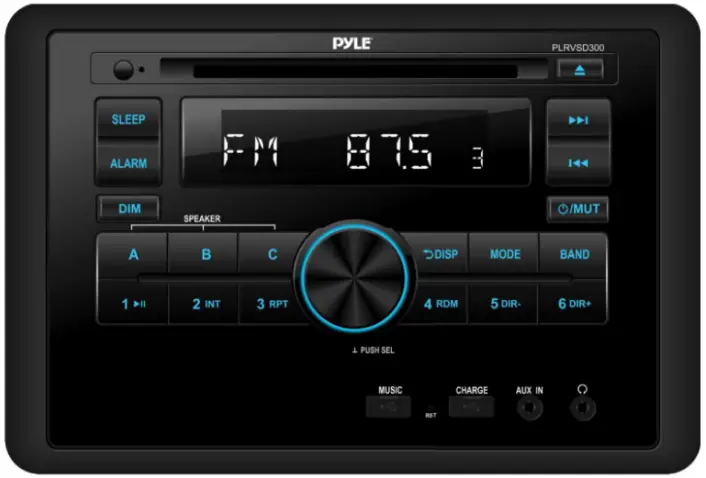
Operation
ALARM Operation
Shortly press ALARM button to on/off alarm function. When alarm function is on. And the time is running to the alarm time. The speaker will output beep sound. The beep sound will output all the time until any key was pressed.
SLEEP Operation
Press and hold SLEEP button to set the sleep time (using VOL knob to set them).
Shortly press SLEEP button to on/off sleep function. When sleep function is on. And the time is running to the set time.The unit will turn off the unit automatically.
Information priority/ClockDisplay Priority
Shortly press DISP button to choose the clock priority or information priority (default).
Clock Setting
Press and hold DISP button for 2 seconds. The”HH”will be flashing. Rotate VOL knob to set the hour.
After that press DISP or SEL button the“MM”will be flashing. Rotate VOL knob to set the minute.
Then press DISP or SEL button to confirm.
Zone A / Zone B / Zone C Volume Control
- Rotate VOL knob to control Zone A/ Zone B and Zone C volume together.
- Press A button then rotate VOL knob to adjust the Zone A volume only. 5 seconds later back to Zone A + Zone B + Zone C mode.
- Press B button then rotate VOL knob to adjust the Zone B volume only. 5 seconds later back to Zone A + Zone B + Zone C mode.
- Press C button then rotate VOL knob to adjust the Zone C volume only. 5 seconds later back to Zone A + Zone B + Zone C mode.
Zone A / Zone B / Zone C volume mute on/off
Press and hold A (B/C) button to mute on/off the Zone A (B/C) output.
RCAs / HDMI Output
Behind the head unit, there are RCA sockets output. According the wiring picture above to connect.
When playing the video file. You also can use the HDMI port connect to the TV set (TV set needs to be set to HDMI source).
AUX IN 1 / AUX IN 2 Function
AUX IN 1 for front panel 3.5mm jack. AUX IN 2 for RCAs (Audio + Video) behind ofthe unit.
Press MODE button switch to AUX IN 1/AUX IN 2 source.
ARC Function
Connecting the head unit and TV set used a HDMI cable. Press MODE button switch to HDMI ARC mode.
The TV set’s sound will transmit to the head unit’s speakers.
Reset Function
When some errors occur in display or functions doesn’t work. Press RESET button (24) to reset the unit.
(Note: All memories will be lost.)
RADIO OPERATION
Receive a radio station
Press MODE button to select radio source. Then press BAND button to select a band.
Shortly press ![]() /
/![]() button to receive the desired radio station.
button to receive the desired radio station.
Press and hold ![]() /
/![]() button for manual tuning the frequency.
button for manual tuning the frequency.
Note: If in other source, shortly press BAND button will switch to RADIO source.
Auto Store Station
Press and hold BAND button for 2 seconds to auto store stations to numeric buttons 1-6 of band 1 3.
Manually store station & recall preset station
To receive a station with ![]() or
or ![]() button. Press and hold one of the 1- 6 preset button for 2 seconds.
button. Press and hold one of the 1- 6 preset button for 2 seconds.
The current station is stored into the number button. Shortly press the preset button (1 6) to directly listen the station that saved in the corresponding preset button.
DISC/MP3/WMA Operation
Switch to DISC Source
Gently insert the DISC with the printed side uppermost into disc slot. DISC playback begins. Or press MODE button switch to DISC source.
SELECTING TRACKS
Press ![]() /
/![]() button move to the previous / next track.
button move to the previous / next track.
Hold ![]() /
/![]() button to fast reverse or fast forward. Press“
button to fast reverse or fast forward. Press“![]() ”button to play again.
”button to play again.
Pause/Play Operation
Press ![]() button to pause playing. Press it again to resume play.
button to pause playing. Press it again to resume play.
Intro Operation
Press INT button to play first 10 seconds of each track. Press it again to cancel this function.
Repeat ONE/ALL Operation
Press RPT button to repeat the same track. Press it again to repeat all tracks.
Random ON/OFF Operation
Press RDM button to play all tracks in random order. Press again to cancel this function.
Eject the Disc
Press ![]() button to eject the disc.
button to eject the disc.
DIR+/DIR- Function (for MP3/WMA)
Press DIR-/DIR+ button to select previous/next directory to play.
+10/-10 File Function (for MP3/WMA)
Press and hold DIR+/DIR- button for 2 seconds to skip +10/-10 file to play.
Song Search Operation
Press and hold 1/![]() button to select song search mode: DIR SCH or NUM SCH
button to select song search mode: DIR SCH or NUM SCH
- DIR SCH: Press and hold 1/
 button one time. It shows“DIR SCH”. Rotating VOL knob to select the folder
then press SEL knob into the folder. Rotate the VOL knob again to select the song. Then press SEL to play. - NUM SCH: Press and hold 1/ button then shortly press 1/ button. It shows“NUM SCH”.
You can select the song by directly enter numeric buttons: 0-9 (MODE=7, =8, =9, DISP=0).
You also can rotate the VOL knob to select the numeric. Then press SEL to play.
Video/Photo/Music Playing Change
When there are Video/Photo/Music files in the disc/USB. Insert the disc/USB to the unit, it will play the music automatically. Repeatedly press and hold BAND button to change to below playing: Music–>Video–>Photo
CAUTION
- When connecting an MP3 player that has normal battery (non rechargeable battery), you should remove the battery first from the MP3 player then connect it to the USB interface. Otherwise, it may cause battery burst.
- When there are important files in the DISC/USB/SD, do not connect it to the main unit to play. Our company assumes no responsibility for any important files that loss or damaged.
SUPPORTED MP3/WMA DECODING MODES
The main unit supports MP3/WMA (Windows Media Audio) decoding modes as below.
| Standard | Bit Rate (kbps) | Supports Mode |
| MPEG1 Audio Layer 3 (44.1 kHz) | 32, 48, 64, 96, 1 28,192, 256,320 | Stereo |
| Windows Media Audio (44.1kHz) | 64, 96, 128, 192 | Stereo |
The USB solution can support:
- Folder: 500 max.
- File: 999 max.
- Depth of folder: 8 layers
- Size: 64 GB
WIRELESS BT STREAMING OPERATION
PAIRING
Select the Wireless BT item and search the BT device on your phone.
Select“PyIeUSA”and input password“0000”if it needs a password.
The BT icon will be displayed when successful paired.
Wireless BT Audio (A2DP function)
Press MODE button switch to“BT MUSIC”source. It will play a song of your mobile phone automatically.
Press key to pause/![]() the song. Press
the song. Press ![]() /
/![]() button to select
button to select ![]() /
/![]() previous song.
previous song.
Disconnect the Wireless BT
After the phone is paired with the unit. Hold MODE key to disconnect/re-connect BT.
Note: At the first time pair with mobile phone, you have to use mobile phone to pair the unit. BT OFF/ON item only to disconnect and reconnect function.
DISC NOTES
A. Notes on discs:
Attempting to use non-standard shape discs (e.g. square, start, heart) may
- Damage the unit. Be sure to use round shape CD discs only for this unit.
- Do not stick paper or tape, etc, into the label side or the recording side of any discs, as it may cause a malfunction.
- Dirt, dust, scratches and warping discs will cause misoperation.
B.Notes on CD-Rs (recordable CDs)/CD-RWs (rewritable CDs):
- Be sure to use discs with following marks only for the unit to play:

- The unit cannot play a CD-R and CD-RW that is not finalized.
(Please refer to the manual of your CD-R/CD-RW recorder or CD-R/CD-RW software for more information on finalization process). - Depending on the recording status, conditions of the disc and equipment used for the recording, some CD-Rs/CD-RWs may not be played on this unit. (see *1)
^1: To have more reliable play back, please see following recommendations:
a. Use CD-RWs with speed 1x to 4x and write with speed 1x to 2x.
b. Use CD-Rs with speed 1x to 8x and write with speed 1x to 2x.
c.Do not play a CD-RW which has been written for more than 5 times

c. Notes on MP3 files (MP3 Version Only):
- The disc must be in the ISO9660 level 1 or level 2 format, or Joliet or Romeo in the expansion format.
- When naming MP3 file, be sure the file name extension is“.MP3“.
- For a non-MP3 file, even though the file name extension is“.MP3”, the unit will not recognize it.
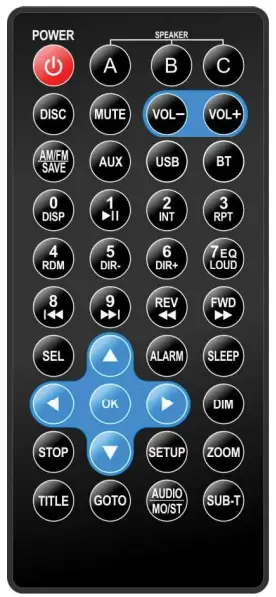
REMOTE CONTROL
| KEYS | ACTION | RADIO | DISC | USB | AUX/AV IN | BT MUSIC |
| POWER | Short | Power off | Power off | Power off | Power off | Power off |
| Long | power off | power off | power off | power off | power off | |
| A | Short | Zone A mute on / off | Zone A mute on / off | Zone A mute on / off | Zone A mute on / off | Zone A mute on / off |
| Long | / | / | / | / | / | |
| B | Short | Zone B mute on / off | Zone B mute on / off | Zone B mute on / off | Zone B mute on / off | Zone B mute on / off |
| Long | / | / | / | / | / | |
| C | Short | Zone C mute on / off | Zone C mute on / off | Zone C mute on / off | Zone C mute on / off | Zone C mute on / off |
| Long | / | / | / | / | / | |
| MUTE | Short | Mute all on/off | Mute all on/off | Mute all on/off | Mute all on/off | Mute all on/off |
| Long | / | / | / | / | / | |
| VOL+ | Short | Volume up | Volume up | Volume up | Volume up | Volume up |
| Long | Volume up fast | Volume up fast | Volume up fast | Volume up fast | Volume up fast | |
| VOL- | Short | Volume down | Volume down | Volume down | Volume down | Volume down |
| Long | Volume down fast | Volume down fast | Volume down fast | Volume down fast | Volume down fast |
| DISC | Short | switch to DISC source | DIR SCH/ NUM SCH | switch to DISC source switch to DISC | switch to DISC source | source |
| Long | / | I | / | 1 | / | |
| AM/EM SAVE | Short | band change | switch to radio source | switch to radio source | switch to radio source | switch to radio source |
| Long | Auto store | / | I | / | / | |
| AUX | Short | switch to AUX IN1 source | switch to AUX IN1 source | switch to AUX IN1 source | switch to AUX IN1 source | switch to AUX IN1 source |
| Long | switch to AUX 1N2 SCAMS | switch to AUX IN2 source | switch to AUX IN2 source | switch to AUX IN2 source | switch to AUX IN2 source | |
| USB | Short | switch to USB mode | switch to USB mode | DIR SCH/ NUM SCH | switch to USB mode | switch to USB mode |
| Long | / | / | / | 1 | / | |
| BT | Short | switch to 8T source | switch to BT source | switch to 81 source | switch to BT source | / |
| Long | BT off/ink | BT offilink | BT off/ink | BT offilink | BT oft/fink | |
| 0/DIS P | Short | info/dock | info/dock/SCH:O | info/dockISCH:O | info/cbdt | info/dock |
| Long | Clock setting | Clock setting | Clock setting | Clock setting | Clock setting | |
| 1/PA U | Short | Recall M1 station | play/pause/SCH:1 | play/pause/SCH:1 | / | play/pause |
| Long | Save to M1 | / | / | / | / | |
| 2/INT | Short | Recall M2 station | INT on/off/SCH:2 | INT on/off/SCH:2 | / | / |
| Long | Save to M2 | 1 | / | / | / | |
| 3/RPT | Short | Recall M3 station | RPT(ONE/ALLy SCH:3 | RPT(ONE/ALLy SCH:3 | / | / |
| Long | Save to M3 | 1 | / | / | / | |
| I 0 2 | Short | Recall M4 station | RDM on/off/SCH:4 | RDM on/off/SCHA | / | / |
| Long | Save to M4 | / | / | / | ||
| 5/DIR- | Short | Recall M5 station | DIR-/SCH• | DIR-/SCH:5 | I | / |
| Long | Save to M5 | -10 | -10 | / | / | |
| 6/DIR + | Short | Recall M6 station | DIR+/SCH•6 | DIR+/SCH:6 | / | / |
| Long | Save to M6 | +10 | +10 | 1 | / | |
| 71EQ/ LOUD | Short | POP-ROCK-CLAS- JAZZ-OFF | POP-ROCK-CLAS- JAZZ-OFF /SCH:7 | POP-ROCK-CLAS- JAZZ-OFF /SCH:7 | POP-ROCK-CLAS- JAZZ-OFF | POP-ROCK-CLAS- JAZZ-OFF |
| Long | LOUD on/off | LOUD on/off | LOUD on/off | LOUD on/off | LOUD onion | |
| 811cc | Short | Seek down | previous file/SCH:8 | previous file/SCH:8 | / | previous file |
| Long | Manual turn down | FR | FR | / | / | |
| 9/>>I | Short | Seek up | next file/SCH:9 | next file/SCH:9 | 1 | next file |
| Long | Manual turn up | FF | FF | / | / | |
| REW « | Short | Manuel tum down | FR | FR | / | / |
| Long | / | / | / | / | / | |
| FWD >> | Short | Manual turn up | FF | FF | / | / |
| Long | / | / | / | / |
| SEL | Short | ZONE A->ZONE B- >ZONE C (BAS- TRE-BAL-EQ- LOUD-P VOL) | ZONE A->ZONE B- >ZONE C (BAS- TRE-BAL-EQ- LOUD-P VOL) | ZONE A->ZONE B- >ZONE C (BAS- TRE-BAL-EQ- LOUD-P VOL) | ZONE A->ZONE B- >ZONE C (GAS- TRE-BAL-EQ- LOUD•P VOL) | ZONE A->ZONE 8- >ZONE C (GAS- TRE-BAL-E(k LOUD-P VOL) |
| Long | BEEP->CLOCK (12/24)-,CT(indepl sync)-> AREA-> DX/STEREO | (BEEP)-> CLOCK(12/24) | (BEEP)-> CLOCK(12/24) | (BEEP)-> CLOCK(12/24) | (BEEP)-> CLOCK(12/24) | |
| ALAR M | Short | Alarm on/off | Alarm on/off | Alarm on/off | Alarm on/off | Alarm on/off |
| Long | Alarm setting | Alarm setting | Alarm setting | Alarm setting | Alarm setting | |
| SLEEP | Short | Sleep on/off | Sleep on/off | Sleep on/off | Sleep on/off | Sleep on/off |
| Long | Sleep setting (1-59 Minutes) | Sleep setting (1-59 Minutes) | Sleep setting (1-59 Minutes) | Sleep setting (1-59 Minutes) | Sleep setting (1-59 Minutes) | |
| DIM | Short | DIM high/ow | DIM highlow | DIM high/low | DIM high/ow | DIM highAow |
| Long | / | / | / | / | / | |
| Short | / | Cursor up move | / | / | / | |
| Long | I | / | / | / | / | |
| V | Short | I | Cursor down move | / | / | / |
| Long | I | / | / | / | / | |
| < | Short | / | Cursor left move | / | / | / |
| Long | / | / | / | / | / | |
| Short | / | Cursor right move | / | / | / | |
| Long | / | / | / | / | / | |
| OK | Short | / | Confirm | Confirm | / | / |
| Long | / | / | / | / | / | |
| STOP | Short | / | stop | / | / | / |
| Long | / | / | / | / | / | |
| SETU P | Short | / | Setup menu | / | / | / |
| Long | / | / | / | / | / | |
| ZOOM | Short | / | Zoom in | / | / | / |
| Long | / | I | I | I | I | |
| TITLE | Short | / | back to TITLE menu | / | / | / |
| Long | / | / | / | / | / | |
| GOTO | Short | / | GOTO | / | / | / |
| Long | / | I | I | I | I | |
| AUDIO MOIST | Short | MONO/STEREO | Audio | Audio | / | / |
| Long | / | / | / | / | / | |
| SUB-T | Short | / | Sub-title | / | / | / |
| Long | / | / | / | / | / |
TROUBLESHOOTING
Before going through the checklist, check wiring connection. If any of the problems persist after checklist has been made, consult your nearest service dealer.
| Symptom | Cause | Solution |
| No power | The car ignition switch is not on. | If the power supply is connected to the car accessory circuits, but the engine is not moving, switch the ignition key to“ACC”. |
| The fuse is blown | Replace the fuse | |
| Disc cannot be loaded or ejected. | Presence of CD disc inside the player. | Remove the disc in the player, then put a new one. |
| Inserting the disc in reverse direction. | Insert the compact disc with the label facing upward. | |
| Compact disc is extremely dirty or detective disc. | Clean the disc or try to play a new one. | |
| Temperature inside the car is too high. | Cool off or until the ambient temperature return to normal. | |
| Condensation | Leave the player off for an hour or so, then try again. | |
| No sound | Volume is in minimum | Adjust volume to a desired level |
| Wiring is not properly connected | Check wiring connection | |
| Sound skips | The installation angle is more than 30 degree. | Adjust the installation angle less than 30 degree. |
| The disc is extremely dirty or defective disc. | Clean the compact disc, then try to play a new one. | |
| The operation keys do not work | The built-in microcomputer is not operating properly due to noise. | Press the RESET button. Front panel is not properly fixed into its place. |
| The radio does not work. The radio station automatic selection does not work. | The antenna cable is not connected. | Insert the antenna cable firmly. |
| The signals are too weak. | Select a station manually. |
Questions? Comments?
We are here to help!
Phone: (1) 718-535-1800
Email: [email protected]


