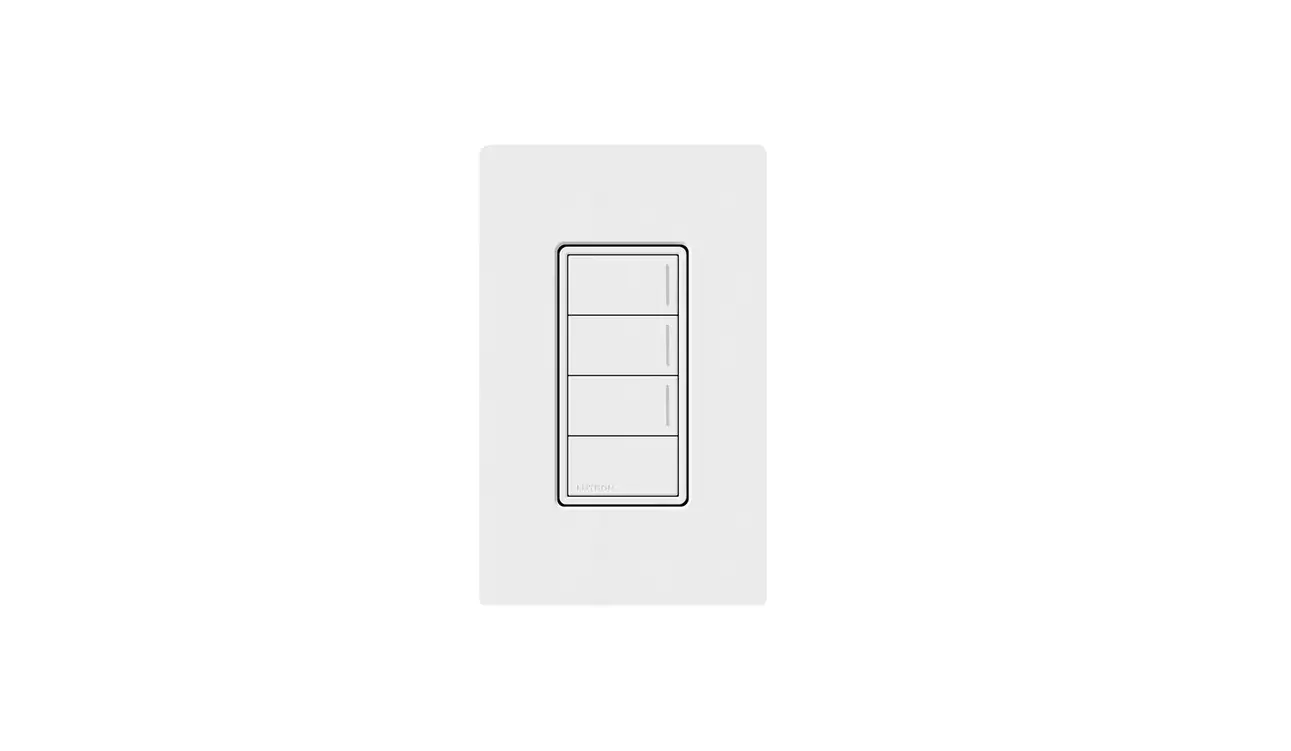
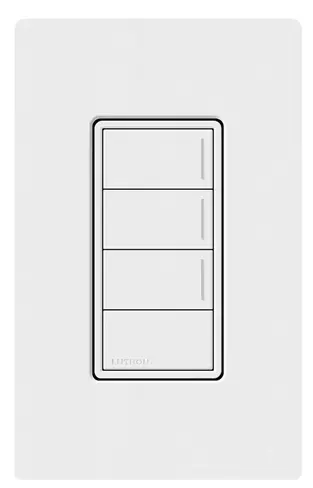
LUTRON STBK-W Replacement Kits for Sunnata Keypads
Please read before installing.
Replacement Kits for Sunnata Keypads STBK-W
Included Components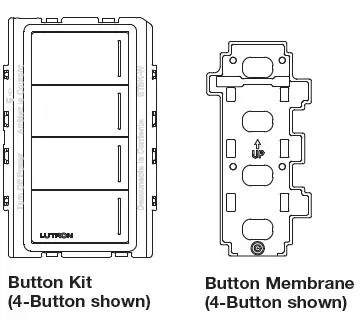
Overview
The Replacement Button Kits for Sunnata Keypads allow for the customization of the keypad. Replacement Button Kits may be used to change the color, button configuration, or add personalized printing that clearly identifies each button’s function.
IMPORTANT
- Mounting: Ensure all controls are correctly wired and mounted before installing Replacement Kits or wallplates. Confirm controls are free from debris (e.g., plaster, spackling compound) before installing Replacement Kits or wallplates.
- Wallplates: Use only Lutron wallplates with these keypads. The mechanical design of the keypad may not be compatible with non-Lutron wallplates. Non-Lutron wallplates may not sit flush against the wall. Claro and Satin Colors wallplates are designed for best color match and clean aesthetic appearance. Do not paint controls, buttons, or wallplates.
- Cleaning: For disinfecting keypad, please refer to App Note #758 (048758). See Sunnata Keypad Support Center link in Help Section.
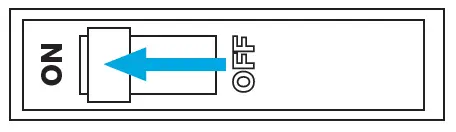
Turn power OFF at circuit breaker
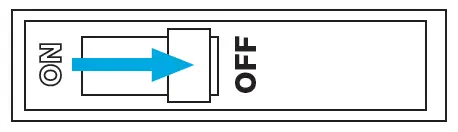
WARNING:
ELECTRIC SHOCK HAZARD. May result in Serious Injury or Death. Turn off power at circuit breaker or fuse before installing.
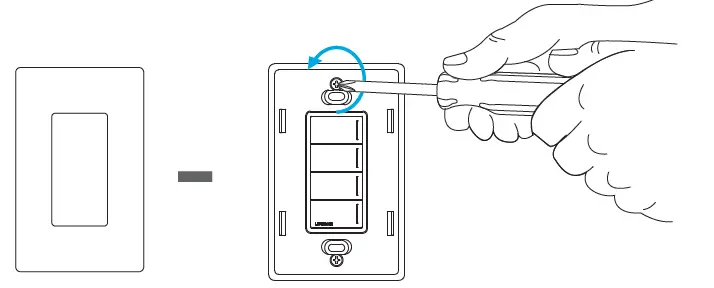
Remove wallplate and wallplate adapter from keypad (if currently attached)
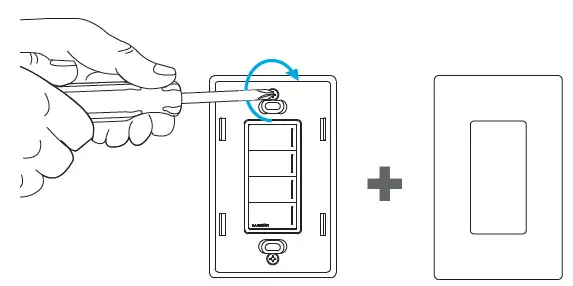
Remove currently installed button kit and membrane
Using a small, flat-blade screwdriver, remove the button kit from the keypad by gently prying at the locations shown in the image, then remove the membrane.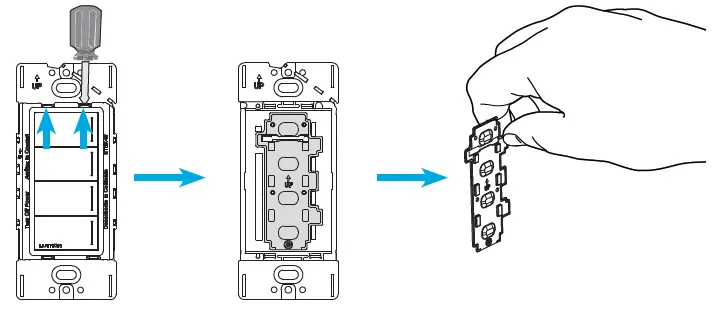
Install the new membrane
“UP” arrow on part indicates proper orientation.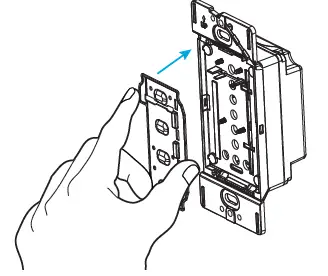
Install button kit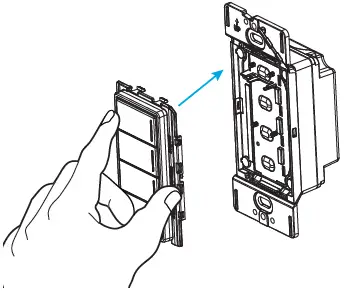
Attach wallplate adapter and wallplate
Turn power ON at circuit breaker
System setup
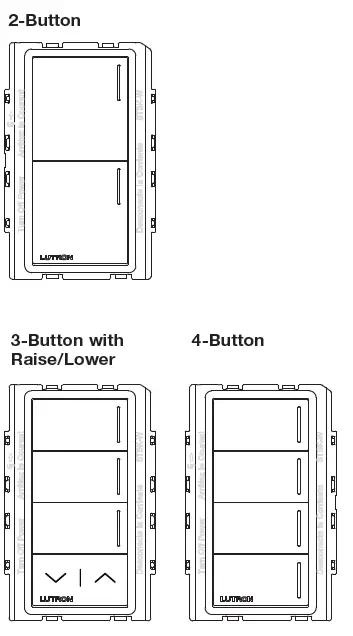
Refer to specific system programming software if the number of buttons was altered. For example, changing a 2-Button to a 4-Button.
Sunnata Support Center
For additional support in installing, programming, and troubleshooting
lutron.com/SunnataKeypadSupport
Call us:
U.S.A. | Canada | Caribbean
1.844.LUTRON1 (588.7661) (24/7)
Mexico +1.888.235.2910
Others +1.610.282.3800
Limited Warranty:
For warranty information, please see the warranty enclosed with the product, or visit www.lutron.com/resiinfo Lutron, Lutron, RadioRA, RadioRA 3, Claro, Satin Colors, HomeWorks and Sunnata are trademarks or registered trademarks of Lutron Electronics Co., Inc. in the US and/or other countries. App Store is a service mark of Apple Inc., registered in the U.S. and other countries. All other product names, logos, and brands are property of their respective owners.


