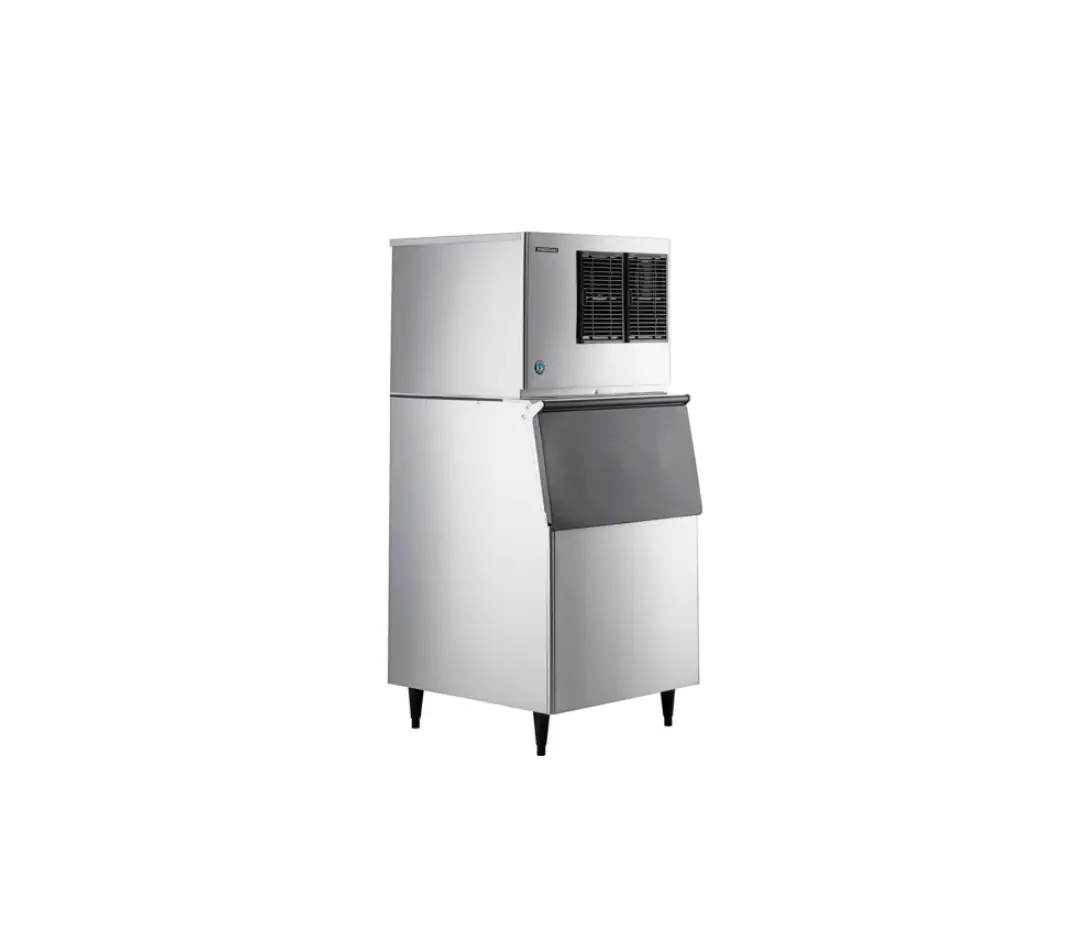
BSG Hoshizaki Cuber Ice Machines

Pre-Installation Requirements
Clean and Sanitize Ice Machine Prior to Installation
Before Installing ICEZONE, clean the interior of the ice machine thoroughly according to the manufacturer’s guidelines. All surfaces should be free of slime and scale before starting the installation
Tools Required
- Hand Drill
- Phillips Bit Driver
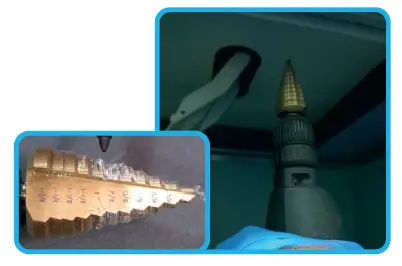
- 7/8” Step Drill Bit
- ¼” Nut Driver
- Phillips Screwdriver
- 4ft Ladder
- Safety Goggles
- Hose Cutter or Utility Knife
- 1 ¼” Crescent Wrench
- Marker to mark hole locations
- File or knife to de-burr holes
Single Machine Installation
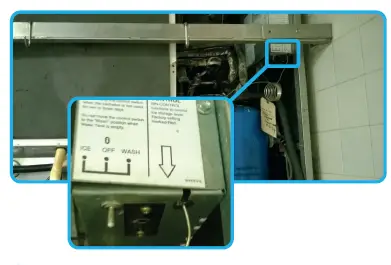
- Before working on the ice machine, the ice in the bin must be removed . Turn the ice machine power switch to the “off” position and disconnect power from the ice machine following facility appropriate lock-out / tag- out procedures.

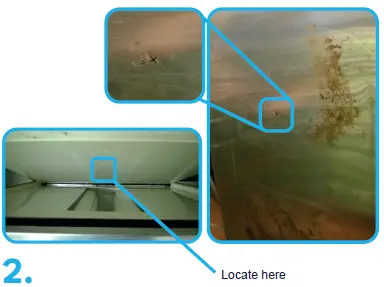
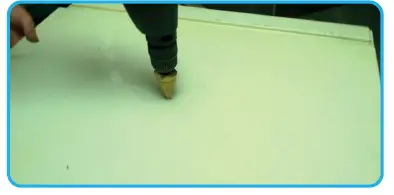
- Mark the location for the ICEZONE supply fitting. This is the fitting where the plasma will enter the ice machine. This should be between the evaporators and should deliver plasma near the top of the ice production volume. The first step is to locate the hole on the stainless steel cover. The insulated cover can be removed to make this location easier to find

- Transfer the location for the ICEZONE supply fitting to the insulated top cover by following these steps:
- Place the stainless steel cover on top of the ice machine so it is seated in the normal operating position.
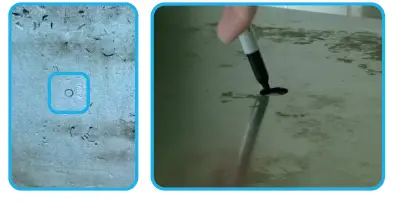
- Mark the hole location in the insulated cover by marking with a pen though the hole in the stainless steel cover.

- Drill the hole for the ICEZONE supply fitting in the insulated top cover at the mark transferred from the stainless steel cover

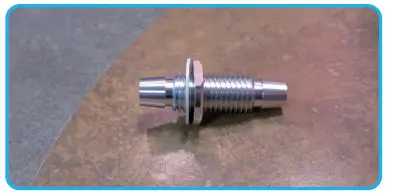
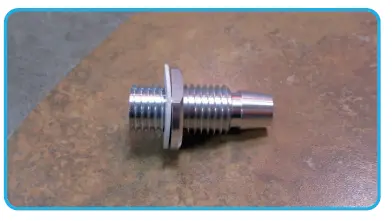
- Assemble the supply fitting as shown. This includes a double ended barb fitting, low profile nut and white rubber washer

- Install the supply fitting as shown. This includes a second low profile nut and white rubber washer. There should be no exposed threads on the interior surface of the lid per NSF guidelines

- Install the “T” fitting on the supply fitting as shown

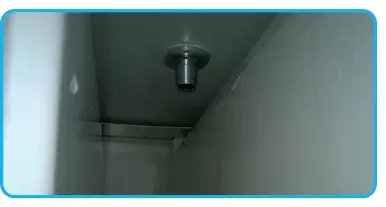
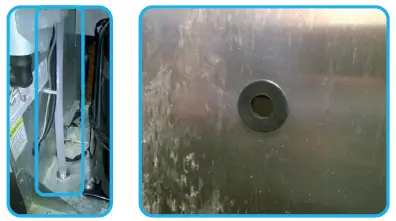
- Mark the location for the ICEZONE return fitting. This is the fitting where the plasma will return to the ICEZONE. This is typical located on the top of the ice bin (for multiple unit installations) or in the bottom of the ice machine (for single unit installations

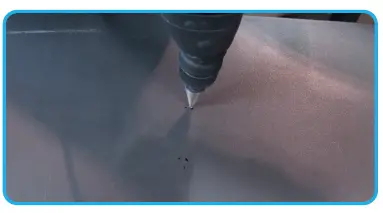
- Drill the hole(s) as marked. The final hole diameter should be 1.0” for each fitting.

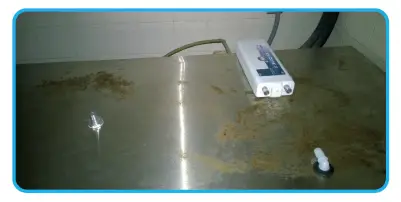
- Clean the burrs from the hole edges and prepare to install the fittings. This picture shows the de-burred hole with fitting inserted. (the fitting installation will be shown in the coming steps).

- Assemble the return fitting as shown. This includes a single ended barb fitting, low profile nut and white rubber washer.

- Install the return fitting as shown. This includes a second low profile nut and white rubber washer. There should be no exposed threads on the interior surface of the lid per NSF guidelines

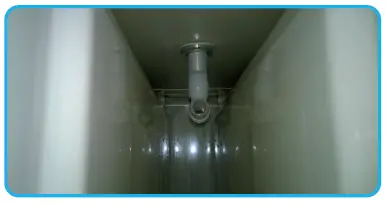
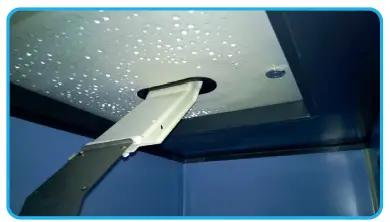
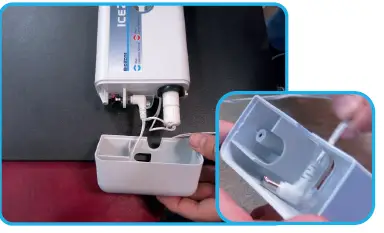
- In single machine installations the return tubing will run from the bottom of the machine through the stainless steel lid and to the ICEZONE. A grommet is installed in the cover to allow the tubing to pass through.

- For single machine installations, the top side of the lid should be completed as shown. Ensure the fitting nuts are tight and prepare to mount the ICEZONE unit.

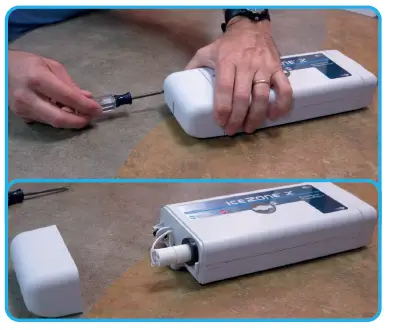
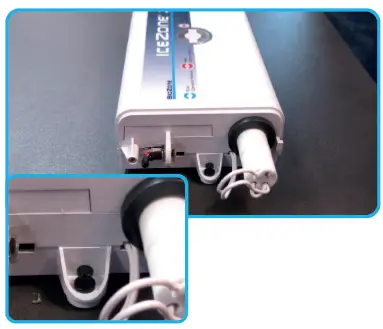
- Remove the service cover from the ICEZONE unit. This provides access to the lamp, power input and mounting boss. As the screw is removed from the cover, be sure to keep it with the cover so it is available for re-assembly

- Remove the Input/Output cover from the ICEZONE unit. This provides access to additional mounting bosses. As the screw is removed from the cover, be sure to keep it with the cover so it is available for re- assembly. The cover requires a firm pull while rotating towards the top for removal.

- Place the ICEZONE Unit on the lid and layout the routing of the supply and return tubing. The ICEZONE Unit should be placed in the back right corner of the cover (looking at the front of the ice machine). Place the 90 degree hose Barbs in place to visualize the routing. Observe the flow direction arrows on the ICEZONE Unit.

- Mark the holes to mount the ICEZONE Unit on the lid. Use a pen to locate the three mounting holes.

- Drill the holes to mount the ICEZONE Unit on the lid. Drill three 1/8” holes.

- Place the mounting rivets or self drilling screws into the mounting holes.

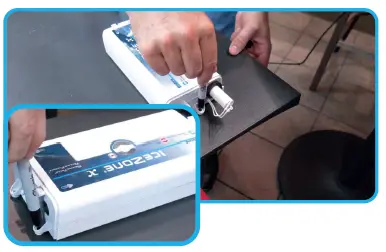
- Re-attach the Input/Output cover and secure with the original screw.

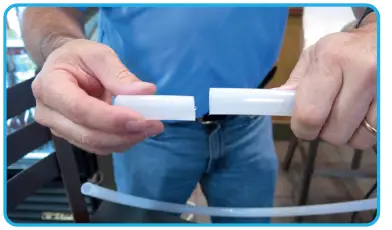
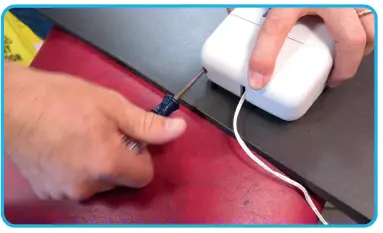
- Cut two 2.5 inch pieces of tubing to connect the supply and return fittings to the 90 degree hose barbs.

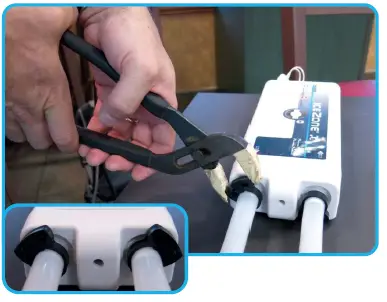
- Tighten the handy clamps with a pliers to secure the tubing on the ICEZONE Unit.

- Insert the DC plug from the wall adapter through the “P” shaped hole in the service cover. Plug the DC connector into the ICEZONE Unit’s power input plug.

- Reinstall the service cover and secure with the original screw.

- Before working on the ice machine, the ice in the bin must be removed . Turn the ice machine power switch to the “off” position and disconnect power from the ice machine following facility appropriate lock-out / tag- out procedures.


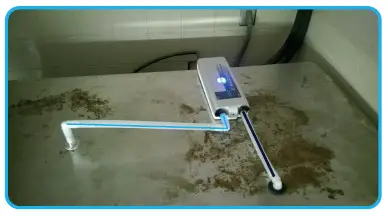

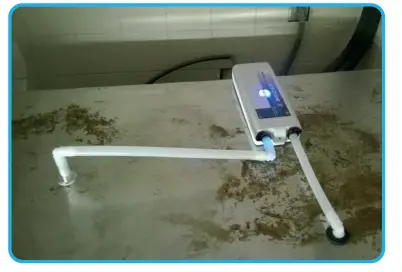
- The completed installation on the cover should look like the picture shown.

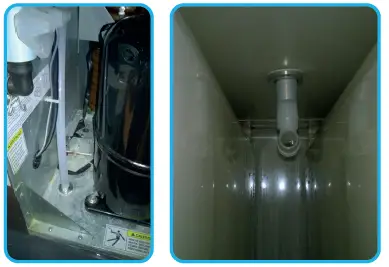
- The completed installation on the ice machine should look like the pictures shown. The supply fitting is located between the curtains and the return fitting is located at the floor of the ice machine.

Bulb Indicators
- Blue:Operation Normal
- When ICEZONE is connected to power correctly and the operation is normal, a blue light shows on top of the unit.

- When ICEZONE is connected to power correctly and the operation is normal, a blue light shows on top of the unit.
- Red: Replace Bulb
- When the red light is steady on top of the ICEZONE, the lamp needs to be changed.

- When the red light is steady on top of the ICEZONE, the lamp needs to be changed.
- Flashing Red: Service Required
- When the red light is flashing on top of the ICEZONE, the unit requires service.

- When the red light is flashing on top of the ICEZONE, the unit requires service.


Thank you for installing ICEZONE Contact BSG today
- e: [email protected]
- t: +1 407-876-2000
- w: bsg-uv.com
- a: 9561 Satellite Boulevard,
- Ste 300, Orlando, Florida, 32837


