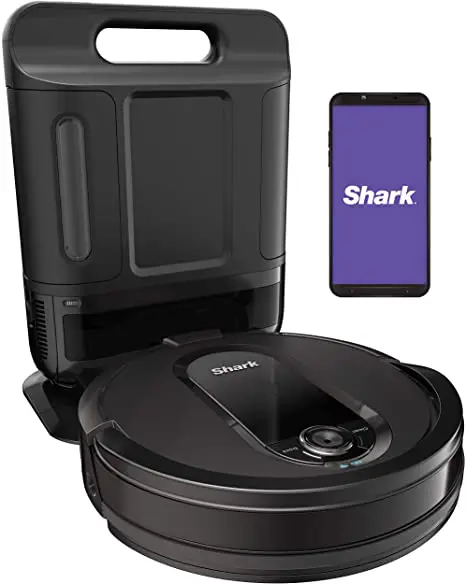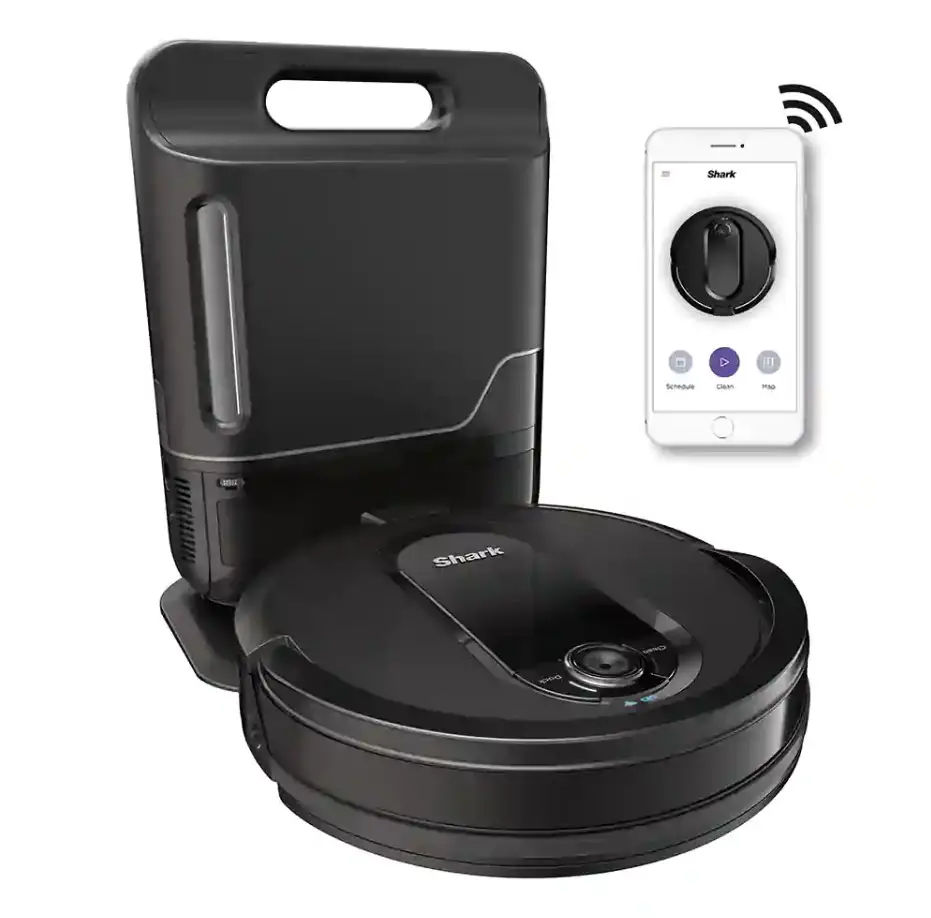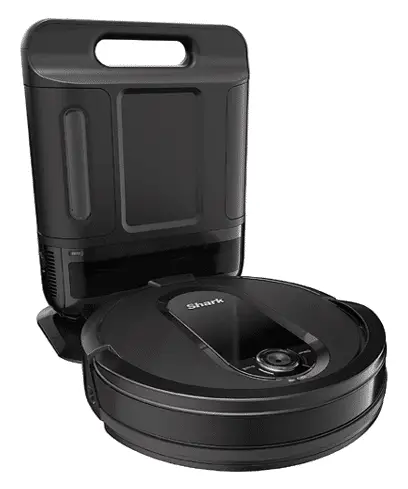
Shark
IQ Robot
Please be sure to read the enclosed Shark® Owner’s Guide prior to using your robot.
STEP-1: SET UP THE ROBOT
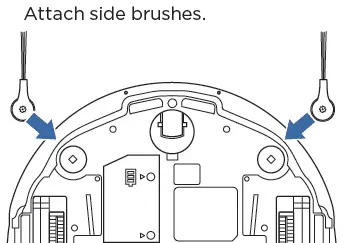
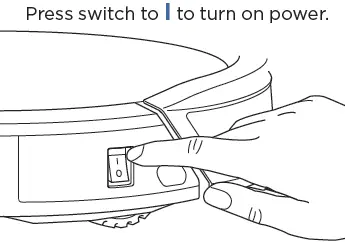
Remove all plastic films before use. Robot may take up to 15 seconds to turn on. Robot will say “Hello, let’s get cleaning” when ready to use.
STEP-2 : SET UP THE SELF-EMPTY BASE
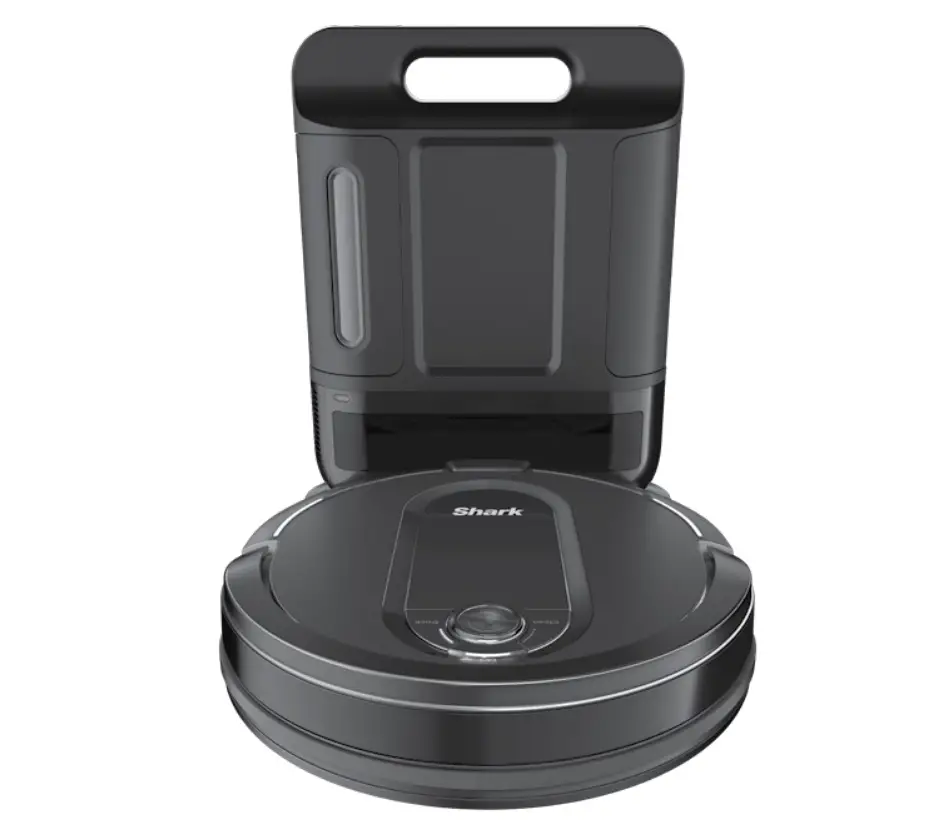
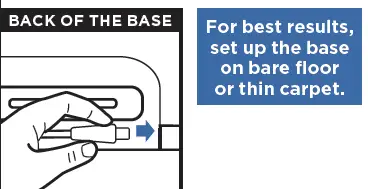
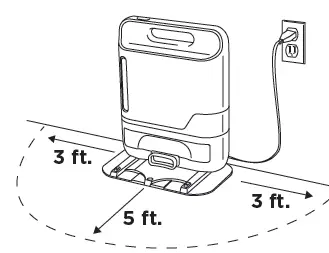
Place the base in an open, central location, with its back against the wall. Connect the cord to the port on the back. Plug the cord into an outlet, and the indicator light on the base will turn green.
STEP-3: CHARGE THE ROBOT
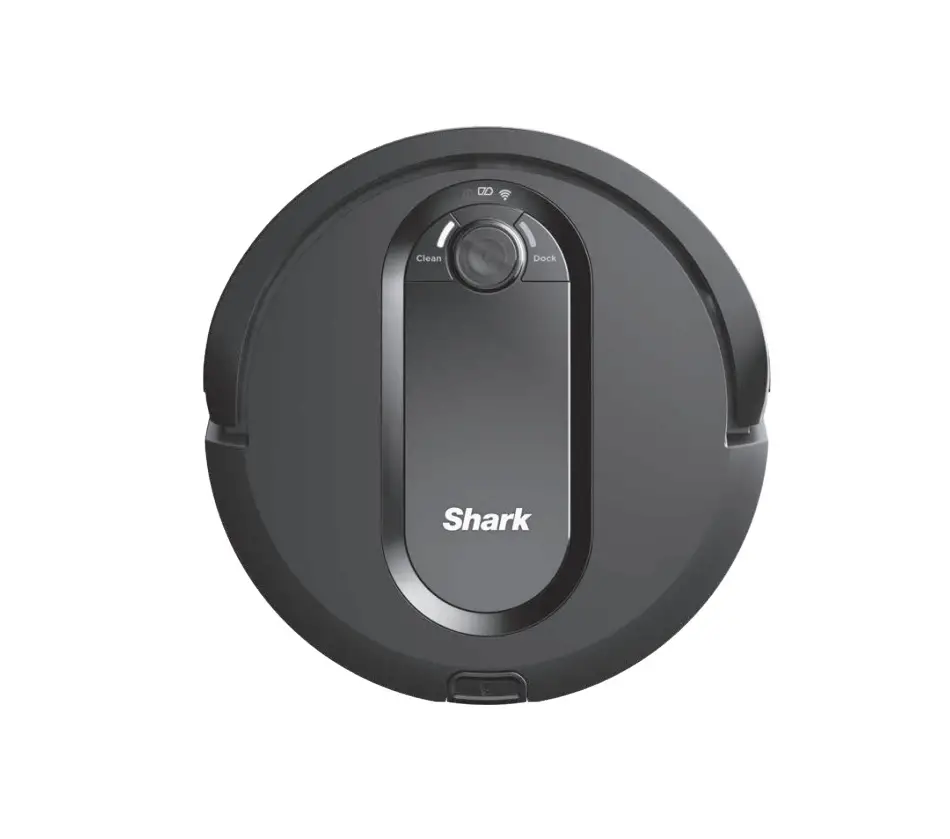
Place the robot two feet away from the base, then press the Dock button on the robot.
Evacuation of debris from the robot into the Self-Empty Base will occur after robot docks successfully.
Docked and Charging: Battery and Base indicator lights will turn blue.
Charging is complete: BATTERY on the robot will illuminate steadily in blue.
STEP-4: DOWNLOAD THE SHARK CLEAN™ APP
Scan the QR code, or search for Shark Clean in the app store and download the app to your device. See other side for pairing instructions.

To send your robot into action without using the app, simply press the Clean button.

For assistance, visit us online at sharkclean.com or contact us at 800-798-7398
©2019 SharkNinja Operating LLC. SHARK is a registered trademark of SharkNinja Operating LLC. SHARK CLEAN, SHARK IQ ROBOT, and SHARK IQ ROBOT SELF-EMPTY are trademarks of SharkNinja Operating LLC. APPLE, the Apple logo and iPhone are trademarks of Apple Inc., registered in the U.S. and other countries. APP STORE is a service mark of Apple Inc., registered in the U.S. and other countries. GOOGLE, GOOGLE ASSISTANT, GOOGLE PLAY, the Google Play logo, and Android are trademarks of GOOGLE LLC.
PAIRING ROBOT WITH SHARK CLEAN™ APP • FOLLOW INSTRUCTIONS ON OTHER SIDE FIRST To set
STEP-1: Create An Account
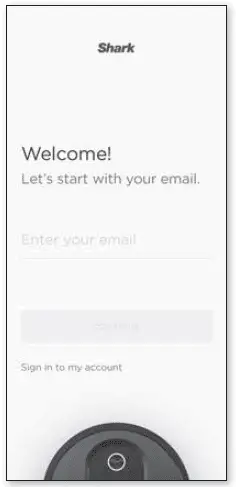
- Launch Shark Clean app on your device.
- Create your account by entering your email address and choosing a password.
STEP-2: Activate Robot Wi-Fi
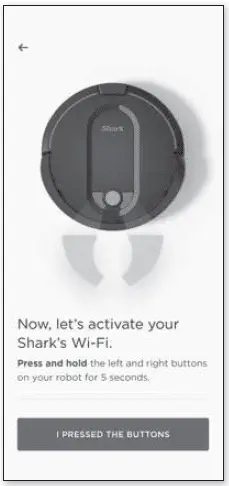
With the robot powered on, press and hold the Dock and Clean buttons simultaneously until the Wi-Fi indicator light starts blinking.
iOS users go to Step 3. Android users skip to Step 4.
STEP-3: iOS Only Select Robot
Exit the app and open Wi-Fi settings. Select your robot (Shark_RVXXX) from the drop-down menu. Exit settings and return to the Shark Clean app.
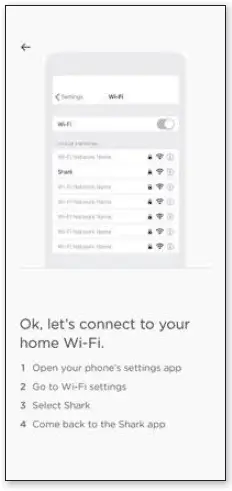
STEP-4: Connect To Home Wi-Fi
- Select your home Wi-Fi network and enter the Wi-Fi password.
- Note: your network must be 2.4 GHz to work with the app.
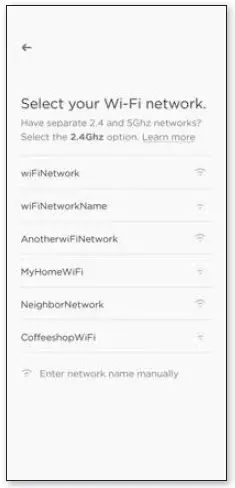
STEP-5: Ready To Clean!
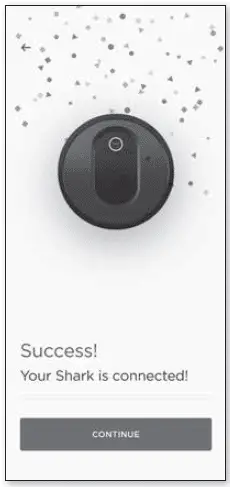
- When pairing is complete, the Success screen will appear.
- The Wi-Fi icon on the robot will turn a steady blue.
To set up voice control using Google Home or Amazon Alexa, visit sharkclean.com/app for instructions. For additional help, visit: sharkclean.com/robothelp
Questions about your Manual? Post in the comments!
FAQS
The Shark IQ Robot Self-Empty XL includes a bagless base that holds up to 45 days’ worth of dust and debris before being emptied, for a hands-off cleaning experience, unlike robots that need to be manually emptied after each cleaning.
Yes. To speed up the mapping 1) turn OFF scheduling and always start cleaning manually at 100% battery (do twice a day if possible), 2) turn OFF “Evacuate and Resume” and “Recharge and Resume” and 3) set the power to ‘Eco’. Sometimes when cleaning by schedule the robot only goes for 60 minutes which in my case doesn’t seem to be enough time to make a good map. “Evacuate and Resume” sometimes sends the robot to the dock after 30 minutes which burns battery life and seemingly the robot does not map on its way back to the dock. ‘Recharge and Resume’ sometimes creates a 2nd run in the day and the maps from the 1st and 2nd runs don’t seem to reconcile into a better combined map. With the power on ‘Eco’ the cleaning runs could be 60% longer depending on your floor type so the robot will have more time to explore and map.
For the first time, today I did all these settings and my robot ran for 162 minutes and did the best map of my entire floor yet (about 2400 sq ft of hardwood and tile – the app says it cleaned 1648 sq ft on this run). Previously I had the power set to normal and used ‘Evacuate and Resume’ feature and the run would only go about 90 minutes before the battery got too low.
A tip about resetting/deleting the main map: A few hours after every run look at the main map and the daily map in the history. The daily maps should be covering 90+% of your floor layout with the robot going into every room at least a little. If the main map looks way off (or is very small) and isn’t improving after a few runs that clearly have better daily maps, then delete that main map and try again. I have 47 runs with 1 delete/reset on Day 9 and I’m still waiting for a completed map (it’s Day 18 (cleaned on 15 days)). Frustrating. I’m tired of the robot aimlessly wandering around the entire floor as if every room needs equal vacuuming. I’ll be happy when I can get the robot to clean only the kitchen twice a day and the entire floor twice a week.
Not to my understanding, motor made to run 60hz.
After several more rounds, it will go up to 80% then an edited map. Following the instruction from the App, you can name the rooms.
Base is 15.5” tall
Unfortunately you can not adjust the lines but you can create a new map.
Ours started mapping very first day and is about 33 percent done with the map. We have used it about 20 times roughly
No ….it works with wifi have to have internet
Yes, the vacuum beeps when you press the button to locate it in the app
Ours is usually at 95%, with brief moments at 100%.
You cannot (as of Oct 27, 2020). You can only schedule once per day for the entire house. You should also schedule it when there is light (e.g. after sunrise) because it uses camera to navigate.
No, just dry vacuuming
Yes can easily pass over normal thresholds between rooms.
When my WiFi was out the robot would not vacuum
You can press the Clean button on the robot to initiate a cleaning mission, pairing it over WIFI to a smart device is not required.
VIDEO

