RF-KIT RF2K-S Power Amplifier
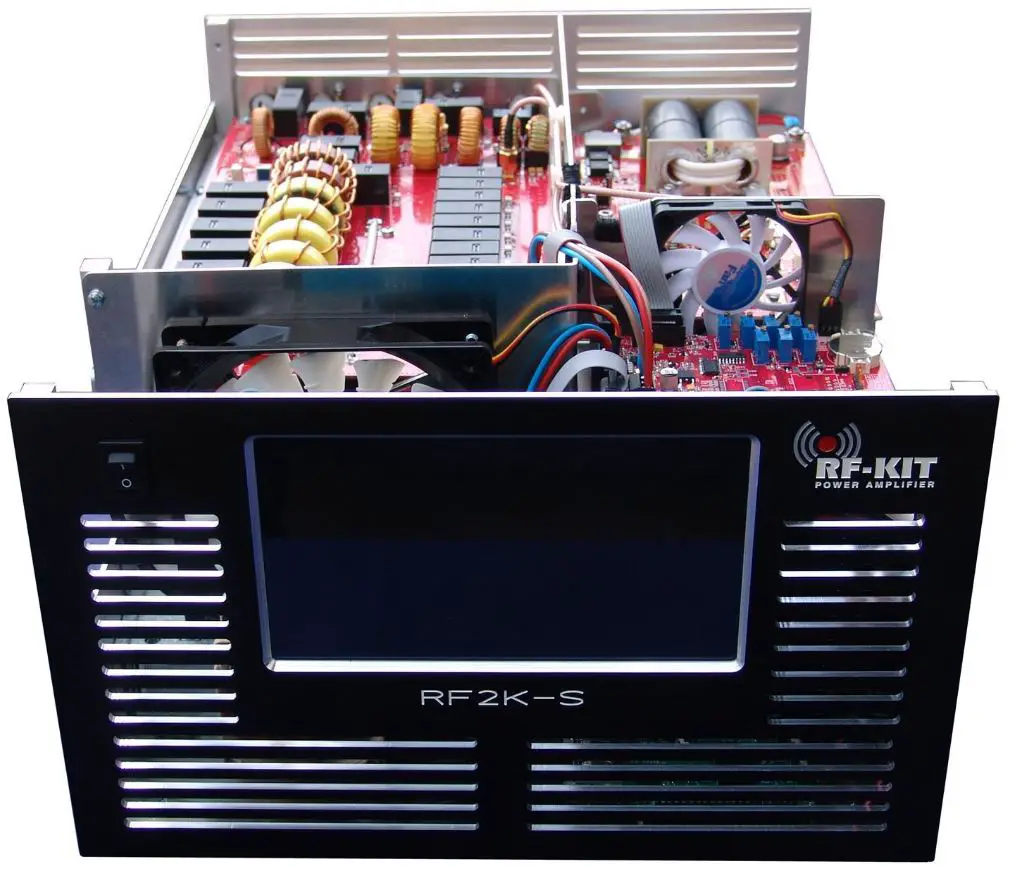
Assembling Instructions
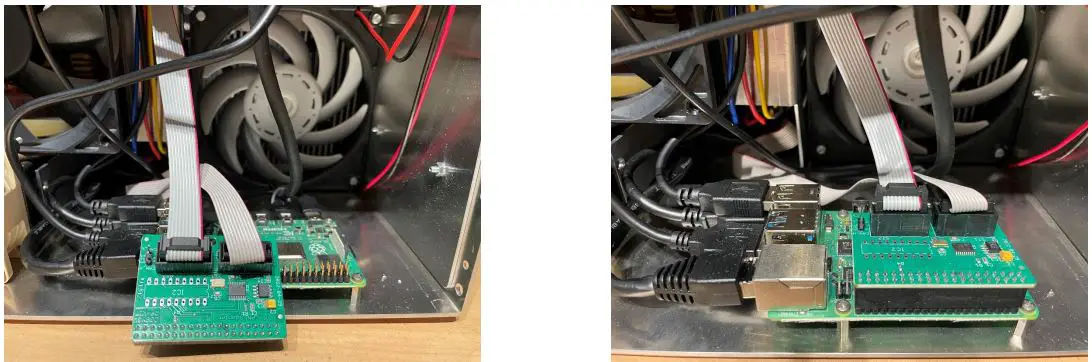
In all RF2K-S V3 with a delivery date later than the 25th of July 2022 a new Board is introduced. The CAN Board is directly connected to the Raspberry Pi Pinouts and inserted between the so-called Connection Board and Controller.
What is the impact of the KIT adjustment?
- Step 10: Adjustment voltage display is not necessary as voltage reading is taken from the CAN Bus. Adjust voltage display at the Touchscreen (2) (Menu → Calibration → Poti Config: “Indication area Voltage“) with R26 on the Controller board to 53,5 V.
- Step 18 Current adjustment is not necessary as the current reading is taken from the CAN Bus. Adjust Quiescent current with R25 on the Controller board until 3.6 A is displayed on the Touchscreen (2)
Picture of the new CAN Bus board