![]() ion4l1-BTS Unlicensed Band Radio
ion4l1-BTS Unlicensed Band Radio
User Guide
ANYWHER EVERYWHERE
Introduction
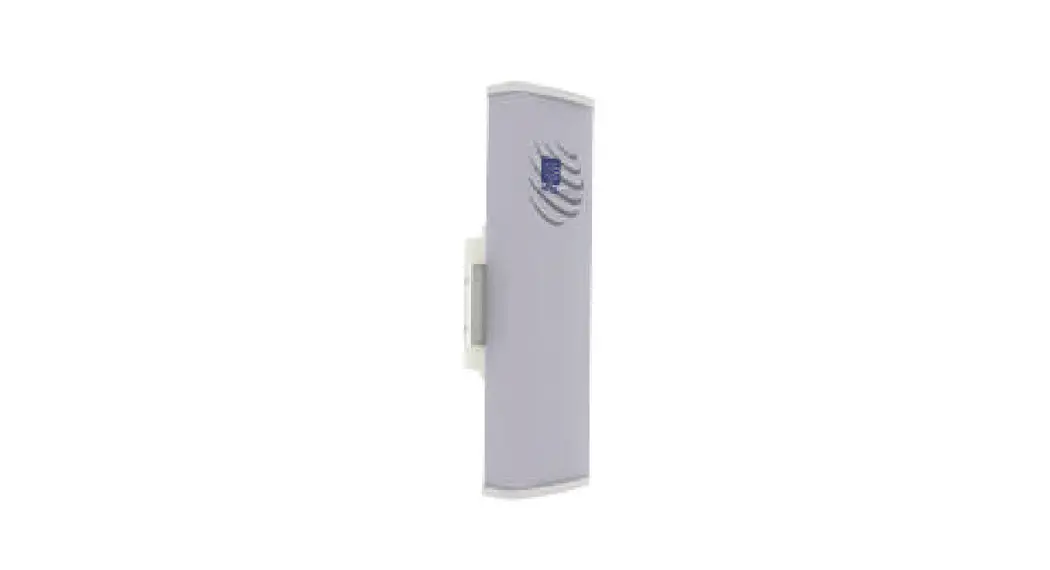
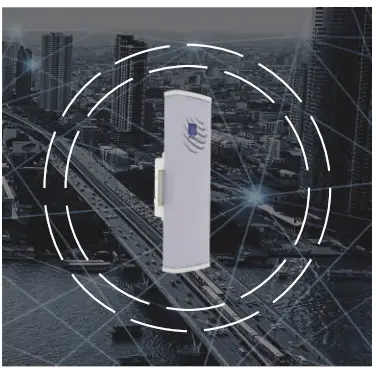
Thank you for choosing the I0 ’ s Unlicensed Band Radio (UBR). Enterprise Grade point-to-point and point-to-multipoint solution is optimally designed to support low to medium capacity enterprise applications in unlicensed 5 GHz spectrum for short and long range links.
Packaging Content
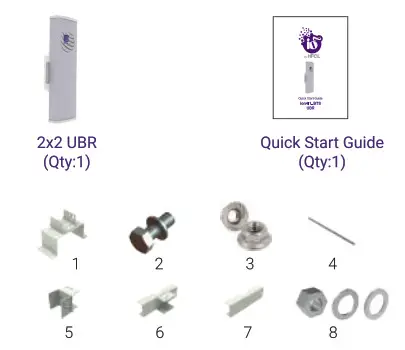
Mounting Kit
- Hood (1),
- Mé Hex Bolts with split washers (6)
- M6 Flange Nuts with serrations (4)‘
- M8 x20 Bolts (2)
- Riveted U clamps ( 1 ) ,
- Pole clamp assembly (1),
- Pole clamp ( 1 ) ,
- Nuts M8 (4), M8 split washer (4) & M8 flat washers (4)
ion4l1_BTS Specifications
| Access Technology | TDMA |
| Peak Throughput(aggregate) | Up to 700 Mbps Aggregate UL/DL Throughput |
| MIMO | 2X2 |
| Modulation | Upto 256 QAM |
| Channel Bandwidth | 10/20/40/80 MHz |
| Wireless QoS | 802.11e WMM |
| Wireless Security | WPA. WPA2, & 128-bit AES-PSK with hardware acceleration |
| Power Supply | IEEE 802.3af Active PoE |
| Power Consumption (Max) | <15 W |
| GPS Location | GNSS-1 (GPS +GLONASS) |
| Antenna Type | Integrated High Performance Sector Antenna |
| Antenna Gain | 17 dBi |
| Management | Standalone (via GUI) or through appliance-based EMS or cloud-based |
| Enclosure Dimensions | 408 x 128 x 120 mm or 16 x 5.04 x 4.72 inches |
| Weight | 1.6 kg |
| Operating Temperature | 0°C to 55°C |
| Certifications | CE, FCC, RoHS 3.0, IP67 |
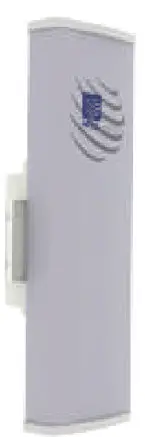
Product Overview
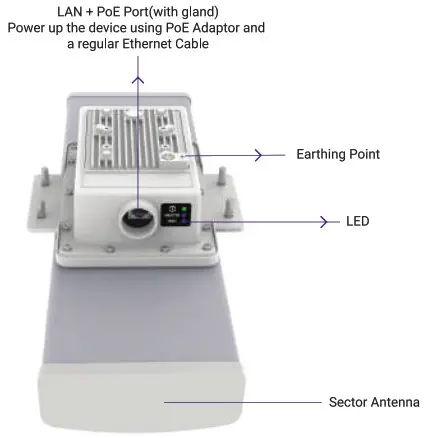
.
Installation Set-up
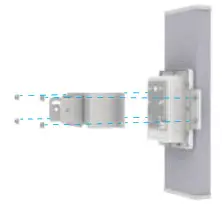
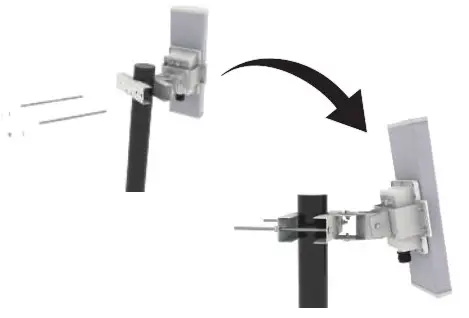
The 2×2 UBR with Integrated sector antenna, has 4 studs on its backside for attaching the mounting bracket. The mounting bracket is designed in such a way that UBR can be mounted on the pole with the help of its attaching parts. It provides freedom of movement to the UBR for link alignment even after mounting.
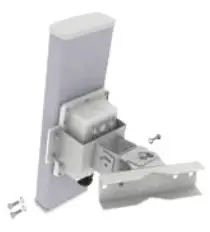
- Use four M6 flange nuts and attach the hood with the UBR. Refer to the image below:
 Note: Make sure that the cut in the hood aligns with lug connector post.
 - Attach pole clamp assembly with riveted U clamp with the help of three M6 hex bolts and split spring lock washers.

- Mount this assembly from the previous step o n UBR using three M6 hex bolts and split spring lock washers

- Once UBR i s assembled, the next step is to mount on the pole fog po M8x220 bolts and four split spring lock washers and Flat Washers

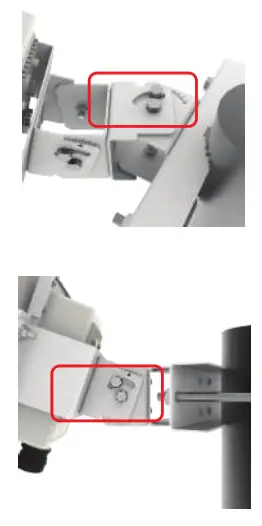
- Slightly loosen M6 bolts, rotate brackets to align the pointer mark, at an optimum angle to set the azimuth and elevation. Once the desired setting is attained, securely tighten the six bolts using a compatible spanner.
 Note: Angle marking for azimuth adjustment & elevation adjustment
 Note: Make sure that the cut in the hood aligns with lug connector post.
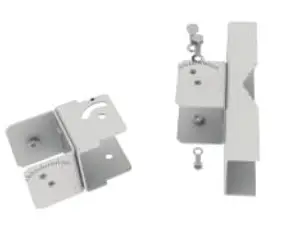
 Note: Angle marking for azimuth adjustment & elevation adjustment
Getting the ion4I1_BTS Online
Setep1: Power up
UBR can be powered up using PoE adaptor as shown below:
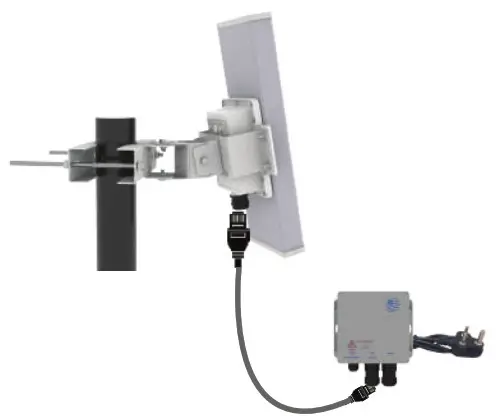
Note: For powering on UBR, only use HFCL POE adapter. Plug and Adaptor will vary by country/ region.
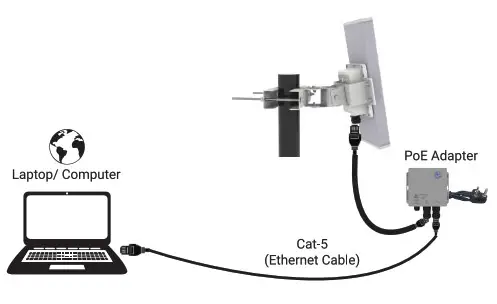
Step 2 : Login and Configure the UBR
Follow the steps mentioned below and connect UBR to a network :
- Connect ethernet cable to the laptop/computer
- Connect the other end of ethernet cable to the data port on PoE adapter
- Connect UBR’s PoE supported ethernet port to PoE adapter power port. Device will be powered On

- Open web browser and enter “UBR I P address” in the address bar. The default static IP address for 2×2 UBR is set to “192.168.1.1”
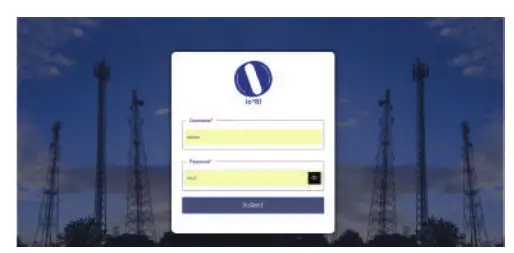
- Alogin screen will appear
- Enter the default login credential details: User- admin, Password- HFell@23#ion

- Refer our user manual on our website io.hfcl.com for detailed information to configure UBR
Step 3: Check the LED status

| LED Color | Status |
| Green LED (Power indication) | Green color notify the user that the device is powered ON |
| BLUE LED (RSSI/Link indication) | Single blink: -1 to -50 dBm Double blink: -51 to -60 dBm Triple blink: Greater than -60 dBm NOTE – If link is down, then link LED will be in continuous OFF state. |
| BLUE LED (Alarm Indication) | Single blink: Minor Alarms Double blink: Major Alarms Triple blink: Critical Alarms |
NOTE – During Reboot and Factory Reset, all the three LEDs will glow for 7 secs and the power LED will continue to glow.
Safety Precautions
Observe following safety precautions to avoid damage to the ion4l1_BTS UBR:![]() Do not power the device during installation
Do not power the device during installation![]() Do not subject the device to high temperatures
Do not subject the device to high temperatures![]() Keep away from high voltage cables
Keep away from high voltage cables![]() Do not power off the unit in the middle of an upgrade process
Do not power off the unit in the middle of an upgrade process![]() The gland should be ground facing all the time
The gland should be ground facing all the time![]() Make sure the earthing wire i s connected properly to the earthing points
Make sure the earthing wire i s connected properly to the earthing points![]() Do not open the enclosure when the UBR is working
Do not open the enclosure when the UBR is working![]() Fasten the device tightly
Fasten the device tightly
![]() Contact Us
Contact Us
EMail: [email protected]
Website: www.hfcl.com
www.io.hfcl.com
8 , Commercial Complex, Masjid Math,
Greater Kailash-Il, New Delhi- 110048
Part Number: QSG-02-0003


