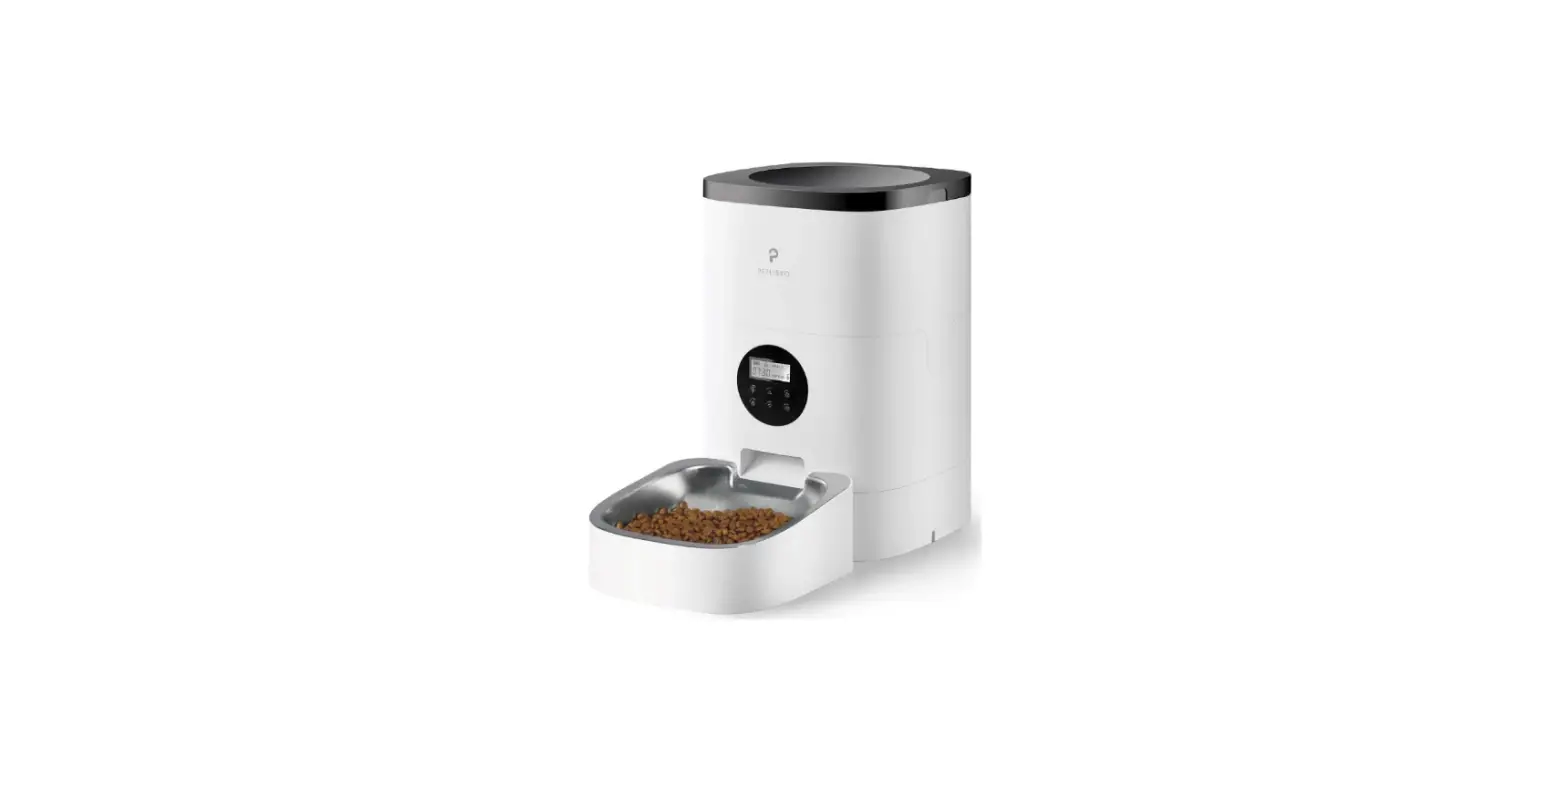
PETLIBRO PLAF001 Automatic Pet Feeder

Safety Precautions
WARNING
- Dispose of all packaging materials properly. Some items may be packed in polybags; these bags could cause suffocation; keep away from children and pets.
- Do NOT allow small children to play with, in or around the pet feeder.
- To reduce the risk of injury, please keep close supervision when an appliance is used near children.
- Do NOT use the feeder with pets not able to reach the food tray or with any physical disability.
- Do NOT immerse the base part in water at any time as it may damage electronic components like the control panel.
- Do NOT place any foreign object in the pet feeder:
- Do NOT use outdoors. Check operation frequently to be sure the unit is dispensing properly.
- Do NOT use wet, canned or moist food.
- Do NOT disassemble the unit other than as instructed in this User Guide.
- Do NOT use the feeder for anything other than its intended use.
- Only use attachments recommended or sold by the manufacturer. The use of attachments not recommended or sold by the manufacturer may cause an unsafe condition. Do not modify the pet feeder.
- Do not operate any appliance if the unit is malfunctioning or has been damaged. Do not attempt repairs on the pet feeder yourself. Contact our customer service immediately for further instructions.
- Always unplug when not in use and before cleaning.
- Never pull on the electrical power cord to remove the plug from the wall outlet.
- If the plug of this device gets wet, turn off electricity to that wall outlet. Do not attempt to unplug.
- Examine the feeder after installation. Do not plug in if there is water on the power cord or plug.
- To avoid tripping, always position power cord out of the way of foot traffic.
CAUTION
- Do NOT allow pets to chew on or swallow any parts. If you are concerned about the power cord, purchase a cord conduit [a hard plastic protector) at any hardware store to protect the power cord.
- If an extension cord is necessary, one unit with a proper rating should be used.
- Do NOT install or store the pet feeder where it will be exposed to weather or temperatures below 4°C / 39° F.
- Use alkaline D batteries to power. Do NOT use rechargeable batteries.
- Check the batteries regularly. Before leaving for extended time, always replace batteries with new ones.
- Do NOT lift the pet feeder by lid, food tank, or food tray. Lift and carry it using both hands and the base, while keeping the unit in an upright position.
- Suitable for dry food ONLY, with kibble size ranging from 2-10mm / 0.07-0.4in in diameter. Larger kibble may get stuck at the food outlet.
- Read and observe all important notices listed on the pet feeder and in the packaging.
Product Diagram
Front View

Bottom View

- Desiccant Carrier
- Lid
- Lid Grip
- Food Tank Buckle
- Base
- Food Outlet
- Food Tray
- Control Panel
- LCD Display
- Food Tank
- Battery Compartment
- Speaker
- Power Socket


Cleaning & Care
Ifs recommended to clean the feeder regularly for the health of your pet. The washable parts of the Petlibro auto feeder are as follows: food tank, food tray, and lid (without desiccant bag]; they can be submerged in water. Clean by hand-washing using cool or warm soapy water. Dissembling the food tank If you have food inside the tank or chute, press the Unlocked button and Feed button for a few times to empty first. Press the food tank buckles with your thumbs, push the tank upward to disassemble.

Dissembling the food tray Empty the tray, press it down to remove from the base. Rinse and let all parts air dry completely before assembling. Note: Be careful not to hurt your fingers when disassembling the food tank by great strength.
Warranty
We provide a 1-year warranty for this appliance. Please email our support team at [email protected] if you have any questions, and attach your order ID in your email. We’ll get back to you as quick as possible.
What’s in the box
- 1 x Automatic Pet Feeder
- 1 x 5V Power Adapter
- 1 x Desiccant Bag
- 1 x User Guide Kit
How To Use
Warning: Please use the original 5V power supply.
Assembling Food Tray

- Place the feeder in a desired location. Check the food tank is in place.
- Align the bulging of the food tray and holes in the base, and push upward to connect the two. Note: Before moving the feeder, please empty the tray, press it down to remove from the base. Hold the base instead of any other parts when lifting the feeder.
Connecting Power

- Insert the 5V power adapter into a wall socket. Plug in the power socket of the feeder.
- Open the battery compartment at the bottom of the unit, and install 3 alkaline D batteries [not included) in case of outage.
- The LCD display will light up automatically indicating the feeder is on now.
Note:
- Battery NOT included.
- Before connecting to power, make sure all parts are clean and completely dry.
- The battery should power with an output of 4-5V; the battery level icon on the display blinks on a low battery level [<4V).
Placing Desiccant bag

The PETLIBRO desiccant bag can remove the moisture and odor inside the tank, protect the pet food from oxidation damage, and always be fresh. Note:
- It’s recommended to use a desiccant bag and change them every 15 days in case of mold.
- Please remove the desiccant bag before cleaning the lid.
- For a better antioxidant effect, tear off the sealing film outside the small package only when you use it.
Filling Food Tank

Fill food tank with dry pet food. Close the lid and it will snap into place due to gravity.
Note:
- Do NOT use canned, wet or moist pet food.
- Recommend kibble size ranging from 2-10mm / 0.07-0.4in in diameter.
Setting the Time

- Press and hold the Unlocked button 0 3s to unlock the screen.
- Press the Set button@, and the Time icon 88:88 will blink the hour field.
- Press the Up/ Down buttons 6/’v to scroll through numbers to set the hour.
- Press the Set button to move to the minute field, set the minute similarly.
Setting the Meals Per Day

After the current time is set, press the Set button@, and the LCD display will show the current time and blink the Meal number. Press the Up/ Down buttons 6/’v to set 1-4 meals per day.
Setting the Time & Portion of Meals

- After the meal number is set, the LCD display will blink the current Meal number. E.g., the meal number now is blinking “1 “, indicating it’s ready for settings of the first meal.
- Setting the time of the current meal
- Press the Set button @ and the hour field of the Time icon will blink.
- Press the Up/ Down 6/’v buttons to set the hour.
- Press the Set button @ and Up/ Down 6 /’v buttons to set the minute in the similar way.

Setting the portion of the current meal
- Press the Set button@ and the Portion number will blink.
- Press the Up/ Down 6. /’v buttons to set the portion from 1-9 based on the desired volume of the current meal to be dispensed*.
- Press the Set button @ to repeat the process above for the 2nd to 4th meal if needed.
Reference for portion setting:
| Ca pacit y | Pet Type | Daily Intake | Meals | Portion / Meal | Per Portion |
| PLAF001-4L | Dog[22lbs[ | Appr. 1 cup | 2 | 9 | Appr. 2 ½ tsp/12.5ml |
| Cat[1Dibs[ | Appr. ½ cup | ||||
| PLAFDD2-6L | Dog[22lbs[ | Appr. 1 cup | Appr. 11/3 tbsp/18.Bml | ||
| Cat[1Dlbs[ | Appr. ½ cup |
Important Notes:
- Two clicks will be heard before the food is dispersed.
- One or two kibbles may be left at the chute after feeding, and it may come out of the outlet when the machine is moved (doesn”t indicate a faulty equipment!.
- Refer to the instructions on your pet food packaging for detailed feeding instruction.
- Please double-check the current time after settings.
Recording a Meal Call

- Press and hold the Record button for 3s until a beep is heard.
- Record your voice for less than 10s, press the Record button ,Q, again to save. 2 beeps will be heard indicating it’s saved. You can press the Record button to check the voice you just recorded.
- Repeat the process to change your recordings every time.
Note:
- Only press and play the recording if there’s any.
- When feeding time is up, the recording will be played after food is dispersed.
Manually Feeding Your Pet

- Press the Feed button @ when the screen is unlocked [press and hold the Unlocked button 3s) and one portion will be fed each time.
Note:
The normal schedule and portion will not be affected.
Troubleshooting
| Problem | Solut ion |
| I can·t pr ess any buttons | The screen is locked when there·s no operation in 15s. Please press and hold the Unlocked button for 3s to unlock the screen. |
| I can·t remember the meal settings | Unlock the screen, press the Set button and you can see the meal number shown (but not the portion for each meal!. |
|
The food won· t come out | 11 Please be sure to fill inwith dry food; kibble size should range from 2-10mm / 0.07-0.4in in diameter. 2) Check whaether any foreign objects are placed – disassemble the food tank and check the chute . Also check the food outlet. 31 Check whether ifs low battery level – whether the power adapter is connec ted or there is any outage when no battery is installed. |
|
LCD display is off | 1l The screen is locked an d dark when there·s no operation in 15s. Please press and hold the Unlocked button for 3s to unlock the screen. 2) Check whether the power adapter is connected. 3) Contact the support team at [email protected] if the display still wo·n t light up when the appliance is well connected to power. |
| I can·t disassemble the food tank | Please follow steps in Clean & Care |
| I can’t hear any voice recordings when feeding | Make sure you’ve recorded successfully – unlock the screen, press the Record button to check. If no sound is heard, you may need to record again and be sure to save following instructions in the Recording a Meal Call section. |
| Food volume for each portion is not the same | The first few portions may vary and it doesn’t mean a faulty equipment. After about 6 feedings it should be almost even. |
Specifications
| Model | PLAF001 |
| Food Tank Capacity | 4 liters |
| Screen | LCD screen |
| Power | DC 5V power adapter; 3 x alkaline D batteries |
| Power Adapter | AC110-240V input, DC 5Voutput |
| Working Cur r ent | Avg. B0mA |
| Operating Temperature | -30″( -50″( / -22°F – 122°F |
| External Socket | 3.5mm power socket |
| Net Weight | 2.15kg / 4.74lbs |
| Dimensions | 19x 19 x 30cm / 7.5 x 7.5x 12in |
| Model | PLAF002 |
| Food Tank Capacity | 6 liters |
| Screen | LCD screen |
| Power | DC 5V power adapter; 3 x alkaline D batteries |
| Power Adapter | AC110-240V input, DC 5V output |
| Working Current | Avg. B0mA |
| Operating Temperature | -30″( -50″( / -22°F – 122°F |
| External Socket | 3.5mm power socket |
| Net Weight | 2.25kg/4.96lbs |
| Dimensions | 35x19x19 cm/13.7×7.5×7.5 in |
Documents / Resources
 | PETLIBRO PLAF001 Automatic Pet Feeder [pdf] User Guide PLAF001, PLAF002, Automatic Pet Feeder |
 | PETLIBRO PLAF001 Automatic Pet Feeder [pdf] User Guide PLAF001 Automatic Pet Feeder, PLAF001, Automatic Pet Feeder, Pet Feeder, Feeder |
