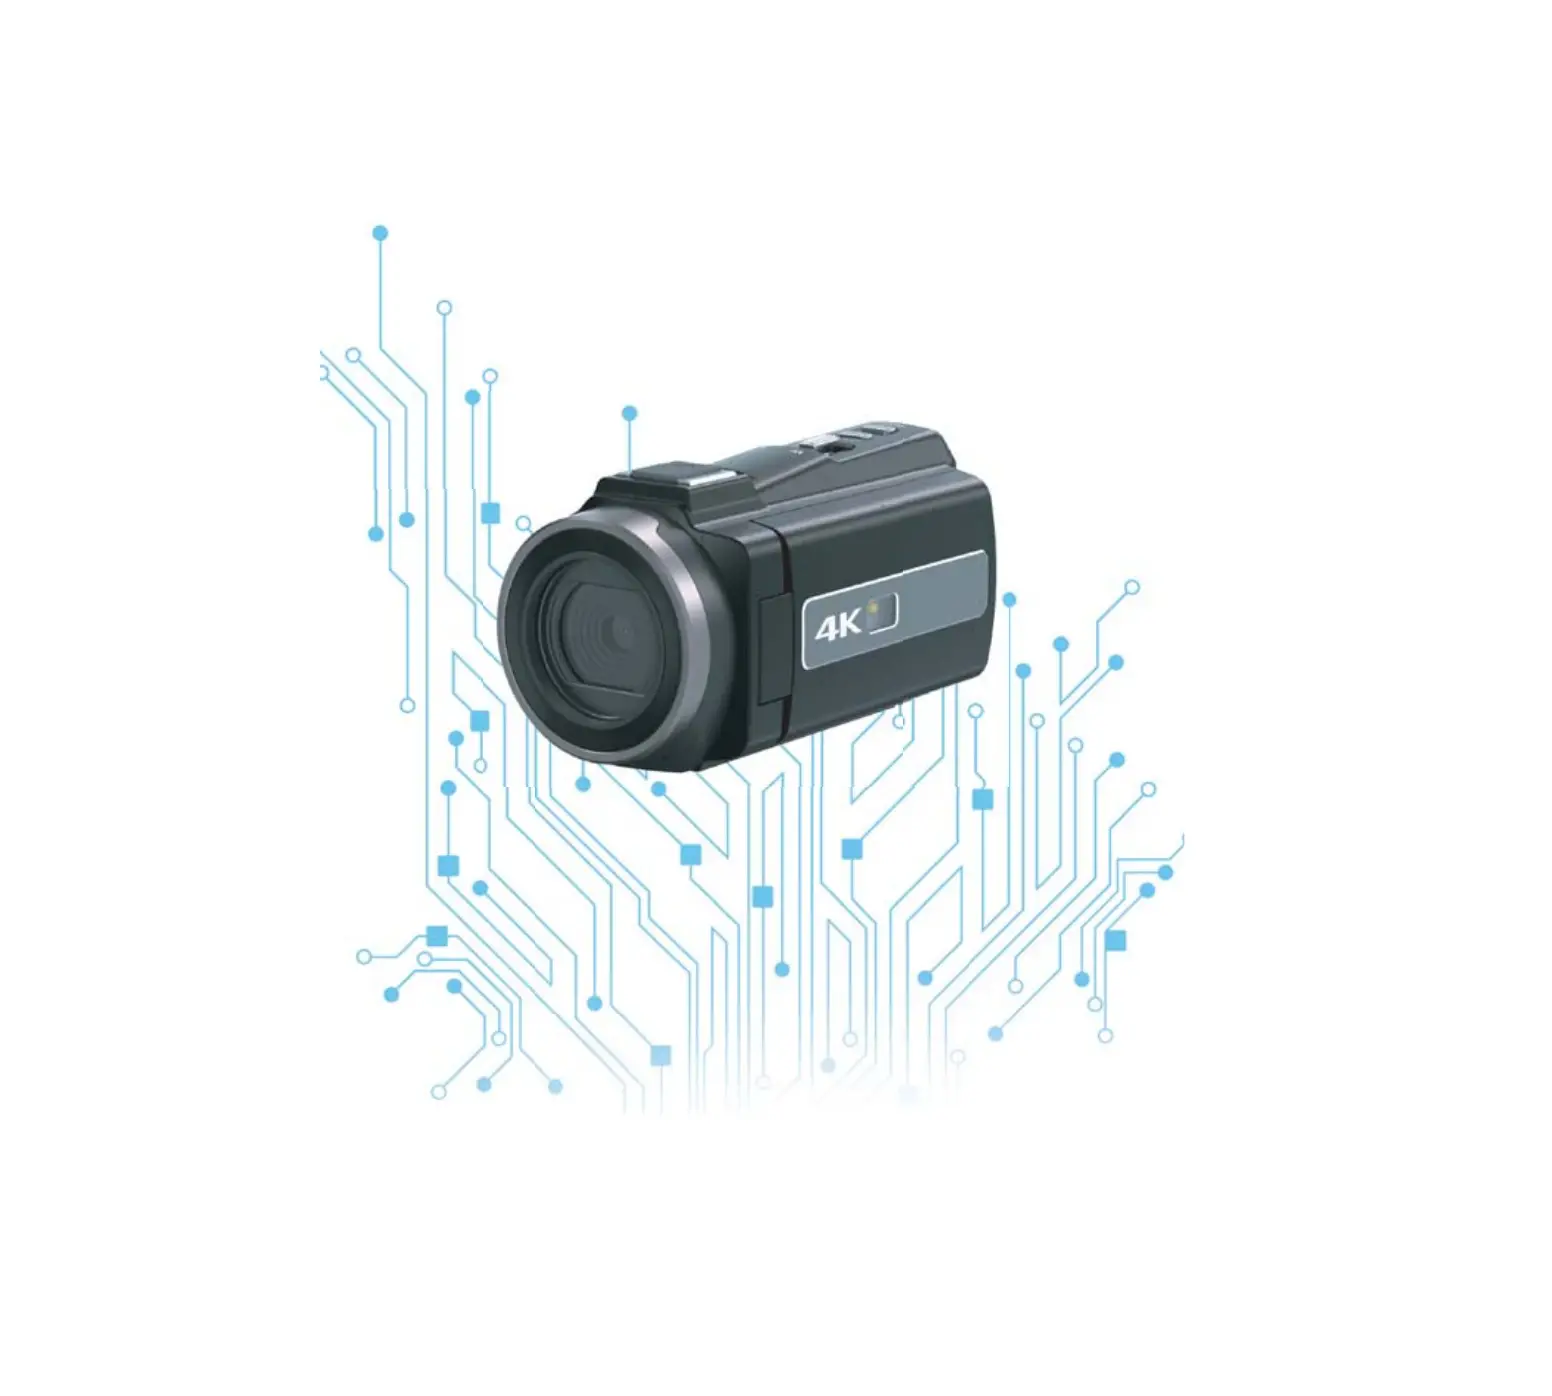
Shenzhen Sonida Digital Tcehnology HDV-544KM 4K Video Camera

How to install the battery and charge ?
- Please put the battery in the battery slot first, make sure the battery guide is stuck in the battery slot. Then push up until the battery is stuck.

- After turning on the screen, please use the mini USB cable to connect the “USB” port on the camera to charge the camera.
- The “CHG” indicator at the rear of the camera is red when charging, and it goes out when it is fully charged.
- Replace the battery. If you want to remove the battery, please press down the battery button and push it down.


How to install and charge an external microphone ?
- Please use the mini USB cable in the package to connect to the external microphone for charging.
- When charging, the microphone indicator light turns blue and goes out after being fully charged.
- After charging is completed, please install the external microphone on the hot shoe interface of the camera and tighten it with screws.
- Please use the 3.5mm headphone cable in the package to connect the microphone and the camera, the “MIC” interface.
- After turning on the external microphone or in use, if the external microphone indicator is red, it means the battery is low, please charge it in time.


How to turn on and off?
- Turn on the screen and the camera will work automatically, or turn on the screen and press the “POWER” key to turn it on.
- Turn off the screen and the camera will automatically shut down, or press the “POWER” button to shut down and close the screen.
How to install and format an SD card?
- This camera works with 4-128Gb Class 10 SD Card.
- Samsung or SanDisk 32Gb/ 64Gb Class 10 SD card is recommended.
- Please format the SD card when first use, a card only needs to be formatted once, press “MENU” button and then press “MODE” to enter the “
 “, and find “Formatting” through the “UP” and “DOWN” buttons, Confirm the format with the “OK” button, and press the “MENU” button to exit after formatting.

How to take photos, playback and delete photos ?
- Please enter the photo mode first: After the camera is turned on, press the “MODE” key to enter the “Model Select”, then use the “UP” and “DOWN” keys to find “Normal Picture”, and finally press the “OK” key to confirm.
- After entering the photo mode, press the “PHOTO” button on the top of the camera to take a photo.
- If you want to replay the photos, please press “MODE” twice.
- If you want to delete the photo, please press the “MENU” button to delete the photo during playback.
- The digital focus can be adjusted through the focus lever (W/T key) on the top of the camera, and the photo can also be paged through this focus lever.


How to take a video, playback and delete the video?
- Please enter the video mode first: After powering on, press the “MODE” key to enter “Model Select”, then use the “UP” and “DOWN” keys to find “Normal Record”, and finally press the “OK” key to confirm.
- After entering the video mode, please press the red dot button (START/STOP) at the end of the camera to start recording video, and press the red dot button (START/STOP) again to end video recording. During recording, you can press “PHOTO” key to pause the recording and press “PHOTO” key again to continue recording in the same file.
- If you want to play back the video, please press “MODE” twice, and then press the “OK” button to play the video.
- If you want to delete the photo, please press the “MENU” button to delete the video during playback.
- The digital focus can be adjusted through the focus lever (W/T key) on the top of the camera, and the video file can also be paged through this focus lever.

How to enter night vision mode?
- After powering on, press the “OK” button to enter the night vision mode
- Photos and videos taken in night vision mode are black and white
- Press “OK” again to exit the night vision mode.
How to enter webcam mode?
- Use the mini USB cable to connect the camera to the computer

- After the computer recognizes the camera, a dialog box will pop up, please select “Camera Mode”.

- When you turn on social media, the computer will automatically recognize this camera. If not, please select “USB Video Device” in the external camera settings of your social media software.

- When you want to exit “Camera Mode”, please press the “POWER” button to shut down.


How to upload photos/videos from the camera to the computer?
- Please use the mini USB cable to connect the camera and the computer
- After the computer is connected, Please choose “Mass storage Mode” and press “ok” to confirm.
- After connecting, you can upload the camera files to the computer. When you want to exit “Mass storage Mode”, please press the “POWER” button to shut down.
- You can also connect the camera’s SD card to a card reader to facilitate the operation of videos and photos in the SD card on the computer.


How to connect to wifi?
- For Android phone users, please search and download “RoadCam” in google play. If you are an Apple phone user, please search and install the APP “RoadCam” in the APP Store.
- After the camera is turned on, keep pressing the “MENU” button until the wifi information is displayed. Please use your mobile phone to connect to this wifi, then click APP “RoadCam” and click “Add the device”. Then you can operate the camera through your phone.


Camera Appearance


Functions of keys & Indicator lights
| Key/indic ator lights | Function |
| Power/Direction key-Down | On/Off; Menu selection.EV- |
| Direction key-Up | Menu selection.EV+ |
| OK key | Turn on/off the IR light(video/photo mode),pause/continue playing (when playing a video),confirm(other circumstances) |
| MENU | Open and exit the menu |
| START/STOP | Start/stop the video |
| MODE | Select working mode |
| PHOTO | Photo shooting |
| T | Zoom in focus,turn up the sound(Playback mode) |
| W | Zoom out focus,turn down the sound(Playback mode) |
| Indicator light (Power&Charging) | The blue light is working status indicator light |
| The red light is charging indicator light;the red light will be on when connected with a charger. The red light will go off when the battery i s full | |
| External | Installing an External Camera Accessories |
| Hot shoe | Connector |


Product parameters

After booting, press the “MODE” button to enter Model select, then use the “UP” or “DOWN” button to find “Normal Record”, and finally press the “OK” button to confirm entering the video mode.
Press the “MENU” button, you will see three interfaces, “![]() ” represents the video settings, “
” represents the video settings, “![]() ” represents the camera system settings, and “
” represents the camera system settings, and “![]() ” to exit MENU. The “MODE” button can switch between video settings/ camera system settings/ exit button. The “UP” or “DOWN” button can switch the secondary menu settings.
” to exit MENU. The “MODE” button can switch between video settings/ camera system settings/ exit button. The “UP” or “DOWN” button can switch the secondary menu settings.
Video Settings
| Recording Resolution | 4K 60FPS/4K 30FPS/2.7K 30FPS/1080P 120FPS/1080P 60FPS/ 1080P 30FPS/720P 240FPS/720P 120FPS/720P 60FPS/ 720P 30FPS etc. |
| EIS | Turn on/ Turn off,On is default |
| White Balance | Auto/Sunny/ Cloudy/ ungsten/Fluorescent, Auto is default |
| Exposure Setting | EV+3/EV+2/ 0/ EV-3/EV-2, EV0 is default |
| Metering Mode | Average metering/ Center metering/ Spot metering, Average is d efault |
| Sharpness | High/Middle/Low, Middle is default |
| Video quality | High/middle/low, Middle is default |
| Sensitivity (ISO) | auto/100/200/400/800/1600/3200/6400, Auto is default |
| Time Watermark | On/ Off, On is default |
| Recording audio | Turn on/Turn off, On is default |
Press “MENU” button >Press “MODE”> Camera System Settings
Press “MENU” button >Press “MODE”> ![]()

| Beep Set | low/ middle /high,Middle is default |
| Wi-Fi | On/ Off, Off is default |
| Light source frequency | 60Hz/50hz |
| Timing off (Shutdown timer) | You can choose to shut down automatically after 3/ 5/ 10/ minutes,Off is default |
| Language | English/ Chines and other languages |
| Date-Time | Date display format |
| Time Set | “UP” or “DOWN” can adjust the time number The focus lever switches hours/minutes/seconds. You can use the touch screen |
| Date Set | “UP” or “DOWN” can adjust the date number The focus lever switches year/month/day. You can use the touch screen |
| Formatting | Please use this function to format the SD card the first time you use the SD card |
| Factory Reset | Restore camera default settings |
First, please enter the photo mode:
- After turn on camera, Press the “MODE” button and select the “Normal Picture”, press the “OK” button to confirm to enter the photo mode.
- Please pay attention to the “
 ” in the upper left corner of the camera display, indicating that the state is in the photo mode.
 - After switching to photo mode, Press the “MENU” button, you will see three interfaces, “” represents photo settings, “” represents camera system settings, and “
 ” to exit menu. The “MODE” button can switch between photo settings/ camera system settings . The “UP” or “DOWN” button can switch among the secondary menu settings.

Photo Setting
| 48MP/ 36MP/ 24MP/ 20MP/ 16MP/ 12MP/8MP/ 5MP | |
| White Balance | Auto/Sunny/ Cloudy/ ungsten/Fluorescent, Auto is default |
| Exposure Setting | EV+3/EV+2/ 0/ EV-3/EV-2, EV0 is default |
| Metering Mode | Average metering/ Center metering/ Spot metering, Average is default |
| Sharpness | High/Middle/Low, Middle is default |
| Shutter | Auto/2s/5s/10s/ 15s/20s/ 30s, Auto is default |
| Sensitivity (ISO) | auto/100/200/400/800/1600/3200/6400, Auto is default |
| Time Watermark | On/ Off, On is default |
Camera system settings
Press “MENU” button >Press “MODE”> ![]()
| Beep Set | low/ middle /high,Middle is default |
| Wi-Fi | On/ Off, Off is default |
| Light source frequency | 60Hz/50hz |
| Timing off (Shutdown timer) | You can choose to shut down automatically after 3/ 5/ 10/ minutes,Off is default |
| Language | English/ Chines and other languages |
| Date-Time | Date display format |
| Time Set | “UP” or “DOWN” can adjust the time number The focus lever switches hours/minutes/seconds. You can use the touch screen |
| Date Set | “UP” or “DOWN” can adjust the date number The focus lever switches year/month/day. You can use the touch screen |
| Formatting | Please use this function to format the SD card the first time you use the SD card |
| Factory Reset | Restore camera default settings |
WIFI Function
Application Installation
When Mobile phone or Tablet is equipped with the system of Android 2.2 or iOS 6.0 and above, it is able to search “RoadCam” applications on Google play for installation.
By WiFi connection, the APP can be used to control the camera, including previewing, browsing photo albums and downloading the files from camera to the Mobile phone or Tablet for sharing, as well as a remote control by the APP control.
Switch on WIFI Connection:
1.Keep video camera in standby mode after being turned on, long press the MENU/WIFI for 3 seconds to open WIFI signal source. The camera screen displays WIFI name and password. 2.Check WIFI setting on Mobile phone or Tablet, Find the WIFI source name shown on camera, click to connect and input the WIFI password shown on camera.
WiFi signal source switch on
Connecting the APP with the Camera
When the connection is successful, users can operate the video camera through the application for previewing, browsing photo albums and downloading the files from camera to the Mobile phone or Tablet for sharing, as well as a remote control by the APP operation.


Switch off the function of the WIFI:
Under WIFI connection state, press the OK button to cut off WIFI source of video camera, the video camera returns to the normal state.
Question and Answer
| Question | Answer |
| The remote that it came with doesn’t work? |
|
| Do I need to format the SD card every time? | No, Please format your card when first use in the camera. |
| Why is my camera video grainy-looking | This is caused by the shooting environment is too dark, please shoot in a bright environment, such as outdoor during the day. |
| My SD file is shown to be damaged | Please complete the video recording first (press the red dot button to end the video recording), then turn off the camera and pull out the card. This will not destroy the files in Card. |
| Why is my recorded video divided into several partial files | We noticed that many video editing software cannot edit files over 4G, so we use 4G as a file for your convenience. |
| Does the external microphone need to be charged separately? | Yes, the indicator light on the top of the microphone is red when the battery is low. Charging is blue, and the full charge indicator is no longer on. |
| My photo is not clear enough |
|
| My camera can’t work? |
|
| What is the best shooting distance | Since this camera is a fixed focus lens and cannot be replaced, the best shooting distance is 3.5 feet away. Please note that this camera cannot auto focus. |
| Why is the photo or video black and white? | When the IR night vision is on, the photos and videos are black and white. Please press “OK” key to turn it off. |
| Why I can’t download pictures and video from the camera to my computer? | Please make sure the camera doesn’t disconnect from the computer when downloading files. To prevent data loss, please do not insert or remove the memory card in the camera when the USB connecting with the computer. |
Warning:
This device complies with Part 15 of the FCC Rules.Operation is subject to the following two conditions:(1)this device may not cause harmful interference,and(2)this device must accept any interference received,including interference that may cause undesired operation.
changes or modifications not expressly approved by the party responsible for compliance could void the user’s authority to operate the equipment NOTE:This equipment has been tested and found to comply with the limits for a Class B digital device,pursuant to Part 15 of the FCC Rules.These limits are designed to provide reasonable protection against harmful interference in a residential installation.This equipment generates, uses and can radiate radio frequency energy and if not installed and used in accordance with the instructions,may cause harmful interference to radio communications. However, there is no guarantee that interference will not occur in a particular installation. If this equipment does cause harmful interference to radio or television reception. which can be determined by turning the equipment off and on,the user is encouraged to try to correct the interference by one or more of the following measures:
- Reorient or relocate the receiving antenna.
- Increase the separation between the equipment and receiver.
- Connect the equipment into an outlet on a circuit different from that to which the receiver is connected.
- Consult the dealer or an experienced radio/TV technician for help.
NOTE:This device and its antenna(s)must not be co-located or operation in conjunction with any other antenna or transmitter.
RF Exposure Statement
To maintain compliance with FCC’s RF Exposure guidelines, This equipment should be installed and operated with minimum distance of Pm the radiator your body. This device and its antenna(s)must not be co-located or operation in conjunction with any other antenna or transmitter.
Documents / Resources
 | Shenzhen Sonida Digital Tcehnology HDV-544KM 4K Video Camera [pdf] User Manual HDV-544KM, HDV544KM, 2A4ZL-HDV-544KM, 2A4ZLHDV544KM, HDV-544KM 4K Video Camera, 4K Video Camera, Video Camera, Camera |


