EPSON C7500 Matrix Remover
POWER SUPPLY
An external power supply 100/240VAC – 2.5A at 24V allows an electronic circuit to provide, through the tension arm, the adjustment of the rotation’s speed and rotation’s direction. A 4A fuse is used as protection.
WARNING:
Before starting a new job, always make sure the waste matrix from the previous job has been removed.
Do not attach the matrix from a different size label to an existing roll. This will cause an uneven wrap which will cause the material to walk.
Note on Media Environment:
50% humidity and 72 degrees Fahrenheit is the optimal conditions for both storage and use of label stock. Store label stock in protective plastic wrappings. Rewrap partially used stock. Do not store stock directly on concrete floors.
Label stock should be conditioned in this environment for 72 hours prior to use. Failure to store media in these conditions may result in media tension problems. Too much humidity will cause labels to curl on the edges.
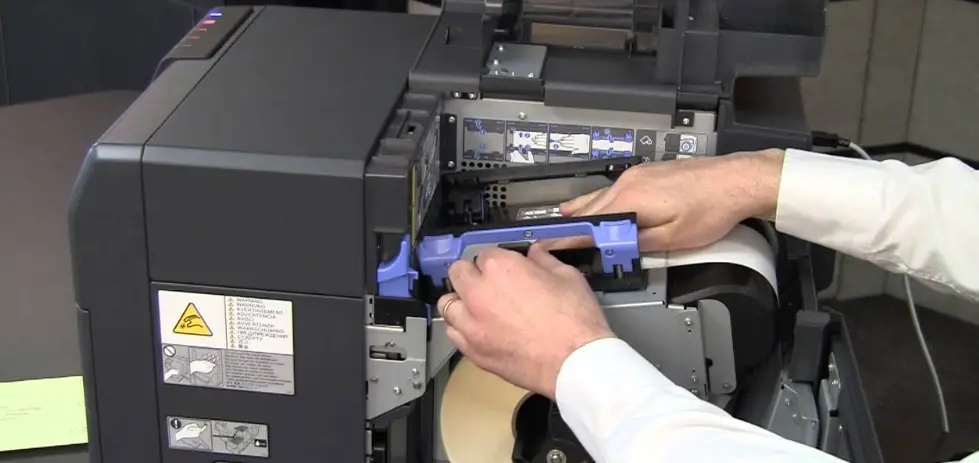
HOW TO INSTALL THE SECOND PLATE
 Use the two knobs to attach the matrix remover to the printer plate and align it thanks to the guides (pic 2).
 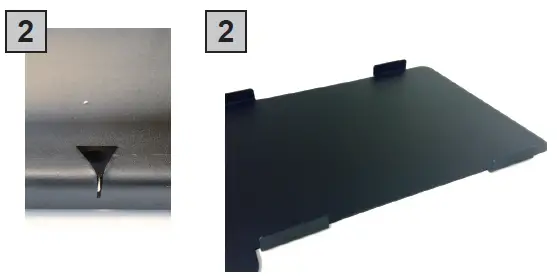 Fix the printer on the printer plate.
HOW TO INSTALL PRESSING ROLLER
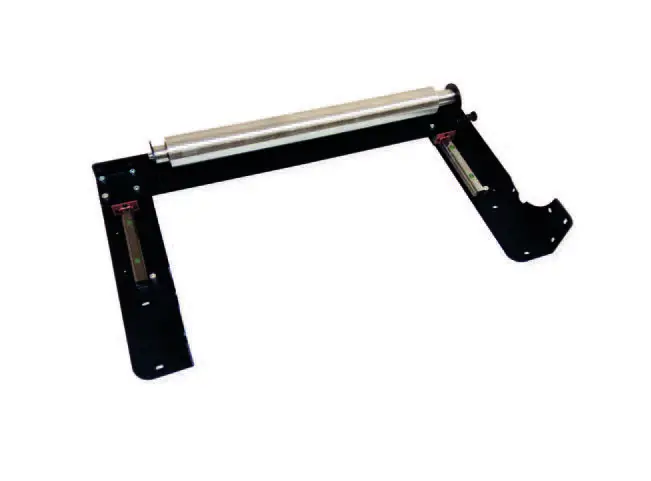 The pressing roller facilitates the matrix removal from the die-cut roll.
Remove it from rewinder station (there are 4 knobs to unscrew).
How to install the roller:
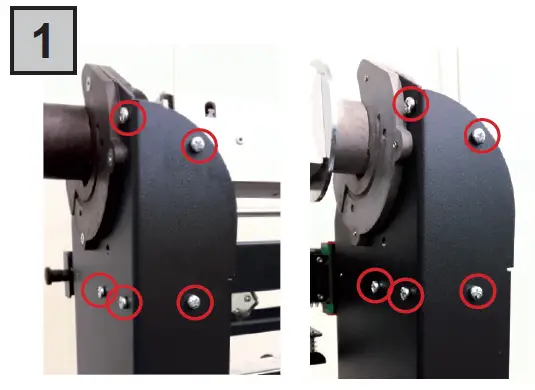 Unscrew the 10 screws on the matrix remover module.
 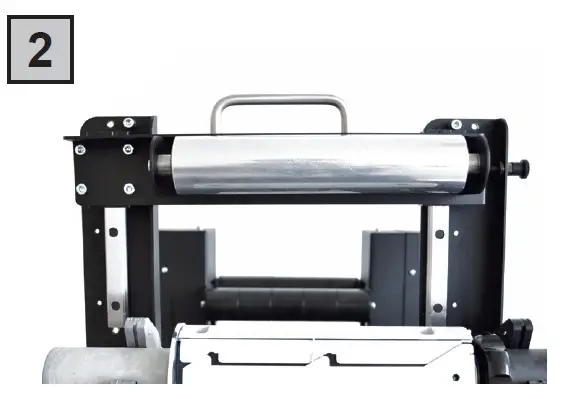 Position the matrix remover roller onto the matrix remover module and secure it properly with the 10 screws.
RUN A JOB 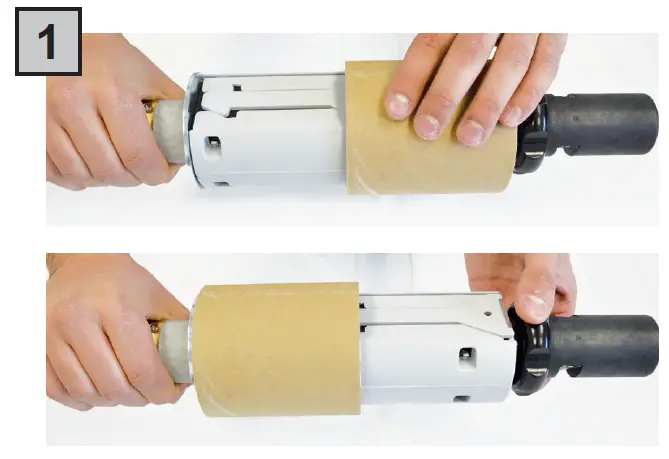 Load a cardboard core onto the core holder to receive the waste.
Tighten using the tension knob. 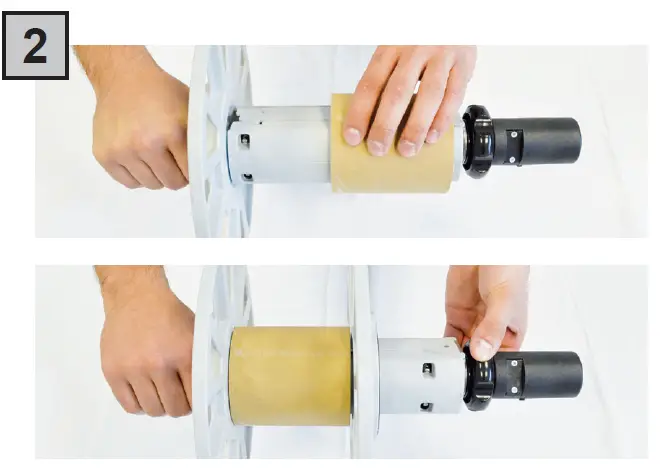 Insert the empty cardboard core on the core holder to receive the new labels roll.
Load the outside disk making sure it adheres to the cardboard.
Tighten using the tension knob. 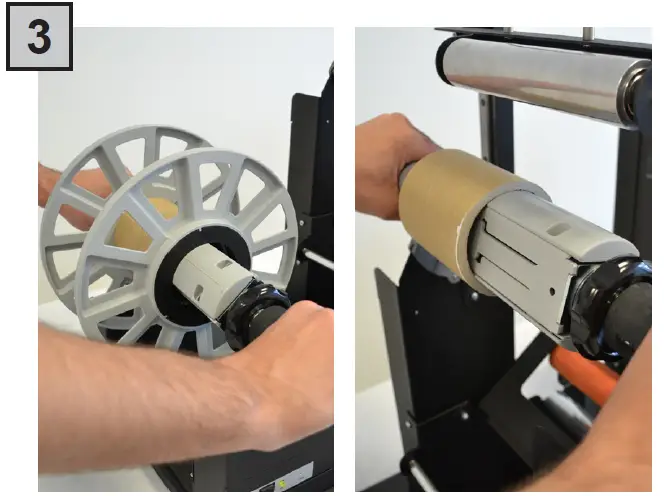 Insert the core holders onto their respective supports.
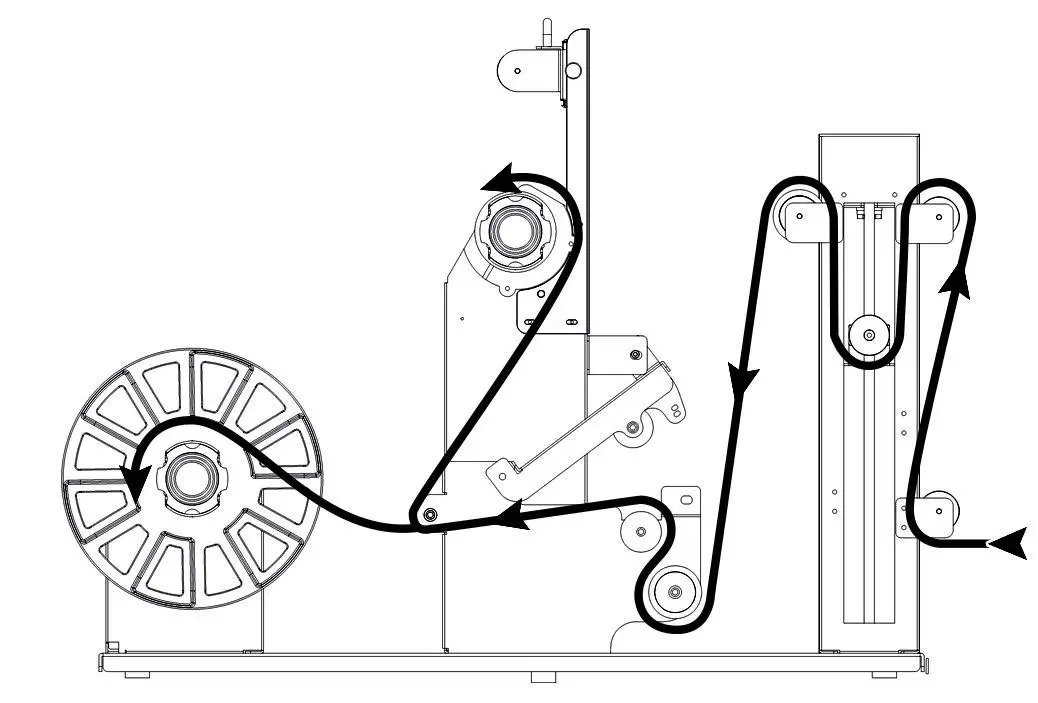 Paper path.
Attention: Align the paper to the three fixed guides on the rollers. 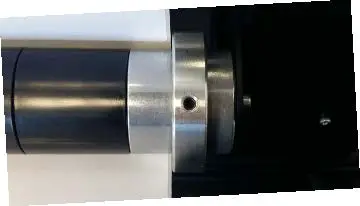
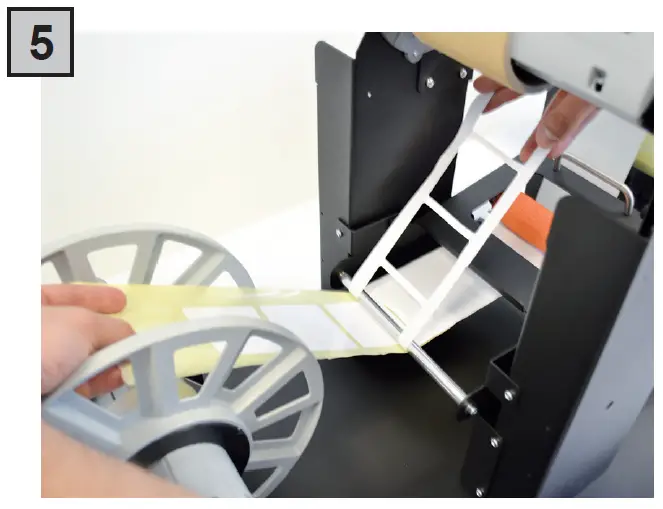 Pull the printed labels for about thirty centimeters.
At this point separate the matrix from liner. 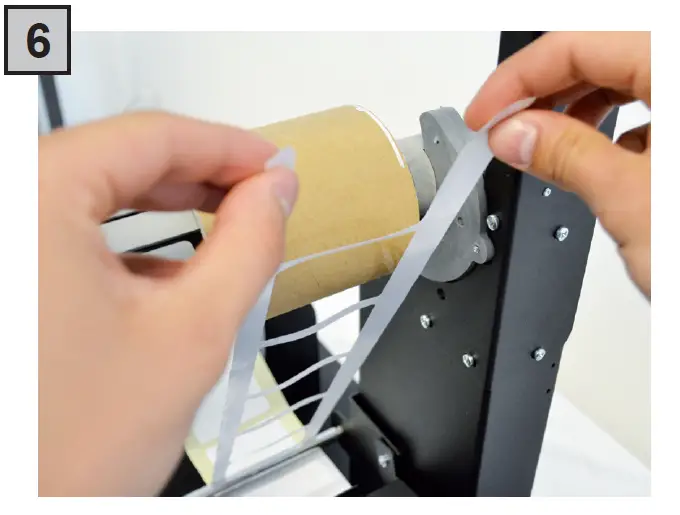 Attach the matrix to the empty core on the wasted core.
 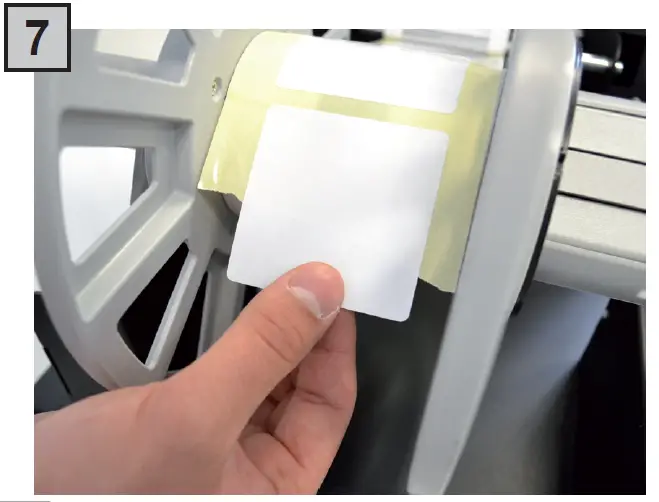 Attach the finished media to the empty core on the rewinder core.
 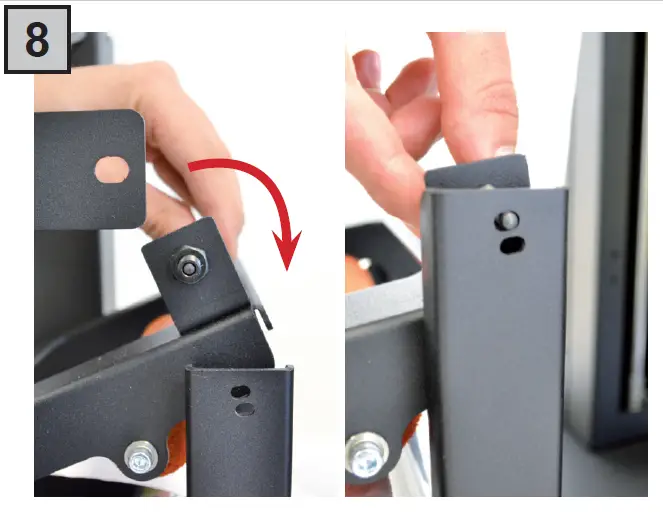 Close the clutch.
Attention: Recommended the first hole.  Release the pressing roller.
Plug in the unit and turn it on using the power switch located on the back. 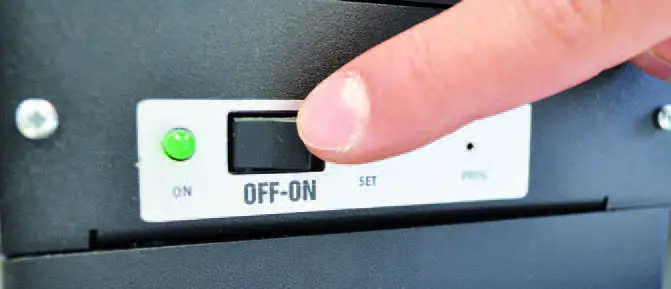
ULTRASONIC SENSOR CALIBRATION
WARNING: Before proceeding with the ultrasonic sensor calibration, turn the unit “ON”.
- Raise up the tension arm up to the desired position (generally it is in the middle of the range). That point will determinate the tension arm working range from the bottom position. The longer your label will be, the lower tension arm position requires to be set.
- Holding the tension arm idle at the desired position, using a paper clip, keep pushed the button into the small hole until the yellow led will have flashed 3 times.
- The ultrasonic sensor has been calibrated and ready to be operative.
ULTRASONIC TENSION CONTROLLER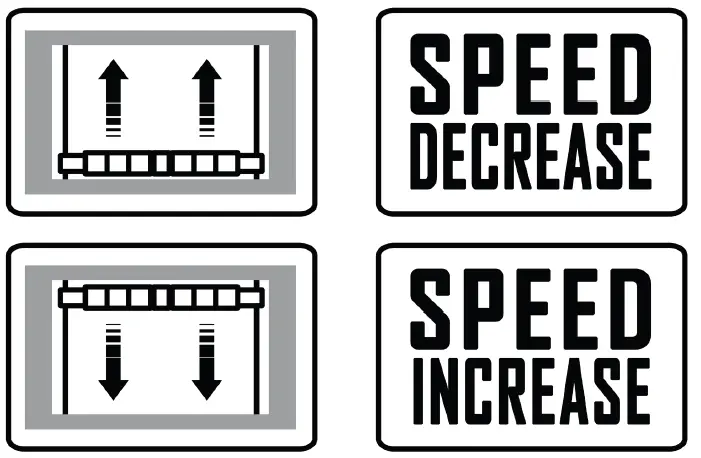
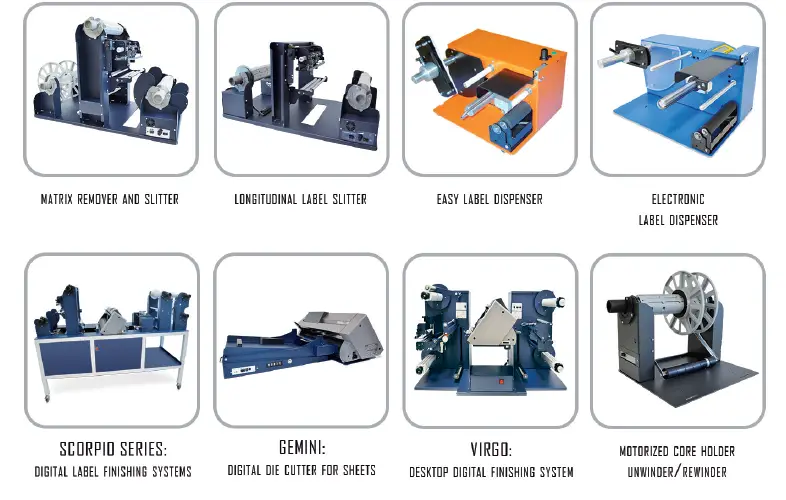
SMART SOLUTIONS FOR THE LABELING INDUSTRY
Label rewinder, label unwinder, electronic label dispenser and more...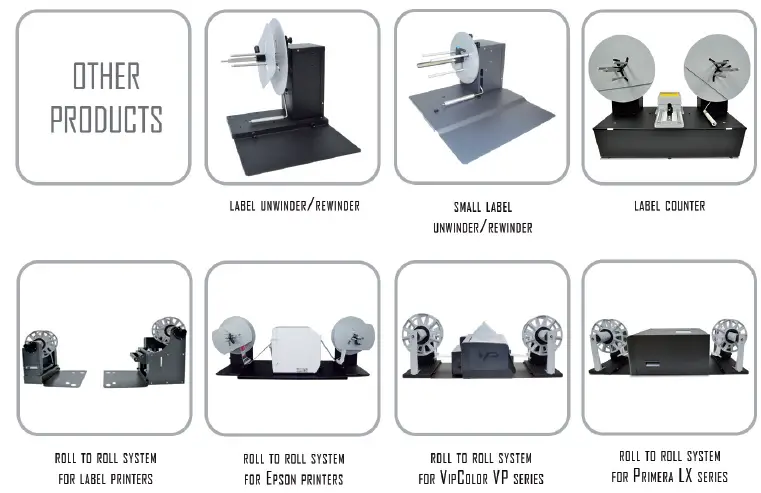
 – FOR MORE INFO CONTACT YOUR RESELLER –


