200
S E R I E S
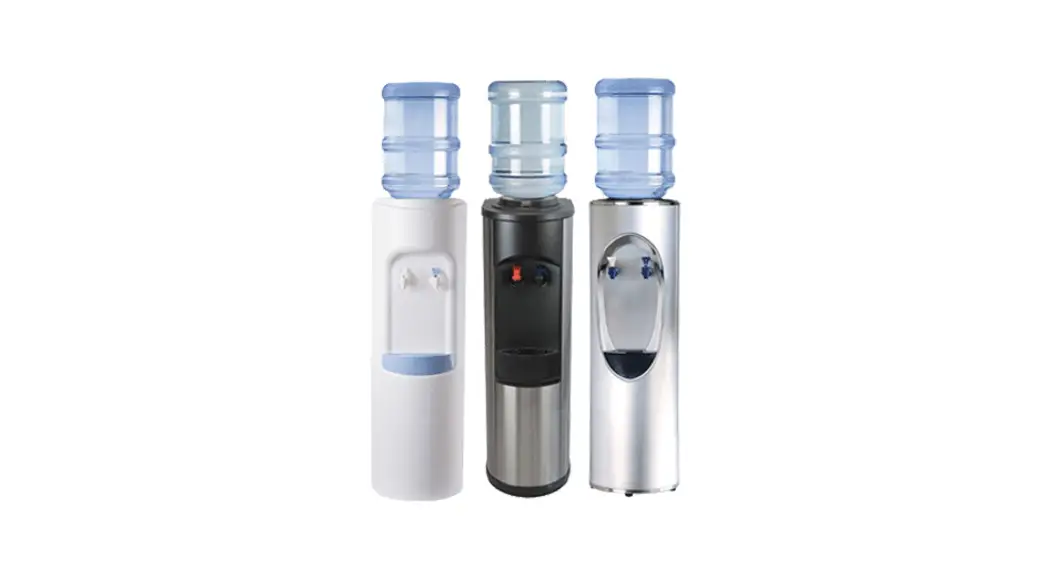
pure water dispenser®
quick setup guide
 Read all directions before plugging in dispenser.
IMPORTANT: Do not plug in dispenser until step 5. This guide is a general reference to help you quickly and easily set up your Pure Water Dispenser® 200 Series. For complete setup, operating and safety instructions, reference the owner’s manual.
 Place dispenser on level floor surface at least 2 inches from wall.
![]()
Insert bottle and fill dispenser with water PRIOR to plugging in.
Remove tamper-evident seal from plastic bottle cap. (Do NOT remove plastic cap if using a NO-SPILL water bottle.) Load water bottle by lifting and inserting it onto probe. Be sure bottle is fully aligned with dispenser, centered over probe and fingers or other body parts are clear of underside of bottle. Apply slight pressure until plug pushes in and bottle is securely seated. Water will flow into the tank causing air bubbles.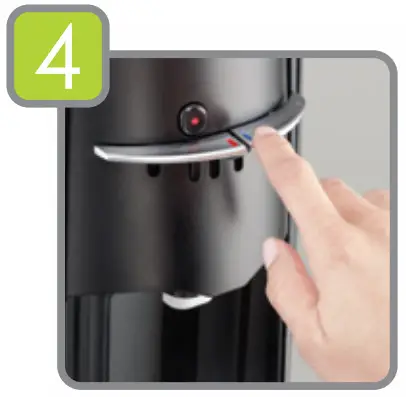
Dispense water.
Place a cup under hot and cold faucets and depress each handle until water flows continuously.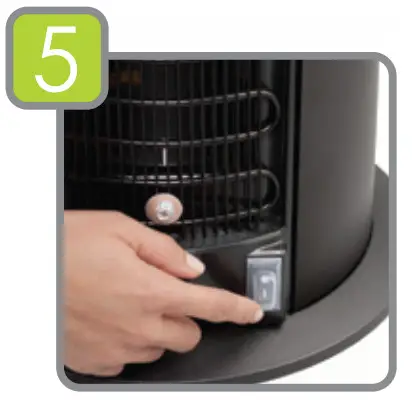
Plug in dispenser to a GFCI outlet and turn on.
Turn on hot tank heater using switch located on rear of dispenser. Water will become hot in approximately 1 hour.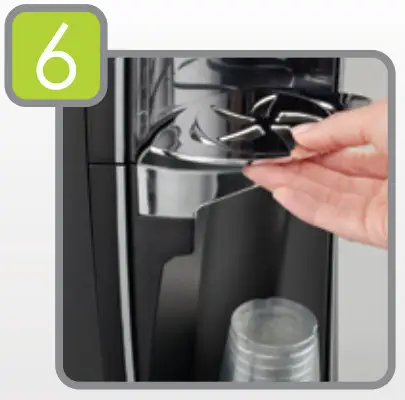
Insert drip tray grill.
Place drip tray grill onto top of drip tray.
To learn more, visit water.com


