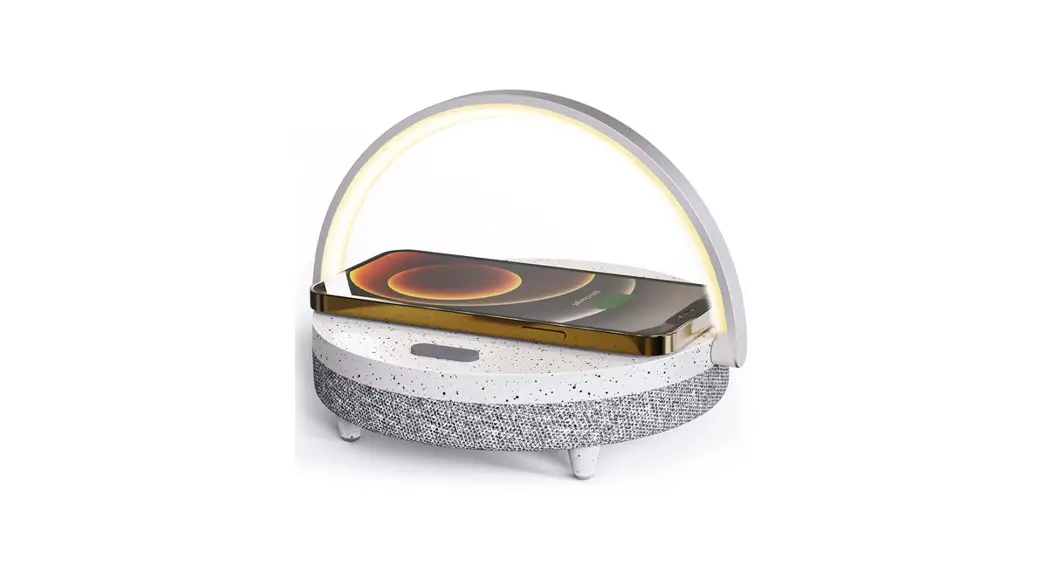
![]() Wireless Charger Music Lamp
Wireless Charger Music Lamp
User Manual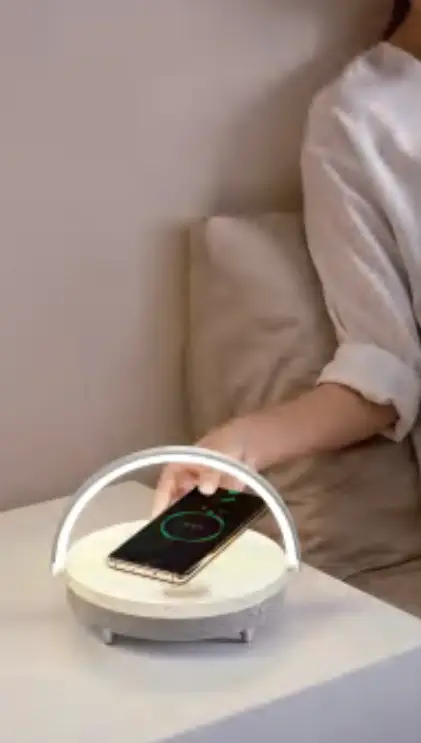
Wireless Charger Music Lamp
light up your life.
Product accessory
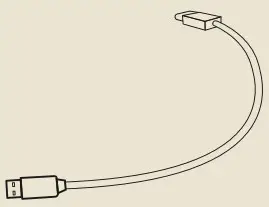 1PCS/Pack
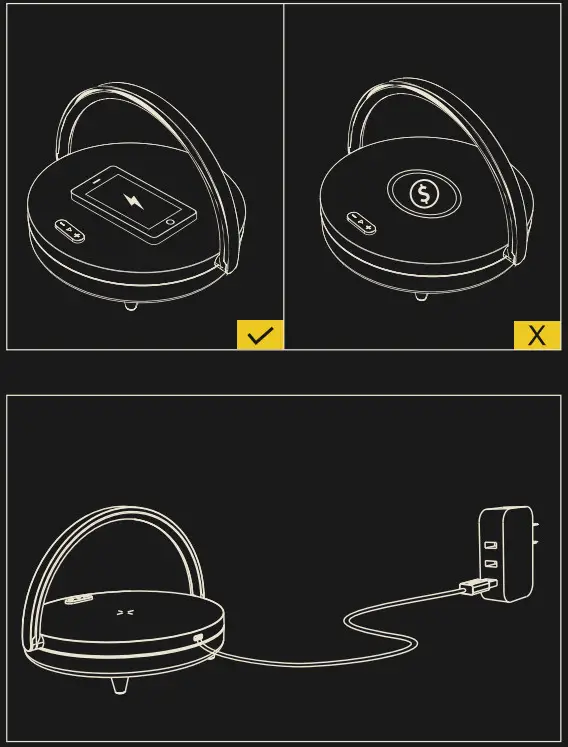
Installation method
 |  |
 | |
Specifications
| Product Dimensions | 20.3×14.5x5cm 7.52 x 8 x 1.97 in |
| Model | LYYD02 |
| Weight | 526g/1.2lb |
| Rated power | 10W |
| Input | 9V 2A |
| Material | ABS + PP + metals |
| Wireless charging compatible device | GalaxyS6 /GalaxyS7 /GalaxyS8/GalaxyS9 /Note8 /Note9/Mate RS /Mate 20 Pro /Mate 20 RS /P30 Pro/MIX2S /MIX3 iphone 11/iphone XR/iphone 12/iphone 12 Pro (The above are a part of mainstream devices) |
| Battery Capacity | 1800mAh/3.7V |
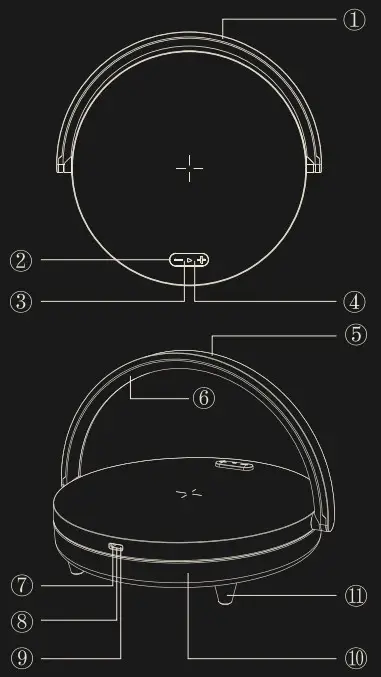
Product Instructions
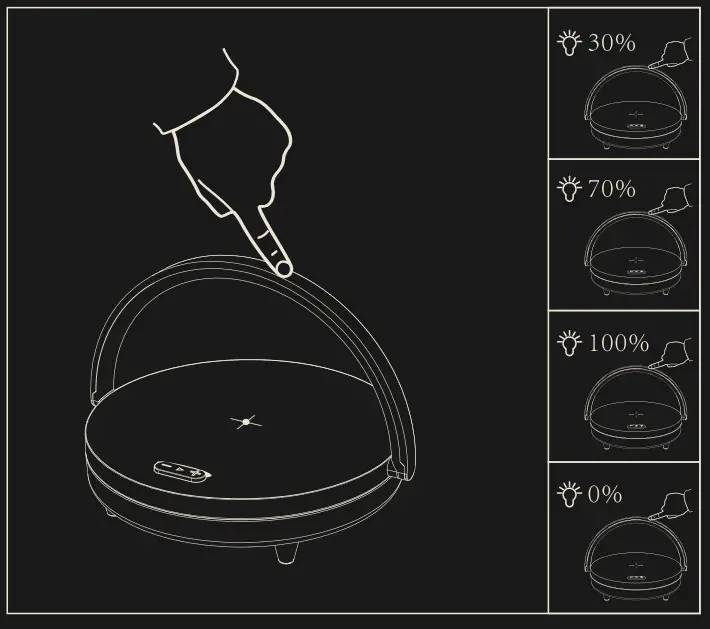
| 1 | Touch light |
| 2 | Function keys |
| 3 | Wireless speaker indicator light (blue) |
| 4 | Wireless charging indicator light (white) |
| 5 | Aluminum frame |
| 6 | Lampshade |
| 7 | Battery charging indicator light (red) |
| 8 | Type.interface |
| 9 | Power indicator light (white) |
| 10 | Speaker cavity |
| 11 | Silicone anti-slip pad |
How to use
Wireless speaker
In the power-off state, press the power switch ![]() for about 3 seconds. When you hear the prompt sound, the speaker is already turned on. When you see the flashing wireless speaker indicator light, the speaker is searching for pairing.At this moment, you can turn on the BT function of your mobile phone. When you open the wireless speaker, search the EZVALO Lydia Pro”to pair with your phone. If the mobile phone requires a IN code to pair, then you can enter 000 (four zeros). After the successful pairing, the prompt sound will ring up again and the indicator light will stop flashing f the pairing is not successful after more than 10 minutes, the wireless speaker indicator light will stop flashing ad the speaker wilt automatically switch to sleep mode.
for about 3 seconds. When you hear the prompt sound, the speaker is already turned on. When you see the flashing wireless speaker indicator light, the speaker is searching for pairing.At this moment, you can turn on the BT function of your mobile phone. When you open the wireless speaker, search the EZVALO Lydia Pro”to pair with your phone. If the mobile phone requires a IN code to pair, then you can enter 000 (four zeros). After the successful pairing, the prompt sound will ring up again and the indicator light will stop flashing f the pairing is not successful after more than 10 minutes, the wireless speaker indicator light will stop flashing ad the speaker wilt automatically switch to sleep mode.
Note: For some mobile phones, after the pairing is completed, you have to manually connect to the wireless device. If there is still no sound paying after the connection, please press the icon on the right of Paired device EZVALO Lydia Pro” to enter the corresponding interface and tick the option Media audio.
Function keys
| Function keys | Use | Operating |
| Power switch | Play | Click on |
| Pause | Click on | |
| Hands-free call | Click answer | |
| Wireless speaker pairing | Double-click to disconnect and enter wireless pairing mode | |
| + | Volume plus | Click the button |
| Next track | Press | |
| _ | Volume minus | Click the button |
| Previous track | Press |
NOTE
- This product supports wireless quick charging function, and it realizes short-distance wireless transmission of electric enengy through magnetic induction mode. When an adapter with output of 5Wis used, the wireless changer supports 54load.
- When an adapter conforming to the standard QC 2.0or above is used, the wireless changer Supports 10w toad.
- The product is provided with overcharge protection, overvoltage protection (9V) and overcurrent protection (2A).
Attention:
| DO NOT Expose to liquids! | |
| DO NOT Disassemble! | |
| AVOID Dropping! | |
| AVOID Extreme Temperatures! | |
| DO NOT Charge Near the Magnetic Card! | |
| DO NOT Charge the Phone with a Metal Protective Case! | |
| DO NOT Use Non-certified Adapters! |
FCC statement
This equipment has been tested and complies with the limits for a Class B digital device, pursuant to part 15 of the FCC Rules. These limits are designed to provide reasonable protection against harmful interference in a residential installation. This equipment generates, uses and can radiate radio frequency energy . Therefore, If the equipment is not installed and used in accordance with the instruction, it may cause harmful interference to radio communications. However, there is no guarantee that interference will not occur in a particular installation. If this equipment does cause harmful interference to radio or television reception, which can be determined by turning the equipment off and on, the user can correct the interference by one or more of the following measures:
Relocate the receiving antenna.
- Keep distance between the equipment and receiver.
- Connect the equipment into an outlet which is different from the receiver is connected.
- Ask the dealer or an experienced radio/TV technician for help.
Caution: Any changes or modifications to this device not explicitly approved by manufacturer could make you fail to operate this equipment.
This device complies with part 15 of the FCC Rules. Operation is subject to two conditions below:
This device complies with part 15 of the FCC Rules. Operation is subject to the below two conditions:
(1) This device may not cause harmful interference
(2) This device must accept any interference received, including interference that may cause undesired operation.
This equipment complies with FCC radiation exposure limits set forth for an uncontrolled environment. This equipment should be installed and operated with minimum distance 20cm between the radiator & your body.
![]() EZ VALO Customer Service
EZ VALO Customer Service
Email: [email protected]![]() MADE IN CHINA
MADE IN CHINA


