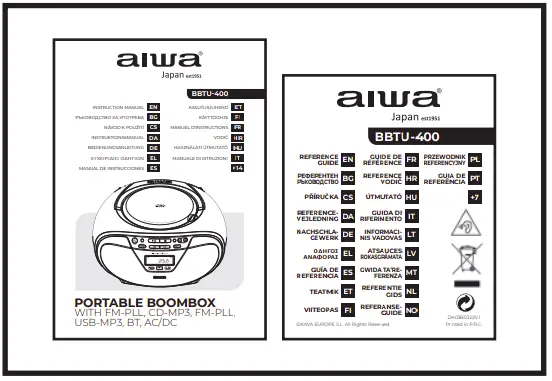
aiwa BBTU-400 Portable Boombox Instruction Manual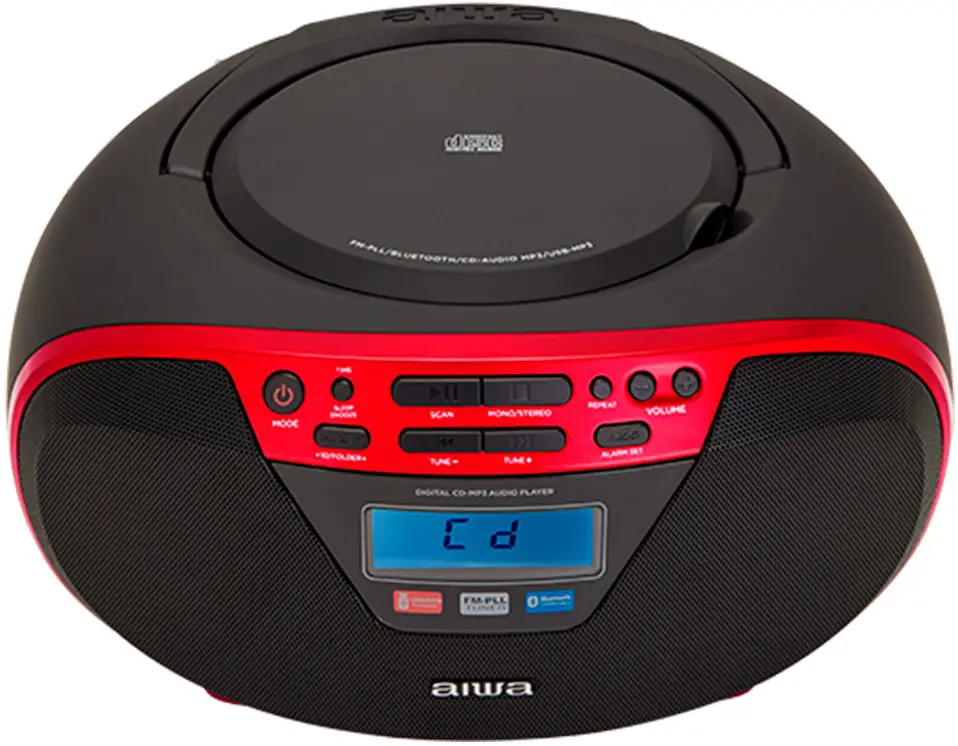
Contents hide
WHAT’S IN THE BOX?
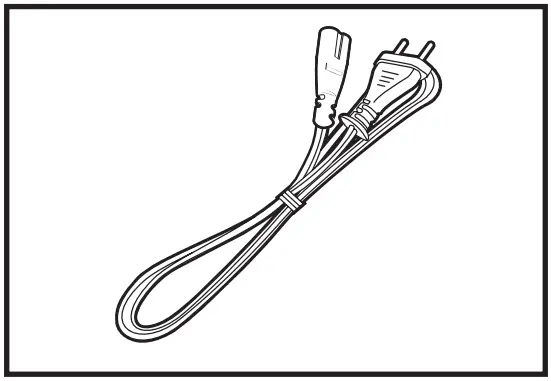
- Portable Bombox.

- AC-Cord (Detachable Type).

- Instruction manual & Reference Guide.

- Warranty sheet & Declaration of conformity


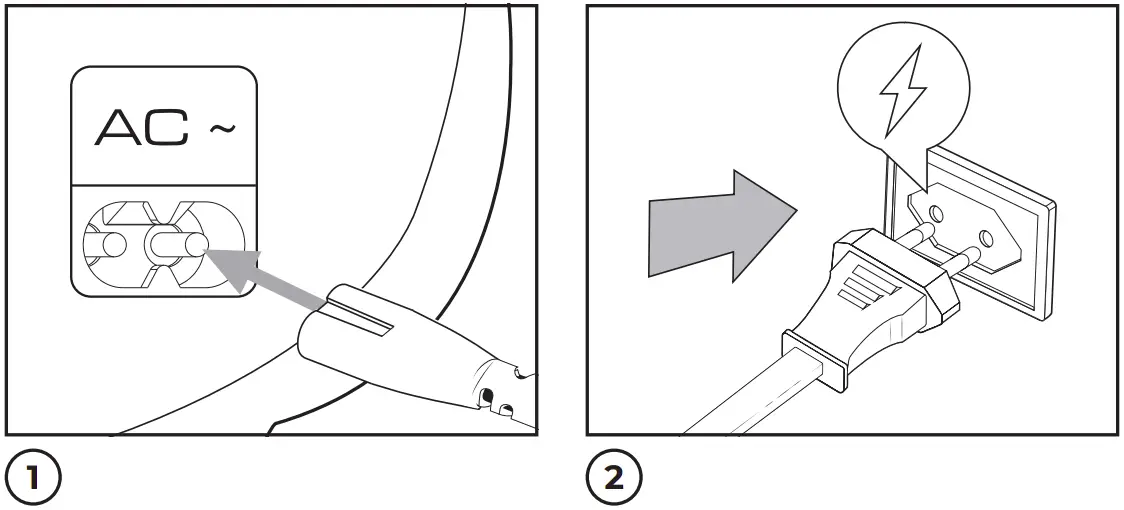
CONNECTION TO THE MAINS
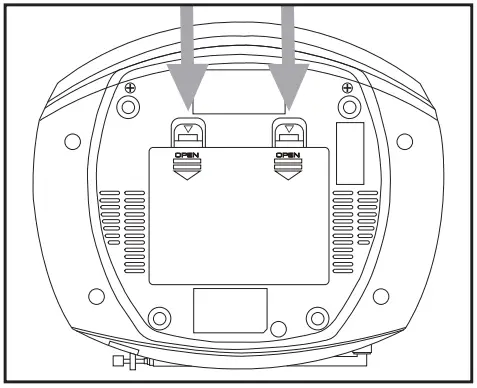
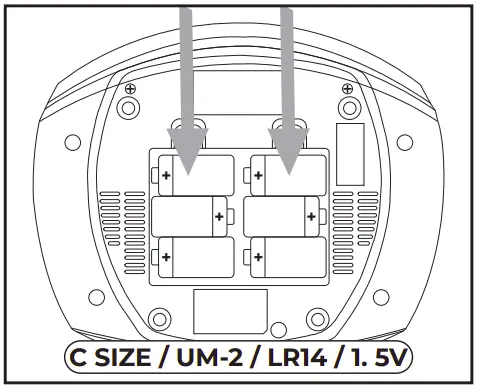
BATTERY OPERATION
- Remove the battery compartment cover carefully.

- Install 6 x “C” size batteries (UM-2 or equivalent) while observing the correct polarities. Replace the battery compartment cover.

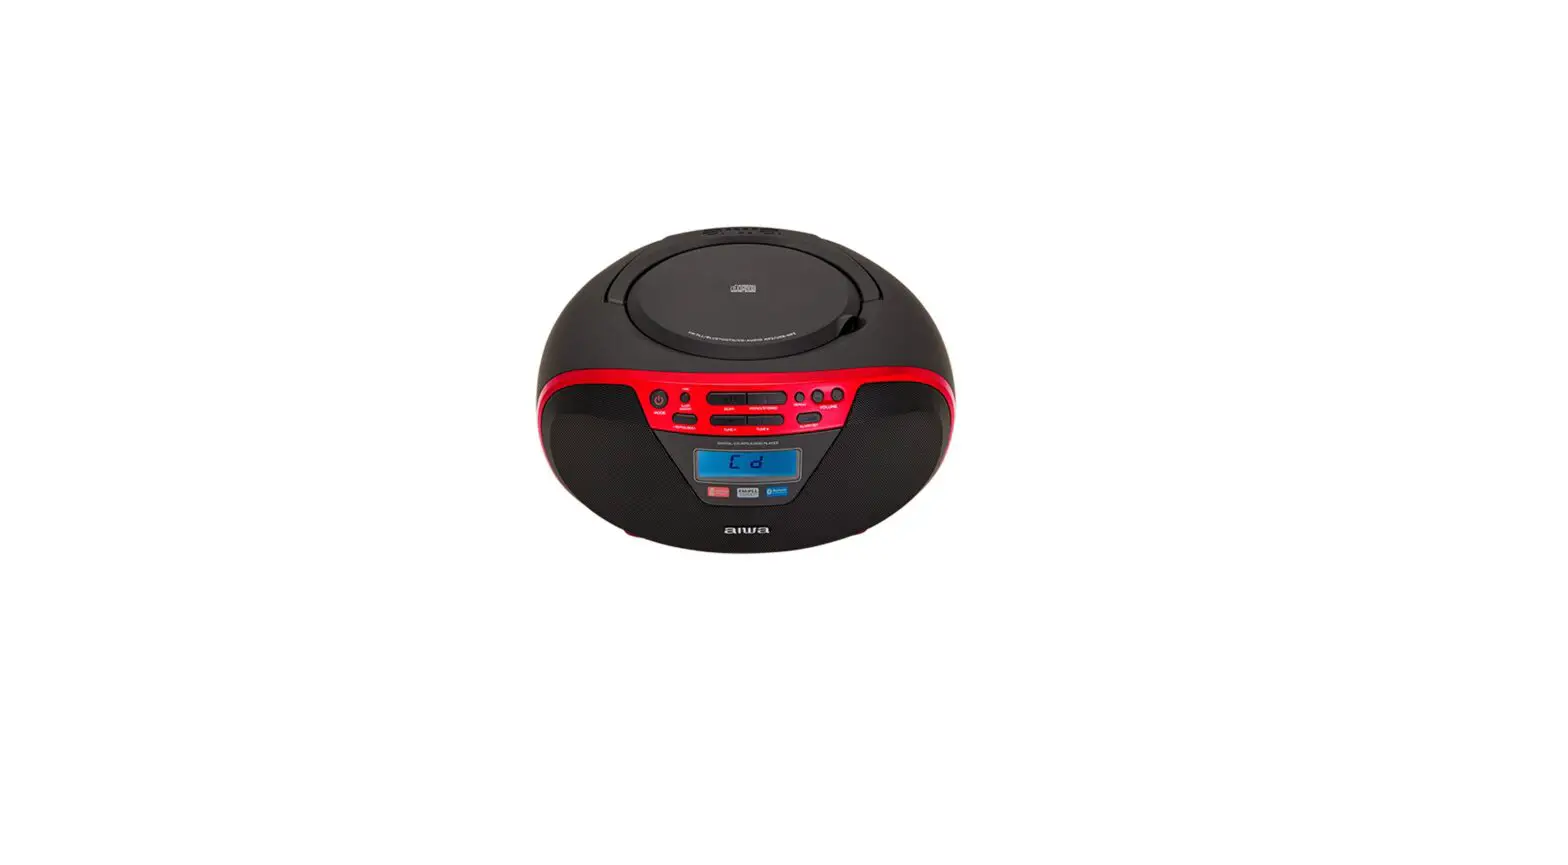
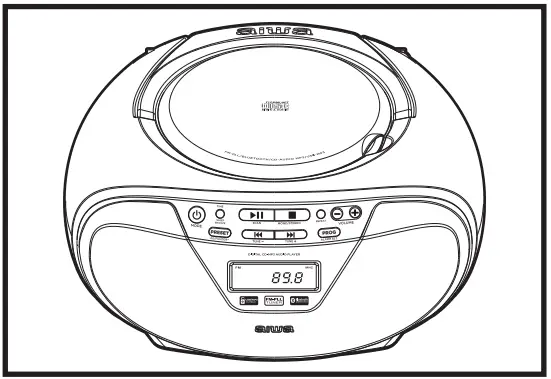
FRONT VIEW

- SPEAKER
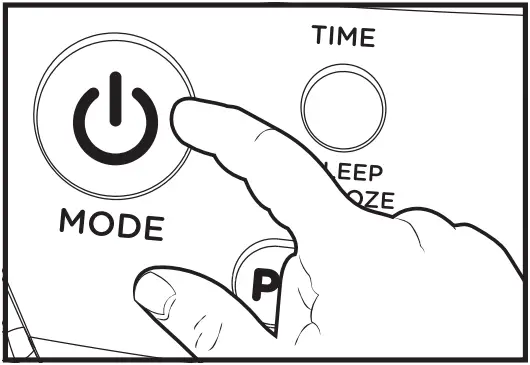
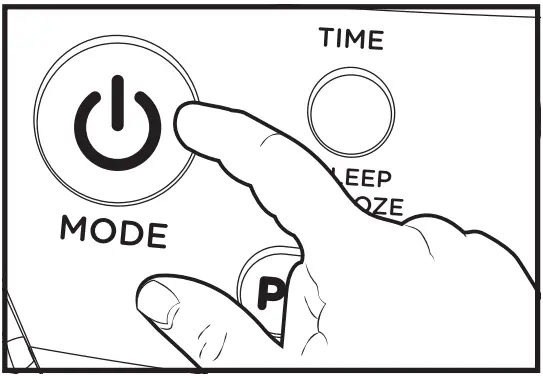
 STANDBY / MODE / ALARM OFF
- TIME / SLEEP / SNOOZE
- PRESET / +10 / FOLDER+
 PLAY / PAUSE / SCAN
- LCD DISPLAY
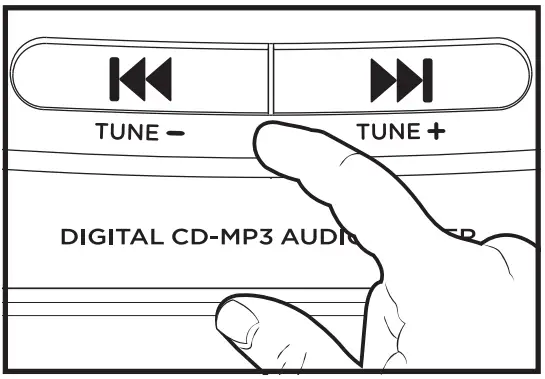
 (PREVIOUS) / TUNE –
 (NEXT) / TUNE +
 (STOP) / MONO-STEREO
- PROGRAM / ALARM
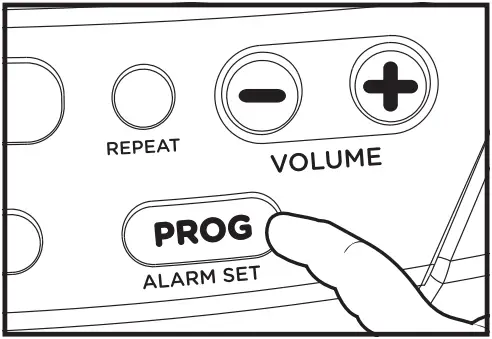
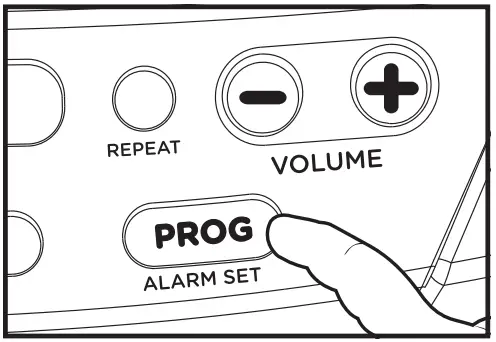
- REPEAT
- VOLUME DOWN
- VOLUME UP
- CD DOOR
SIDE VIEW
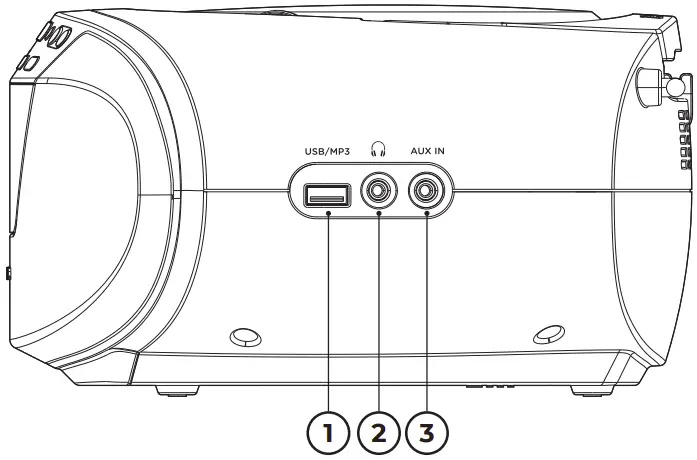
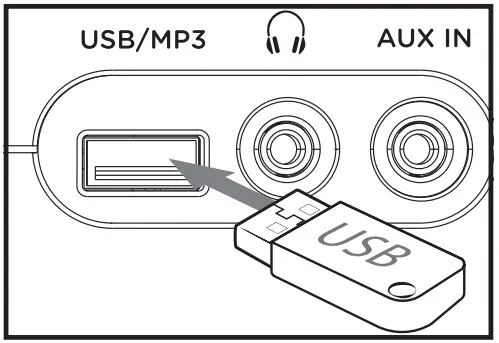
- USB JACK
- 3.5MM EARPHONE JACK
- 3.5MM AUX-IN JACK
REAR VIEW
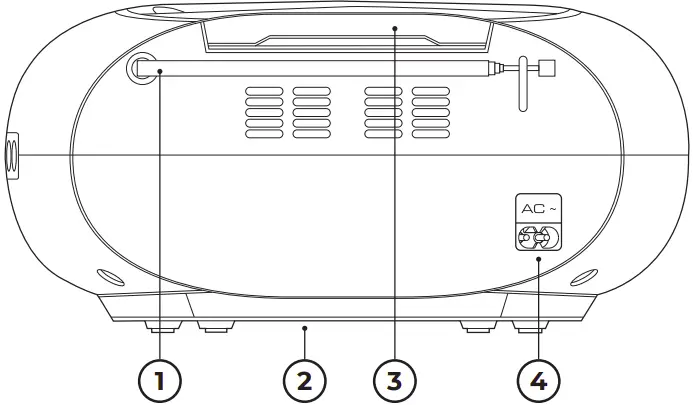
- FM ANTENNA
- BATTERY COMPARTMENT
- HANDLE
- AC SOCKET
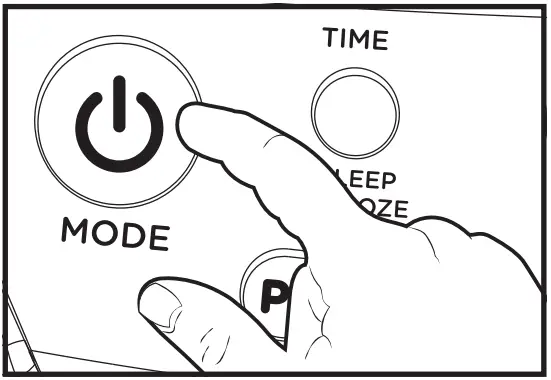
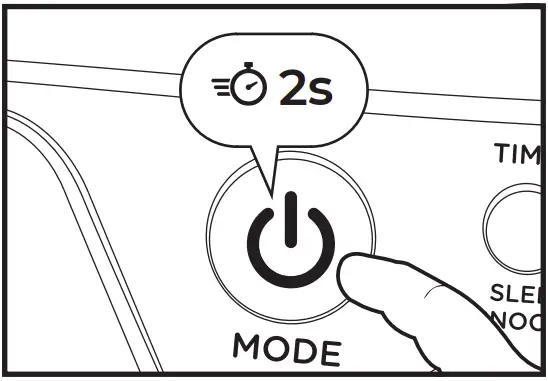
POWER ON / STANDBY / ECO SYSTEM
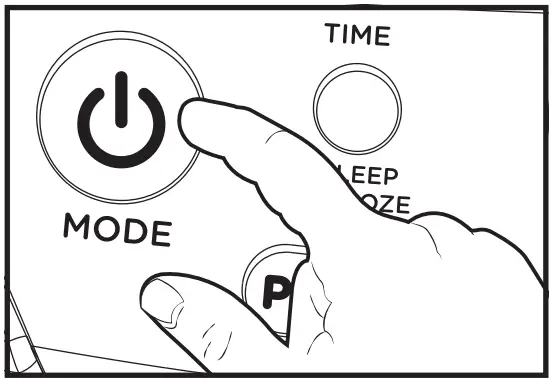
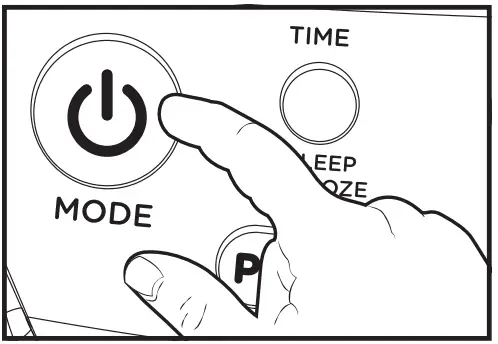
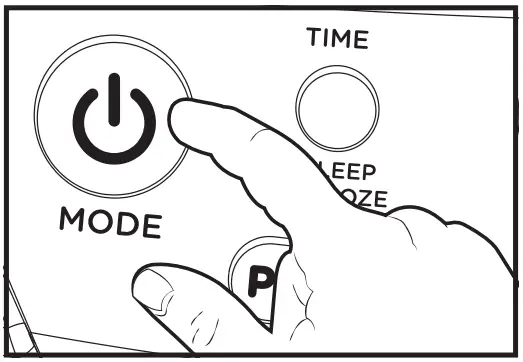
- To turn on the unit, click the STANDBY / MODE button (2) on the front panel.

- To put the unit into standby mode, press and hold the STANDBY / MODE button (2) for 2 seconds, to turn it back on, click the STANDBY / MODE button 1 time.

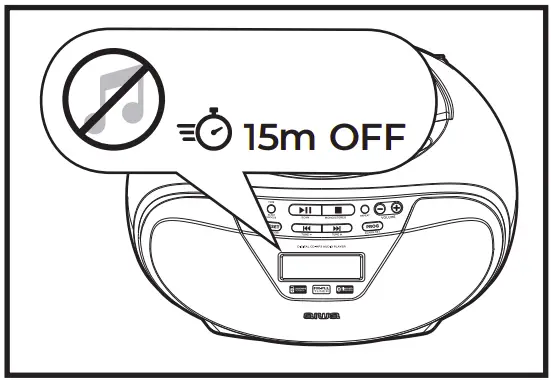
- ECO SYSTEM (energy saving). When the audio playback is inactive for 15 minutes, it will turn off automatically.
To activate the unit again press the STANDBY / MODE button (2).
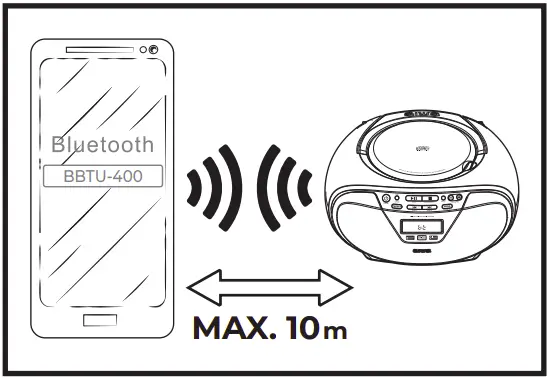
BLUETOOTH OPERATION
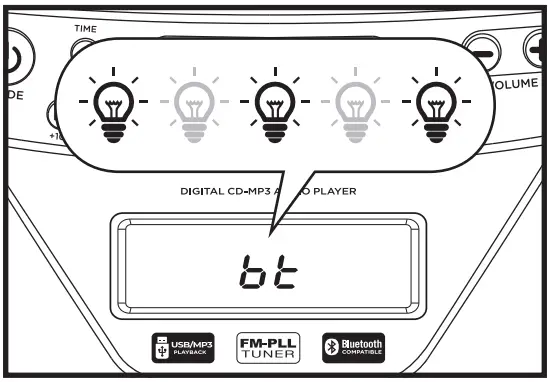
- Press the mode button to select the Bluetooth mode (BT).

- In Bluetooth mode the bt word on the display will flash.
Then the micro system will search automatically for Bluetooth devices.
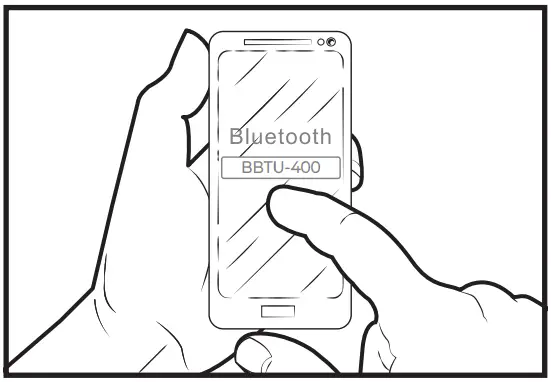
- Turn on the Bluetooth on your device and make it visible to connect with BBTU-400.
- The effective range of Bluetooth devices is 10 meters.

CD OPERATION
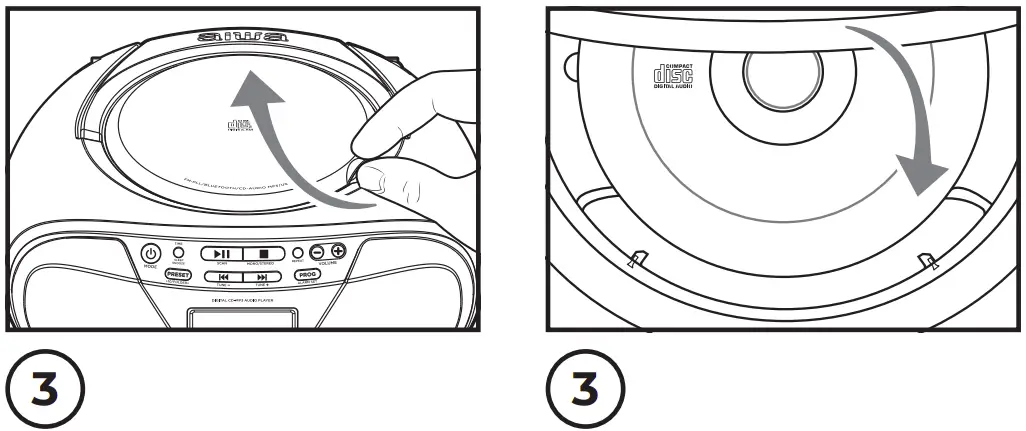
- Press the mode button to select the CD mode.
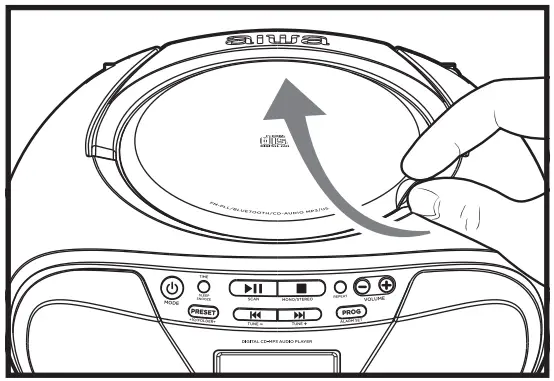
- Lift up the CD door.

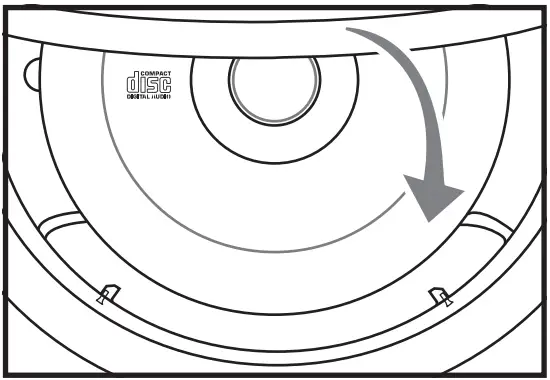
- Load a CD disc with the label facing up. Close the CD door.

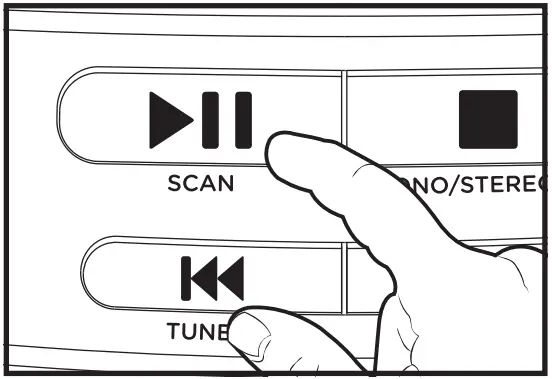
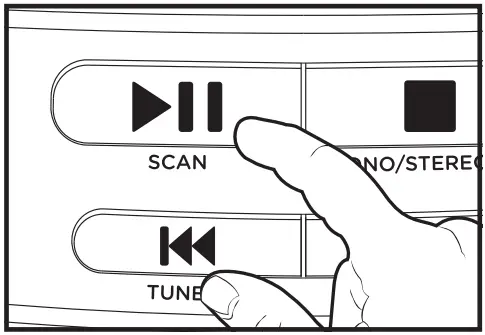
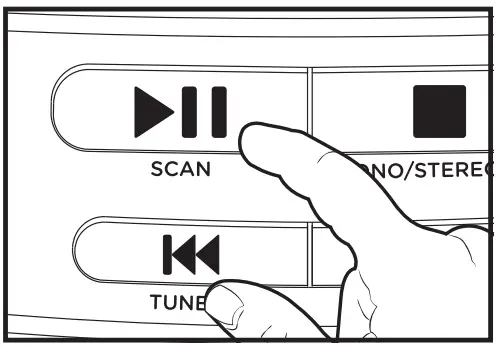
- The player starts reading the disc immediately. Press the PLAY / PAUSE button once to start playback if it is not auto start.

- Press again to pause music playback, the playback symbol flashes on the screen to indicate that it is in pause mode. Pressing the button again resumes playback.

- Press the button to stop music playback. The display shows the total number of tracks again.


SELECT THE TRACKS
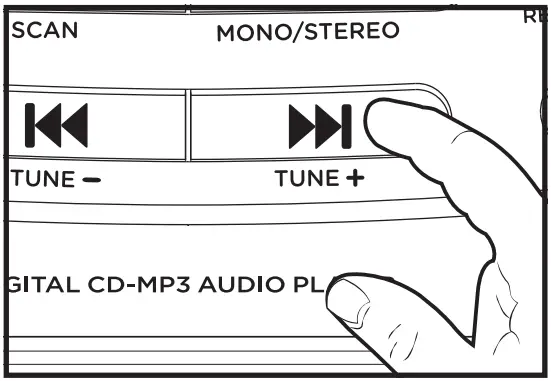
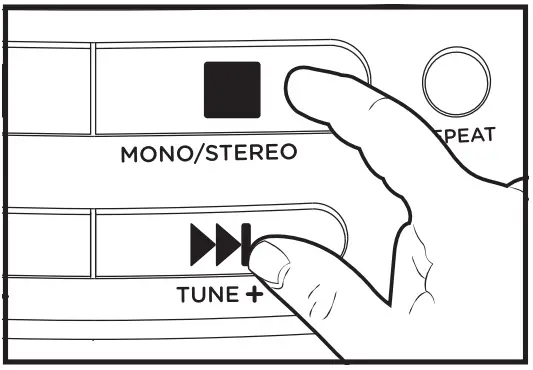
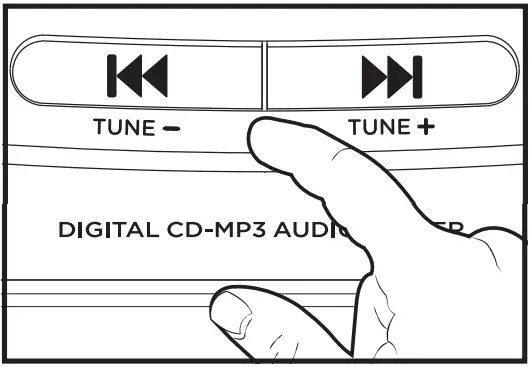
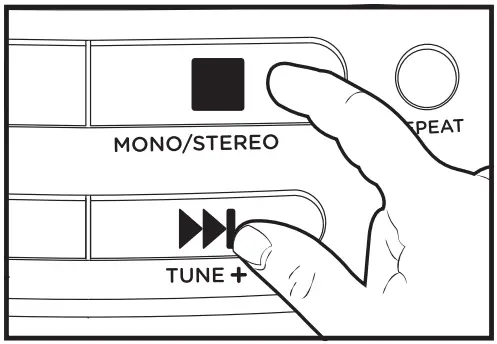
- Press NEXT / TUNE+ button to skip to the next track.
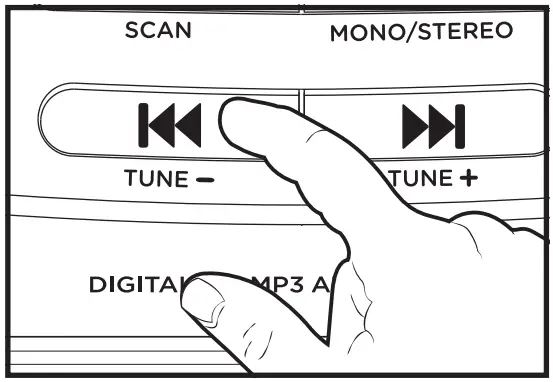
- Press PREVIOUS / TUNE- button to the beginning of the current track.

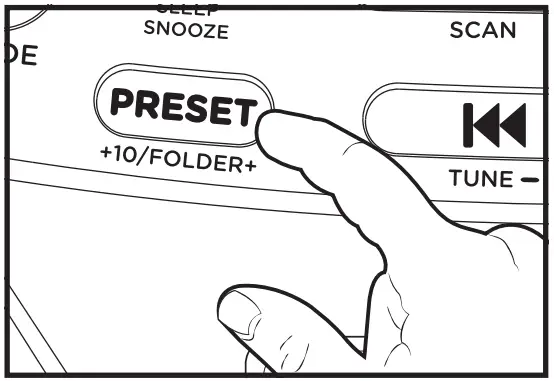
- To skip 10 tracks in 1 step, press the +10 button.
- For MP3-CD playback, press and hold FOLDER+ button to select the folder.

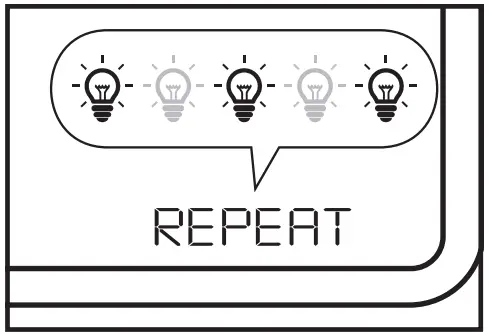
REPEAT PLAYBACK (MP3 CD/USB ONLY)
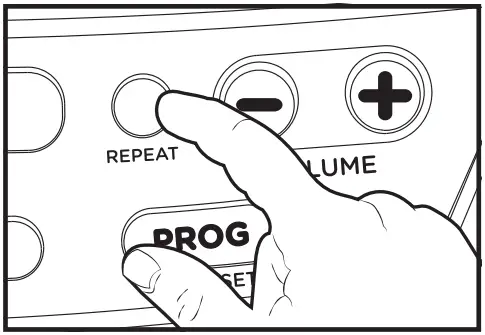
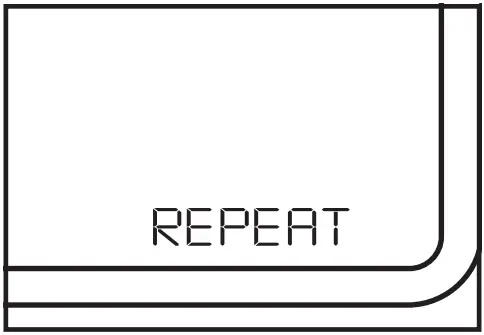
- Press the REPEAT button to select different repeat modes.

- Repeat: Repeat the track you are playing, the REPEAT icon will appear on the screen.

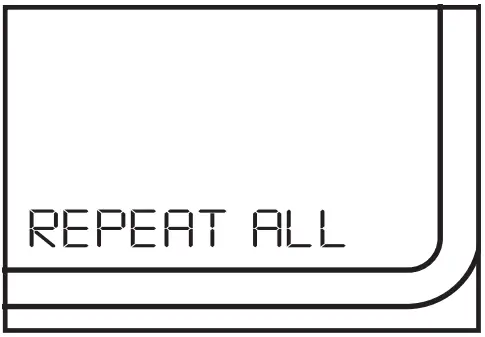
- Repeat all: All tracks will be played continuously.
REPEAT ALL will appear on the screen.
- Repeat folder:
The current folder will be repeated continuously. The REPEAT icon flashes on the screen.
- Repeat randomly:
The tracks will be played randomly.
The RAND icon is displayed on the screen.

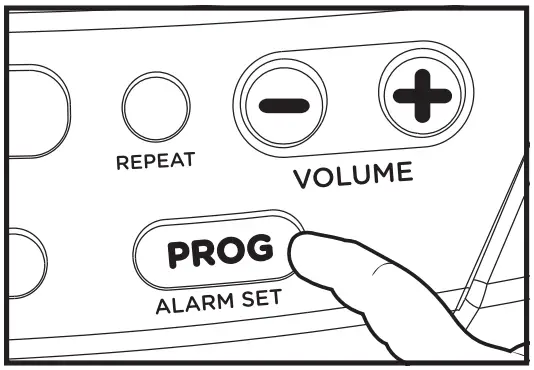
PROGRAMMED PLAYBACK (MP3 CD/USB)
- Select the USB or CD option with the MODE button.

- Make sure the unit is not playing a disc by pressing the STOP button.

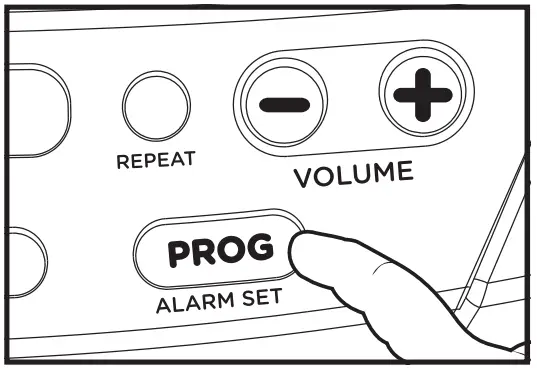
- Press the PROG button to activate the programming.
The PROG indicators will flash on the display.
- Press the buttons PREVIOUS or NEXT to select the first track to be programmed.

- Press the PROG button again to store and advance to the next scheduled track. The program sequence indication changes to P02 momentarily waiting for your next input.

- Repeat the above steps to program more tracks. A maximum of 20 CD tracks/ 99 MP3 tracks can be programmed.

- Press the button to start the scheduled playback.
- You can press the button to end the scheduled playback.

- To delete a program, during the stop mode, press the button twice or open the CD door.


CD RESUME FUNCTION
- You can interrupt playback and continue from the position where playback stopped (resume). If you change the mode or turn off the unit and come back to the CD mode, the unit starts the playback from the last point.
Press STOP button whenever you want to stop playback.
- Press to resume playback, the playback continues from where you have stopped.

- To deactivate
RESUME function- Press button twice in CD mode.
- Open the CD lid
- Changing the CD (Disc).


USB OPERATION
- Press the mode button to select the mode USB.

- Connect the usb device to the usb port.

- Press the button once to begin playback.

- Press again to pause music playback, the playback symbol flashes on the screen to indicate that it is in pause mode. Pressing the button again resumes playback.

- Press the button to stop music playback.

- Compatible storage device (up to 128 GB, FAT 32).
Always connect your USB flash drive directly to the USB port without USB extension cable.


FM RADIO OPERATION
- Press the MODE button to select the RAD radio mode.
Fully extend the antenna and adjust the angle for better reception.
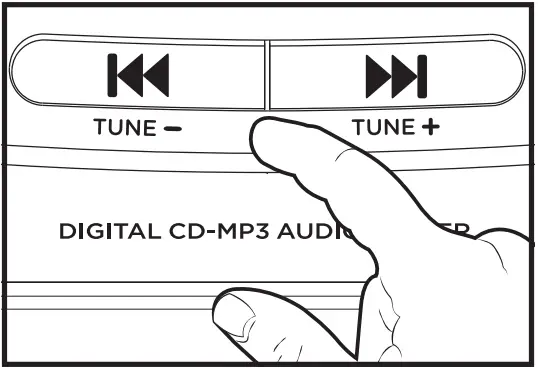
- Press the SCAN button for 2 seconds to perform the automatic scan function. The stations will be stored automatically.

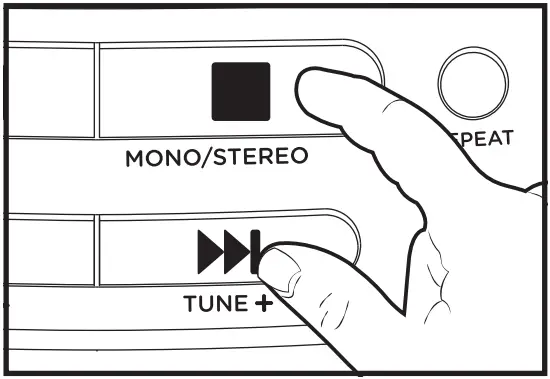
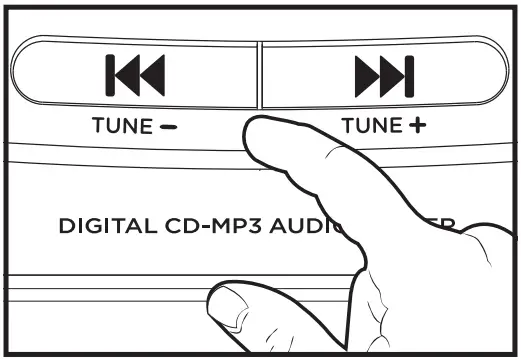
- Press the TUNE – / TUNE + buttons to tune to the desired station. Press STOP button to switch mono or stereo mode.


PRESET STATION
- In radio mode, tune to your favorite station.

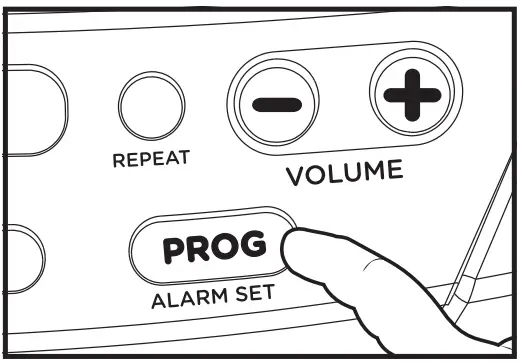
- Press PROG button to enter pre-set program.

- Use the buttons TUNE – / TUNE + to select station number.

- Press PROG button to save.


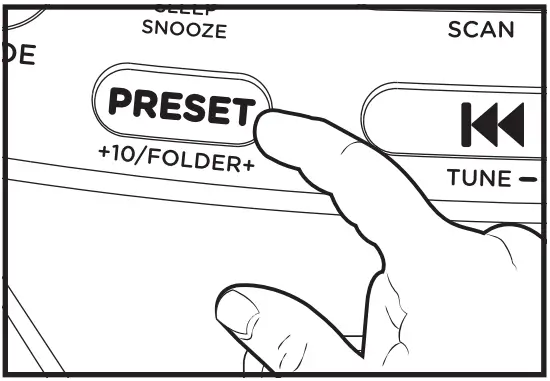
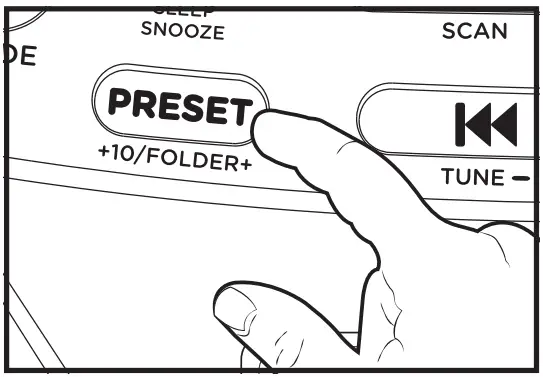
PRESET RECALL STATION
- Press PRESET button.

- Use the buttons TUNE – / TUNE + to select preset station number.

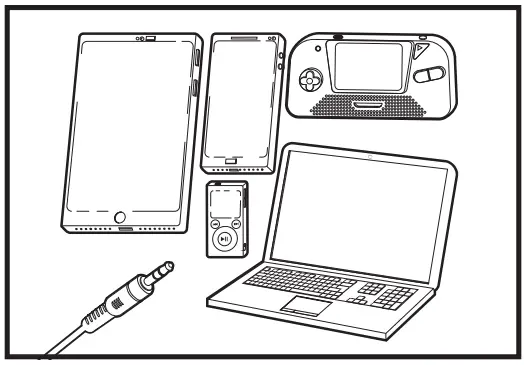
AUX INPUT
- Connect an external audio source like an MP3 player using a 3.5 mm audio cable (not supplied).

- Connect one end of the cable to the external device headphone output and the other end to the AUX socket at the side of the unit.

- Press MODE button repeatedly to select AUX. Press the play button and adjust the volume on the external audio source.


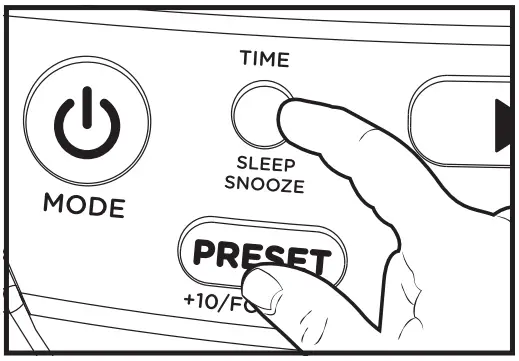
TIME SETUP
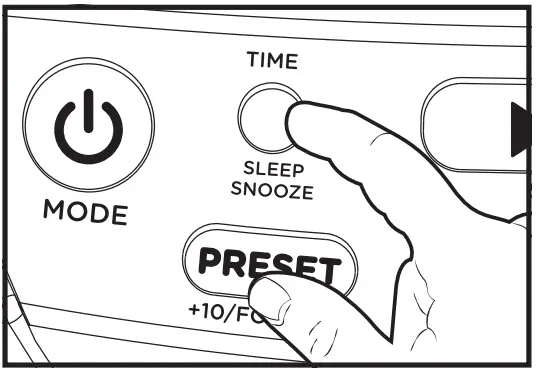
- During Standby mode, press and hold TIME button 2 secs, display show 24h and flashing.

- Use the TUNE – / TUNE + buttons to select the time format in 12h or 24h, then press the TIME button for the next step.

- Use the TUNE – / TUNE + buttons to set the hour and minutes, then press the TIME button to complete the time setting.

- The clock is disconnected when the unit runs out of power or batteries.

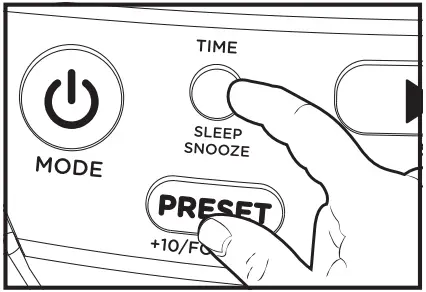
ALARM SETUP
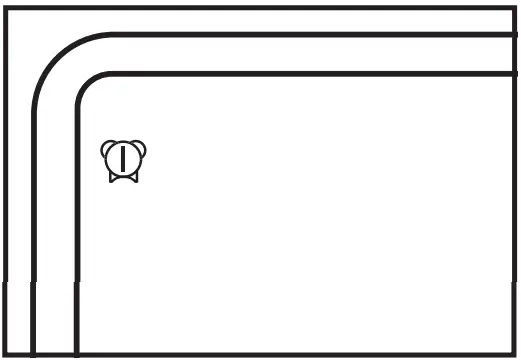
- Make sure that you have set the clock correctly. During the standby mode, long press the ALARM SET button 2 seconds, the alarm icon will be displayed on the screen.

- Use the TUNE – / TUNE + buttons to set the alarm time (hour and minute).

- Press ALARM SET button to next step.
Repeat step 2-3 to set wake up source and alarm sound level (only available if wake up source selected CD, RAD (RADIO) or USB).
- The alarm icon will appear on the LCD screen. Press the ALARM SET button repeatedly to activate or deactivate the alarm function.
- To stop the alarm press the MODE key.


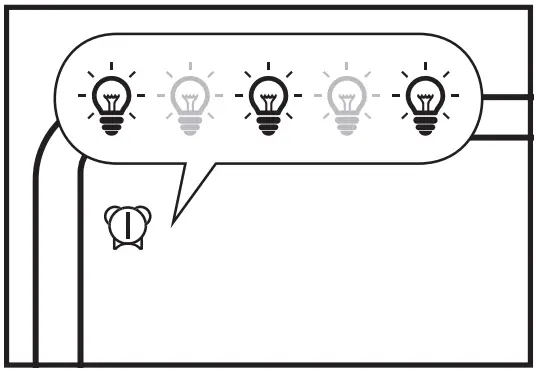
SNOOZE FUNCTION
- When reach the alarm time, press SNOOZE button to snooze the alarm sound. The Alarm sound will back after 9 minutes.

- The alarm icon will keep flashing when Snooze period.

SET THE SLEEP TIMER
- When the system is turned on, press SLEEP button repeatedly to select the sleep timer period (in minutes) OFF – 10 – 20………..90.
If the sleep timer is activated, [SLEEP] is displayed.
- To deactivate the sleep timer:
Press SLEEP button repeatedly until [OFF] is displayed.

Follow us! aiwaEU![]()
www.eu-aiwa.com
AIWA CO., LTD.
Kita-Ku
TOKYO 115-0045, JAPAN


